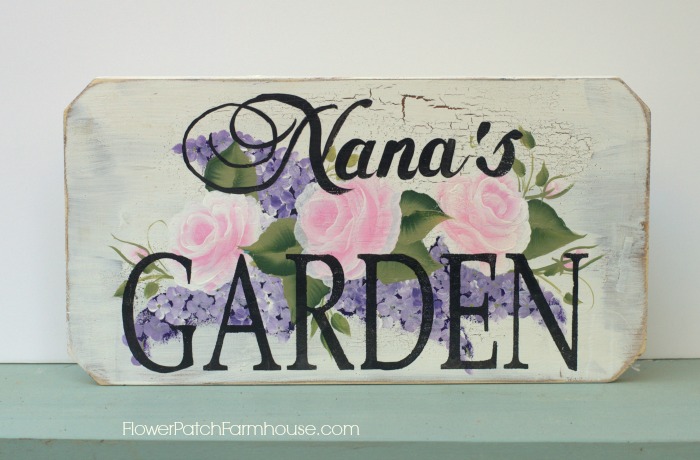
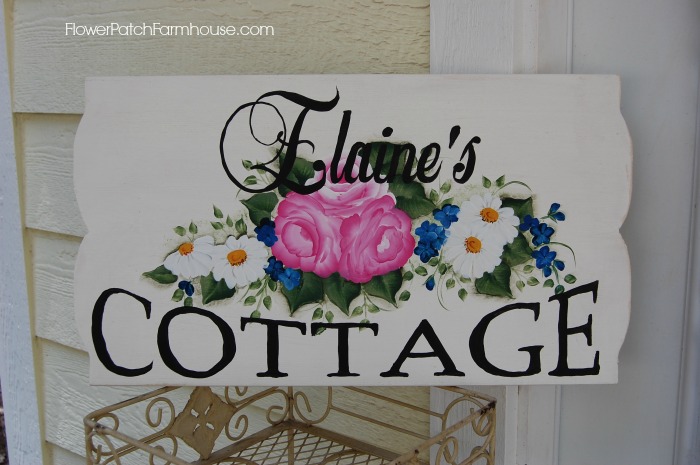
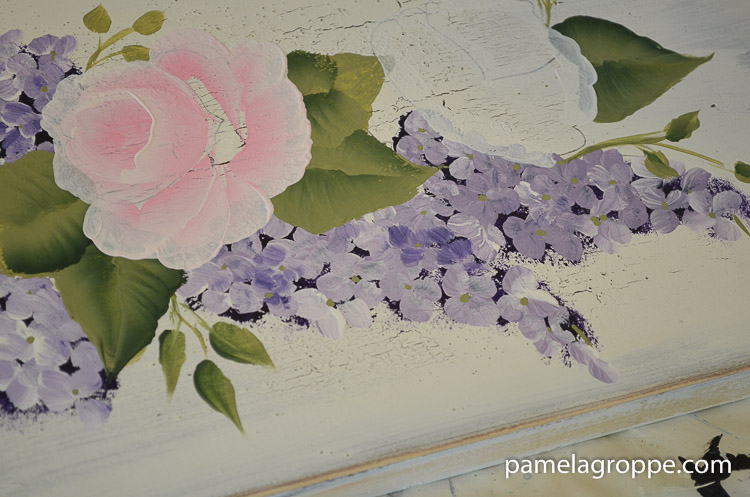
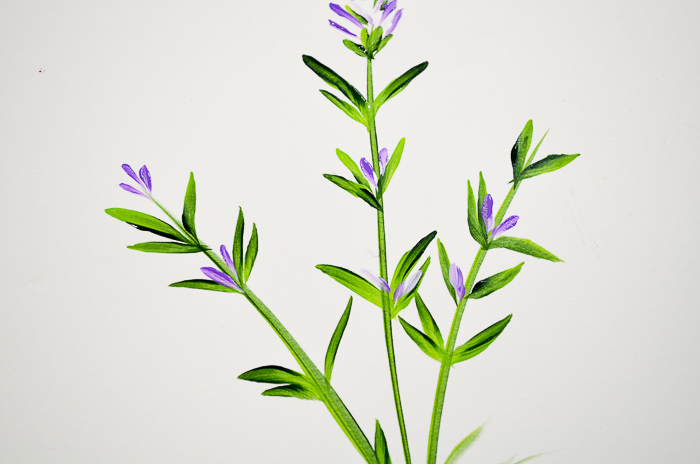
Paint Pretty Pink Roses
Paint Pretty Pink Roses one stroke at a time. Easy lesson to learn how to paint roses easily. Simple tips and tricks to get started painting these gorgeous blooms
Though roses can be tricky I show you how to paint pretty pink roses one stroke at a time. A free video is available below to help you get painting roses fast.
This post contains affiliate links. If you make a purchase after clicking a link I may make a small commission at no added cost to you.
Are you ready for another painting tutorial?
Roses are my specialty and I know they can be a bit tricky to master…
but believe it or not they are really fast and easy once you get the steps down pat.
Which you know what that means…
practice, practice, practice!
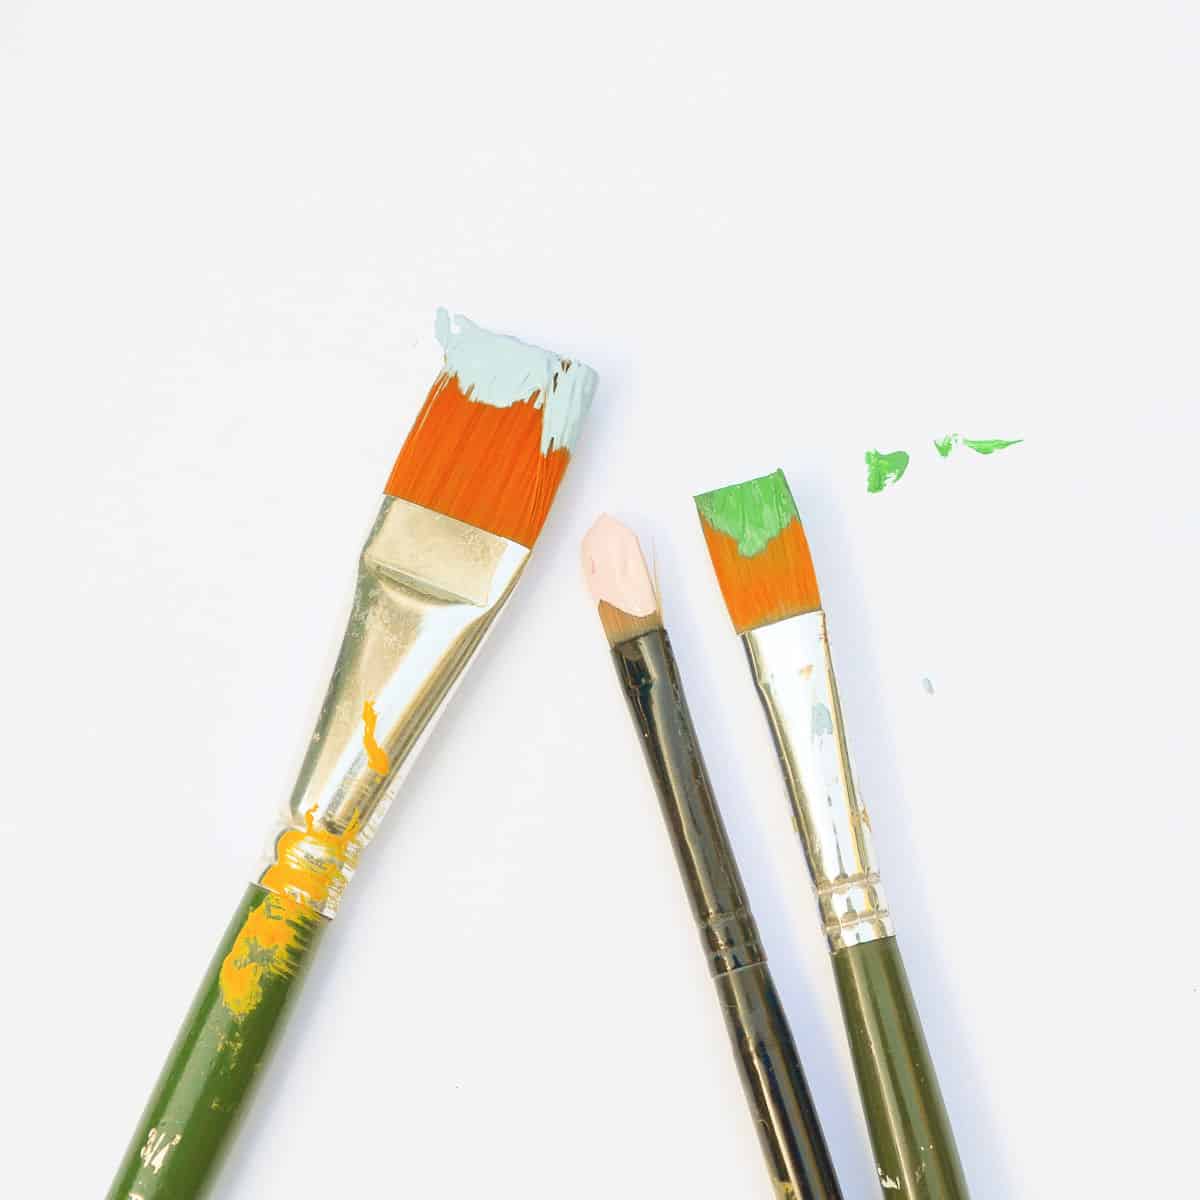
For help with the Basic Brush Strokes press here!
I am going to show you stroke by stroke of how I paint my roses.
The video is great because I paint 3 roses in a row and it displays how each is a little different and you can watch that at the end of this post.
How to Paint Pink Roses in Acrylics

Step by step painting tutorial for how to paint pink roses in acrylics.
Materials
- Acrylic Paint Plaid Folk Art Multi Surface or brand of choice
- Balloon Pink
- Wicker White
Tools
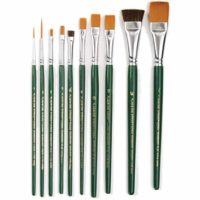
- #10 flat brush or size to fit your design
- Brush caddy
- Surface of choice
Instructions
- Transfer design to surface
- Double load Pink and White on brush
- Create back bowl of rose
- Paint second layer of rose bowl
- Add arms to outside of bowl of rose
- Bring petals across center of bowl using various strokes
- Attach crossing rose petals at tales of bowl
- Add bottom rose petals
- Add inner petals as needed
Notes
this takes practice but you can do it!
Recommended Products
As an Amazon Associate and member of other affiliate programs, I earn from qualifying purchases.
Supply List
Brushes
large variety pack
Pink Balloon (pick a pink you like)
Wicker White
Brush Caddy
Lets get started…
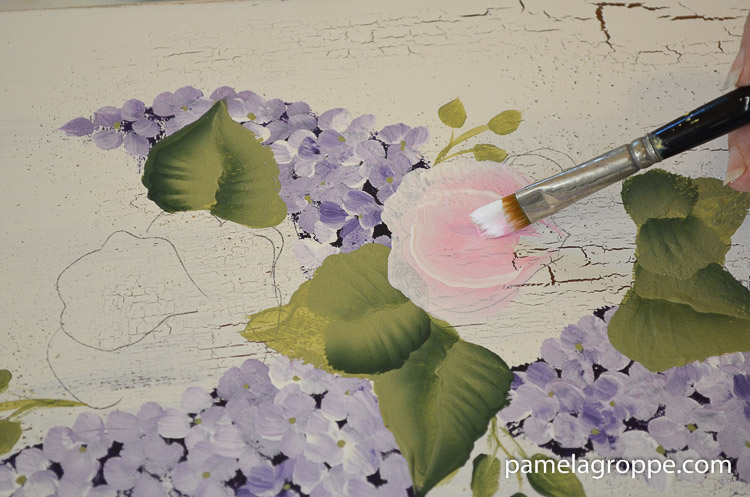
first double load your brush with your two colors,
stroke an upside down U.
I do this in 3 steps
I wiggle my brush as I stroke to get some movement in the petal.
See the bit of wave in the petal?
Now do two scallop C strokes and bring them down to a point…more or less

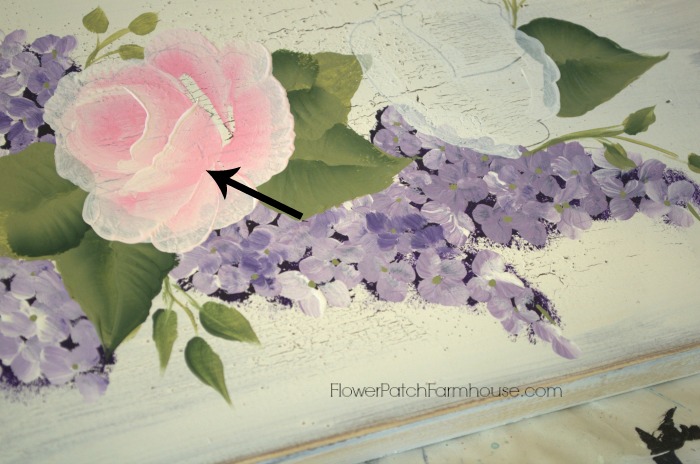
I did the outline of the design on my board with the graphite much darker than I normally would so you could see it in the photos.
Typically it is so light the camera would have a hard time picking it up.
This is the actual design that is in my pattern packet that is available here.
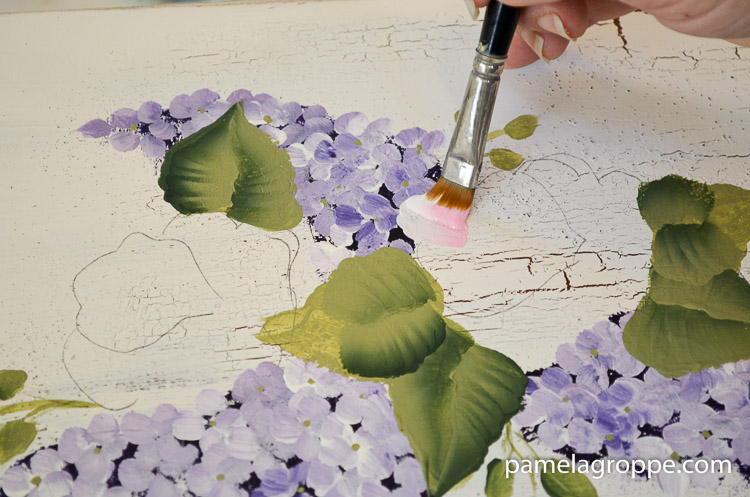
Now paint in the second layer of the top of the bowl of the rose,
same type strokes
Since this bowl is a little wider I don’t do another layer..
but my video does show me demonstrating a rose with a third layer in the bowl.
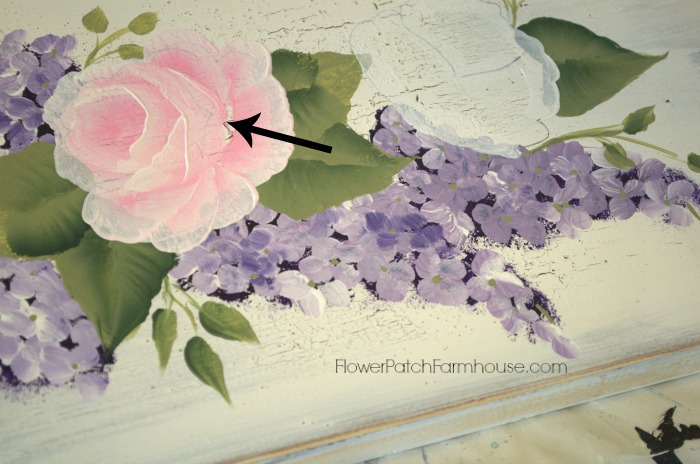
I dab in the pink on the corner of my brush to fill in the center.
Sometimes I add a darker value of pink here to accentuate the center of the rose.
Next we add the arms, again these are a scalloped C stroke with tails
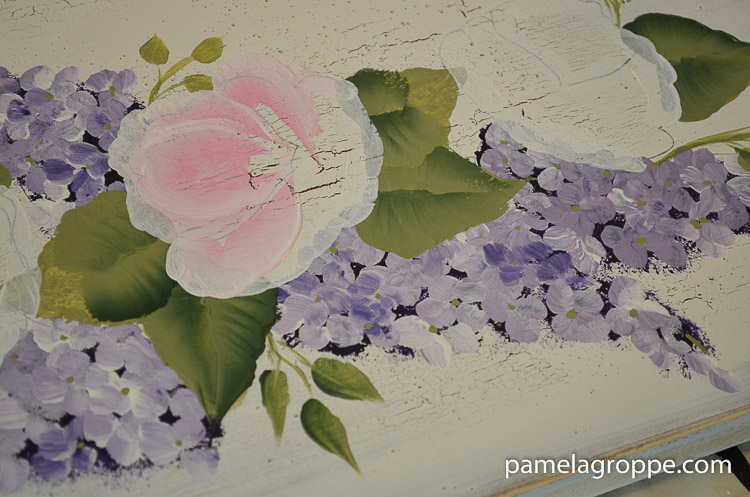
Before we finish up the bowl we put in the bottom petals..
scallop strokes
That was the center and now a bit to the sides
We are now ready to come in and finish up the bowl of the rose
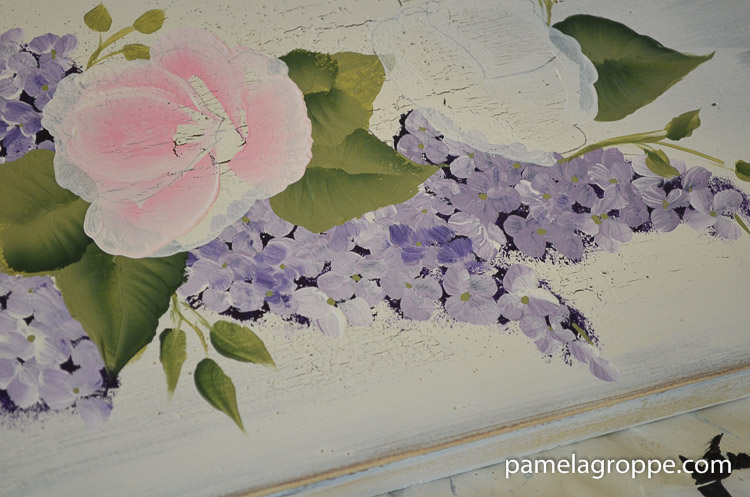
Start the chisel edge on the side or on one of the tails of the very inner bowl and make a scalloped U stroke.
Attaching it to the tails on the other side.
The next petal is a variation of a U stroke.
Start your brush on the tail edge of the very back bowl and make a varied U stroke.
As you can see this one only came halfway across the center bowl or maybe it looks more like 3/4.
Now there is several ways to do this to make the roses vary so play around with it and get different looks to your roses.
Now the other side..
It overlaps to create the unfolding of the rose petals.
Now add the next arms, scalloped C strokes again..
You do this on each side of the bowl and the tails come over the bowl somewhat.
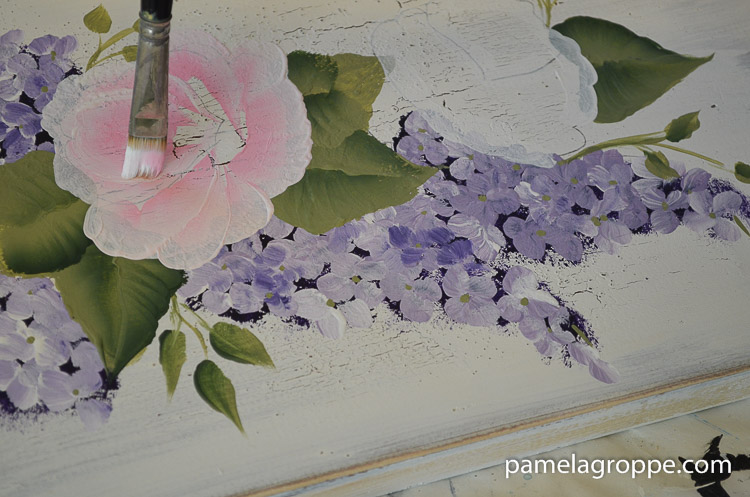
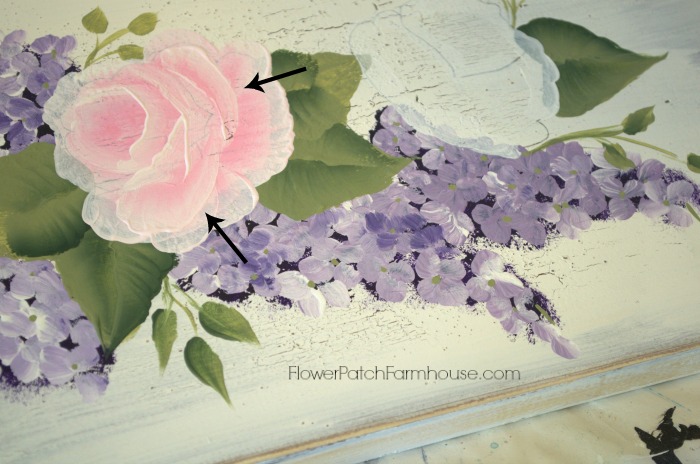
This could be the finished rose or you can do a fancy stroke that I could not demonstrate in a photo.
For that you really need to see the video.
You can do a few chisel strokes here and there as you feel it needs.
And that is it.
Be sure and watch the video, you will see exactly what I am talking about.
I hope you whip out those brushes and paint, paint, paint.
Want to get updates when the latest paint tutorial is posted and get access to the free printable patterns? Fill out this form and join us.
Happy Painting!

I enjoy your painting so much. The beauty of the object and colors.
Thank you for sharing your art talent with us.
A beginner,
Sheila
You are welcome, Sheila, I do enjoy sharing as much as painting. Just keep on and you will gain confidence and skill. I am still always learning new ways to paint and see things in different ways!
Thank you for sharing your expertise, love it.
You are most welcome, Gwen. I hope to add more and more as time allows. It is a busy time of year for me. 🙂
Your roses are yummy. I love the way you break down your painting into manageable steps. Thank you for sharing your tips and techniques.
Thanks or the tutorial on pink roses, I need a refresher course asap. Couldn’t have came at a better time. Thanks a mint for all you do for all of you. Gloria
Thanks for some lovely tips, Gloria. I look forward to seeing more of your beautiful talent which you are happy to share to help others to enjoy the wonderful pleasure of creating something
Thank you for sharing this, I have just gone part time, bought a shed and I am learning to paint my favorite things – flowers! After watching your tutorial, tomorrow I shall start practicing roses! I doubt it is quite as easy as you make it look but fingers crossed, I am inspired, thank you again.
hI Pamela…I AM BACK AGAIN TO COMMENT ON ROSES. Pamela,,i THOU=GHT IF I WERE EVER,,EVER GOING TO MASTER ROSES,,IT WOULD BE ON YOUR SITE WITH YOUR VIDEOS,,,BUT I HONESTLY THINK I HAVE 2 LEFT SIDES TO MY BRAIN,,LOL,I’m still having a heck of a time!!!!,,,,I just cant seem to get that pne tricky part no matter how hard I try,,,,did you have this problem???? no problem with other flowers tho,,,I’m stumped….any tips?????
You can also not do the tricky step but just add more chisel strokes. It does take practice and being less critical of what your style tends to be. From the sound of it you have been practicing quite a bit. Maybe I can try to break up that tricky step into 3 steps to make it a bit easier. Let me work on that and I will post a link when I am done.
Keep Painting and you will get there! Its great that you keep on trying and haven’t given up.
Thanks so much for your help,,,believe me,,I have been practicing,,I get frustrated and go on to something else,,,but,,I always go back to try again!!!!,,,I love your method of teaching,,thanks for taking your time,,,it’s really easy to follow,,,all but the R,,,,, LOL
I would like to see how you load your brush so I can see how much of each color you use.
Hi Kathryn, you can see how I load my brush in this post, it includes a video too. https://www.pamelagroppe.com/learn-basic-painting-brush-strokes/
If you need more just let me know and I will do a short clip and post it.
Thank you so much. You are extremely talented. Thank you for sharing it with us.
Thankyou for the beautiful paintings and the way toy teach us to paint. You’re most Kind.
Demetrios Christodoulou Cyprus.