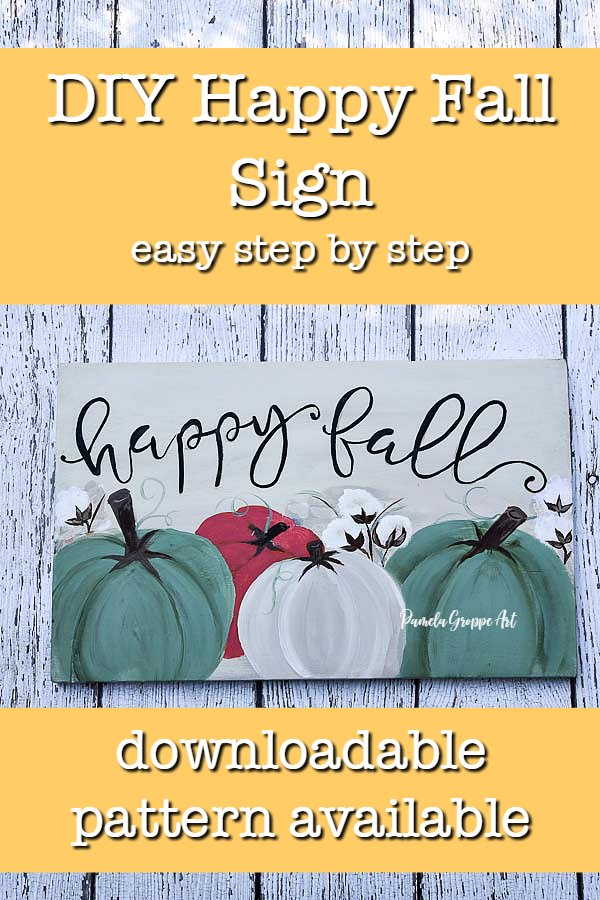
Lettering – Paint Fall wood signs with Pumpkins and Cotton Bolls
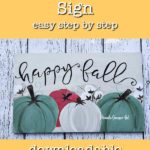
Paint the lettering on your pumpkin and cotton bolls Fall sign.
The pattern for this DIY sign is available below at the end of this post along with a full length step by step video.
This post contains affiliate links. If you make a purchase after clicking a link I may make a small commission at no added cost to you.
Feel free to use different wording if you like or find a stencil that will fit. I have an entire lesson on creating wording for signs here.
Transfer the lettering to your wood signs
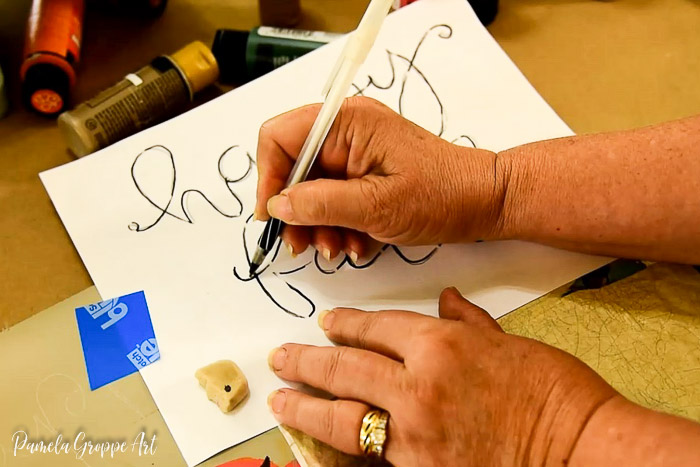
Start by transferring the word pattern to your sign.
Place the pattern on the surface and lay it out how you wish the words to display.
I had them at an angle.
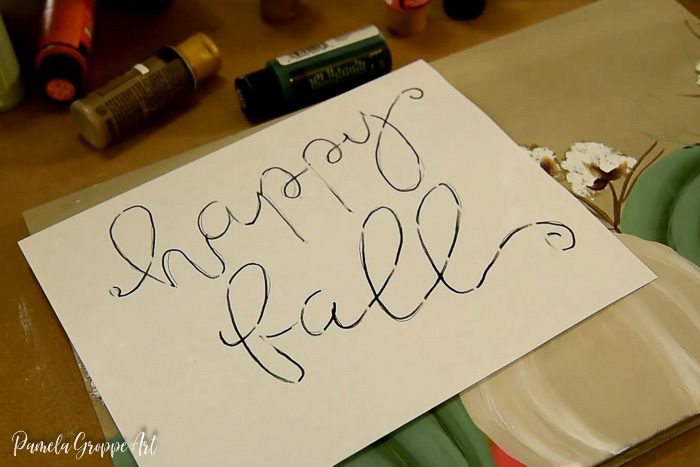
Since both words are on one piece of paper just first transfer the word Happy.
Then move to where you wish the place the word Fall.
Related: Transferring patterns to your surface
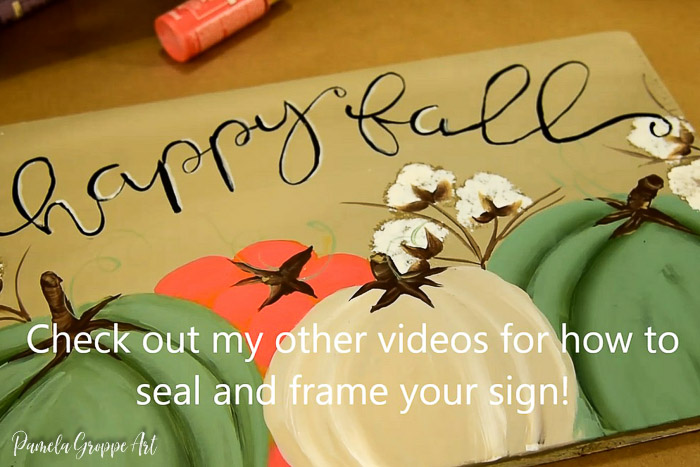
Paint Happy Fall lettering
Remove pattern and load the brush pen with inky black paint. I have found the Ceramcoat black to flow the best in lettering for me.
For painting the lettering I have learned that these brush pens work great. You don’t put the water in them as if you are painting water colors but you load them like a regular brush.
Tap here to see Brush Pen
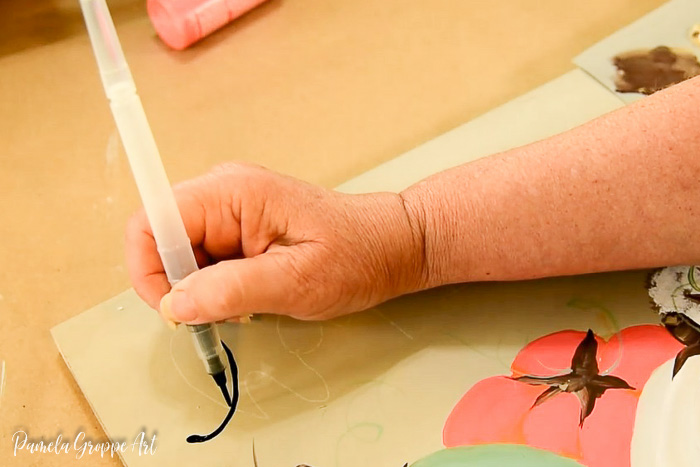
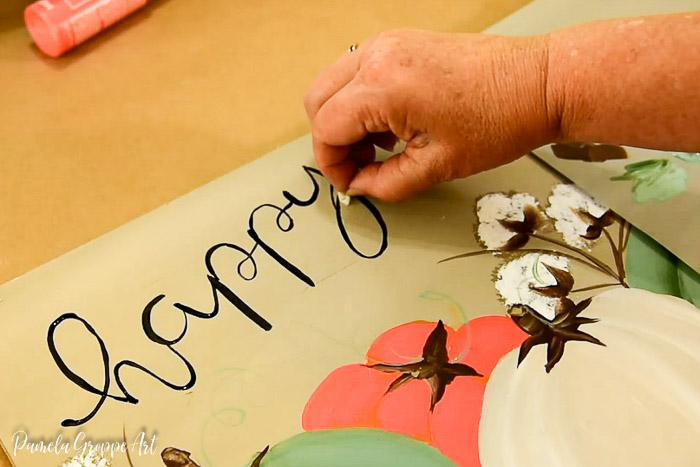
In the video you see how I press to make lines fatter and lift as I stroke to create thinner lines.
I am at a wonky angle so my lettering is worse than normal in the video but you get the idea.
Don’t like lettering? Here is a nice stencil that should work great for this sign! There are two sizes, choose which suits your sign best.
Correct painting mistakes
I am the queen of mistakes so I have plenty of practice in correcting them. I show you how I do it in the video.
Basically I have plenty of cotton swabs on hand. They make it easier to clean up your little messy bits.
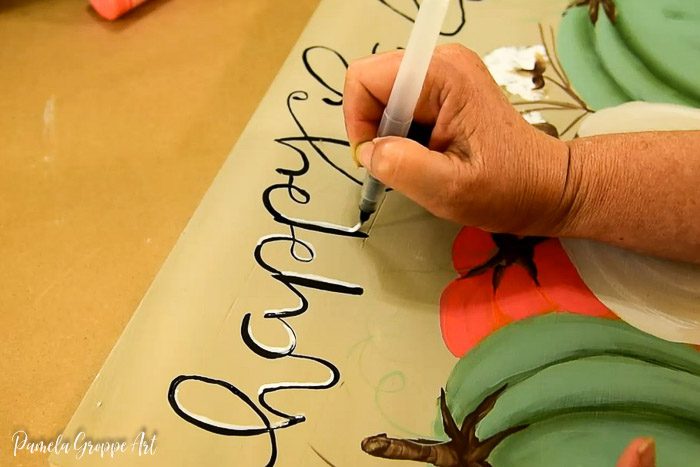
Add highlighting to lettering
This next step is optional but I like adding a bit of spark with highlighting or shadowing the lettering.
In this instance I am using Wicker White painted along the portions of the right side of the lettering.
Finish Happy Fall sign
Once the lettering is complete and dry then it is time to seal and frame your sign. Both the Seal your sign and frame it posts are coming soon.
Here is a link to the pattern.
Step by step video
Happy Fall Painting!

Are you a subscriber to Pamela Groppe Art? If not join the 5000 plus readers who enjoy access to free painting lessons, patterns, workshops and more!