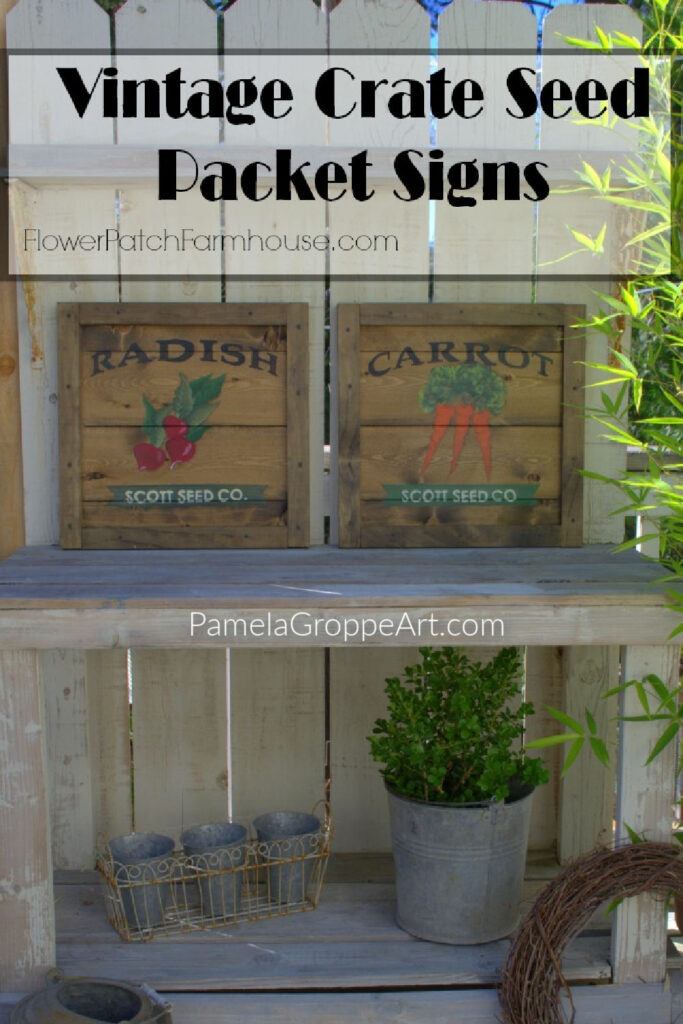
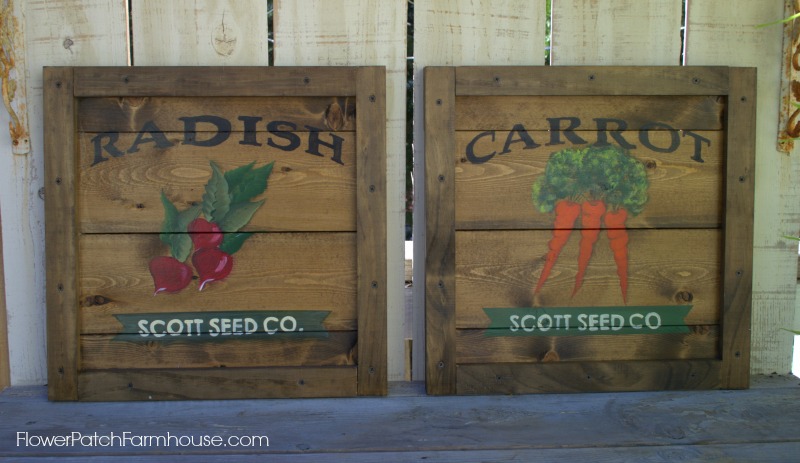
DIY Vintage Crate Signs
Create Faux Vintage Crate Sign Blanks
I love vintage seed packet artwork. Just Google ‘vintage seed packet art’ and you will get colorful and fun images. I can’t explain why I enjoy it so much but it just might be because it combines two of my favorite activities…
Gardening and Painting so building these Faux Vintage Crate signs was pure joy.
It took me a while to get these done, much longer than I really wanted…..
not because they were hard, not at all, it is just that life happens.
First I will share how I built the faux crate type surface. I am not sure what to call them. They are supposed to mimic the ends of a wood crate. So here goes.
(optional, this could be done after but I find it easier this way) Stain the boards with MinWax Dark Walnut stain before you cut them.
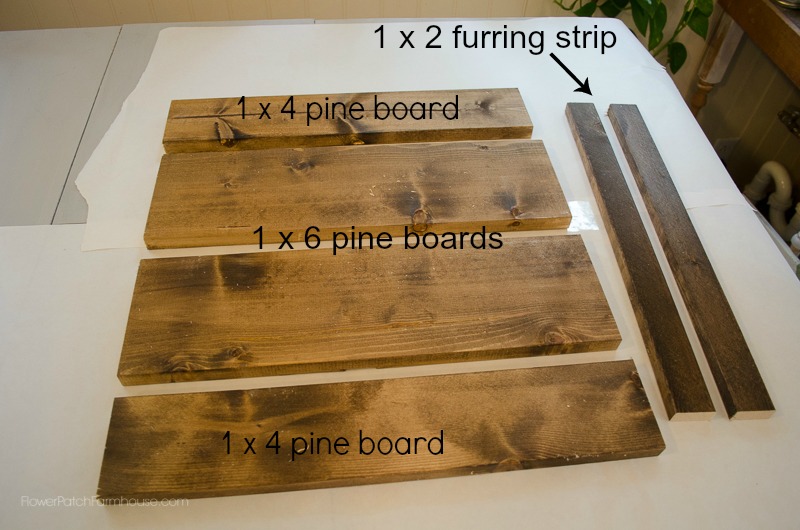
First, cut your lumber to size. I used standard lumber, 1 x 6s and 1 x 4s in pine, cut to 18 1/4 inches.
I chose that number as I thought that was what the dimensions of the boards stacked together would equal but once I got them all attached it only came to a wee bit under 18″, I was going for a square but since this is not rocket science or brain a bit off is just fine by me.
I started the top with a 1 x 4 then used 2 -1 x 6’s, then the last is a 1 x 4.
clear as mud?— thank goodness for photos
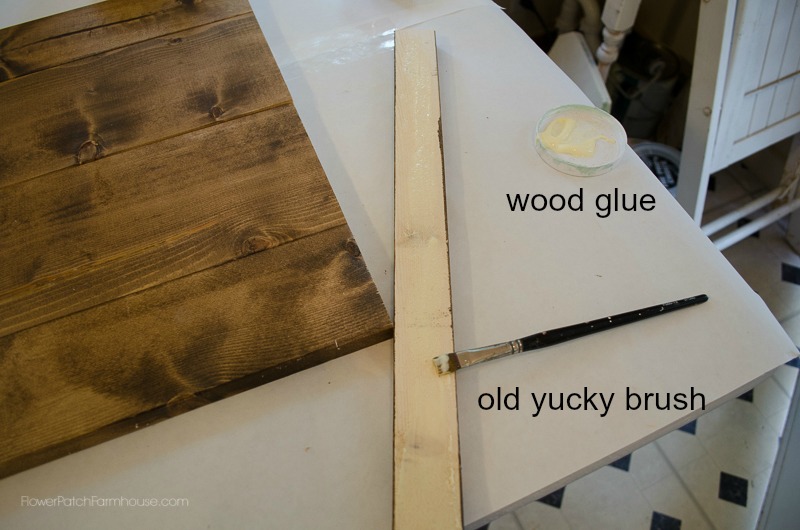
Use 1 x 2 furring strips to make the frame and cut 2 the same dimension as the board’s combined height which ended up being just a hair shorter than 18 inches.
Apply an ample amount of wood glue to the unstained back side of the furring strips.
I used a well-worn old paintbrush to apply the glue. Be careful not to get too much on it, you don’t want the glue squishing out too much when you screw the furring strip to the boards.
Once you get the furring strip all lined up on the edge of your boards, then screw it down. Wipe the excess glue off with a damp rag.
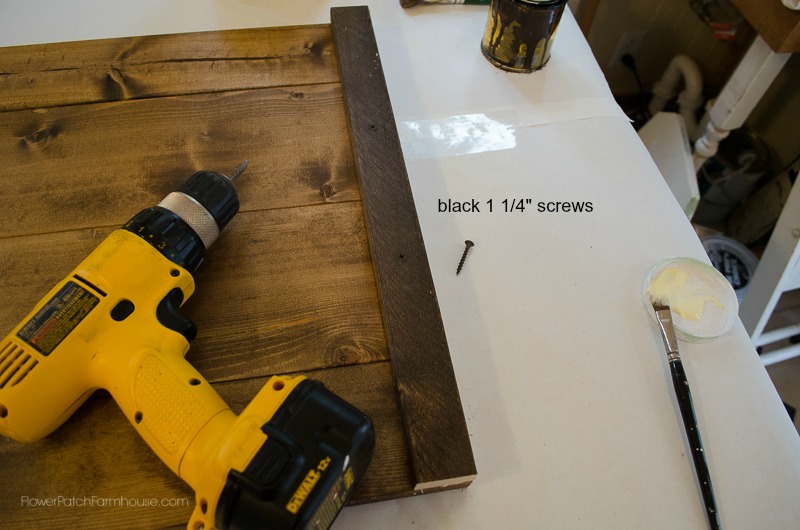
I used 1 1/4″ screws in black so they would be dark like the wood. Space them so they will be close to the center of the boards underneath. Do this on both sides of the sign.
Now measure the distance between the 1 x 2 strips already screwed on. Do this at both the top and the bottom.
The dimensions can be different and since it is a snug fit you need to get it right.
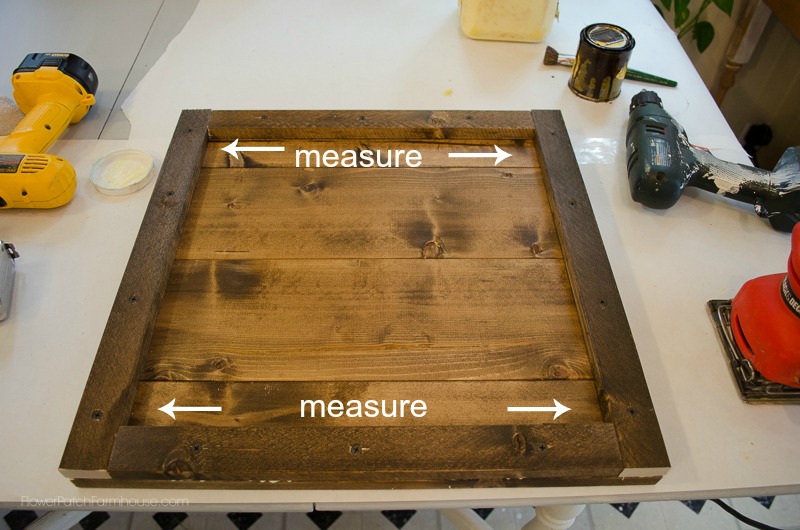
The top of mine was just a 1/16 of an inch narrower than the bottom. Cut the next two top furring strips to fit your dimensions.
Once you have applied the glue as before then screw them on. Keep checking that you are lined up with the edges of the boards beneath.
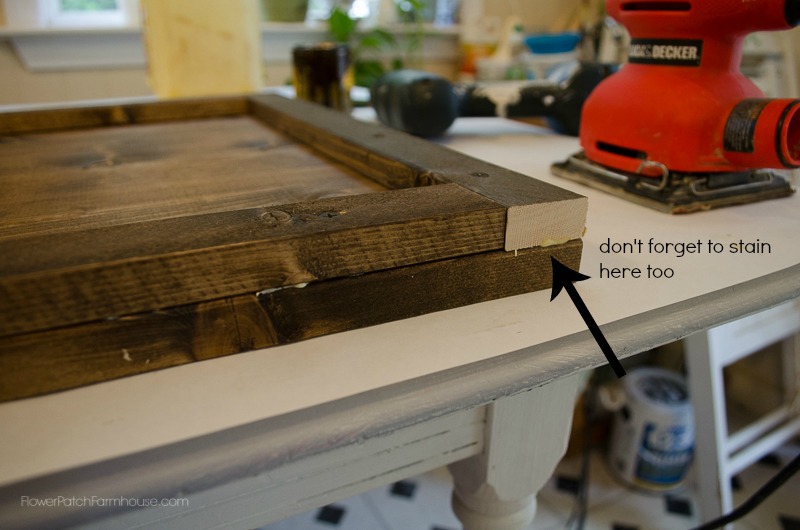
One thing I failed to do was stain the ends of the cut boards before assembling the crate sign. I will be sure to do so the next time around.
But they were easy enough to do later.
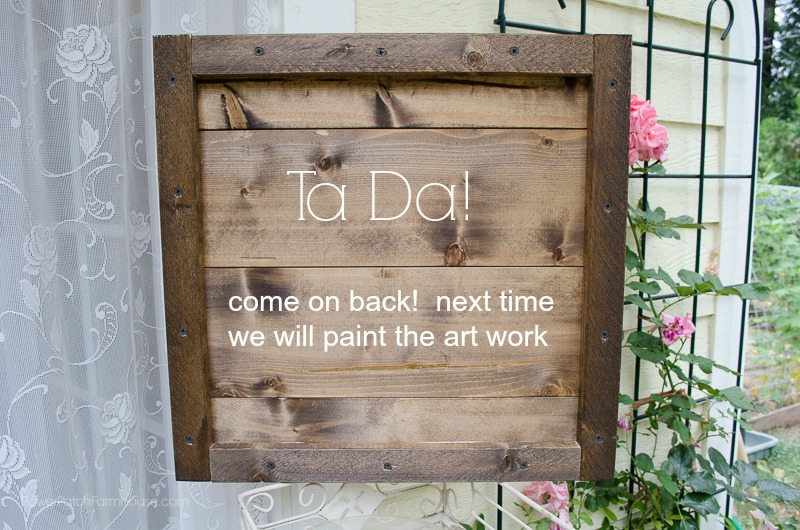
Clean up any glue that oozes out before it dries. Before you know it you have one of these all ready to paint your design.
PIN and Share