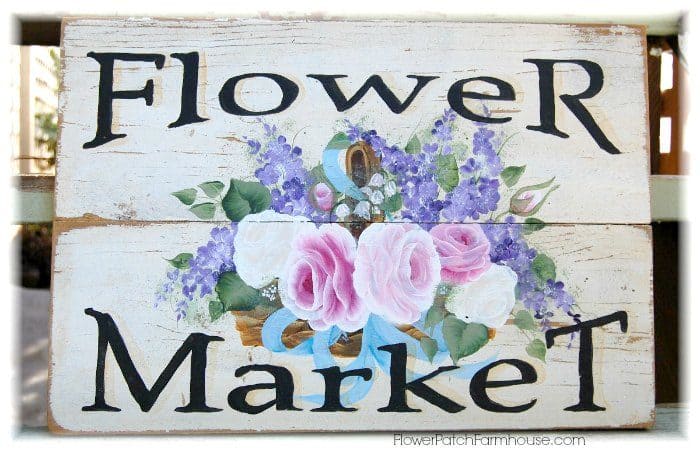
Flower Market sign
How to Paint a Flower Market Sign! Cottage Core Art.
You can paint this vintage style, shabby chic Flower Market Sign one easy stroke at a time. Download the pattern and get to painting!
This flower market sign was painted several years ago. For a very long time I painted vintage wood signs and sold them on eBay, from my own website, and in local art boutiques.
I love the shabby chic style and enjoyed creating these one-of-a-kind pieces for people’s homes and gardens. I think I need to get back into that; cottage core vintage-style signs are just so fun to paint.
I painted this sign on two 1 x 6 boards cut 19 inches in width. To see how you can build these pallet boards to make signs just CLICK HERE
(this post contains affiliate links, please see disclosure page for more info)
These are the colors of paints I used in this design, feel free to use what you have or mix your own colors.
Supplies
Brushes
- #10 Bright or the #10 flat from the Donna Dewberry multi pack.you can find them here as well..Dick Blick Art Supplies
- #4 Filbert or Flat
Scruffy Brush or bit of sea sponge - Liner Brush
Paints
Plaid Folk Art Mulit Surface or Classic Acrylic Paint
- Licorice
- Fresh Foliage
- Thicket
- Baby Pink
- Violet Pansy
- Lavender
- Magenta
- Wicker White
- Parchment
- Burnt Umber
- Cinnamon
- Deep Ocean Blue
Floating Medium
- Tracing Paper
- Transfer Paper black and White
Transfer Basket of Flowers design
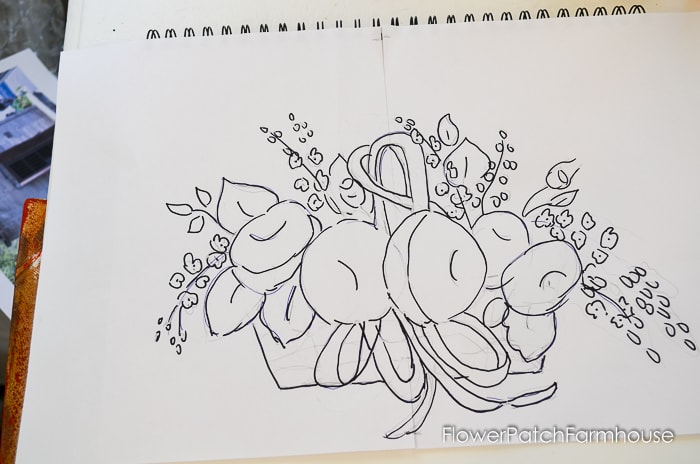
Begin by copying my pattern on the tracing paper, which is transparent, this helps you to line up the design in phases as you go through the painting, as you need to.
Start by transferring the basket area, or parts of it to get a guideline. It is not easy to see but you can make out the faint lines on my paper of where the basket will be.
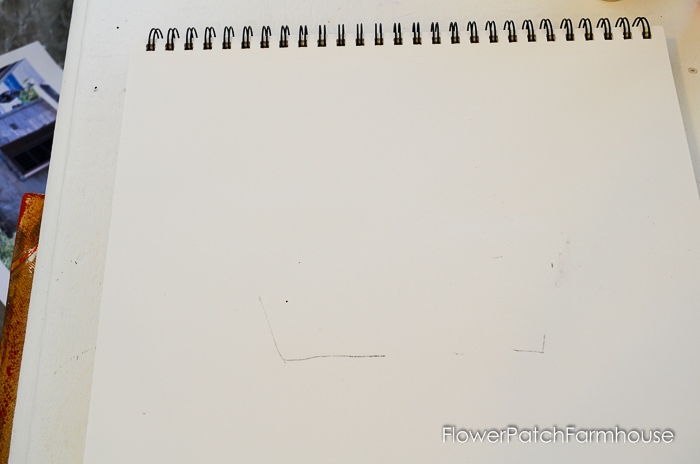
For full instructions on transferring patterns to your painting surface you can see that in this post.
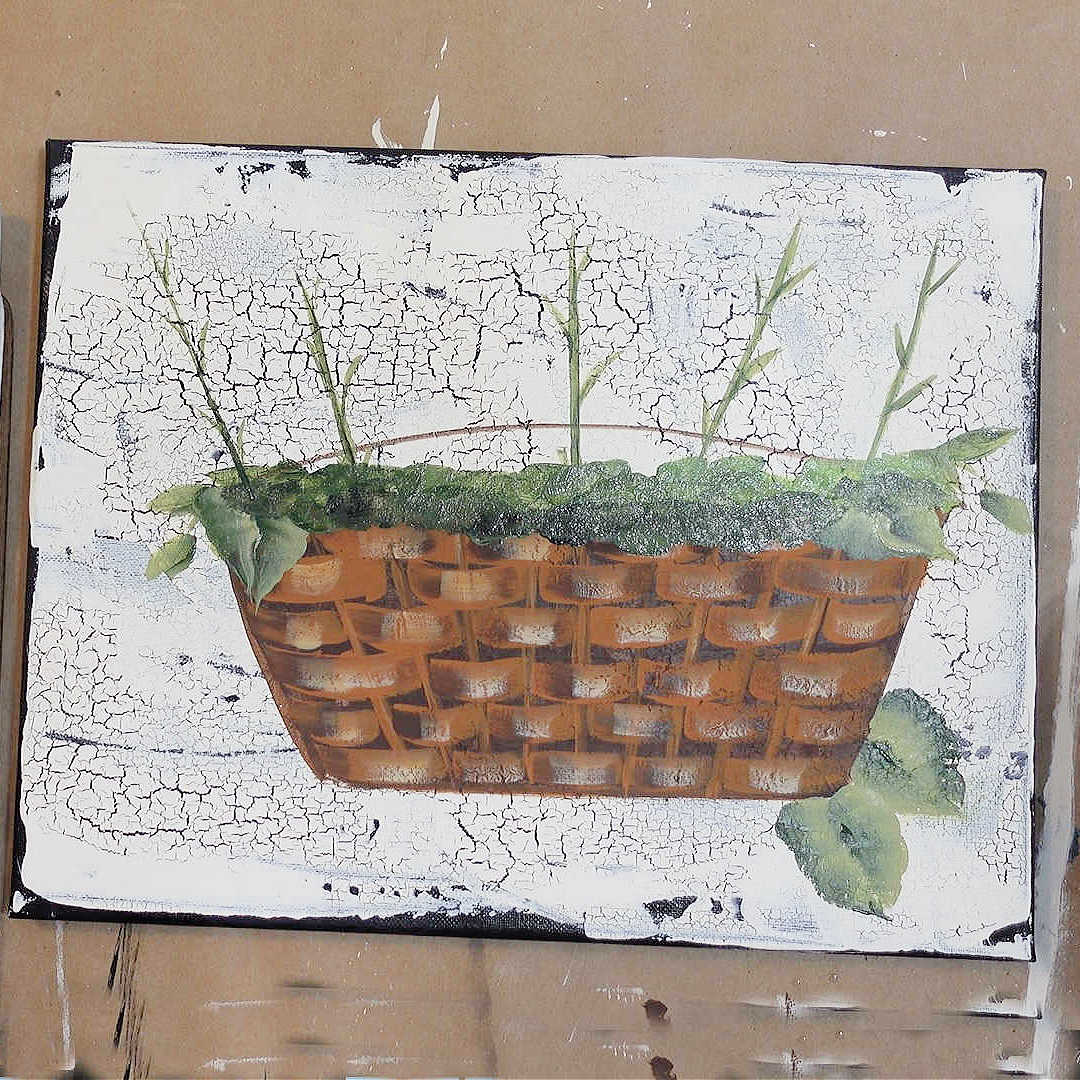
Paint the Basket
Paint in the basket using a Burnt Umber for the background then follow the same instructions as I gave in this post…Paint a Basket in Acrylics and here is a direct link to that video which shows me painting the basket, Paint a Basket video.
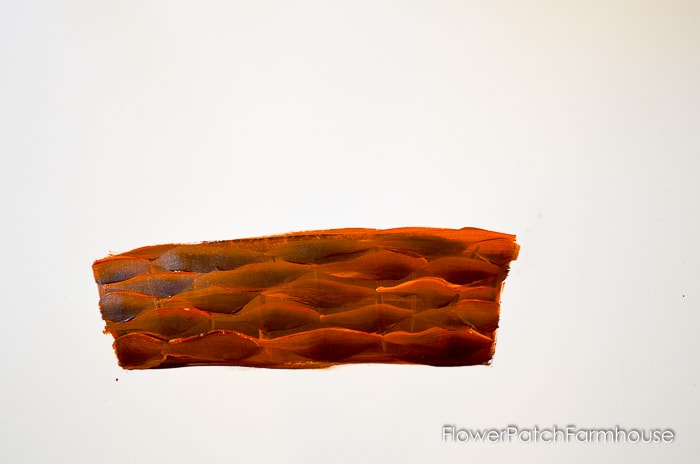
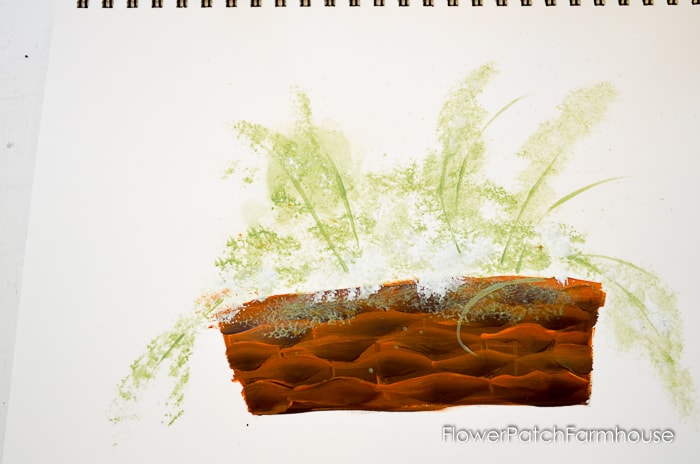
Paint the Foliage
Mix floating medium and Foliage Green until you have a transparent color, lightly tap in some foliage and stems with a scruffy brush. This sets in the background and we want it to be airy, not solid. With the chisel edge of your flat brush pull in some stems.
After the foliage is dry lay the pattern back over the piece and transfer the lines for the basket handle and purple flowers. Next put in the darker purple flowers first and lighter ones to the front using the filbert brush.
These petal strokes are very similar to the ones used in these tutorials: How to Paint Hydrangeas in Boots.
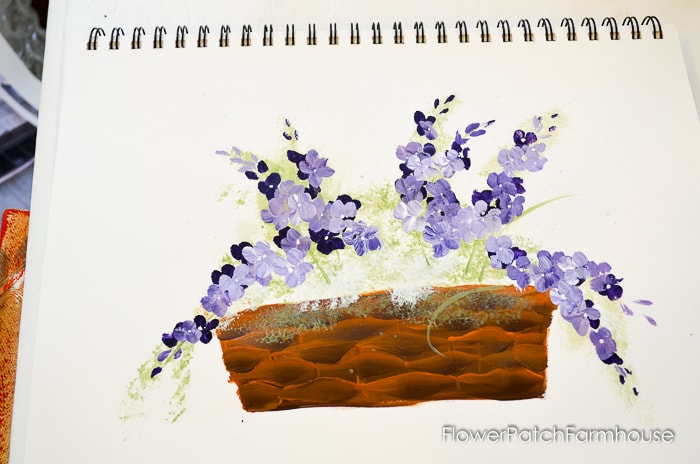
I should’ve put my handle in first but I did not but you can, and should. Notice I start the tops of my purple flower spikes with just little taps of color for a bud and not a full flower.
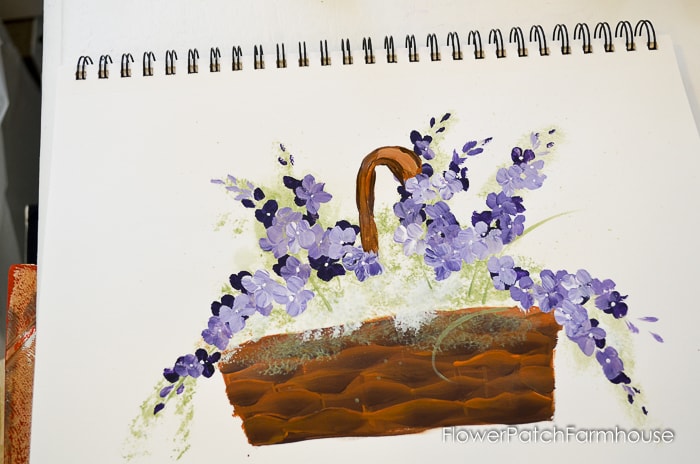
Add the ribbon using Medium Blue mixed with Wicker White… and for a more detailed explanation see How to Paint Ribbons
Base paint Roses in White
Undercoat the roses with white. This blocks the darker color from showing from underneath through and keeps the pinks and lighter colors more true.
Paint the Ribbon
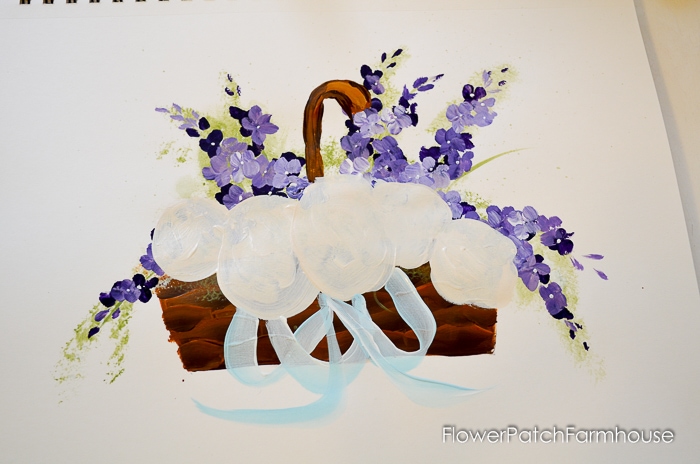
You will paint the ribbon in layers.
Paint the Leaves
Paint in the leaves with Thicket and Foliage Green using the #10 flat brush. These are the regular scallop stroke leaves and you can see a full tutorial for those in this post.
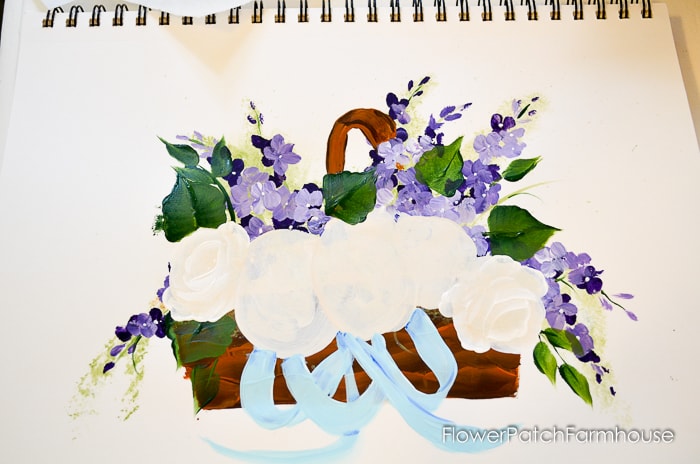
Paint the Roses
I start with the roses that are to the back, in this instance that is the white ones on the far right and left. Go to my post on How to Paint Roses for a detailed step-by-step or this post How to Paint Yellow Roses.
The white roses are painted with Parchment and Wicker White.
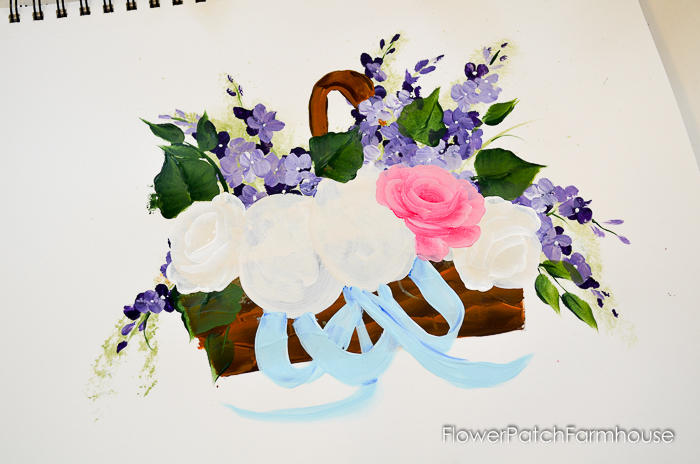
Next paint the two darker pink roses using Magenta and Baby Pink, a touch of Wicker White for highlighting certain strokes.
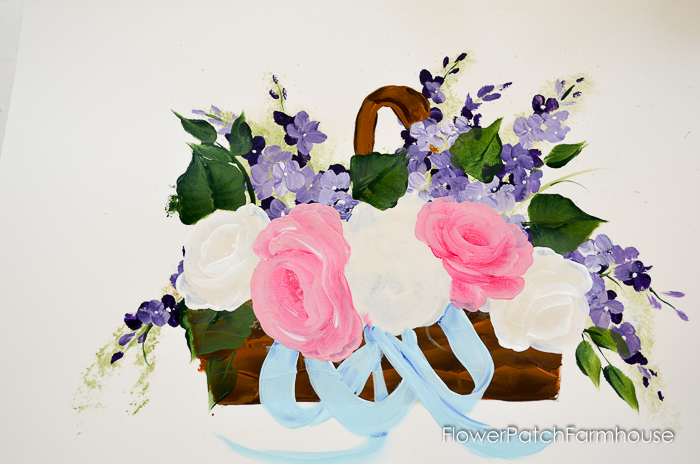
Last but not least is the light pink rose, that sits front and center, which is painted with Wicker White and Baby Pink.
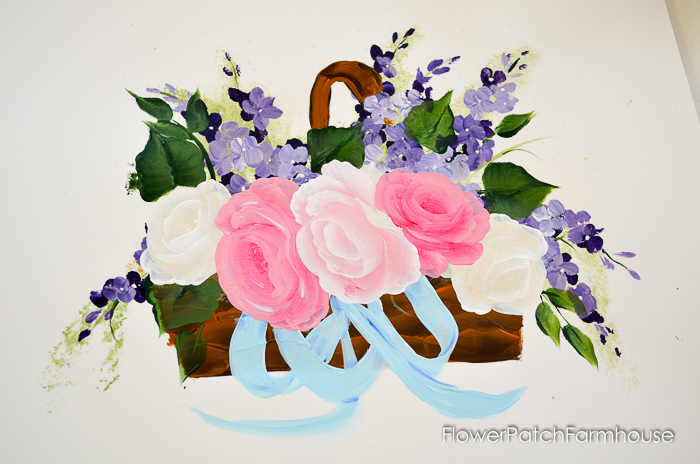
Drats! I painted it facing the wrong way, let it dry….white it out with a coat of wicker white and let it dry again.
Now repaint it facing the correct direction..fixing mistakes is just part of the painting fun. If you wish to leave it facing the other direction that is fine, this is your painting so make it your own!
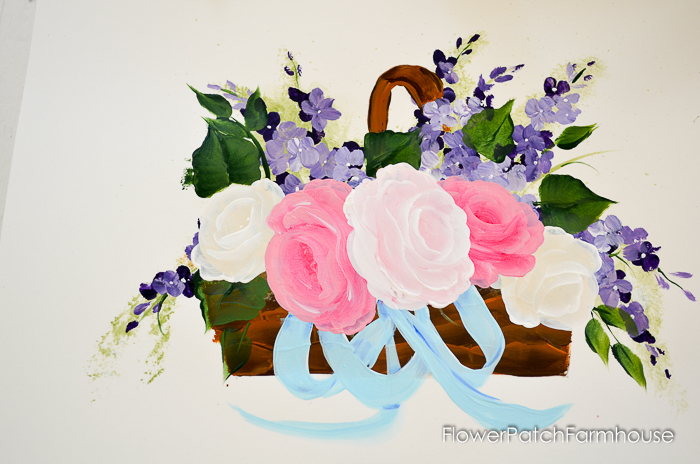
Add the lettering to the top and bottom of your sign in Licorice and voila’ you have your Flower Market Sign!
For how I paint lettering, see this post here LETTERING

Click on over to this post to see how I get the distressed look on my wood How to Get a Rustic Finish in 4 steps.
Happy Painting!
