How to Paint Mushrooms – Easy & Fun!
Let’s learn how to paint easy and fun mushrooms!
Today I am going to share how to paint mushrooms. This is a super simple painting tutorial that is fast and easy enough for beginners. We will use just 4 colors and two brushes.
This post contains affiliate links. If you make a purchase after clicking a link I may make a small commission at no added cost to you.
Let’s Get Started Painting Mushrooms
Supplies
Plaid FolkArt
- Linen
- Cafe Latte
- Titanium White
- Coffee Bean
Brushes – Donna Dewberry One Stroke
- #12 Flat
- Liner
- Surface of Choice 6″ x 6″
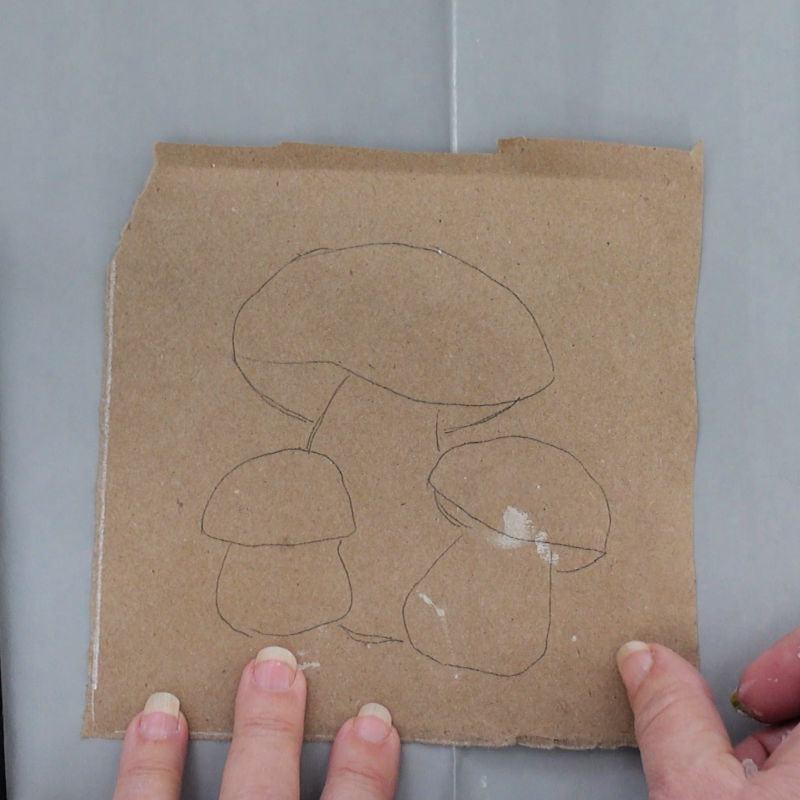
Transfer Mushroom Drawing
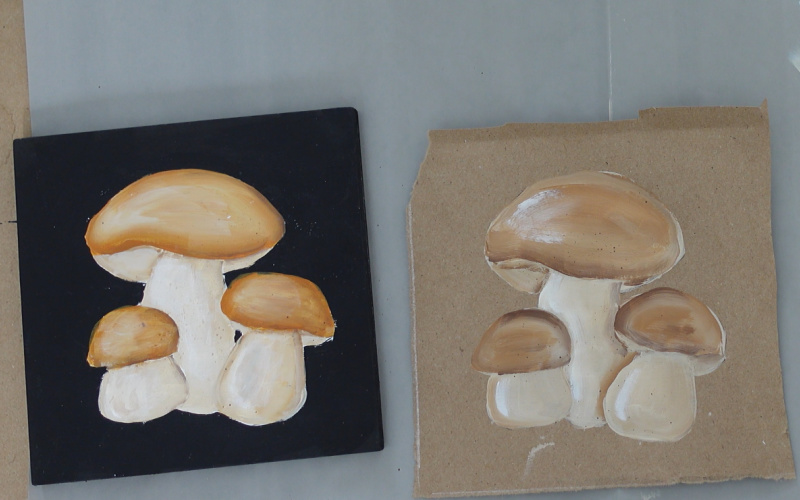
Transfer the mushrooms to your surface. If painting on a wood panel or other canvas then pick a background color and fill in around the mushrooms. I had used black on my original painting but with this one I painted it on brown paper to add to a junk journal or my bible study journal.
Related: How to transfer painting patterns or traceables to your surface.
Start Filling In
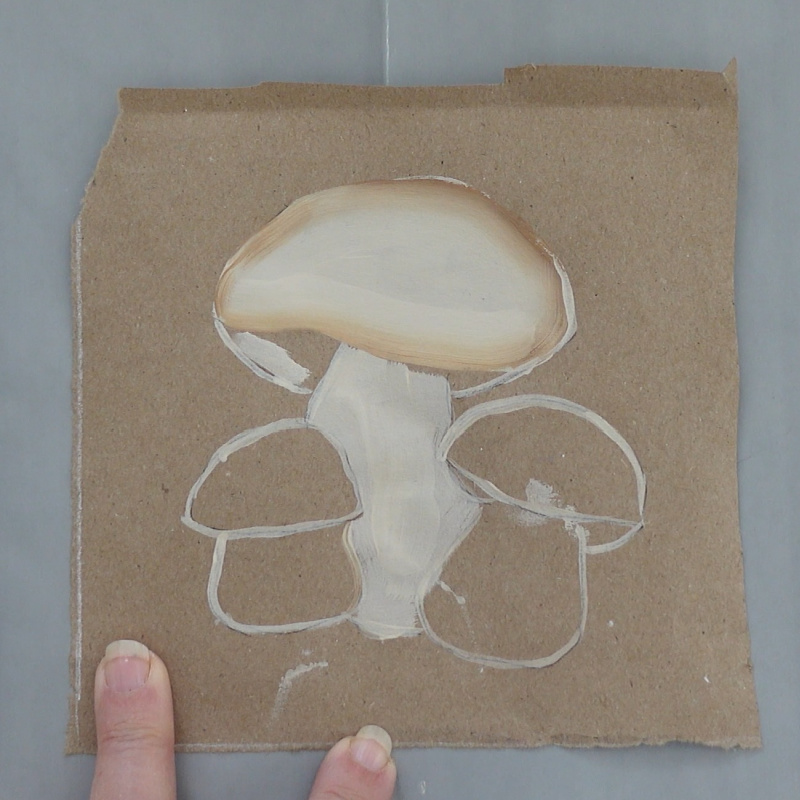
Using the #12 flat brush and Linen color start filling in the mushroom cap beginning at the top. You could also use the Cafe Latte color if you prefer
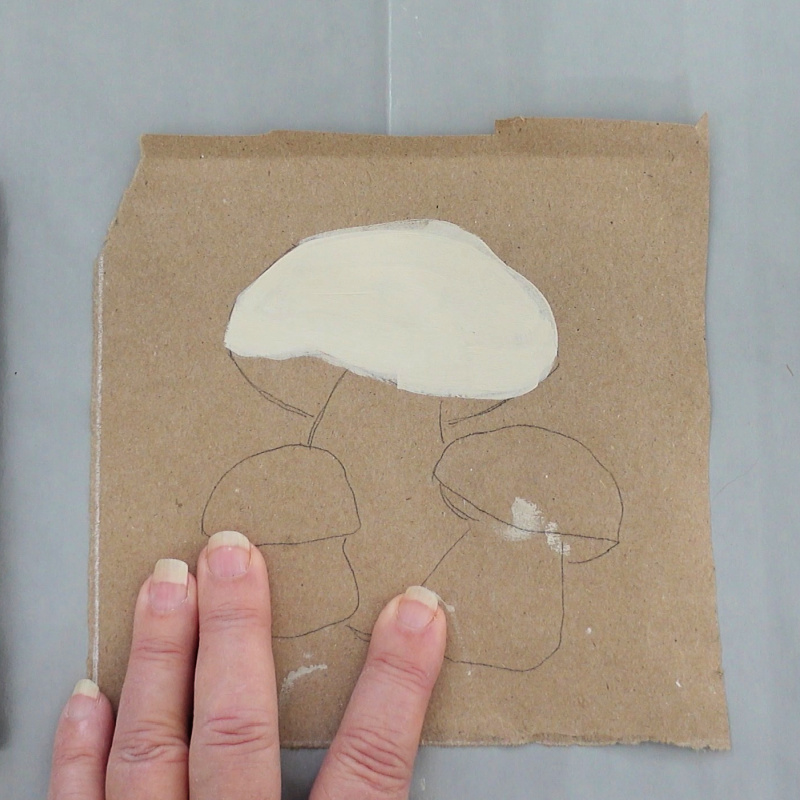
Follow the shape of the outline as much as possible. This is a simple design and you can be very loose with filling it in but having the strokes following the curves helps to create shape.
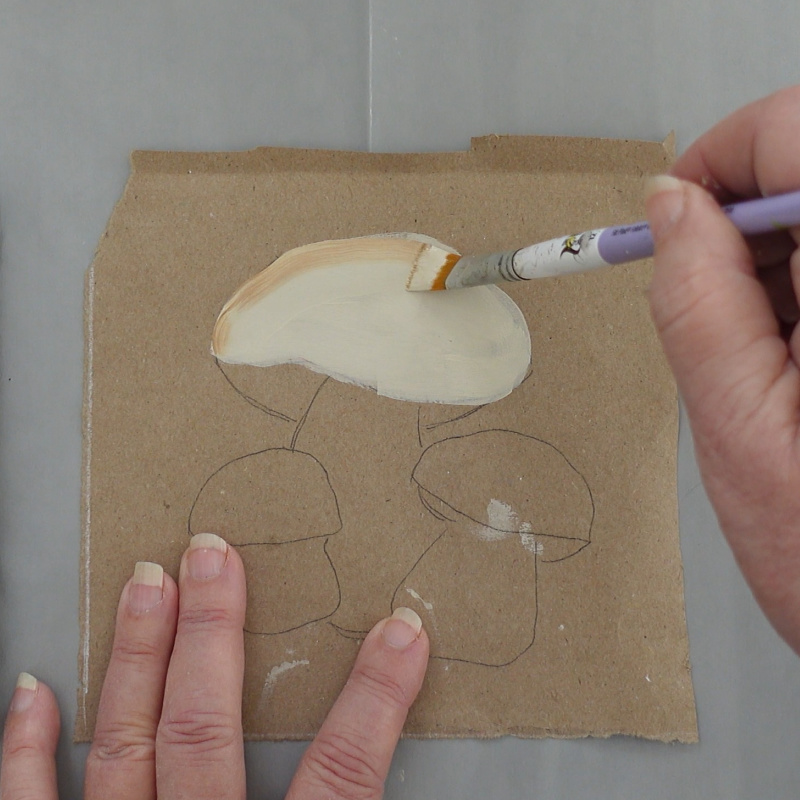
Side load the brush with Cafe Latte and shade along the edge.
Lower down I share how you can outline the shapes with paint to help.
Keep filling in the mushrooms. There is no set way to do it. Just fill with paint.
Outline the Mushrooms Before Painting
This is a nifty trick and maybe I should’ve started with it. But sometimes I wing it and that is how it goes with painting.
I share this so you can see there is no one way to go about it and the longer you paint the more you will find that just diving in and painting is more important than any set sequence.
Using a liner brush and the Linen color paint over the graphite lines. After starting with the Linen, I though maybe I should have used the medium brown color of Cafe Latte instead.
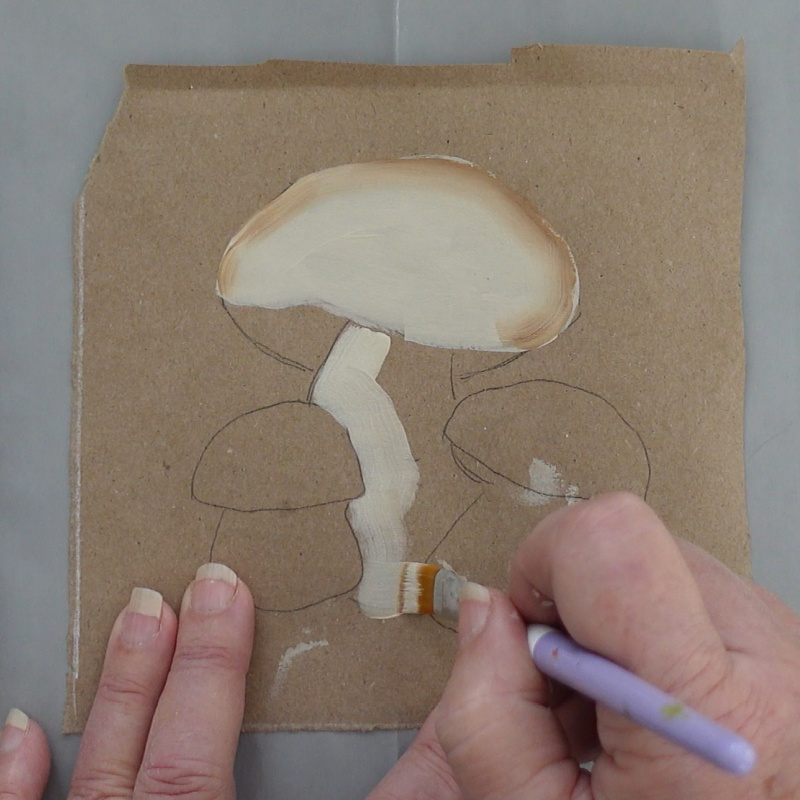
Shade the Mushrooms as You Paint
Here you see the mushrooms are outlined and then I had shaded the bottom edge of the cap of the largest one.
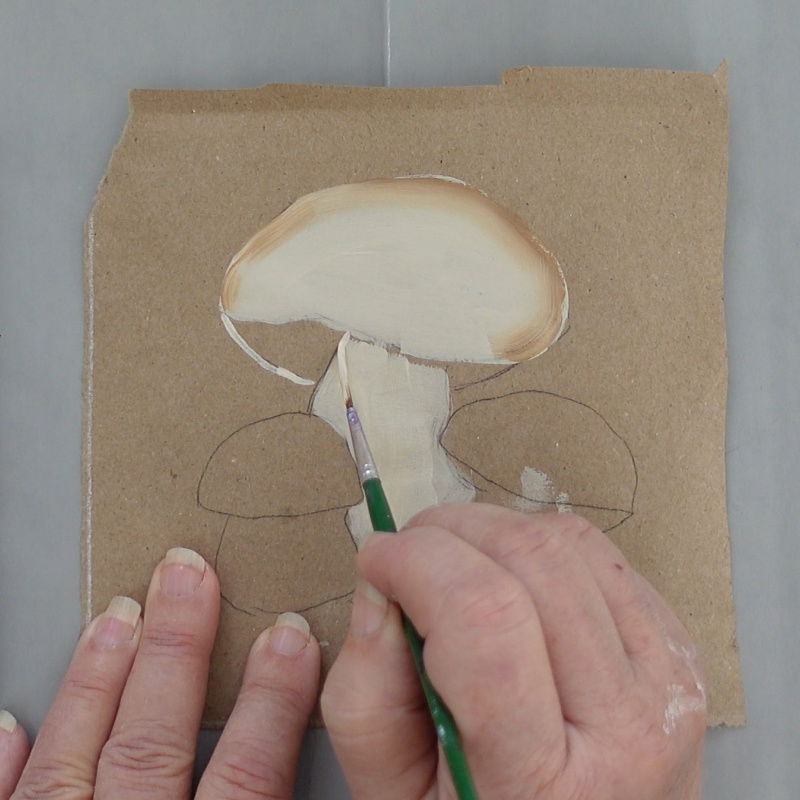
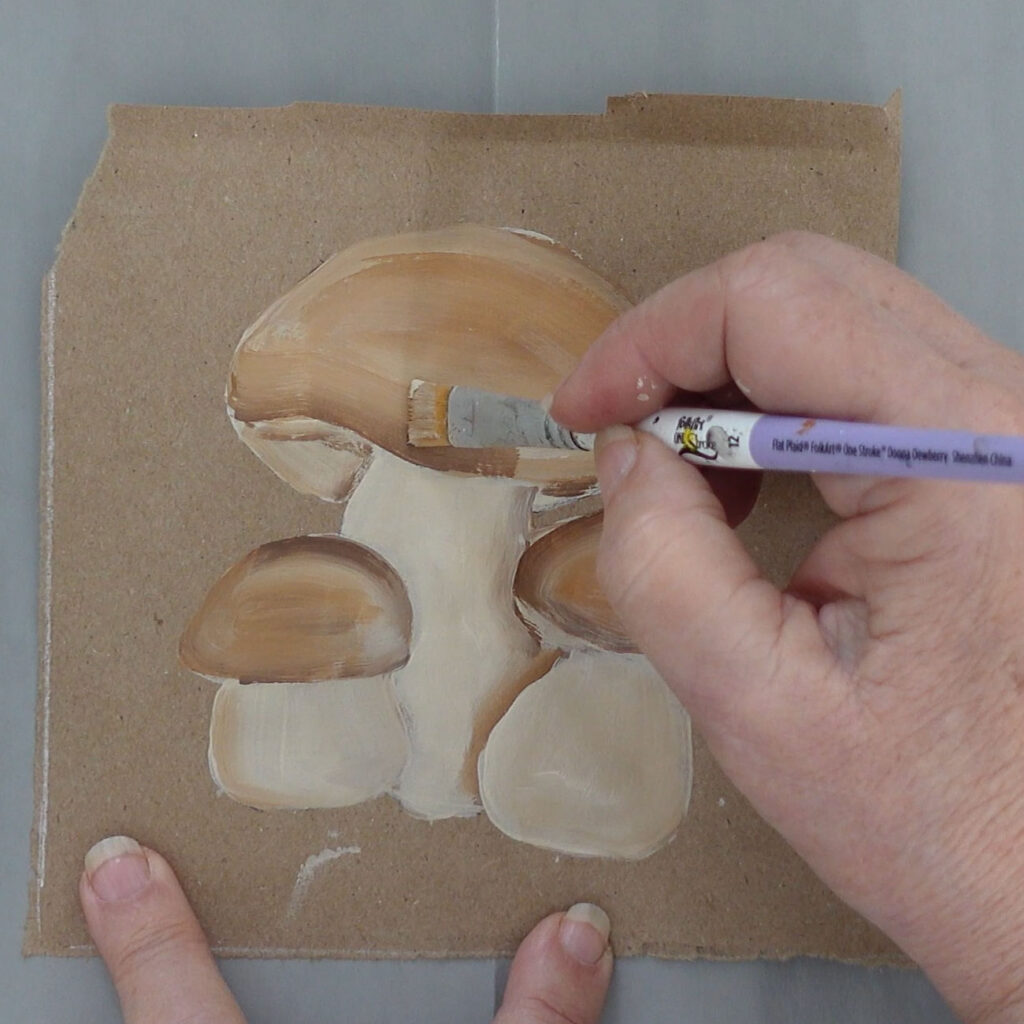
As I started to paint the under part I realized it would be harder to see the division between the top and the underside.
Side-loading the brush with the Cafe Latte and running it along the edge of the top helps to keep the clear division between the two areas.
Painting Mushrooms – Reference
With any painting keep referring to your reference, such as a photo or as I am here with the original.
Many times it is a great idea to do a thumbnail study or a practice piece before proceeding as along the way you can see how you can do it better.

I should have done that before diving into this video and tutorial and I was going to redo it. But I thought it a great time to share how running through a painting is a great way to get a feel how best to do something instead of just showing you a more perfected one.
So that being said, keep filling in the mushrooms as you go. In the video, I show how I did it and mention things I would do differently the next time.
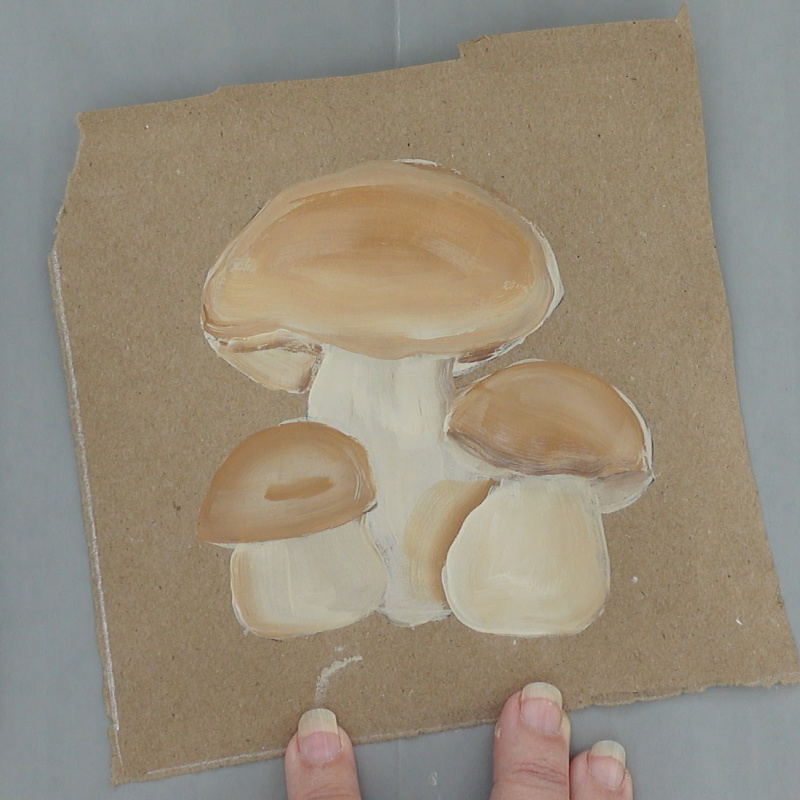
In the photo below I have finished filling in the caps and used the darker brown color, Coffee Bean, to shade or shadow edges as I felt it needed.
Finishing Touches on Mushrooms Painting
At this point I am deepening the shading in areas with Coffee Bean. I am not trying to make this smooth and well blended.
I want the streaks. Loosen up, many times in decorative painting it is about having smooth edges and everything blended. Have fun and avoid being too tight.
This comes from me taking Impressionism classes but as I apply it to my decorative art I find it makes it so much more relaxing and fun. So doing a junk journal or a hand-painted journal is a great way to be able to just paint without all the headaches of it being picture perfect.
Small Added Details
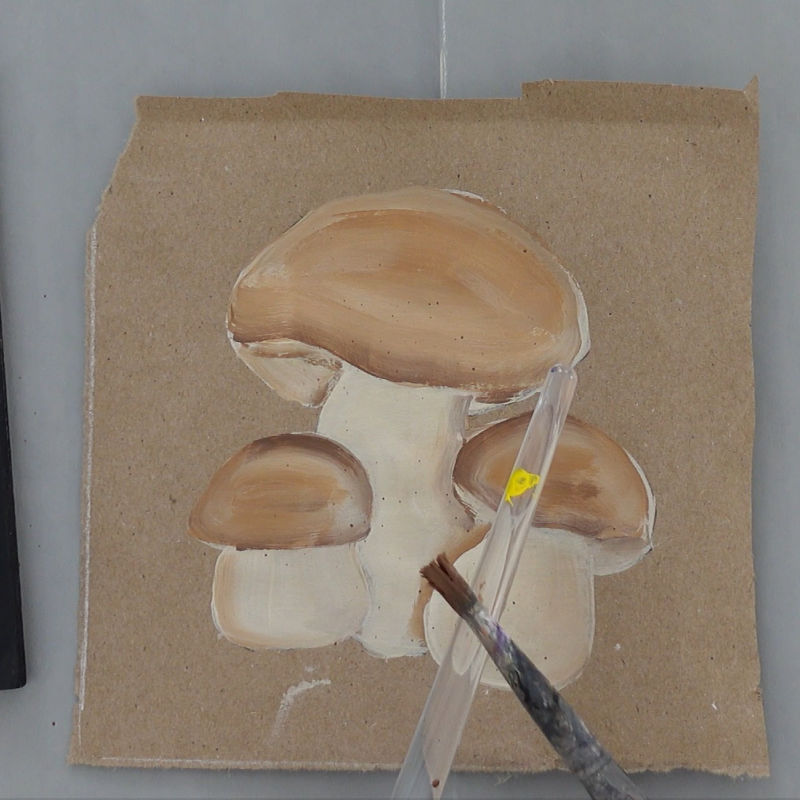
See the small specks? That is called fly-specking and it brings just a bit of texture to the painting. This is done with watered-down paint and an old paintbrush or an old toothbrush.
Here I used an old scruffy paint brush. I wanted down some Coffee Bean paint. Loaded a small amount into the scruffy brush.
I practiced on a separate surface to see if it was the right consistency. It left too big of spots so I thicked the paint slightly, using more paint in the puddle. Practiced again and it worked as I wished.
Tapping the loaded scruffy brush against the other brush handle made the paint fly off in the small specks. Be judicious with this, less is more.
I need to do an entire post on fly-specking and the different methods. It takes a little bit of practice to get the hang of it and I will link the tutorial here when I get it done.
The video will show you how I did this so please do view that if you can.
Highlights on the Painted Mushrooms
Using Titaniums White I loaded a touch onto the #12 flat brush and laid in some highlights.

Just a few and I didn’t worry about them being smooth or blended. I used straight paint but if you did want them to be more blended use glazing medium or floating medium with the paint.
All Finished
I think I will do this one again and after this practice piece I know how I would like to do a few things different and I can share that so you get an idea of how things don’t have to be done one way.
I wish you happy painting!
See the Step by Step Video!
Grab the Workbook Here!
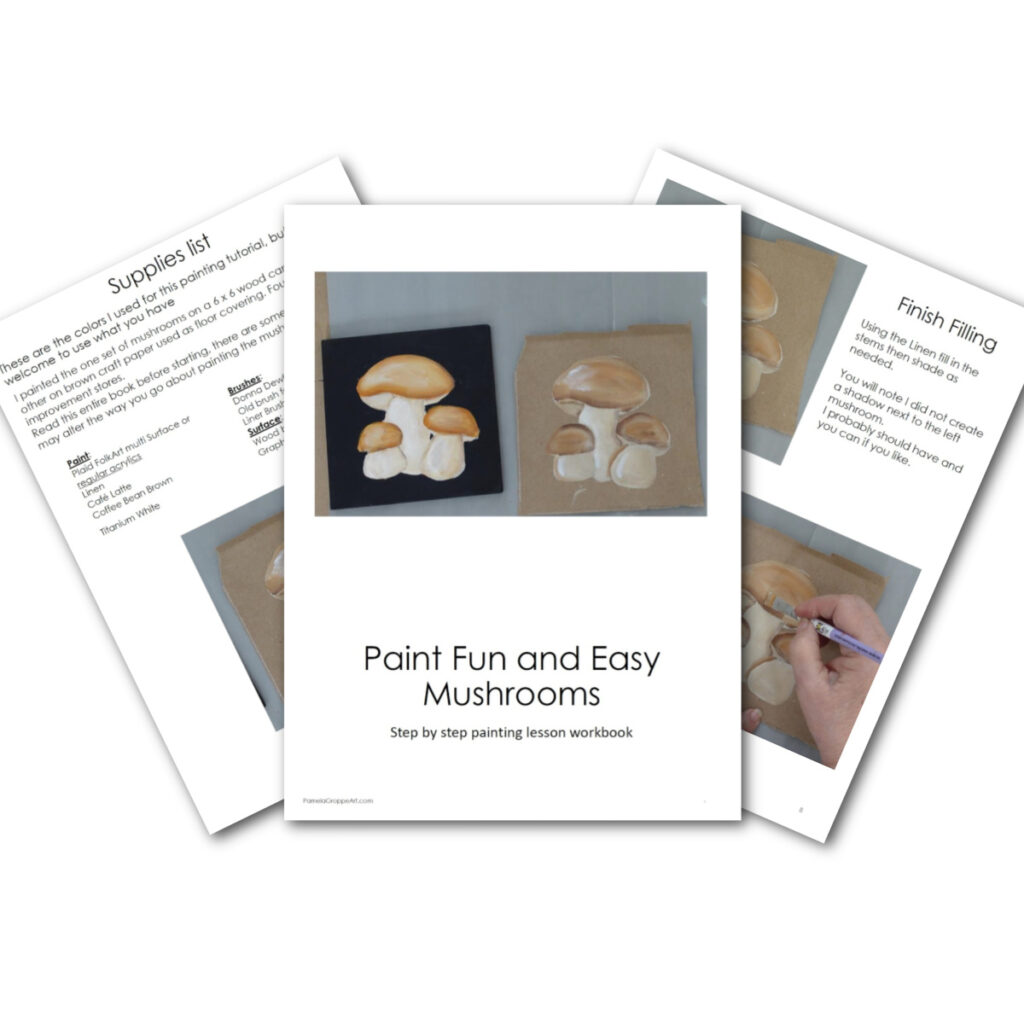
Step-by-Step Workbook with Traceable
Grab this workbook lesson to download and print. A traceable of the pattern is included!