How to Paint an Aspen Tree
How to paint an Aspen Tree (or Birch) one easy stroke at a time. An easy beginner friendly painting tutorial.
How to paint an Aspen tree, or Birch tree. This painting tutorial is beginner friendly and super easy. You will enjoy this step by step lesson.
I did this tutorial two slightly different ways. The video shows one variation and this step by step post shows another.
No time now? PIN for later…
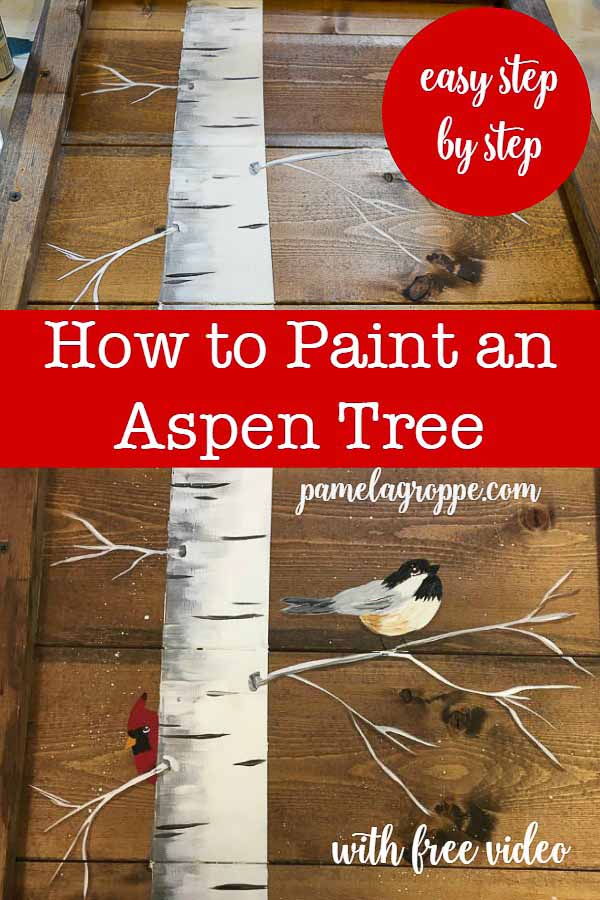

My Chickadee painting tutorial (click here for that) and Cardinal painting tutorial (click here) are two of my most popular lessons. I shared a painting I had done of both sitting in an Aspen (Birch) Tree on Instagram and Facebook, which was a hit and it was requested I include how to paint the Aspen.
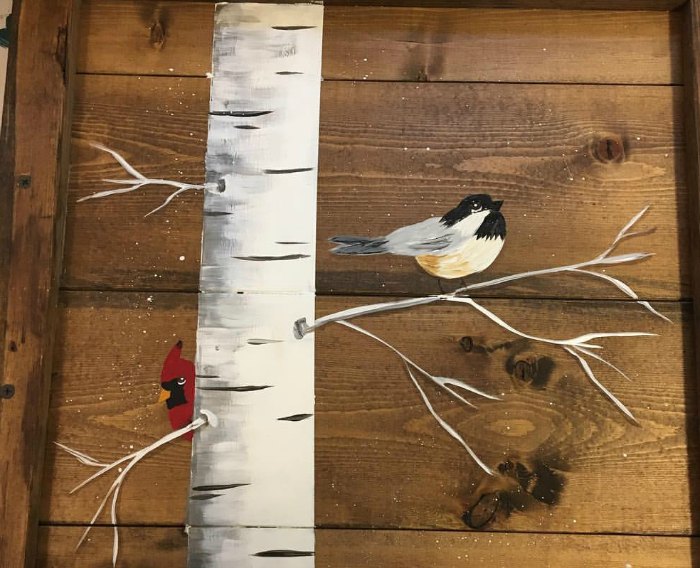
This is the painting I posted.
Surfaces for Paint an Aspen Tree
I painted this one on a faux crate type piece and the instructions for that are here, Faux Crate sign tutorial.
This step by step post is displayed on a 12″ x 12″ canvas for those that may wish to try another version.
I start with a white back stapled canvas, this one came from Michael’s in an economy pack. I love them for practicing and if you buy them with a coupon etc they are quite inexpensive. Or if you want some just shipped to your home you can buy some here.
Full supply list is at the bottom of this post.
Sky Background
1.Start with a double load on a large 2 inch brush of Sky Blue and Wicker White. You can use any blue that you like, I just grabbed one I felt would make for a good background. (if you are new here and are confused about some terms see this post: Basic Strokes)
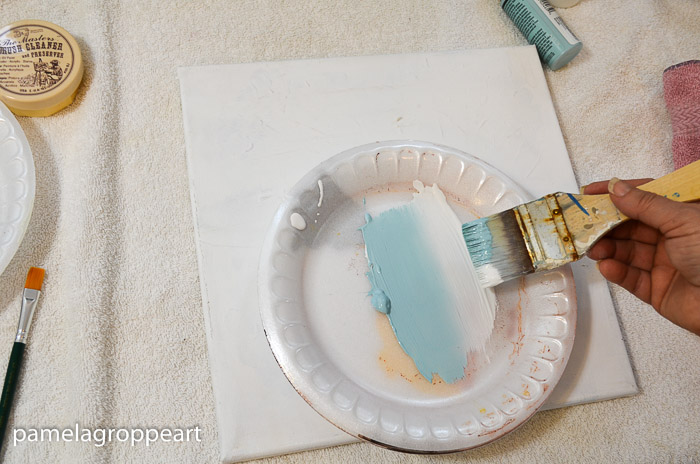
I am using the same technique to paint in the sky as I do in my Paint a Beach Scene post and video.
Once the sky filled in I let it dry (or speed up drying with an old blow dryer).
Paint an Aspen Tree Trunk
2. Mark off with white chalk where you want the Aspen tree trunk. I use a ruler in this post but on the video I show you another way I do it. Either will work.
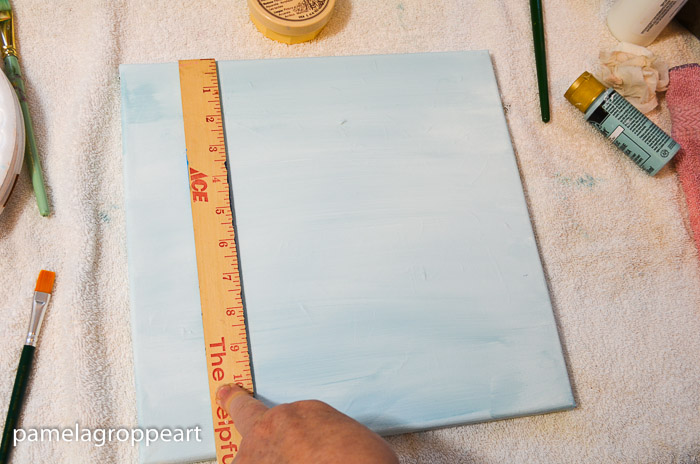
3. Fill in the trunk with a gray or a tan color using a 3/4″ Brush. I do this for two reasons, it helps to get opacity faster than just white and it gives some under color for added texture to the end result.
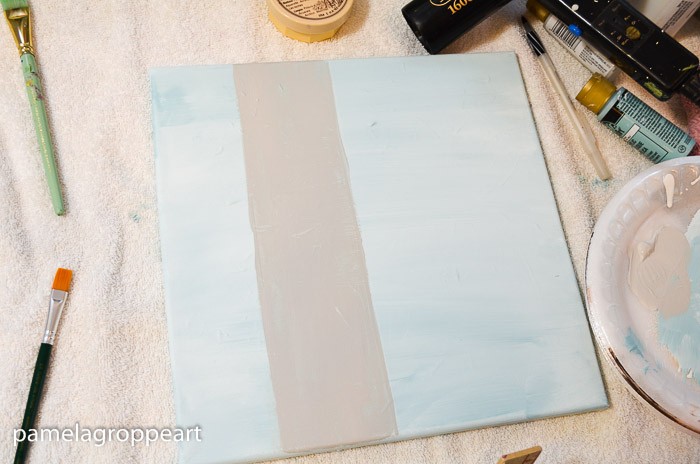
4. Let the gray undercoat dry.
5. Go over the Aspen tree trunk white. Don’t try to cover it completely, you want some of the gray coming through in places slightly.
In the video I also have a bit of Butter Pecan color mixed in to this undercoat and I really like the warmth it added to the finished painting.
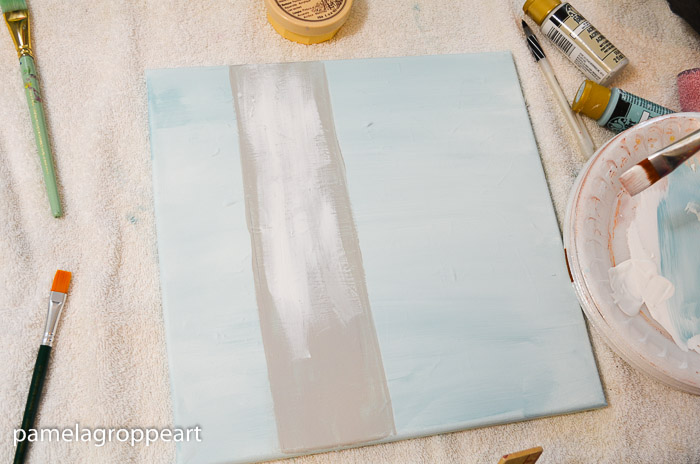
Shading
6. don’t bother with drying the white, just come right back in with some of the gray mixed into your brush and start shadowing the right side of the trunk. Sweep the strokes and try to vary the length of the strokes. You can adjust the depth of the gray by adding a touch of black, and I mean a very little touch, if you wish.
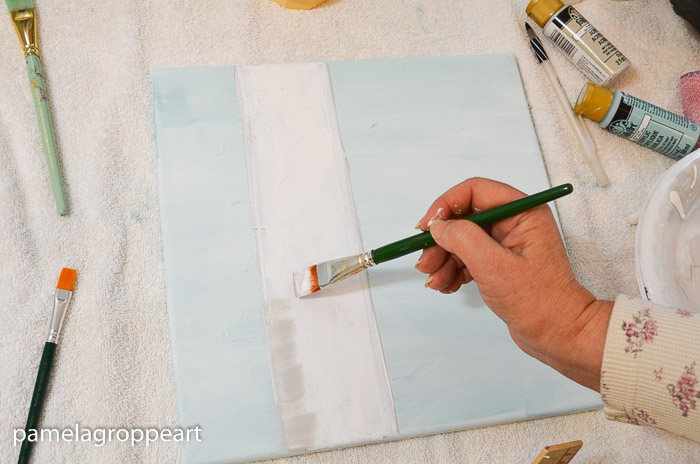
Details
7. Work a bit of Licorice Black into the brush and with the chisel edge create little black slashes. Try to curve them a bit to mimic the curve of the trunk. The pressure of the brush creates different widths of slashes.
On this one I shadowed both sides of the trunk but in my original painting at the beginning of this post I only shadowed the right side. It’s your painting, you can choose what direction you want to go.
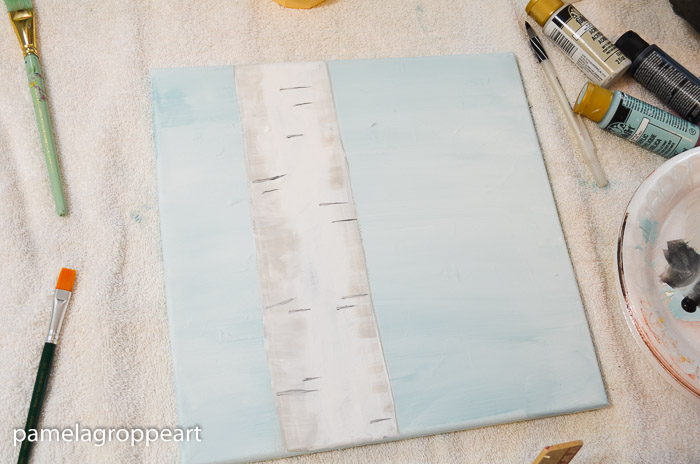
Make the slashes different lengths and try to space them randomly. We don’t want little soldiers marching in a row.
Branches
Now time for the branches.
8. Double load the brush with the gray and white. If you look closely you can see the gray and the white on the brush.
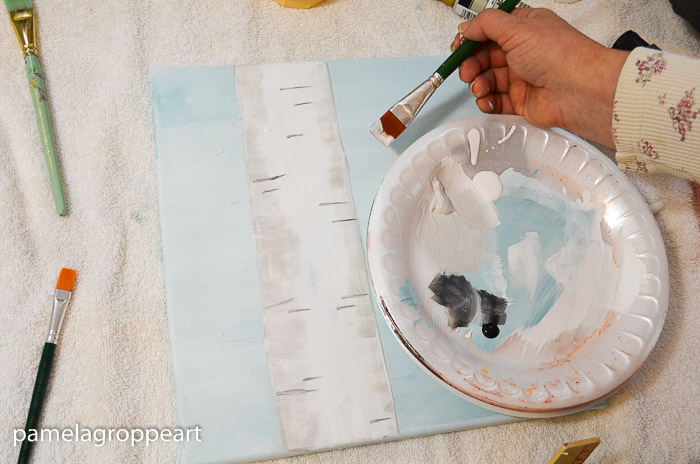
9. Leading with the white, drag your brush on the chisel edge lightly in the direction you want your branch to go. Your branch will have both the gray and the white on it in a pleasing mix.
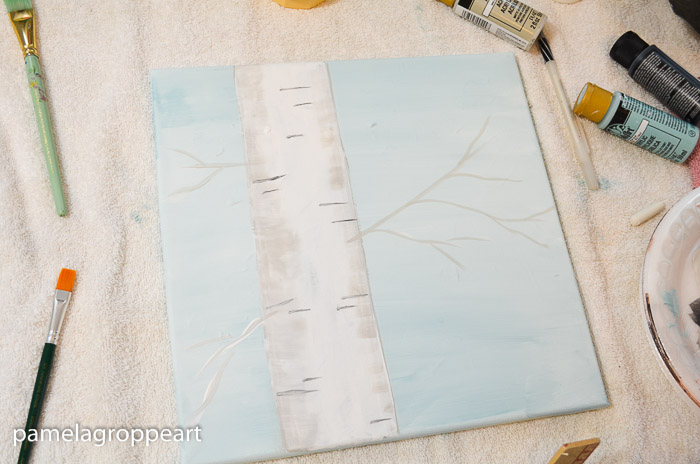
Snow
10. To highlight even more to mimic snow on a branch just tap in the white along the top of your branch with the chisel edge of your brush. (in my video I do the branches a bit differently but I like this method best)
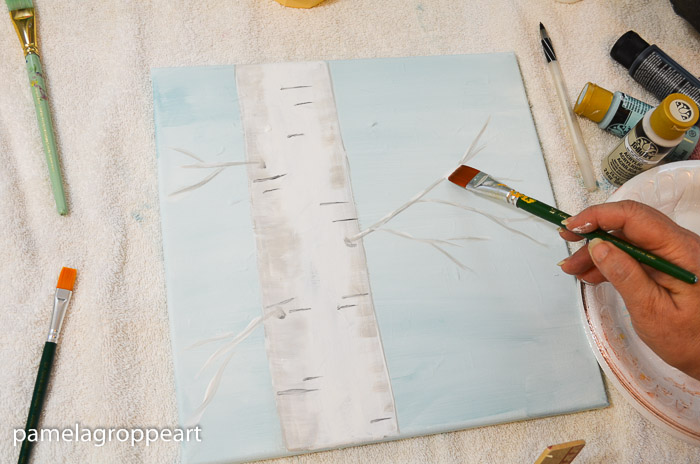
Limb dimples
11. To create the dimples where the branches emerge from the trunk use the corner of your 3/4″ brush and gray paint and brush on a semi-circle. If it is more comfortable you can swap out the flat brush for a round or liner brush.
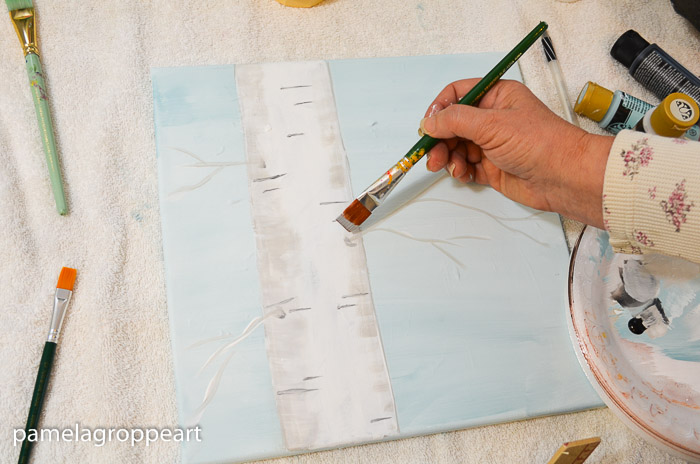
That basically covers it. I displayed a very easy how to paint an Aspen Tree or Birch but if you want to you can add even more details. Look at pictures of these beautiful trees or other paintings to get some ideas. Some have bigger splotches of black here and there. Add leaves if you want a Spring type look etc. Make it your own and have fun!
Supplies:
- Brushes
- Plaid Folkart Paints:
- Medium Gray (or you can mix a bit of black with white)
- Butter Pecan (optional for base coat of Aspen)
- Wicker White
- Licorice Black
- Sky Blue
Want to be notified of new painting tutorials as I post them? Just press the button at top of this page, fill out the form and you will also get access to our Resource Library of free patterns and printables!
How to Paint a Chickadee
Basic Painting Strokes
How to Paint an Easy Beach Scene
Happy Painting!



Easy way to paint aspen trees thanks
Hi .. Do you have this as a downloadable file for purchase? Thank you! Suzanne
Thank you, thank you for doing this tutorial! Love it! This is going to be my christmas thank you notes! Thanks again for sharing! You are such a giving person!