How to Paint Hollyhocks
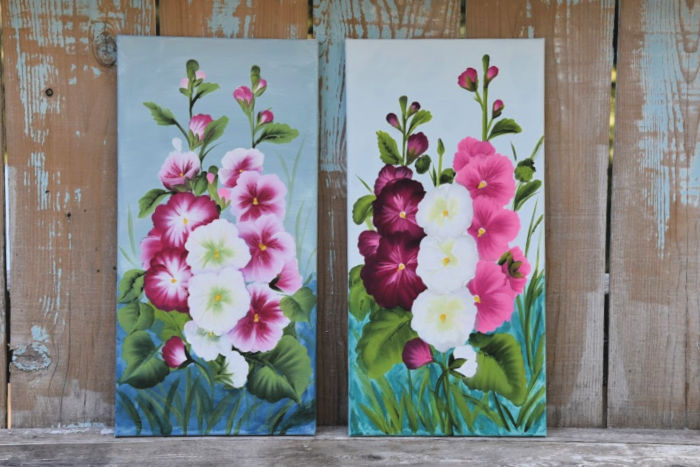
Learn how to paint hollyhocks one stroke at a time. Easy step by step painting lesson to paint hollyhock flowers!
Painting hollyhocks can seem a bit daunting but don’t let that stop you from getting in there and trying. So today I am going to how you how to paint hollyhocks in acrylics one easy stroke at a time.
They are simply layers of scallop strokes and a few details tossed in to paint these tall stately blooms.
If you need help with basic brush strokes you can see that in this post.
This post contains affiliate links. If you make a purchase after clicking a link I may make a small commission at no added cost to you.
The full version video will be a lot of help so be sure and watch that through. It is located at the end of this post.
Now for the photo step by step.
Let’s start with the supplies.
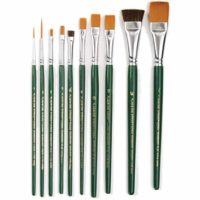
Brushes: #12 and 3/4 inch flat from this set
Paint: Plaid Folk Art Multi Surface
Bright Pink
Baby Pink
Wicker White
Thicket
Citrus Green
Daffodil Yellow
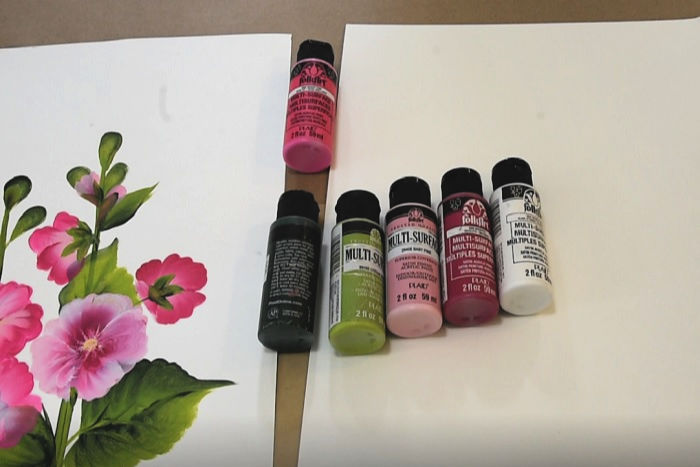
If you can’t find these colors at your local craft store then try direct at Plaid Online. Or you can opt for colors you have. Hollyhocks come in a wide range of colors.
For a list of my favorite painting supplies that I use just about every day you can find that here.
Paint Hollyhock Leaves
Double load the #3/4 inch brush with Citrus and Thicket
Using the chisel edge of the brush and leading with the Citrus Green draw two straight lines on the surface. Make on shorter than the other.
These will be the hollyhock stems. Paint a bud at the top using a tight upside down U type stroke that ends with a point.
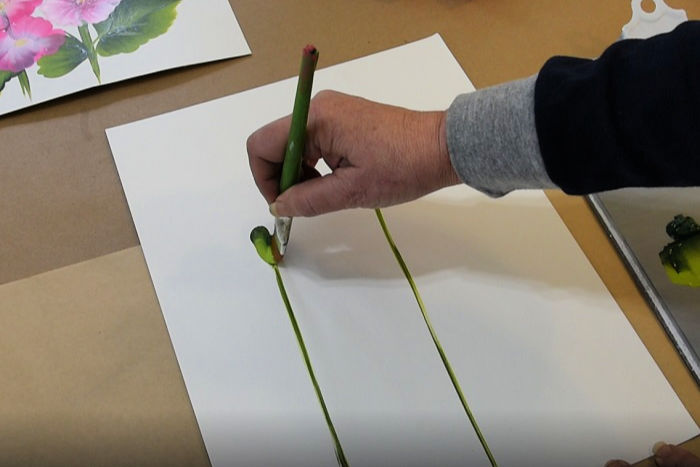
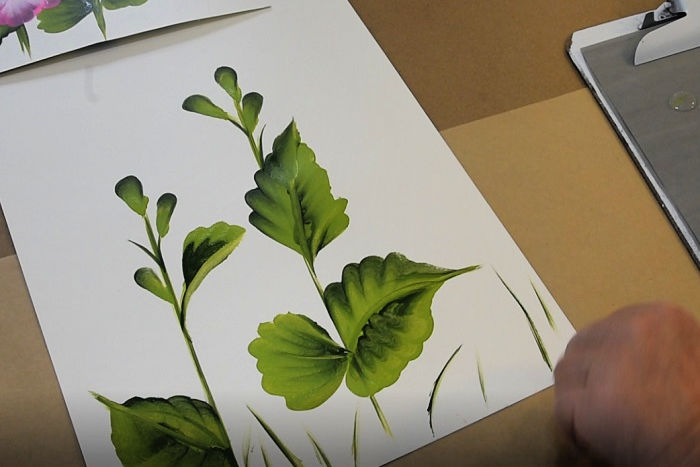
Add more of these Hollyhock buds along the stems intermittently. Paint some side shoots along the stems.
Then paint leaves along the stem, many will sit behind the flowers.
Want to know more about painting leaves? I have you covered in this post How to Paint Leaves
Undercoat hollyhock flowers with white
Since pinks and reds are not opaque I undercoat the flowers with Wicker White. That prevents the green from showing through on the petals.
Using the 3/4″ brush layer scallop strokes to create the petals. You will get a better step by step when I show the colors being painted.
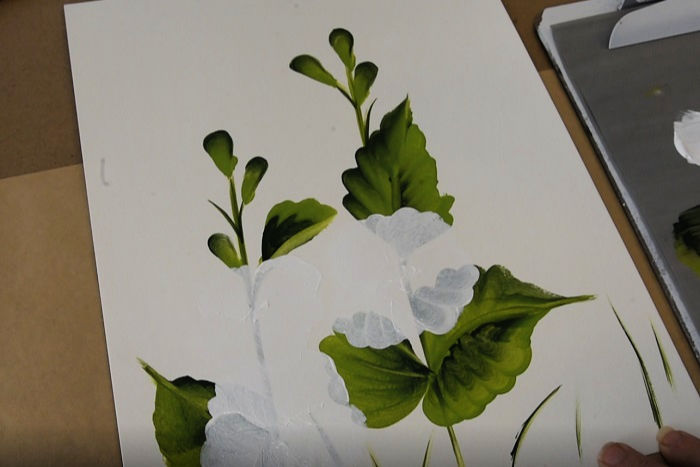
Let the Wicker White dry and if you need re-coat over the green that still shows through.
Paint buds and part flowers
Double load the #12 flat brush with either Bright Pink and Baby Pink or Baby Pink and Wicker white. Add small buds along and onto the stems. The flowers on the left are Baby Pink and Wicker White and the ones on the right are Bright Pink and Baby Pink.
Some are overlapping small scallop strokes and others are the upside down U stroke that ends in a point at the stem. (better explained in the video)
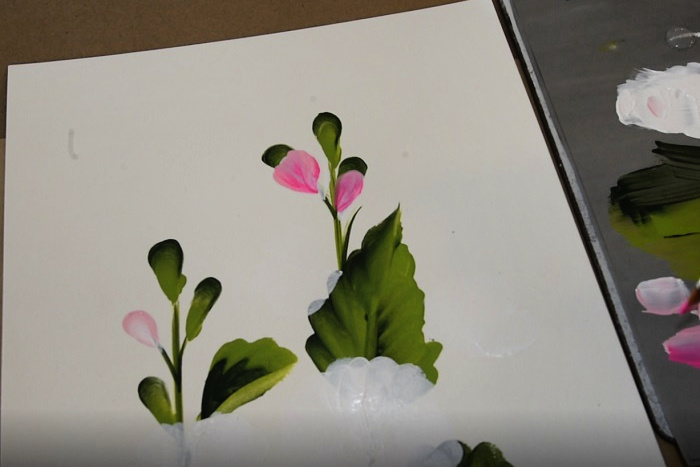
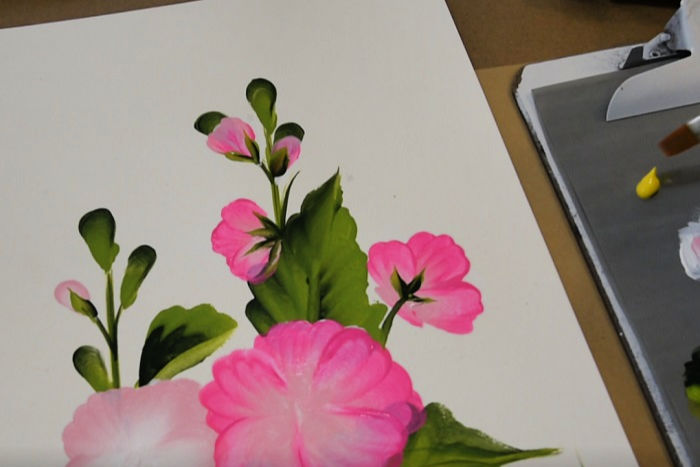
Paint hollyhocks, petals and flowers
Double load the 3/4″ flat brush with Bright Pink and Baby Pink. Make sure to fully load the brush.
Using a scallop stroke create a petal shape.
(I had already painted the Baby Pink and Wicker white hollyhocks the same way)
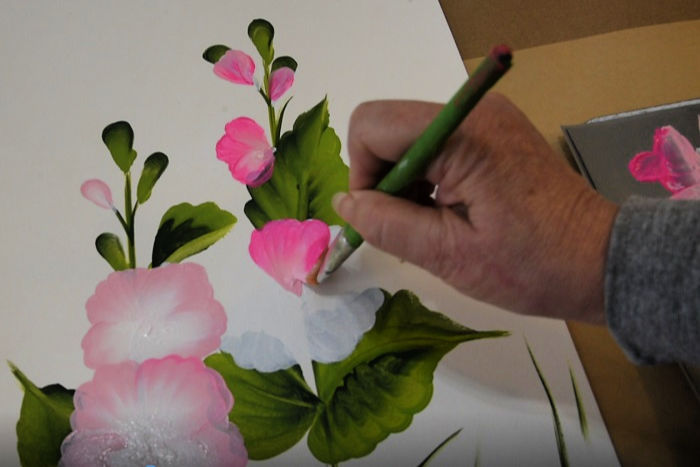
Reload the brush with Bright Pink and Baby Pink. Overlapping the first petal paint another scallop stroke to create the second hollyhock petal.
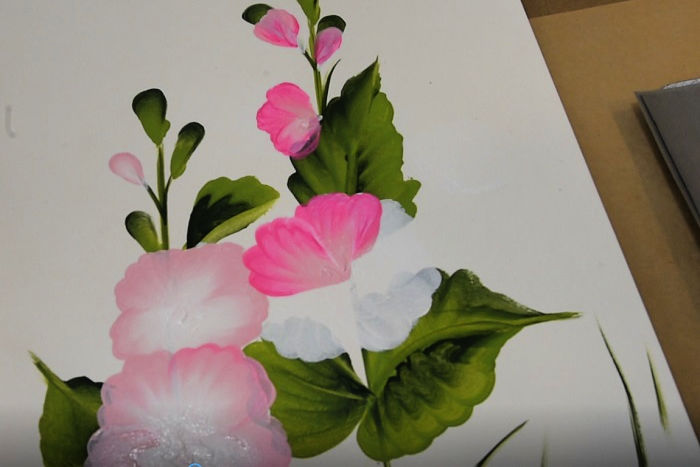
Keep reloading and overlapping scallop strokes to create petals all around the flower. Not all petals much be uniform in size.
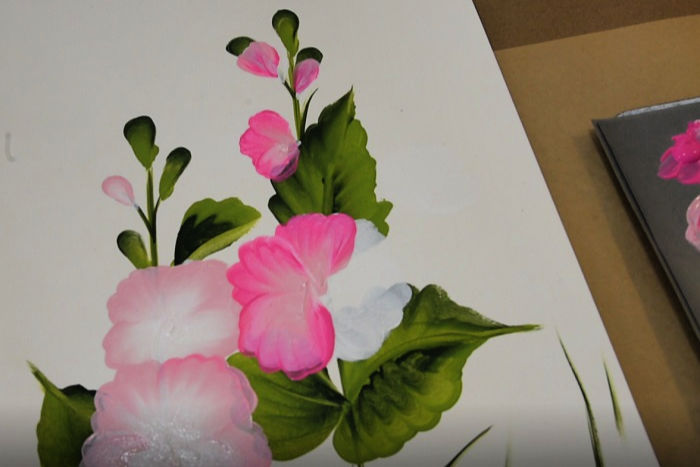
Don’t worry if the pink scallops are a little bit larger than the under painting. It all comes together and that merely creates texture and interest.
Keep layering scallop strokes and if one does not come out then re-stroke it.
Paint Hollyhock flower details
Double load the #12 flat brush with Citrus Green and Thicket paint in the flower and bud calyxs using a chisel edge stroke or a slider leaf stroke.
Paint hollyhock centers
Using daffodil yellow on the corner of the #12 flat brush dab some in near the center of the flower.
Tap across the tip of that dab to create a trumpet shape. Very small. Then tap a small dot of white in the center of that tap. You could also just create a small circle in the center if you prefer.
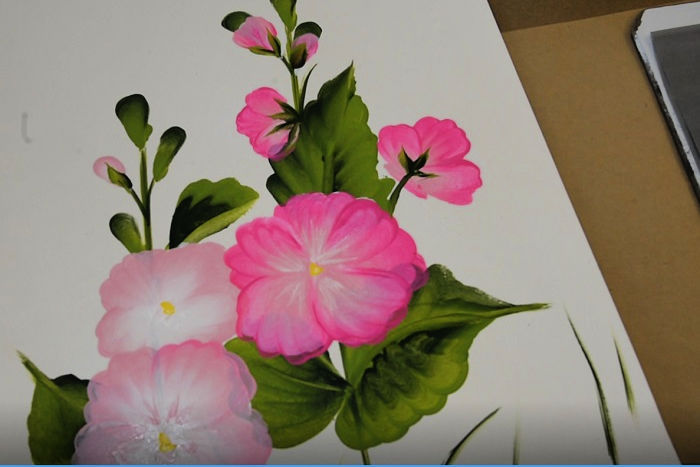
The video shares an additional detail that is totally optional but adds a bit more interest and depth.
These are the brushes I talk about in the video. I love them and they are so pretty!

Here is the video
Please PIN and share, the more shares the more I can create for you!
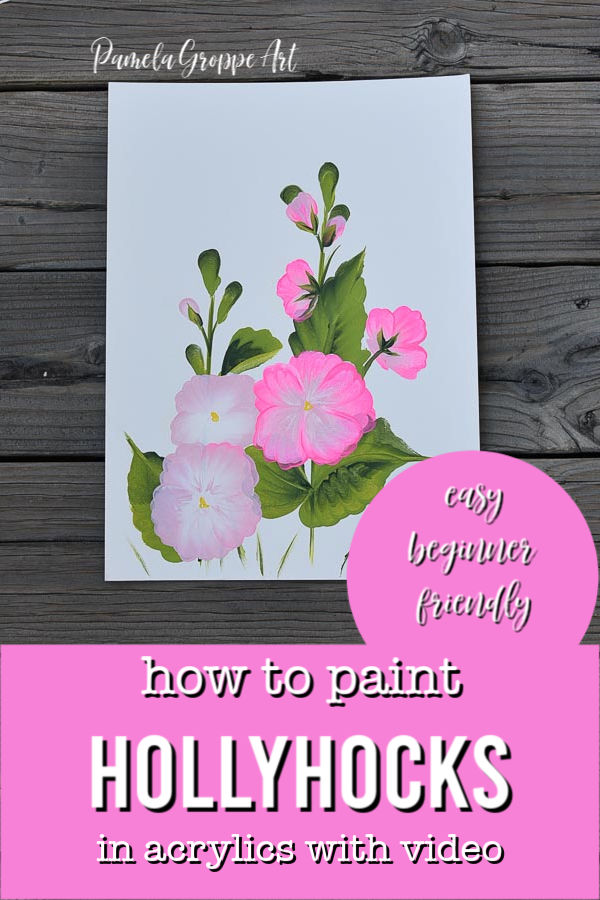
How to paint Hollyhocks in Acrylics
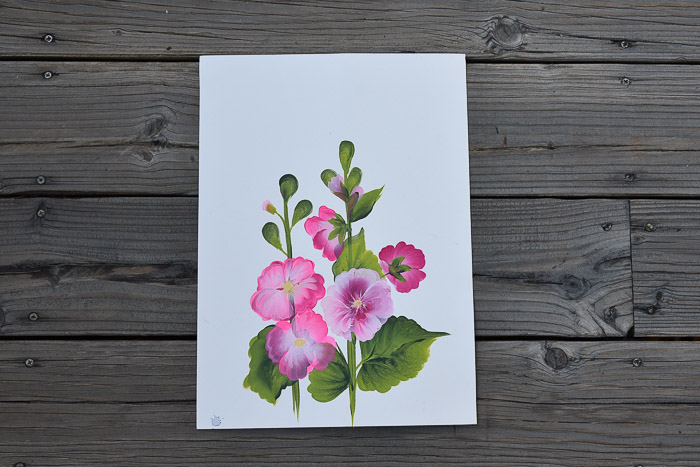
Easy step by step painting lesson on how to paint hollyhocks in acrylics.
Materials
- Surface of choice
- Plaid Folk Art Multi Surface Paint in following colors:
- Wicker White
- Daffodil Yellow
- Citrus Green
- Thicket
- Bright Pink
- Baby Pink
Tools
- Donna Dewberry Brushes 3/4" and #12 Flat
- Brush Basin
Instructions
- Double load 3/4 " flat brush with the greens
- Draw a stem and paint green buds
- Add leaves and side stems
- Add pink buds and partial flowers
- Create hollyhock flowers by layering scallop strokes in the different pinks and white
- Add calyxs to buds and partial hollyhock flowers
- Add yellow stamens in center of petals
- Add slider strokes for middle detail
Notes
You can use various colors. Hollyhocks come in a wide range of colors in nature.
Recommended Products
As an Amazon Associate and member of other affiliate programs, I earn from qualifying purchases.
Keep on painting!


Hello Pam.
I am loving your instructions on Hollyhocks.I live in The Application Mountains of North Carolina, I feel your pain lol
I am excited to try and paint them. Thank you for showing an old granny
new crafts,
I am sorry but we are limited on service here and I can’t have a cell phone to follow you. But I can get your e-mails.
OOps spelled Appalacian That”s how a grannies mind works.