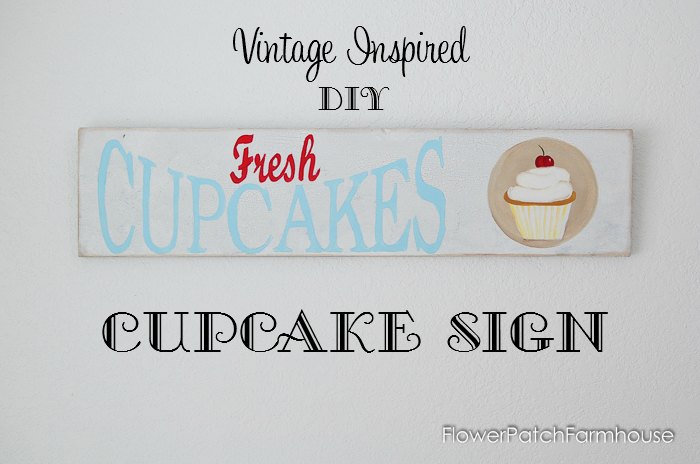
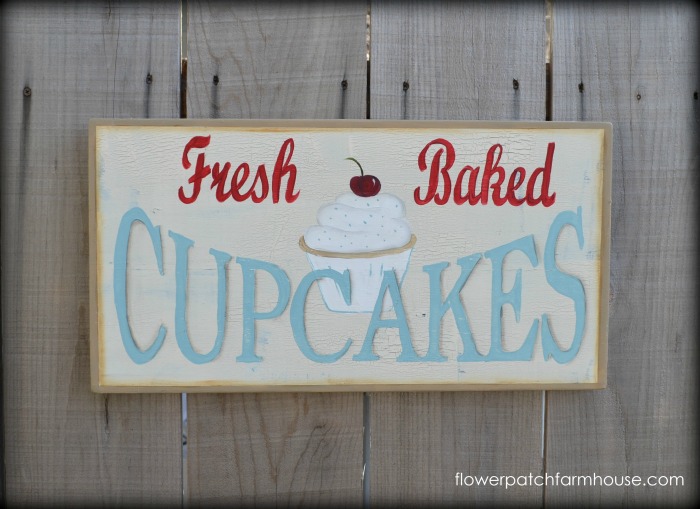
Paint a Fresh Cupcake sign, vintage style
Paint a Fresh Cupcake sign easily with the pattern available. Change up the colors of this vintage style hand painted sign to match your colors. In this tutorial chalkly finish paint was used but feel free to use whatver acrylic paints you have on hand.
Paint a Fresh Cupcake sign, vintage style! Are you ready for some painting fun? I love vintage-inspired signs and I have made of few of these Fresh Cupcakes signs in different forms for a local shop.
All are sold out but you can create your own.
Want a pattern, you can find it in the shop: CLICK HERE
This post contains affiliate links. If you make a purchase after clicking a link I may make a small commission at no added cost to you.
Get Started
1. Sand your Board for the Fresh Cupcake sign.
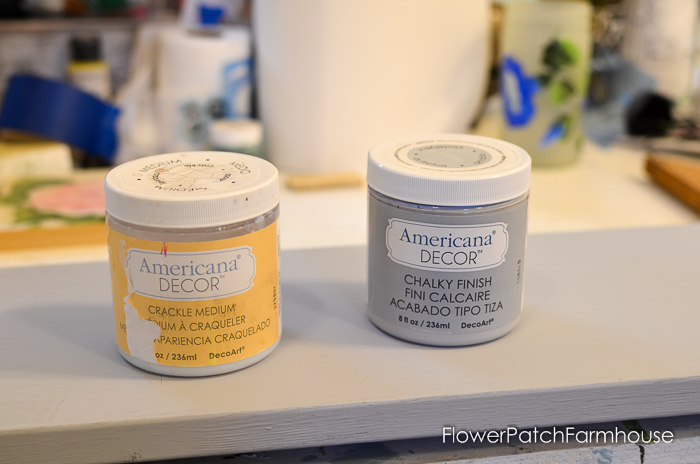
2. Paint on a layer of Americana Decor Chalky finish paint in Yesteryear or your color of choice.
(This makes a great base color for the Crackle. I know many use white glue for a crackle medium but it really is too thick to spread easily and maneuver in a way I like so I just go ahead and buy crackle medium.)
Let the base coat dry thoroughly.
Add Crackle to the Fresh Cupcake sign
3. Paint on a layer of Americana Decor crackle medium. I do this with a random paint stroke pattern. For a full tutorial on using crackle medium, you can go here.
Let crackle coat dry.
Top Coat
4. Paint your top coat of Americana Decor Everlasting or a Warm white in any brand. You can apply this with a brush or sponge it on. I used a brush this time. Be careful and not go back over it when wet, you will lift spots as the crackle medium starts to work right away. Brushing takes a bit of practice but is not hard so go ahead and give that a try if you like.
The crackling appears as the paint dries.
 Transfer Design
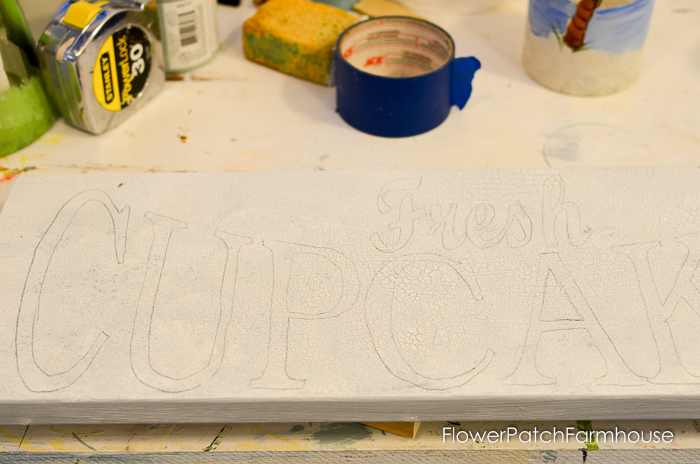
5. Transfer the lettering using graphite paper. For a full tutorial on transferring traceable painting patterns then press here.
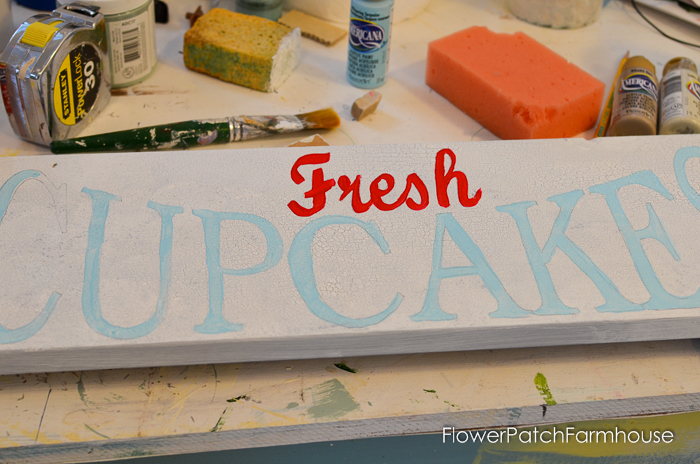
I used the Primary Red for Fresh and Whispering Turquoise for Cupcake.
I painted two coats of each for opacity letting each coat dry before adding another.
Paint Circle
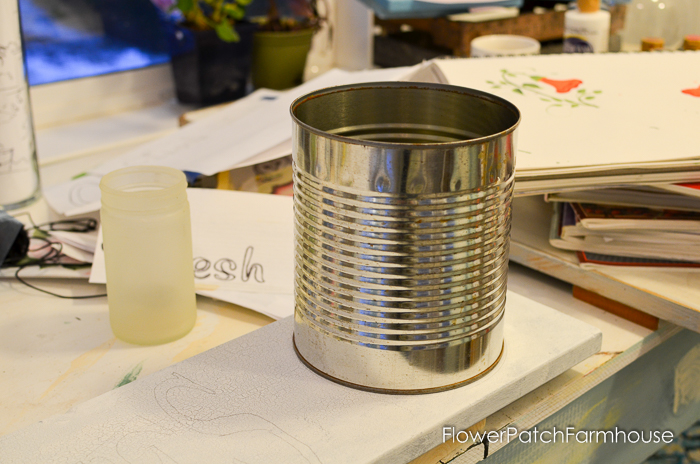
6. For the circle which the cupcake is in I used a gallon can but I have included the circle in my pattern so it is easy for you.

7. I fill in the circle with a mix of Sand and Khaki Tan. Do not blend it in, you want the variation in colors. I did put a bit of a darker edge down at the left bottom.
Let dry
Paint the Cupcake
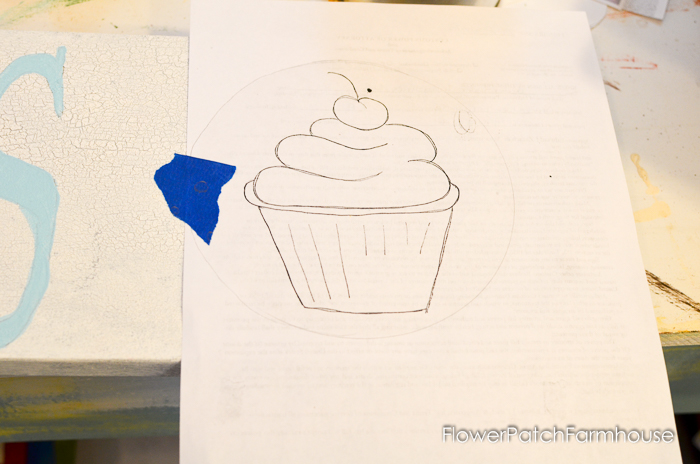
8. Center your cupcake pattern in the circle and transfer. Being the colors of the cupcake are so light you will need to do a few coats to get them opaque.
9. Start with tan and paint the cupcake edge showing between the frosting and cupcake wrapper. Then add the white for the wrapper and paint the cherry with Red.

Use warm white for the frosting.
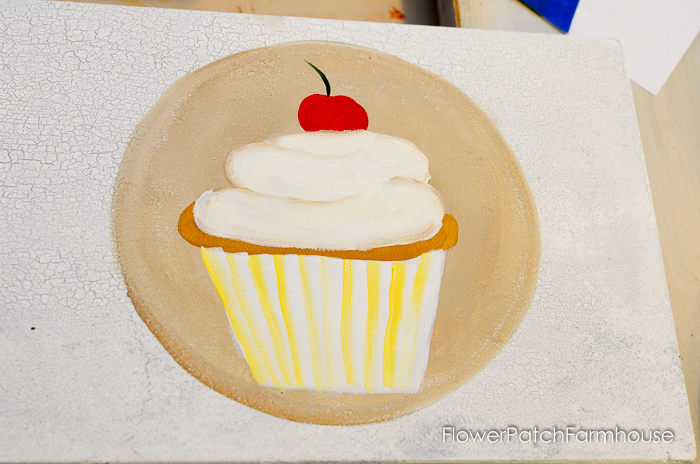
Shade the swirls in the frosting with a bit of tan. To do this dip the paint brush in the warm white then sideloading the brush with the tan and lightly follow where the swirls should be. You will need to look at your pattern as your lines may be obscured by the base coat of warm white. You can keep the pattern attached to your board and bring it down again and lightly trace the lines again but be very soft, you don’t want the pattern lines to show thru your paint.
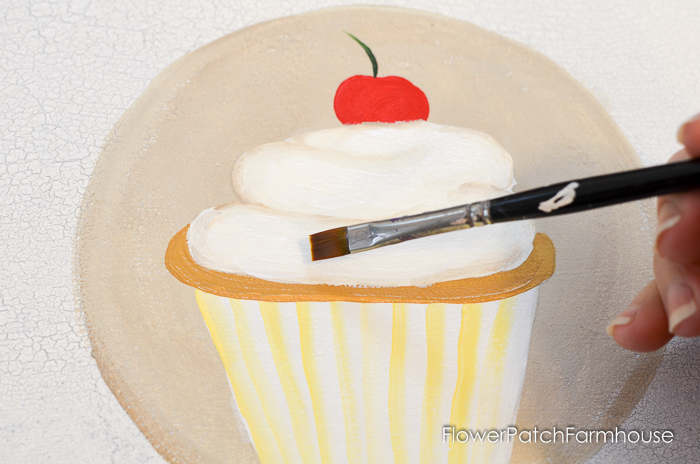
Load your brush with white and sideload with yellow. Stroke the lines on the cupcake paper to make it look like ridges. I got the color too dark so I go back over it once it is dry with a touch of white on my brush. Also, add a bit of highlight with white paint in the center of your swirls of icing.
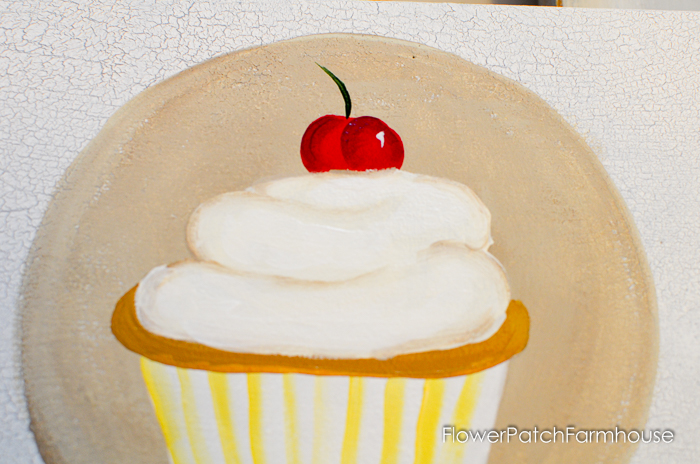
Add details to your cherry with a touch of Burnt Umber mixed with Primary Red, with the corner of your brush make the C shapes on the cherry to shade the left edge and the center crease. Add just a touch of white for a spark of highlight. Then with a liner and some Evergreen add your stem, if you wish you can do the stem with Burnt Umber.
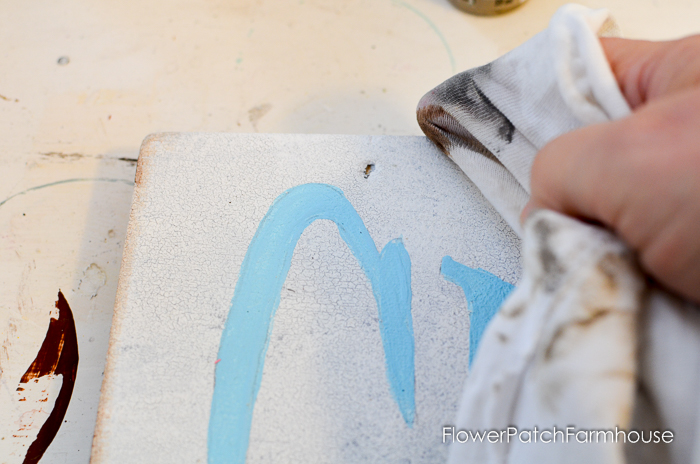
To age the edge of the sign, take a rag and touch it in some water so it is damp, tap it in a dark color like black or burnt umber and rub a bit out, then rub the rag with a finger along the edge of the sign. This will not be even, press harder in some areas to make it darker and light in others.
Now finish with a coat of varathane or you can hand wax it. For ease of use and no odor I love Americana Creme Wax, it goes on like butter and buffs to a wonderful patina. It also comes in darker colors for aging effects.
Now sit back and enjoy your work.
Another way I painted this pattern..

Keep scrolling for supply list with links!
Supplies:
31″ x 5.5″ pine board from local lumberyard
Americana Decor Yesteryear
Americana Decor Crackle Medium
Americana Decor Everlasting
Americana Creme Wax
Brush set (for base painting and crackle medium application)
Graphite paper
DecoArt Colors:
Primary Red
Khaki Tan
Titanium White
Warm White
Primary Yellow
Burnt Umber
Sand
These are the colors I used but you are welcome to use whatever you have and change it up.
Brushes:
Various size flat brushes included in this pack: Donna Dewberry Brush set
Brush Caddy (I have found this indispensable in helping me get my brushes really clean which adds to their longevity)