Winter Welcome Snowman Sign
Let’s have fun painting a Winter Porch Sign complete with evergreen trees and snowmen! This beginner-friendly painting tutorial has a video and a printable pattern available.
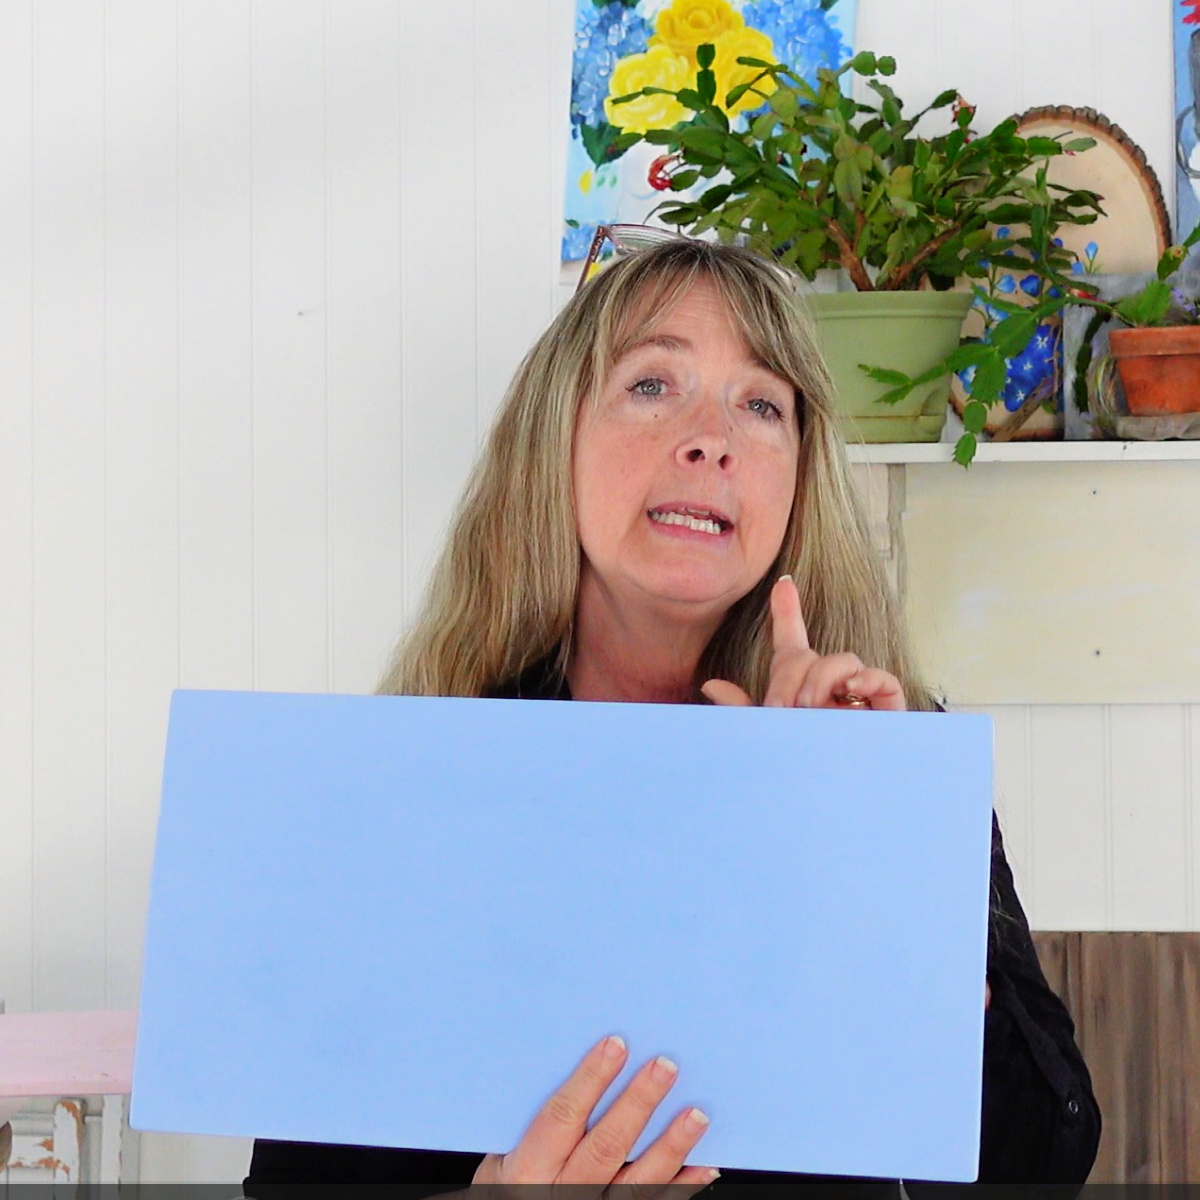
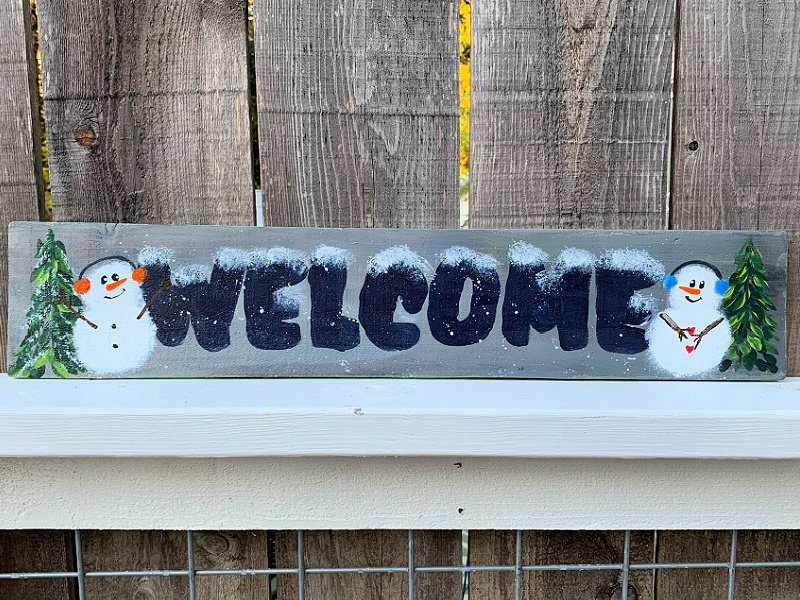
This cute little snowman porch sign is painted on a cedar fence board that measures 28 inches wide by 5.5 inches tall.

This post contains affiliate links. If you make a purchase after clicking a link I may make a small commission at no added cost to you.
If you don’t have the resources to cut a board yourself the folks at Home Depot or Lowes will do it for you for a fee. I also know that our local lumber yard offers the same service. (some are saying they are no longer offering this service, but check with your local stores to be sure)
First, we want to base paint our board, I chose a neutral gray color but you are welcome to paint it any color that matches your decor.
Supplies
Paints:
I use plaid FolkArt but you can use what you have.
- Midnight (or you can use black
- Wicker White
- Sap Green (or Thicket)
- Citrus
- Cardinal Red
- Pure Orange
- Licorice
- Look at Me Blue
- Real Brown or Burnt Umber
Brushes:
- Donna Dewberry One Stroke 10 PC
- Script Liner
- Optional: craft sea sponge
- #10 Royal Majestic Filbert Brush
Once that has dried well then it is time to transfer the pattern to your painted board.
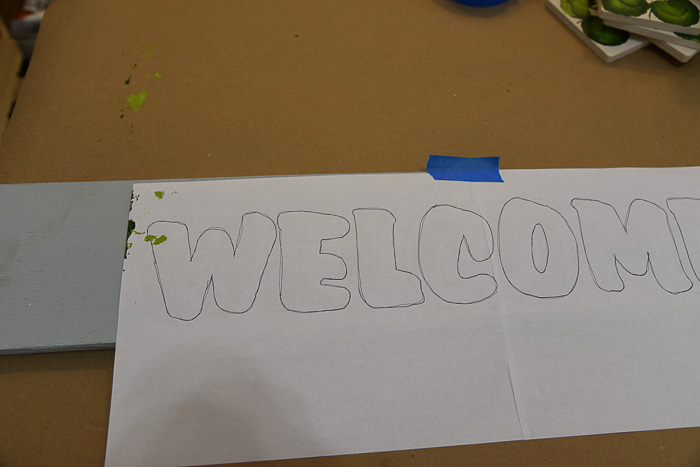
I shared the quickest and easiest way in the post: Transfer Painting Patterns
tips & tricks for ease
Easiest Way to Transfer Painting Patterns or Traceables
After trying several methods, this one has been the fastest and easiest. Learn how to quickly transfer painting patterns to your surface!
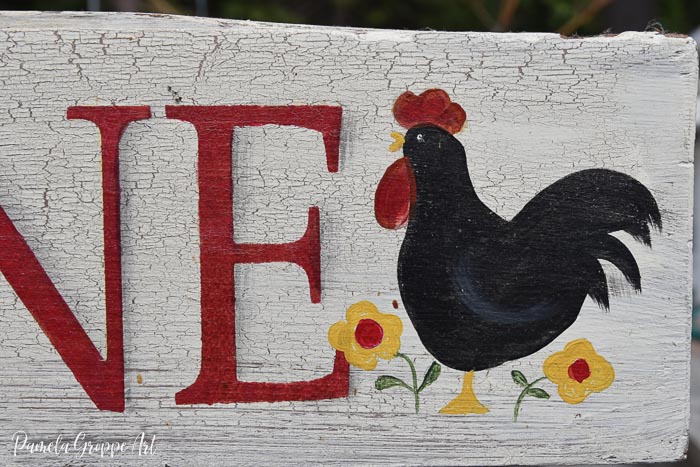
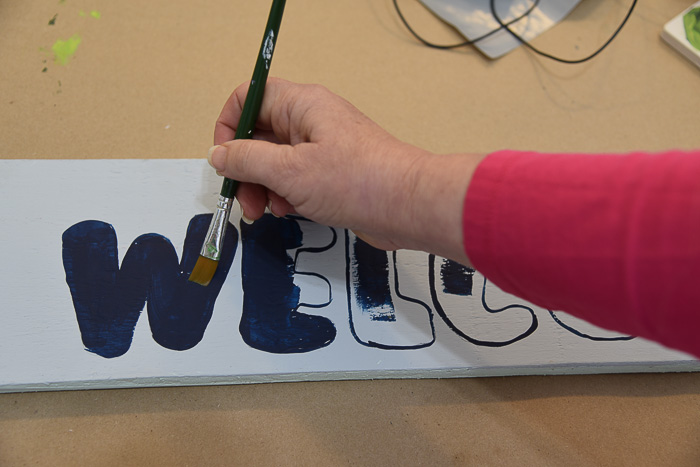
Paint the Lettering
Painting the lettering is not difficult so don’t stress. This is a whimsical sign so you don’t need to worry about perfectly edged letters.
Optional: Using a liner brush dipped in the Dark Blue trace the outlines of the letters. This helps to keep the lettering a bit neater than if you just paint the letters without.
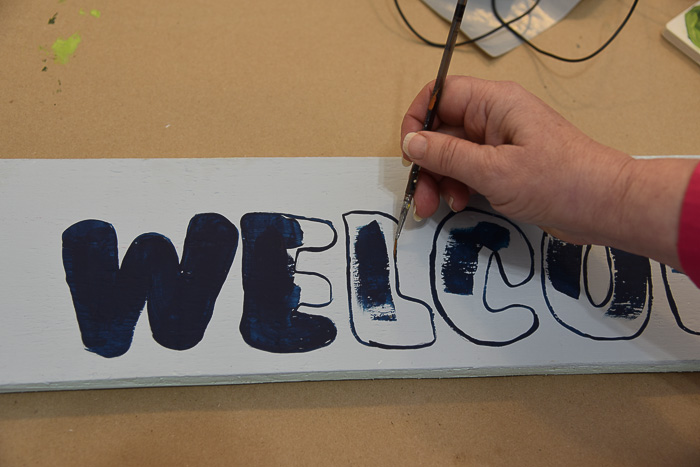
With a flat brush (#10 or #12) fill in the letters with the Midnight Blue. Take your time and enjoy.
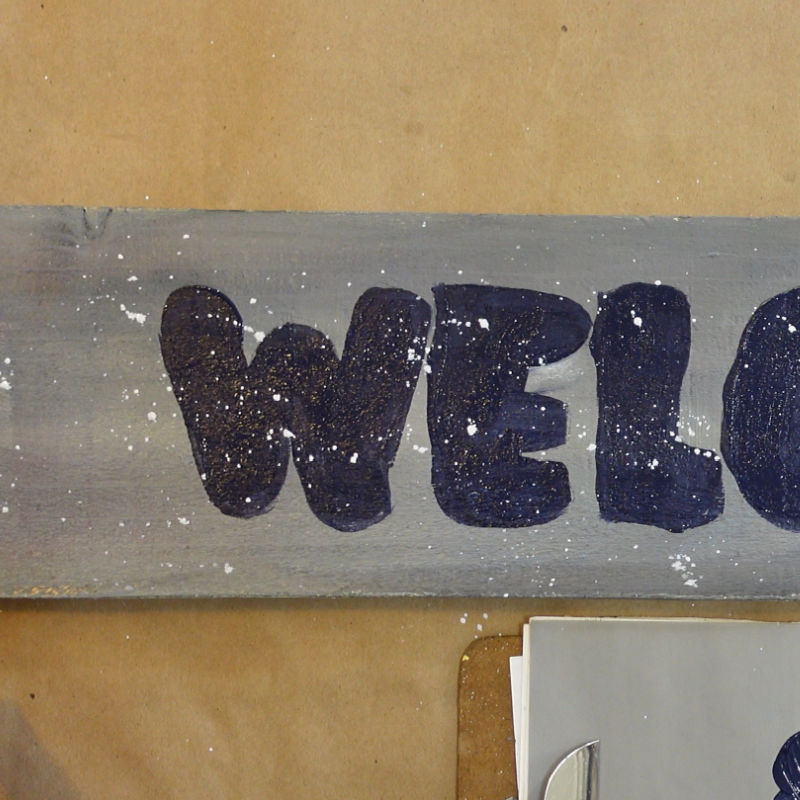
Add Fly Specking for Texture
With a scruffy or well worn brush, load lightly with diluted Wicker White. You don’t want it too fluid or it will make large glops.
Grab your Snowman Welcome Sign Pattern
download and print
Snowman Welcome Sign Pattern
Go ahead and download this fun painting pattern. The wording, trees, and snowmen are all included. Enjoy!
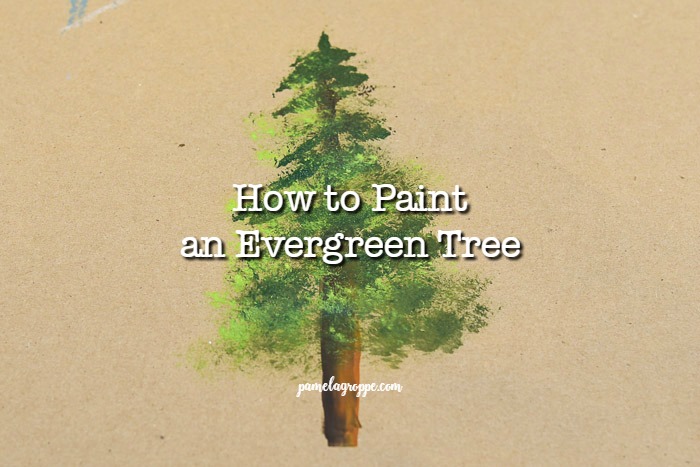
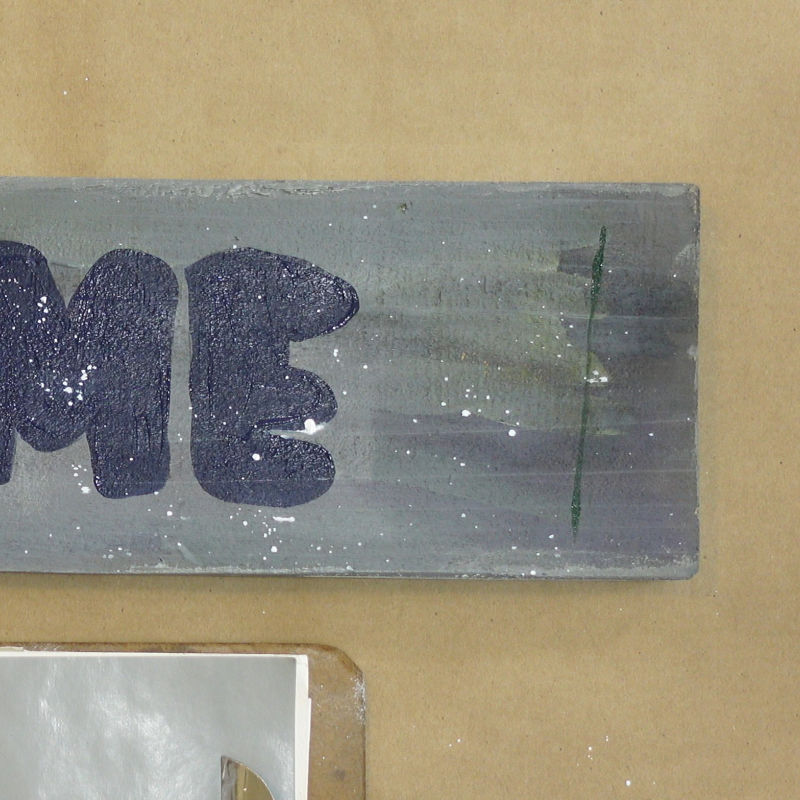
Paint Evergreen Trees
Paint a Tree Trunk
With a dark green (Thicket or Sap) paint a vertical line using the chisel edge of the #12 flat brush or brush of choice. You could also use a liner brush for this.
Need help with the Basics, including using the chisel edge of a brush? See all about that here.
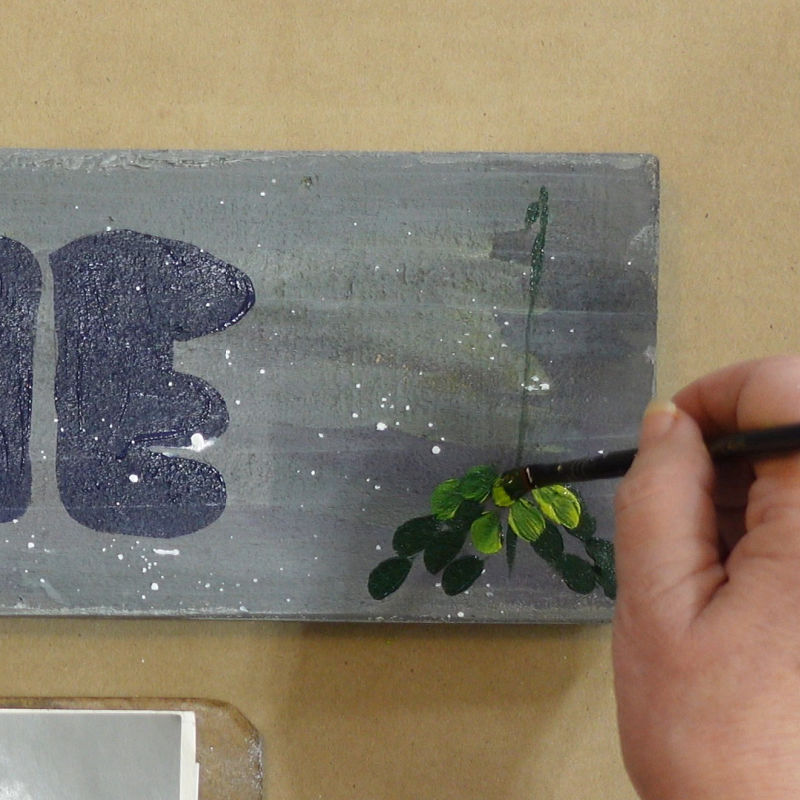
Paint Evergreen Tree Foliage
Using the #10 Filbert Brush or the #12 flat layer small strokes from the bottom to the top.
You will add the lighter green as you feel the need. It will blend with the wet darker green on the brush naturally.
Want a full tutorial on painting Evergreen Trees, see this lesson here.
The layers should overlap as you travel up the tree. Don’t get too particular, be loose and easy with this. The tree is merely background to the snowman coming later so don’t fuss with it too much.

Paint the second tree on the other side of the sign after finishing this first tree.
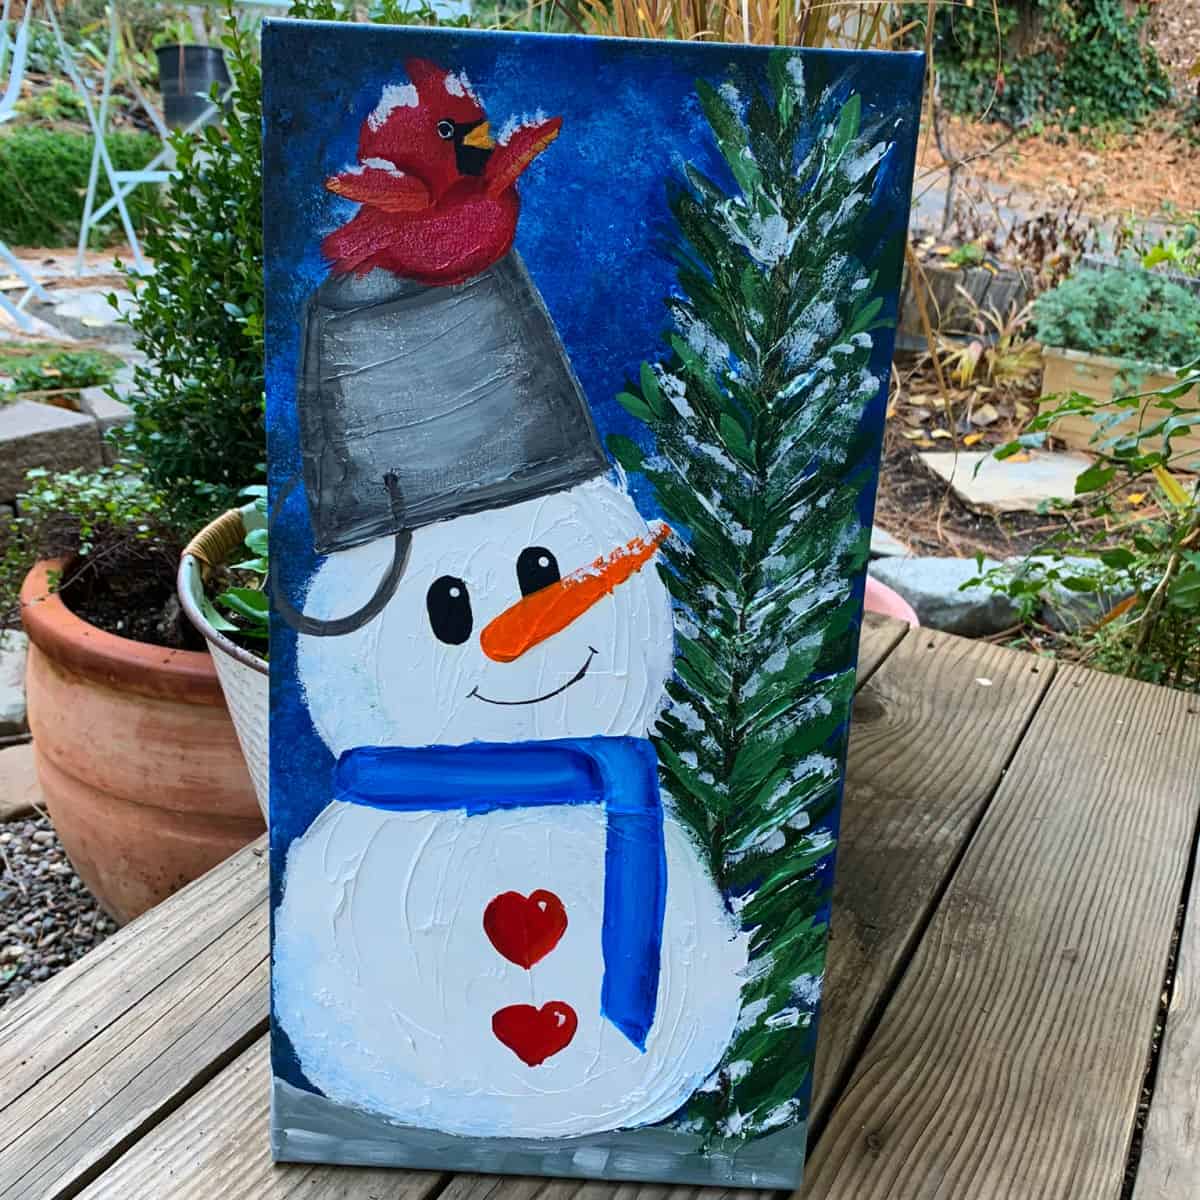
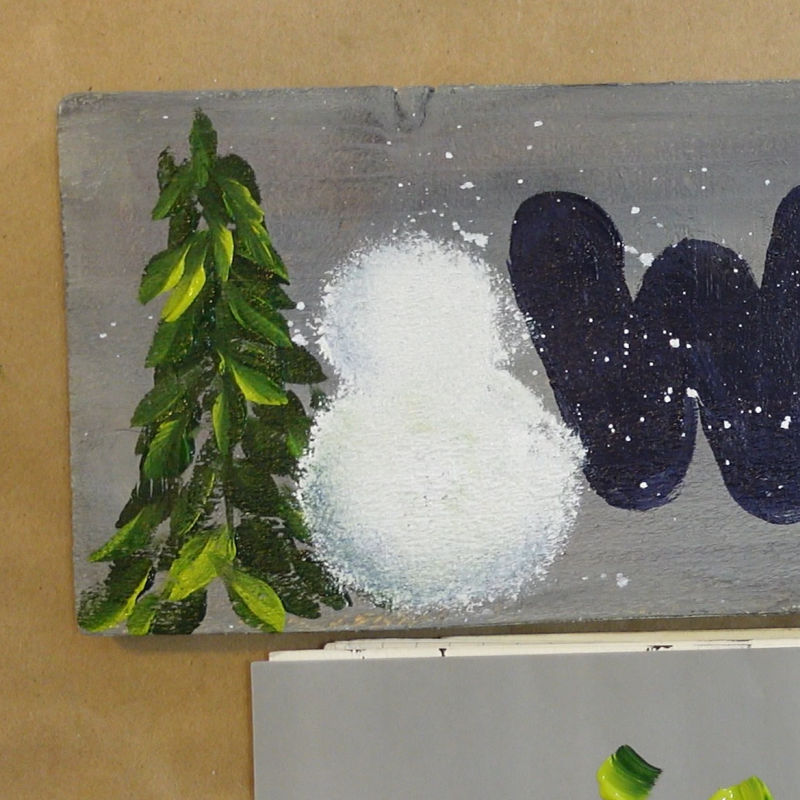
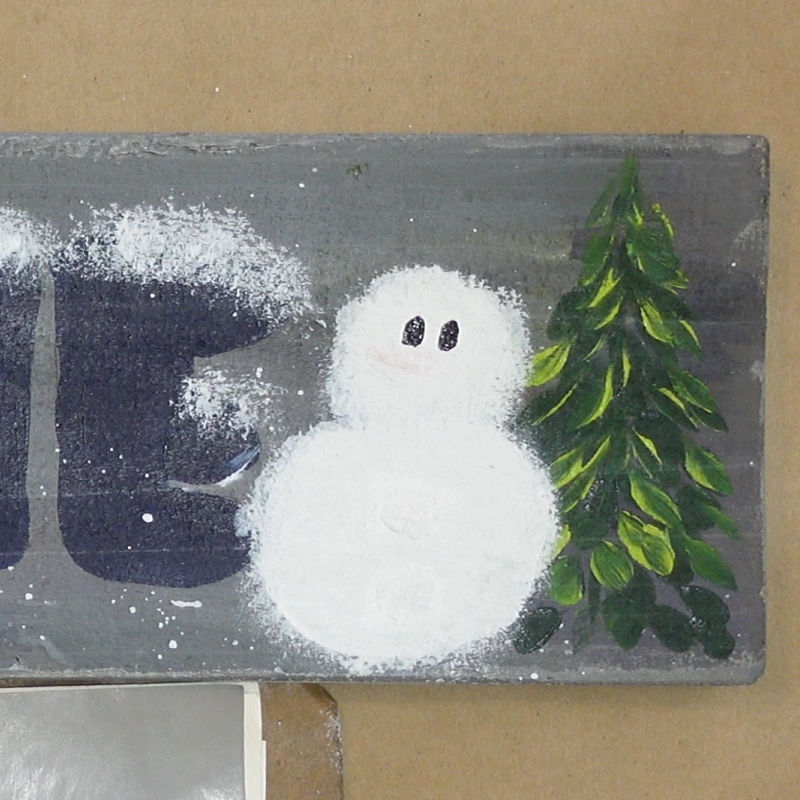
Paint the Snowman
Start Snowman Body
Using a scruffy brush or a wadded up sponge, paint a larger circle topped with a smaller circle for the snowman body. It is best to wait until the green of the tree is dry before starting this step so you won’t get green mixed in as I did.

Paint the second snowman body on the other side of the sign.
Shading
To add a touch of shading to his body tap the edge of the scruffy brush into some midnight blue and tap on the palette paper until it has blended in a touch.
Then tap onto the snowman edge on the left side. (the video linked below shows this in detail if you don’t understand quite what I am saying)
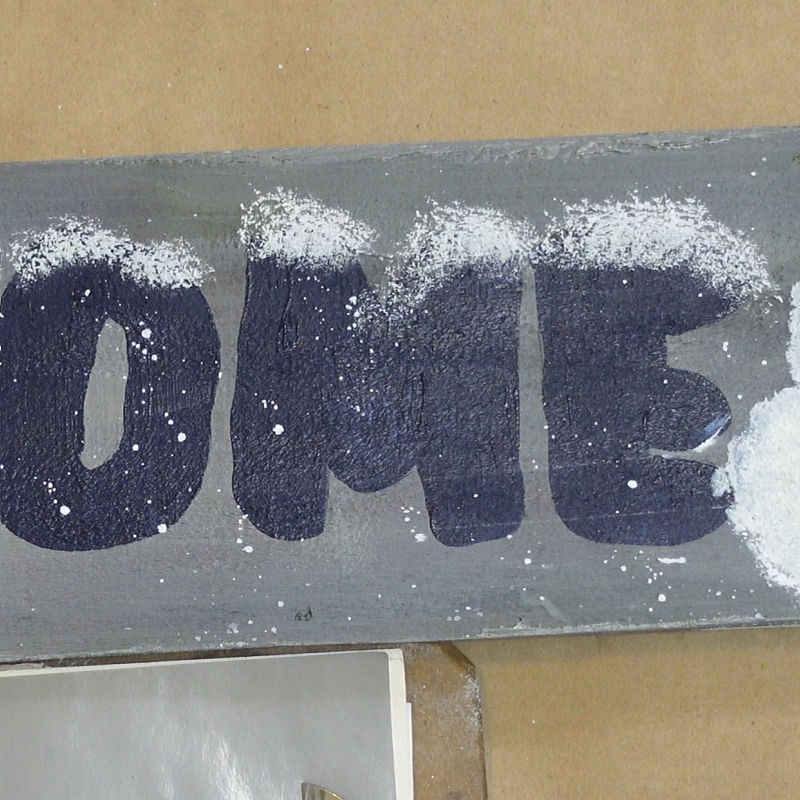
Add Snow (optional)
To the letters
With the scruffy brush and the white paint tap on some fluffy white snow on top of the letters. Keep it light and imperfect!
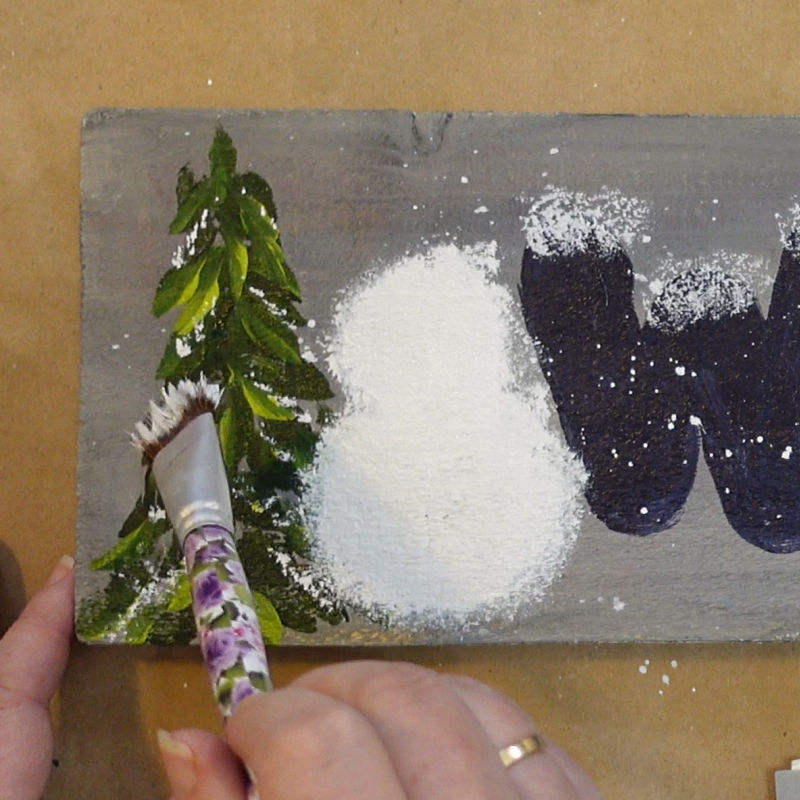
To the Trees
Do the same on the evergreen trees using the edge of the scruffy brush. Don’t add it to very bough or branch. Be discerning and keep it light.
More Snowman Steps
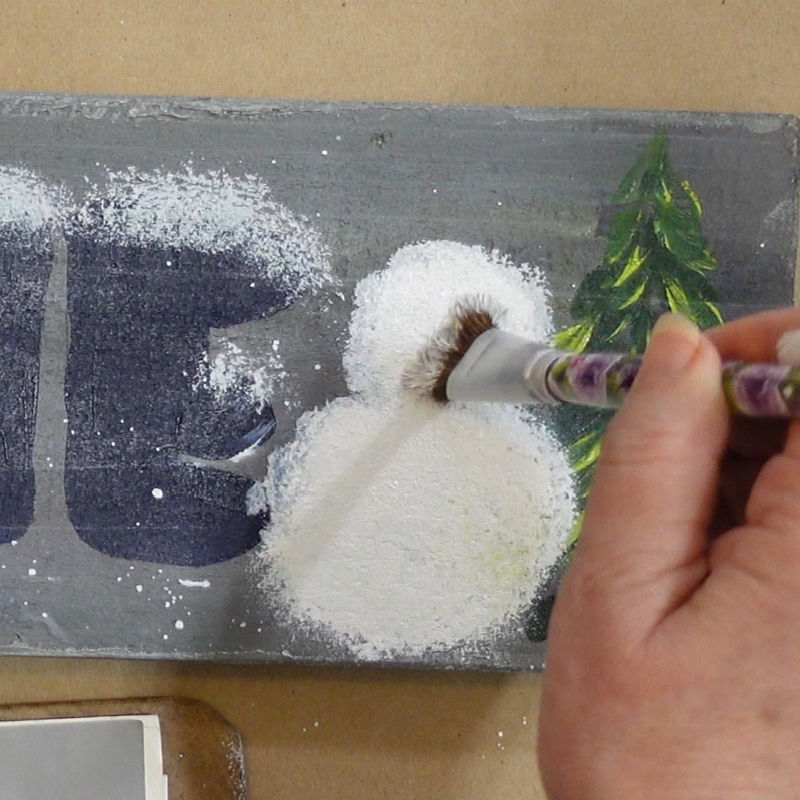
Second Coat of Whie for Opacity
With the scruffy brush, go back over the snowman to make him with white to make him good and opaque. This will disguise if you got any of the tree color in his body as well as making him solid colored.
If this covers the shading too much then redo it but keep it very light.
Let the white dry before continuing.
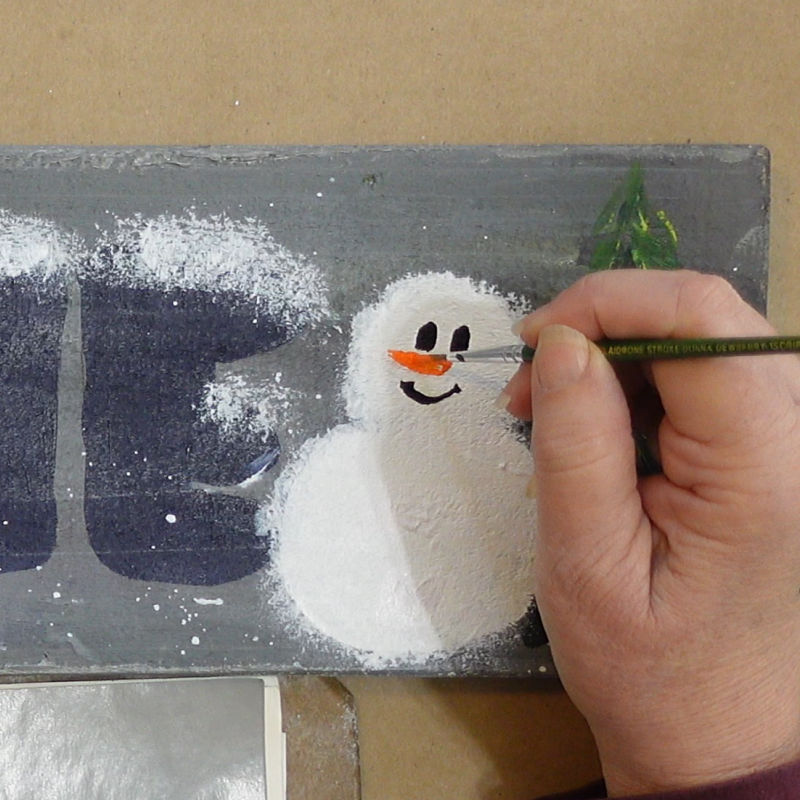
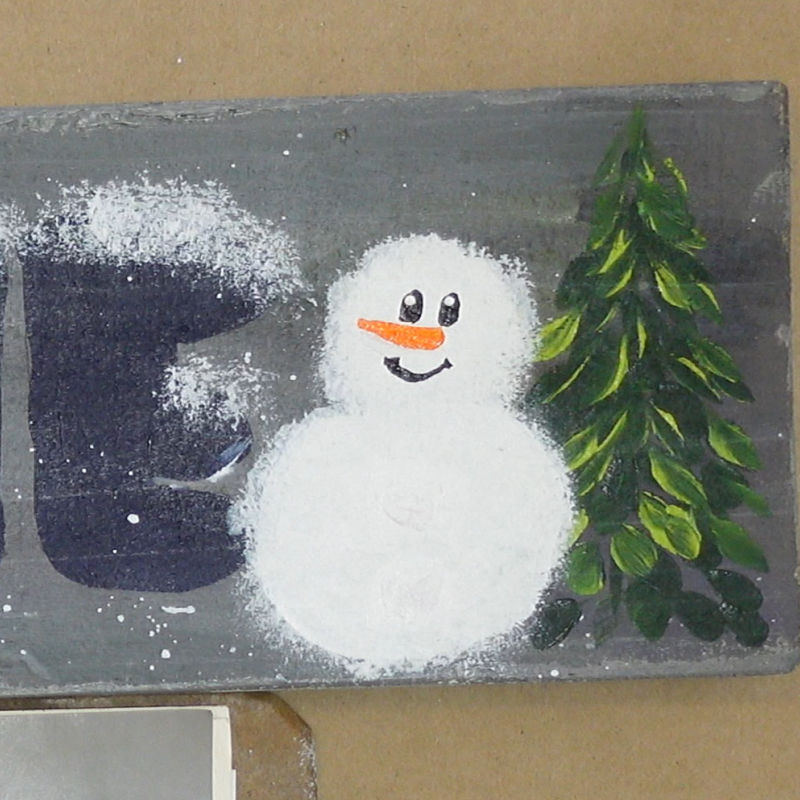
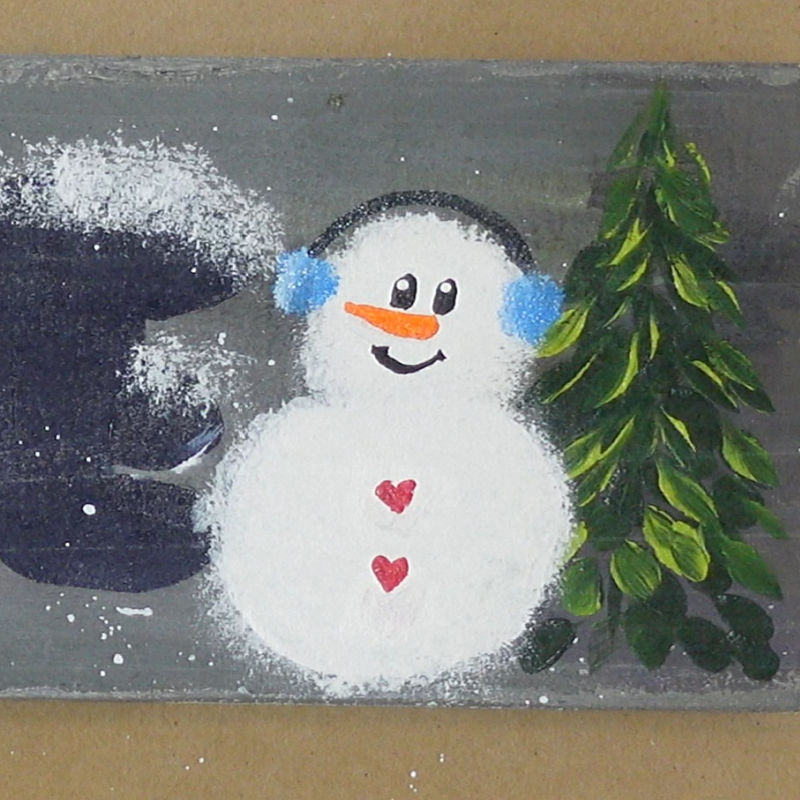
Snowman Features
With a liner brush and black create two small ovals for his eyes.
With the same liner brush create his smile with a small arc and a couple short slashes on each end of the arc.
Clean the brush well and load with Pure Orange. Paint a carrot shaped triangle for his nose.
Add a white dot to each eye with the liner brush or a stylus. Try and get them looking the same direction so he doesn’t look too crazy.
With a liner brush make two dots next to each other on the horizontal, make one button in the center below the two dots.
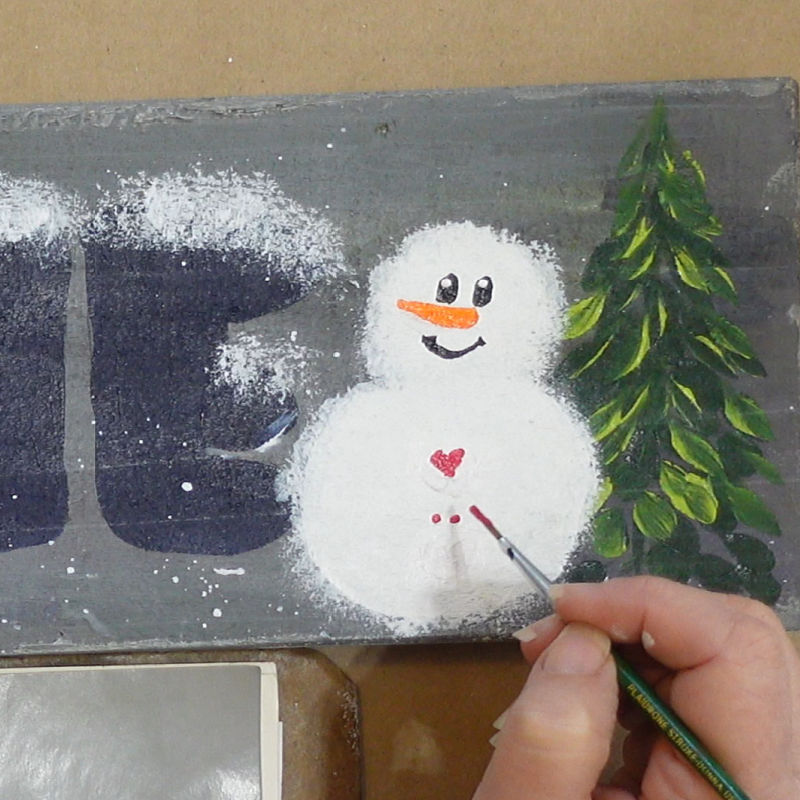
Link the top dots to the bottom dot creating a triangle. Fill in the rest gently making sure there is a V left at the top. (video shows this in detail)
With the small scruffy brush tap in the blue paint with a touch of white on one edge. Pounce up and down to create the circle shaped earmuffs on each side of his head.
With the liner brush and black, draw an arcing line from one earmuff to the other.
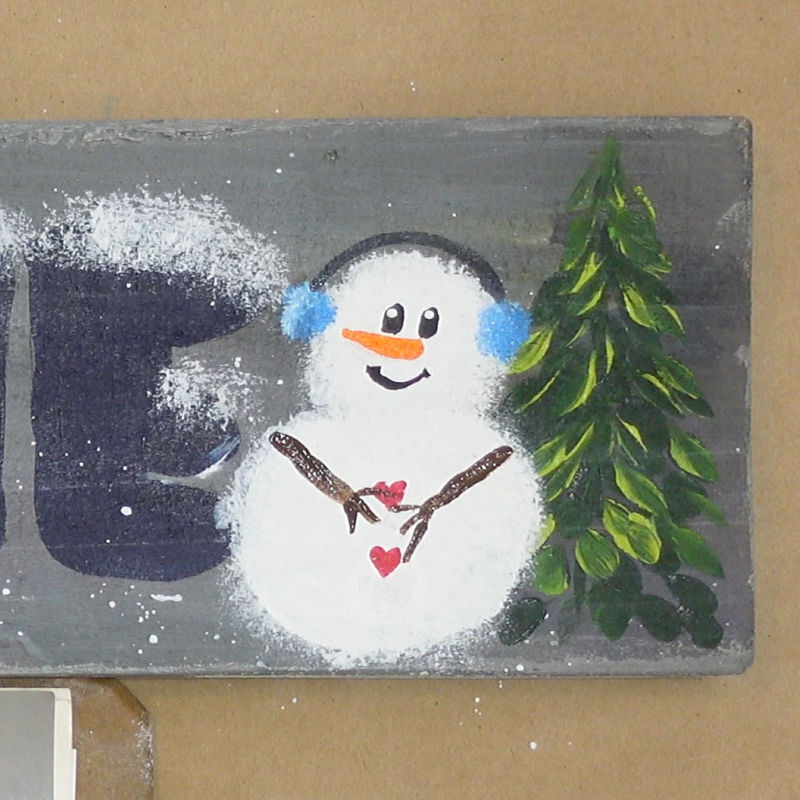
With the brown paint and liner brush paint on stick-looking arms. You can make them going towards his chest or splaying outward, upward etc. The choice is yours.
Another Snowman Lesson
Happy Painting!
Workbook coming soon!