How to Stencil cleanly with no gaps
I am going to show you an easy, more professional looking way to stencil. No ugly paint running under and no gaps or bridges.
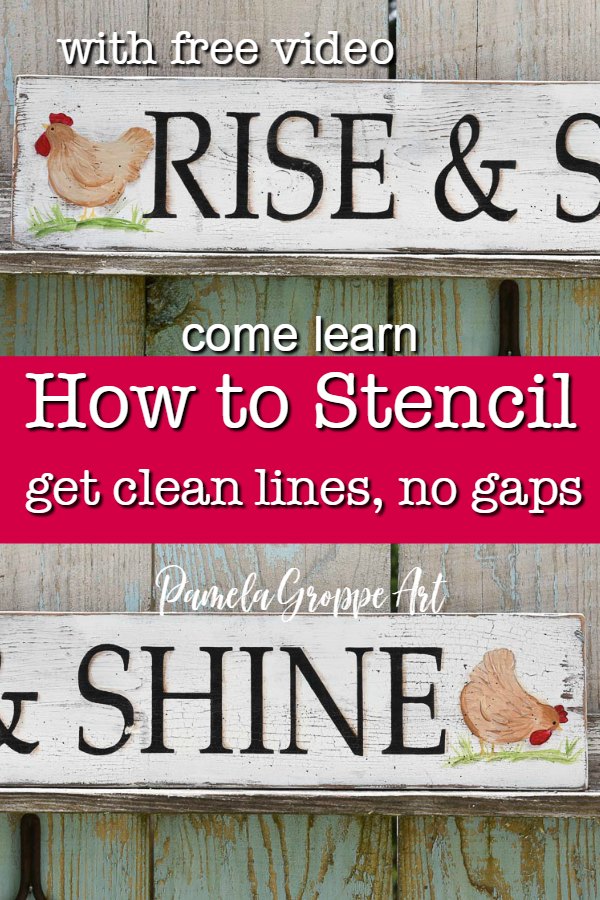
You can stencil cleanly and with no gaps. This easy to follow method will have you creating a more professional finish with your stencils. Crisp, clean edges and no bridges. The next best thing to hand lettering!

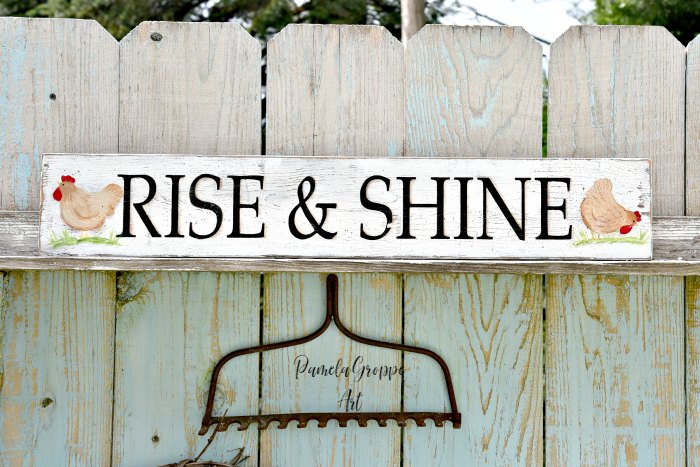
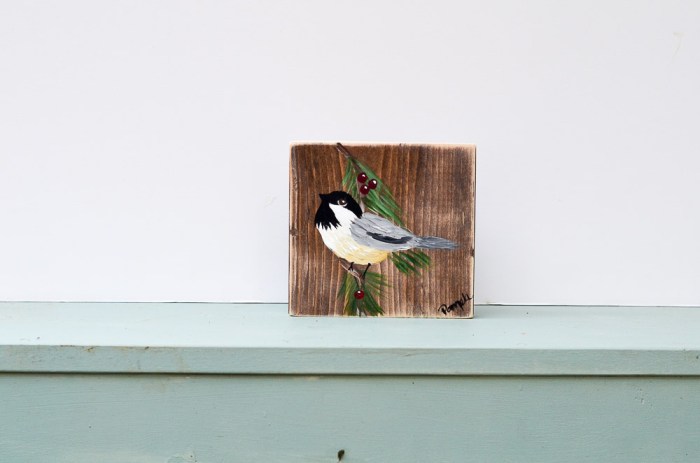
I already shared how to paint the fun little chickens. You can see how to do that here. Now it is time to learn how to stencil so you can create signs and artwork with lettering. (this is for those that can’t seem to paint lettering worth beans, like me)
I do paint lettering without stencils and I will do a video and post for you soon on that but in the mean time lets use stencils.
Why a tutorial on how to stencil?
What inspired me to do a how to stencil tutorial is I have seen some craft videos lately using stencils and they are using them very poorly. The end results are messy and it just makes an otherwise inspiring idea look bad. You can get a professional result with just a bit of practice and patience.
Another thing is, adding quotes and wording to my art made it sell faster and easier. No joke!
Hand painted signs are still a hot ticket item. If you read my How I Got Started Painting post you learned that I sold my practice painting pieces to support my painting.
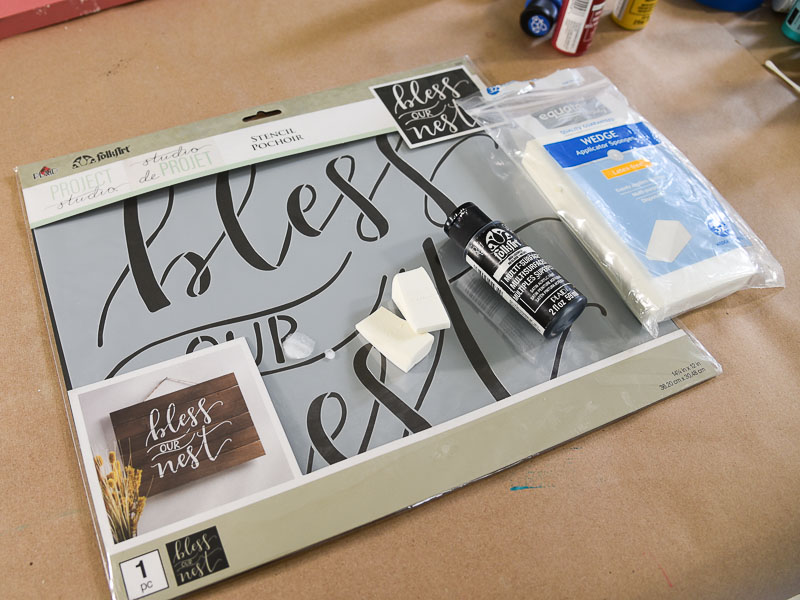
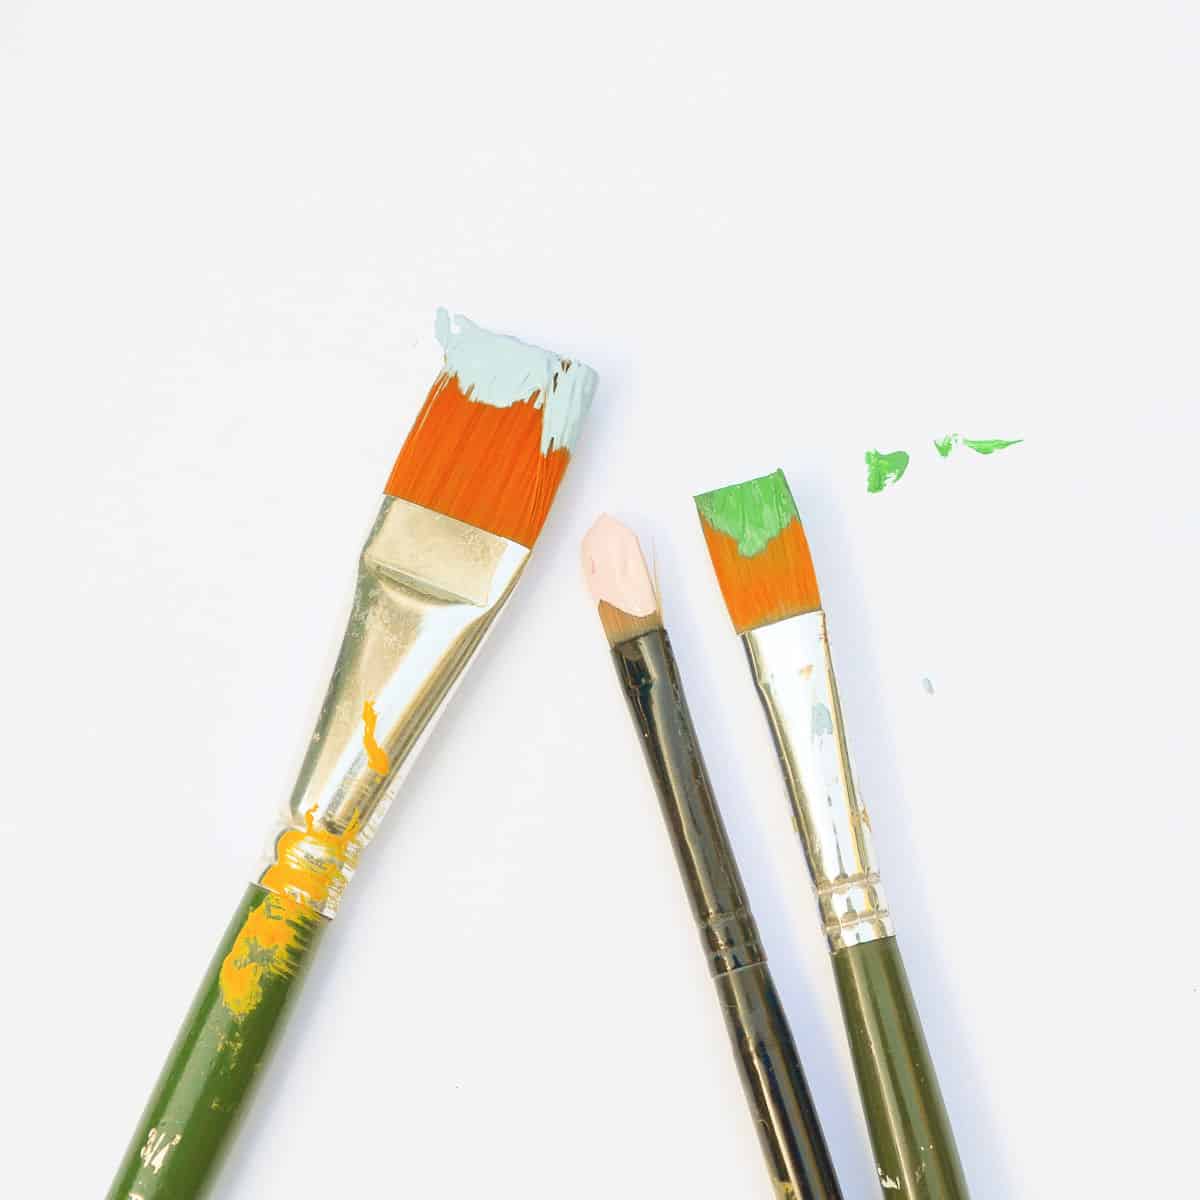
Stencil supplies
There are many options for stenciling utensils. I have tried many including stencil brushes, pouncers and foam brushes. But I like these the best…
You can find them at Wal-Mart, CVS, Rite Aid or whatever store you have locally that carries make up supplies. Here is a good price from Amazon. They last forever and you can wash and reuse them over and over. (note: the paint will stain them so don’t think you have to get all the color out when washing)
Today I will share how I stencil using this Bless our Nest from Plaid. Plaid makes a wide variety of stencils and you can find them in Michaels, Wal-Mart and Hobby Lobby. Can’t find this one locally? Here it is available on Amazon and/or at Plaid Online.
In the video I used my Rise & Shine stencil but the technique is the same.
The first video here is a brief overview. At the end of this post is the longer, step by step in real time.
- LIST
- Stencil
- Paint: Plaid FolkArt Licorice
- Make up wedges
- Painters tape
- Surface of choice
- Small Flat brush or Liner
Step 1 to stencil
Secure stencil to surface with painters tape. I use either Frog Tape or Scotch Blue.
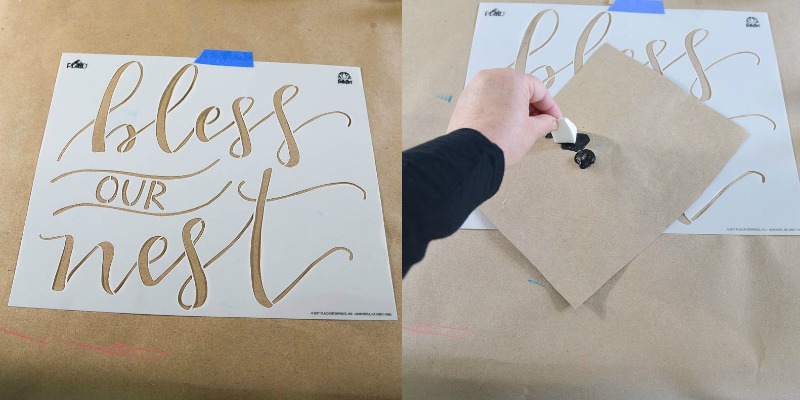
This prevents your stencil from shifting and you can easily lift the stencil to check your work.
Load the paint for stenciling
Load your wedge with paint. Gently touch the sponge to the puddle of Licorice black paint. Pounce the paint off on the palette surface until you have very little paint left on sponge and it is evenly distributed over the wedge.
Apply paint to stencil
Gently, with very light pressure start to pounce the loaded sponge wedge over the stencil.
Use a light touch, barely leaving paint on the surface. You can slightly increase pressure as the wedge sponge runs out of paint but not much.
Important note: you will do this is several passes. The first layer will be light and it will seem that the very narrow areas of the letters being stenciled is not getting paint. DO NOT PRESS HARD TO FILL IN! Take your time and keep it light.
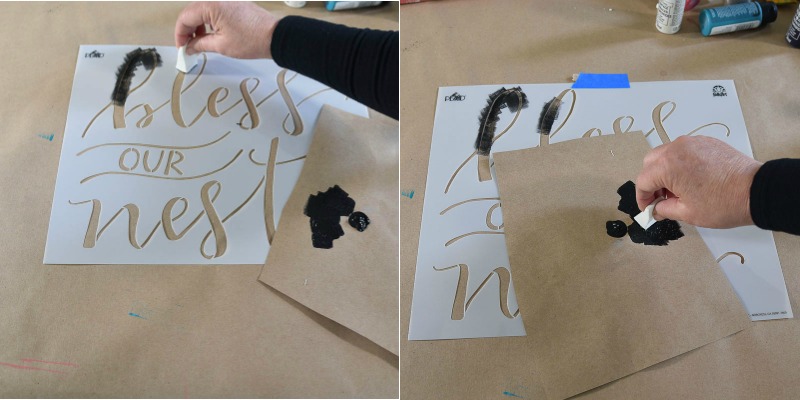
The first layer of paint will be light. Once you have completed the first layer on the entire stencil the top letters should be dry enough to pounce a second light layer of paint on.
Next layer of stenciling
Reload the wedge by pouncing into the paint left from when you pounced off paint on the palette. This will reload your wedge nicely. Pounce once on a clean area of the palette to make sure you don’t have too much paint on your wedge before going back to the stencil.
Note: If you try to go back over any section before it is dry you will pull up paint. If you are keeping the paint light you should not have any trouble with it drying fast enough.
Repeat with another layer. If you are keeping your layers light enough you will need to go over it a third time or more depending on the opacity of your paint.
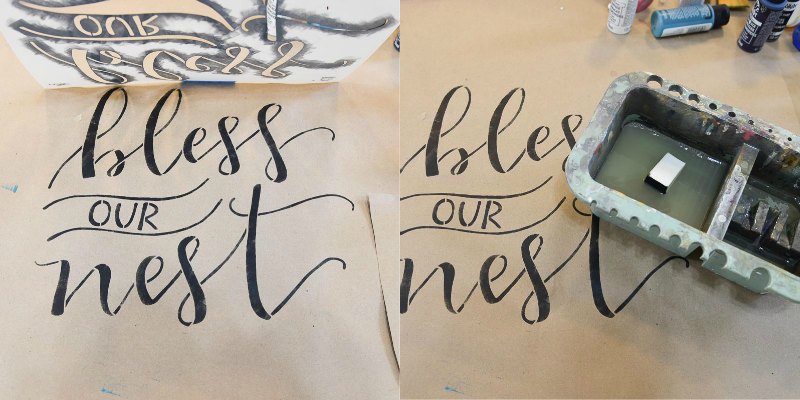
Check your work
After pouncing on a few of layers of paint, lift the stencil (your tape will act as a hinging point), and check your work. Is there any areas that need darkening?
If so then lay the stencil back down and make sure it is lining up and pounce over the areas needing it.
Once you are satisfied with the stenciling set aside the stencil and toss your wedge into the brush basin of water. This prevents the paint from drying in the wedge and it is easier to clean later.
Fill in stencil bridges
Using a small brush or script liner, fill in the bridges or gaps in your lettering. Load a small amount of Licorice paint into your brush and very carefully stroke in over the gaps.
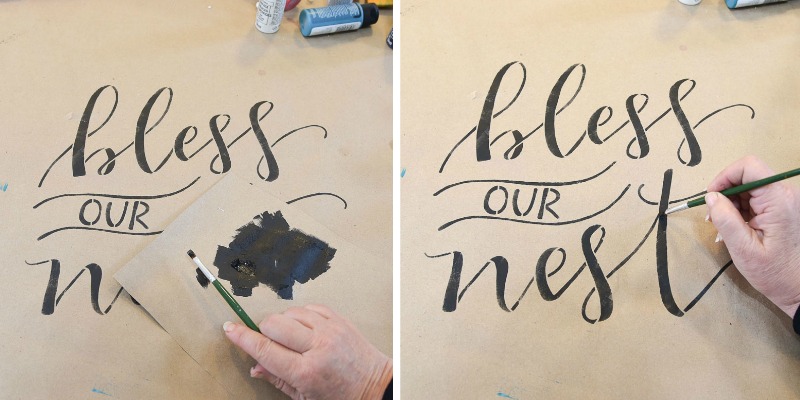
Use a light touch. I start the brush stroke on the stenciled part and pull the stroke over the gap to blend it in smoothly.
Keep doing this until all the gaps or bridges are filled in. Take your time, this is tedious but makes it look so much more professional. If you need to switch to a smaller brush for very small areas then do so.
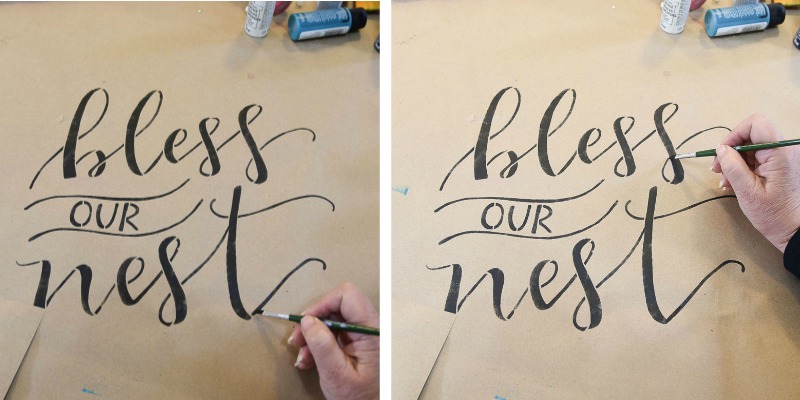
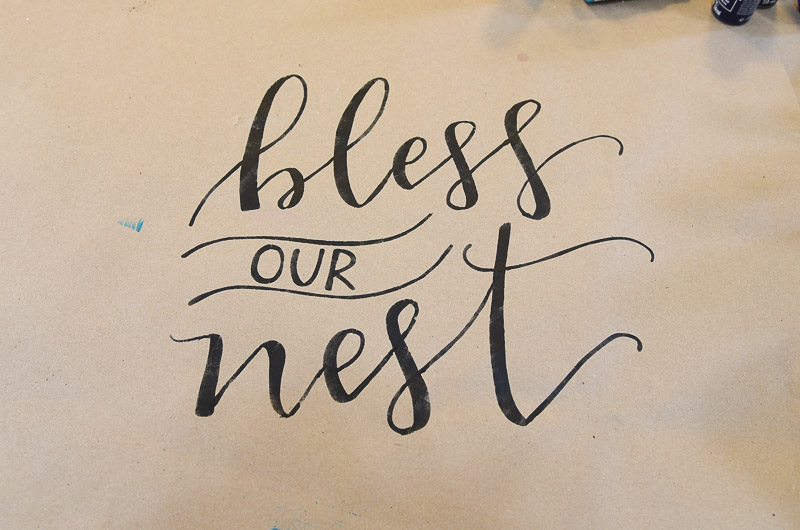
Once you are done, sit back and admire your work. Doesn’t it look so much more like hand lettering when you fill in those bridges?
Did you mess up and get some paint bleed under your stencil? I share how to fix that in the video. You can approach it two ways.
Also in the video is how I add shading to the letters to create depth.
Ready for the video?
If you have any questions or need further info leave a comment or head to my contact page and send me a note. I will get back to you ASAP.
More painting tips you will enjoy
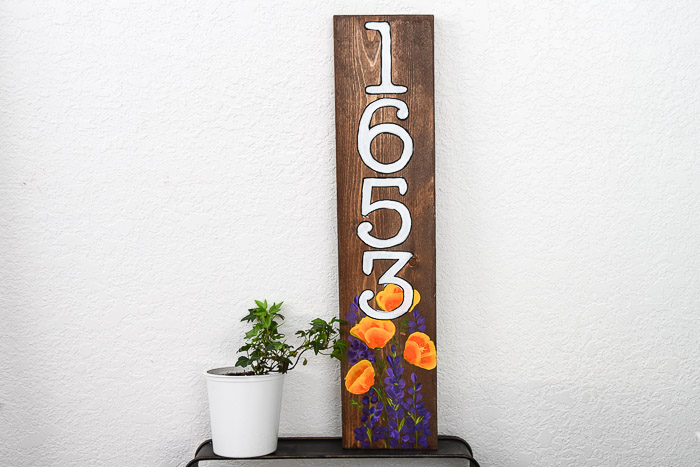
How to use crackle medium (this is great for DIY farmhouse signs)
Paint California Poppies
Painting workshops
I wish you Happy Painting!
Keep up the great work! Thank you so much for sharing a great posts.