easy Paint Chickens in acrylics
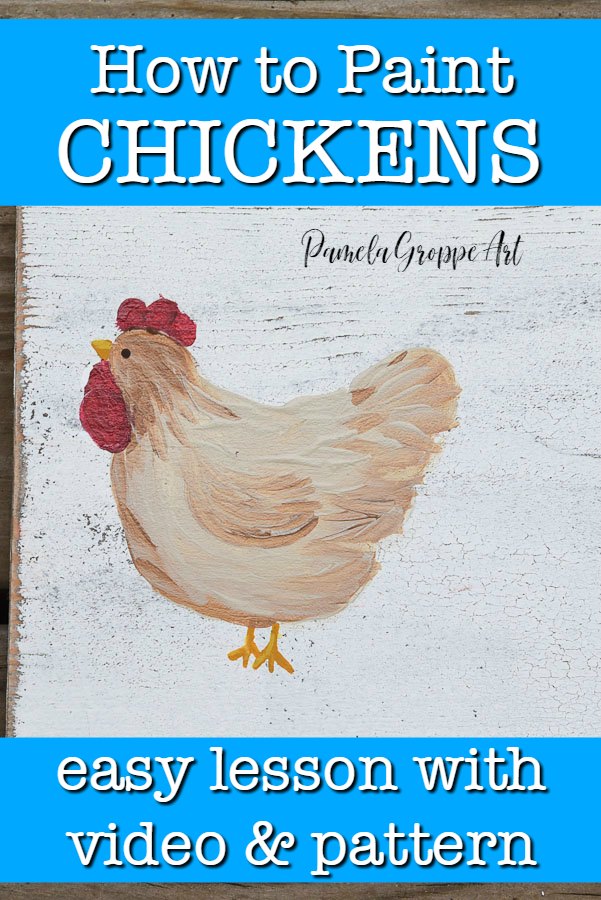
Painting these fun little chickens is so easy. A link is provided for a complete painting class you can download in printable format.
I love me some pretty chickens. Especially easy to paint chickens. I was raised around chickens. And now I have my own flock of these fluffy, fun little egg producers.
These chickens are just a fun pattern to paint.
This post contains affiliate links. If you make a purchase after clicking a link I may make a small commission at no added cost to you.
This lesson goes along with my How to Crackle article. That is the background you see in the video.
Note: The ad free version of this lesson is available here. It is easy to download with a printable pattern. It also comes with a link to a full-length step-by-step video.
Paint Supplies
These are the colors and supplies I used for this lesson, you can use what colors you already have.
- Plaid FolkArt MultiSurface Paint
- Linen
- Yellow Ochre
- Cardinal Red
- Coffee Latte
- Parchment
- Licorice
- Golden Rod
- Burnt Umber
- Brushes – Donna Dewberry one stroke set
- I have linked to the paints on Amazon but it is more cost-effective to purchase them at your local craft stores like Michaels or Hobby Lobby, but if you need to purchase online you can buy directly from Plaid Online
- Surface of choice
Base surface for chicken painting
First thing is to base paint your surface. In the video, I painted the chickens on a signboard with a crackle finish. The photo step by step in this post is painted on wood coaster blanks I found at Michaels Crafts
Base paint your surface then let it dry. Transfer the design to the surface with graphite paper (see here for the full list of supplies I use every time I paint)
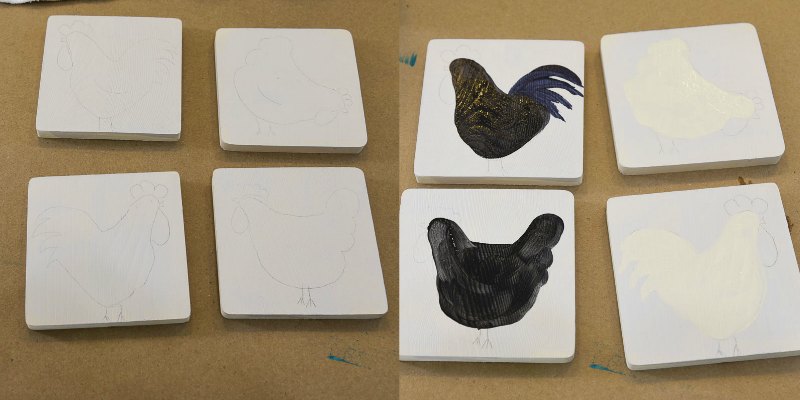
I base painted these coasters with Parchment, it is a nice light neutral color that will let my hen paintings pop. In this photo below you will see I was also painting a rooster but that is for another post, today we will focus on the hens.
Base Paint the Chicken Body
Paint the hen’s body in the Linen color staying inside the outline. Don’t worry about being perfect, if you get a little out of the lines it is not the end of the world. It will all work out. Let the base color dry.
Paint Hen Wattle, Comb, and Legs
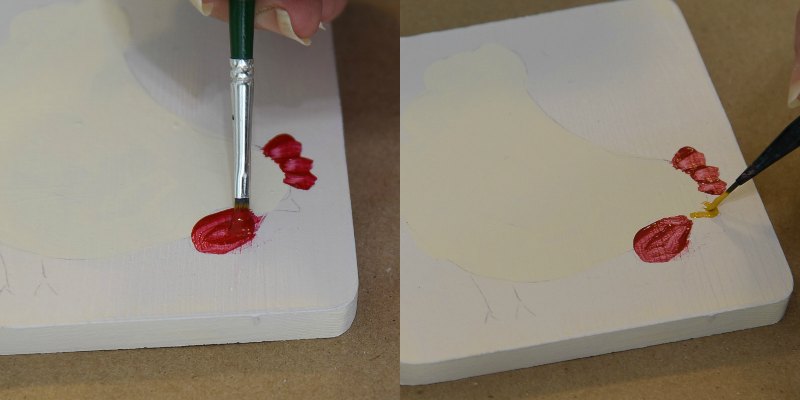
As the body dries paint you can paint other areas. Using Cardinal red and a smaller brush (#2 flat or liner) paint in the first layer of the hen’s wattle and comb. It will not be opaque but don’t worry, you will come back in and paint another coat once this one is dry.
Using Yellow Ochre and the liner paint in her beak and legs. This first layer will dry as you paint the body.
Paint chicken body
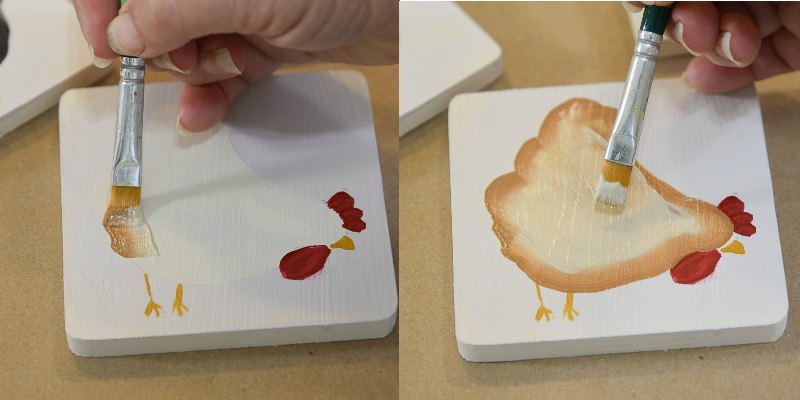
Using the #12 or #10 flat brush, double-load Coffee Latte and Linen in your brush. For basic brush strokes including what double loading is see this post.
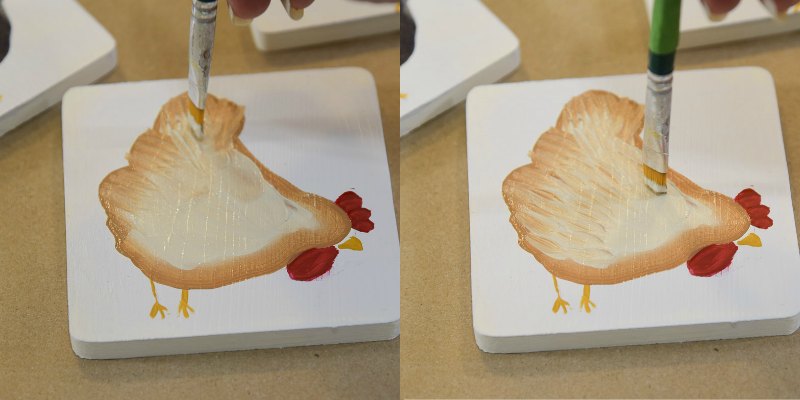
Pull your brush along the outline of the hen with Coffee Latte on the outer edge. Stroke in the center more of the Linen. This just deepens or makes the color more opaque. You can let this layer dry or work wet on wet, which is what I do.
Paint the Chicken feathers
Again, double load your brush with Coffee Latte and Linen. Using the chisel edge of the brush stroke in narrow strokes. Start from the hen’s tail and work towards her head. Lead with the Linen color and trail with the Coffee Latte.
The strokes are short and choppy mimicking feathers. Layer them as you work forward. (if you don’t understand make sure to watch the video)
Paint the Hens Head
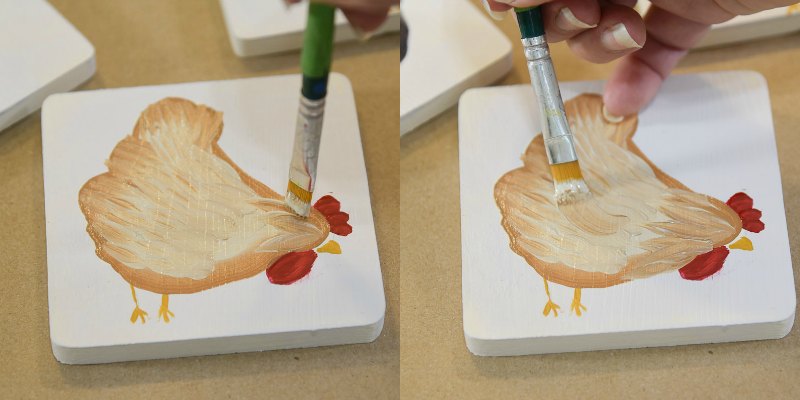
Note that I stopped painting the feather strokes about the hen’s shoulder level. That is because I want her head feathers to overlap her body feathers.
With the brush mostly loaded with Coffee Latte, paint the feather choppy strokes from the top of her head down to where they will overlap the shoulders.
Double load again with Coffee Latte and Linen to create a wing shape by stroking in an arc. The Coffee Latte should be on the lower wing to create definition.
Paint Chicken Details
Step back and look at your hen. I notice I did not get her beak and face attached so I stroked in more Coffee Latte until there is no more gap.
With a small brush and Cardinal I add another coat to her wattle and comb, and let it dry.
Highlight her beak and legs with a touch of Golden Rod and a liner brush.
Using the liner and some Burnt Umber creates a touch of shadow along the comb base and the hen’s head and along the back of her comb against the body. Just a hint of color, not a lot.
(some of the details are optional but it does give more dimension to your design)
Using a stylus or the tip of your liner brush dot on the hen’s eye. Keep it level with the top of her beak.
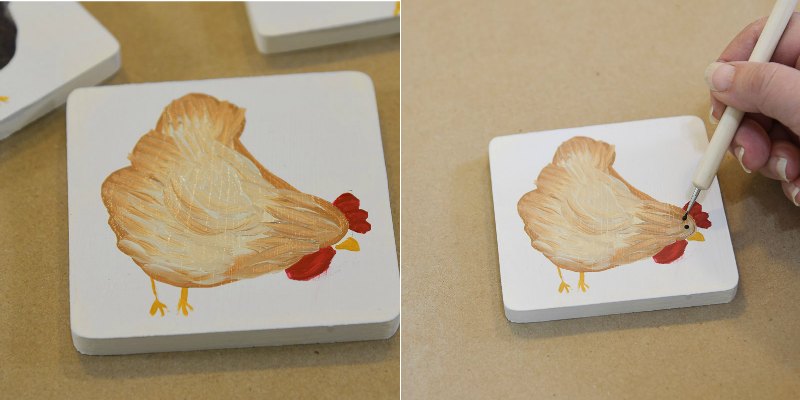
Let the paint dry and you are done. You can add other elements as desired like flowers, grass, or whatever.
Add protective finish for outdoors
I will finish both the sign and the coaster with a water-resistant finish. In this post about my most used supplies, I share what I use to protect my pieces that will get moisture on them.
The pattern for the hens is in the downloadable workbook.
More painting classes you will love:
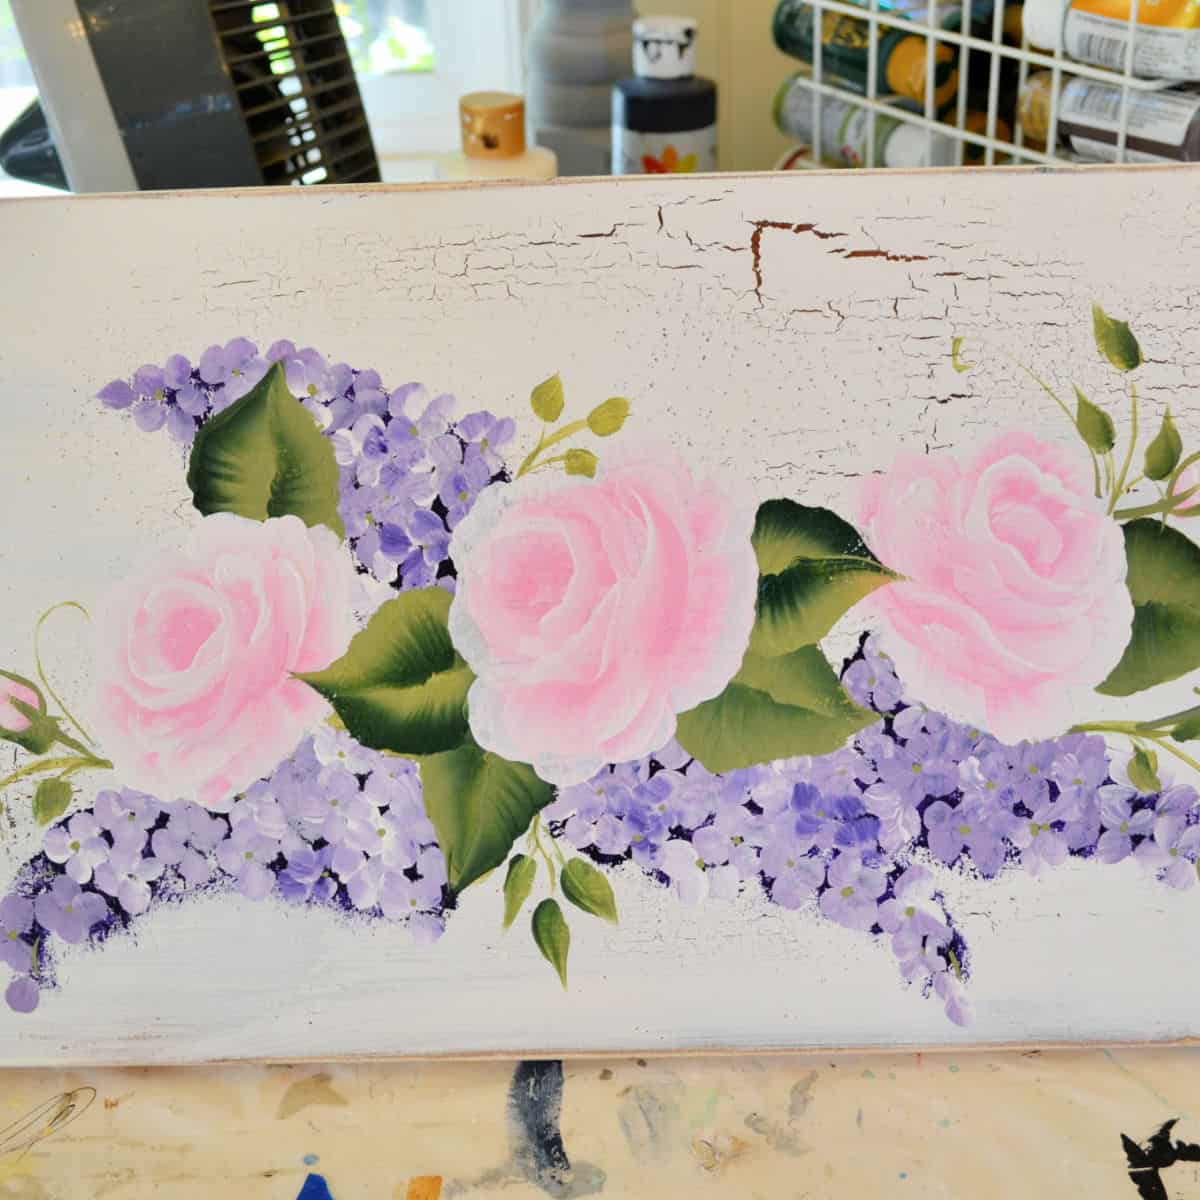
Paint Lavender
How to Paint Roses
Fast & Easy Beach Scene
Happy Painting!

Love the chickens!! Could you use the same idea on a welcome sign but without the crackle?
I do not have a lot of experience yet and I am not comfortable doing crackle yet. Loved your version!!
I enjoyed watching and painting your chickens, your right no two are alike. Thank you