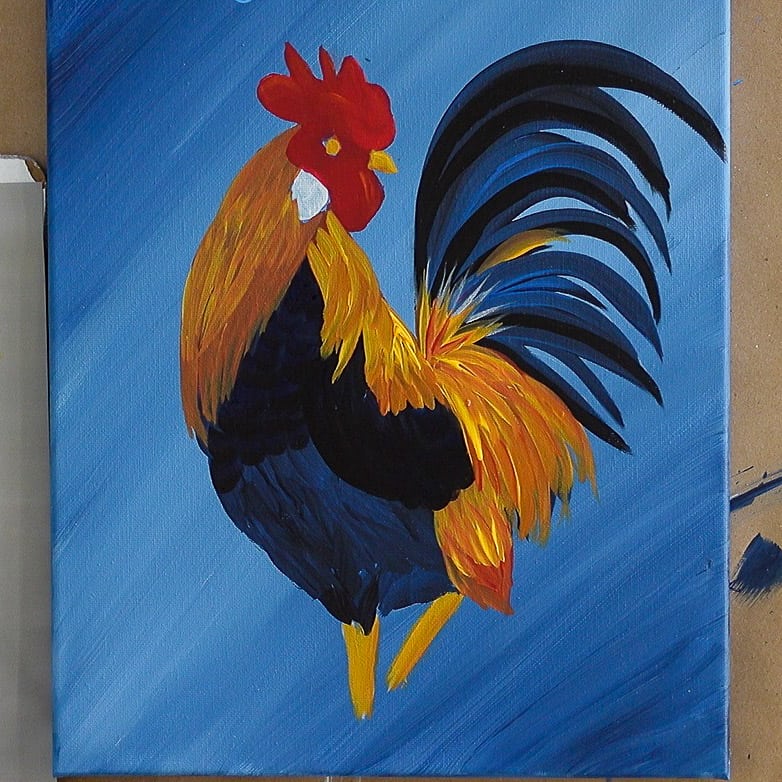
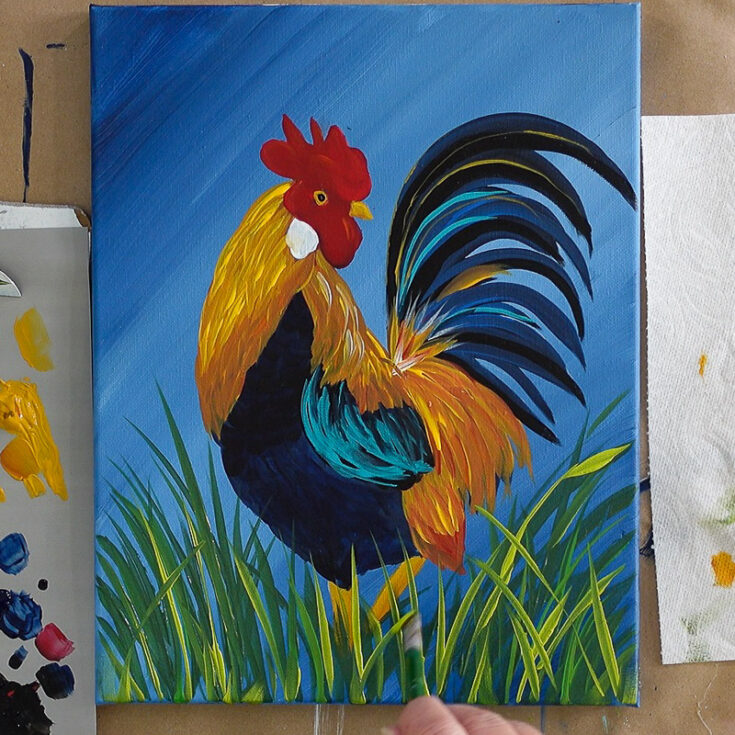
Finish the Rooster Painting
Time to finish the Rooster painting! We will brighten some of the golden feathers, finish his eye, touch up some areas and add some details. Plus we will paint grass at his feet for the final touch. This the the final segment of the 10, 20, 30 minutes to Paint, the Rooster!
This Finish the Rooster Painting lesson is slightly longer than 20 minutes but you can easily break it up for shorter painting timeframes. Once you complete this lesson you will have a Rooster Painting you can enjoy!
For a supply list see the printable list available below.
Finish the Rooster Painting – Under tail area
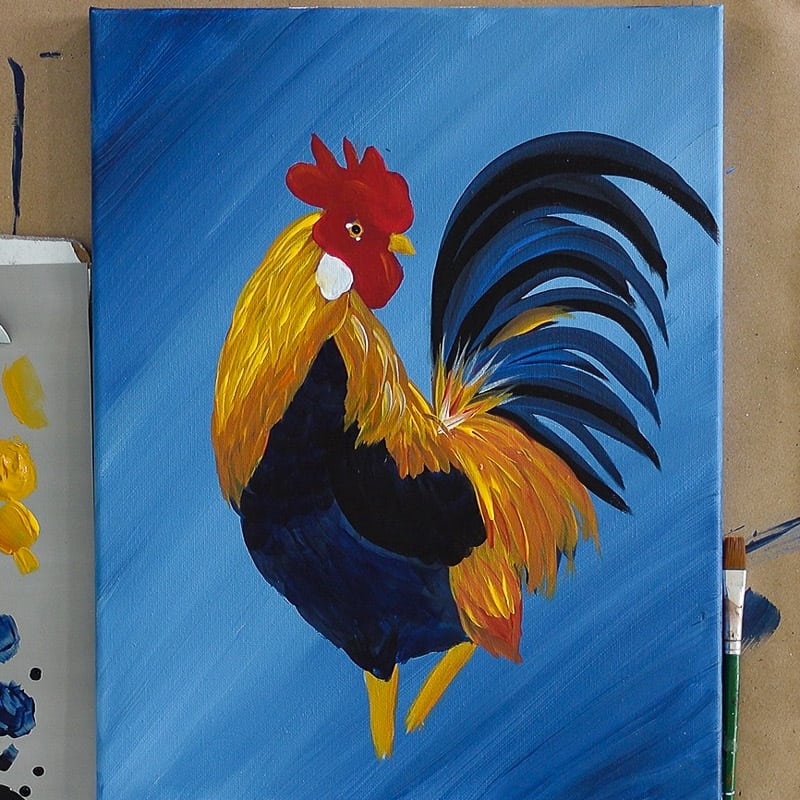
Under the tail and back golden feathers is the small section over his leg, it was not wide enough so we need to add a few more strokes with the blend of colors used in the golden feathers.
Deepen Wing Colors
Double load the #10 or #12 flat brush with just a touch of Licorice and Prussian blue, deepen the wing feathers with the flat edge and smooth strokes of the brush. (the video will be helpful in seeing what I mean)
Note how the wing feathers are rounded slightly on the end. This is made with a shallow scallop stroke.
Note: I had done some of these strokes on the chest and did not like the effect so skip doing that.
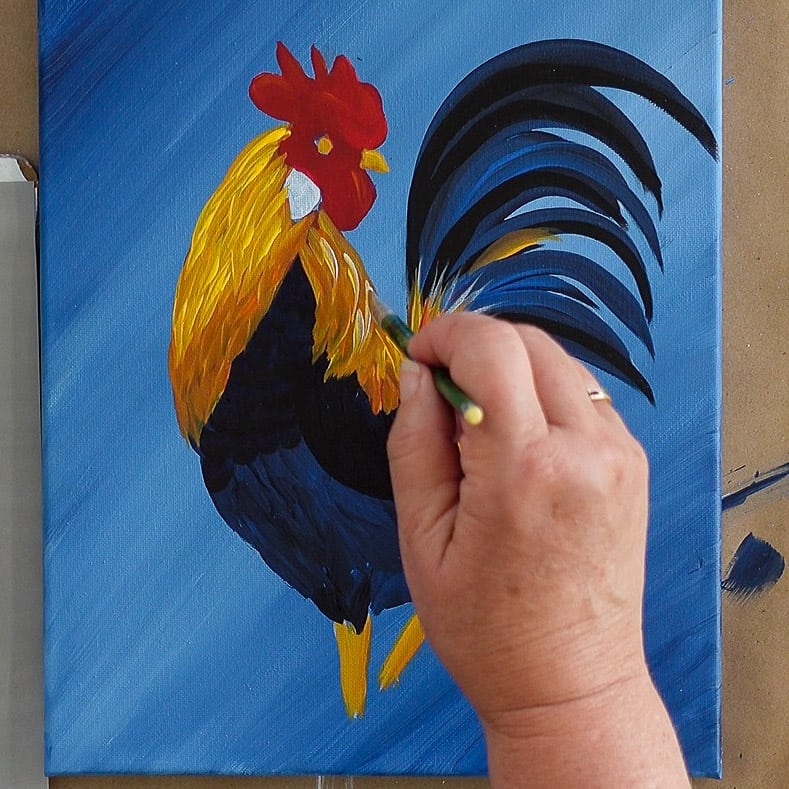
Add golden feathers to the Roosters neck
First, brighten the colors under the tail area if you need to, this is optional but if you feel you want those colors really to pop bring in more of the Moon yellow with a touch of Pure Orange.
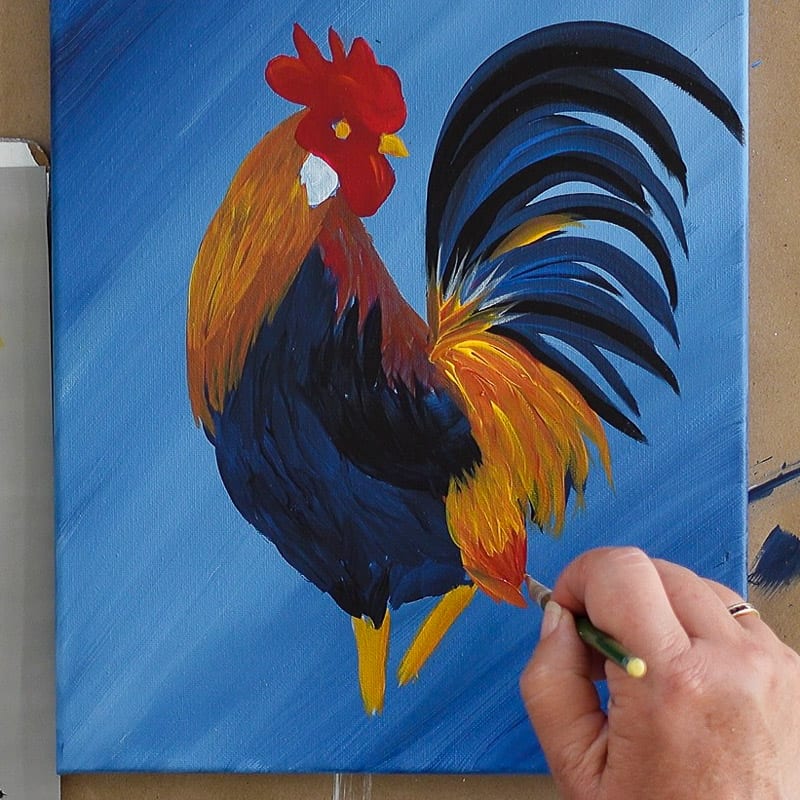
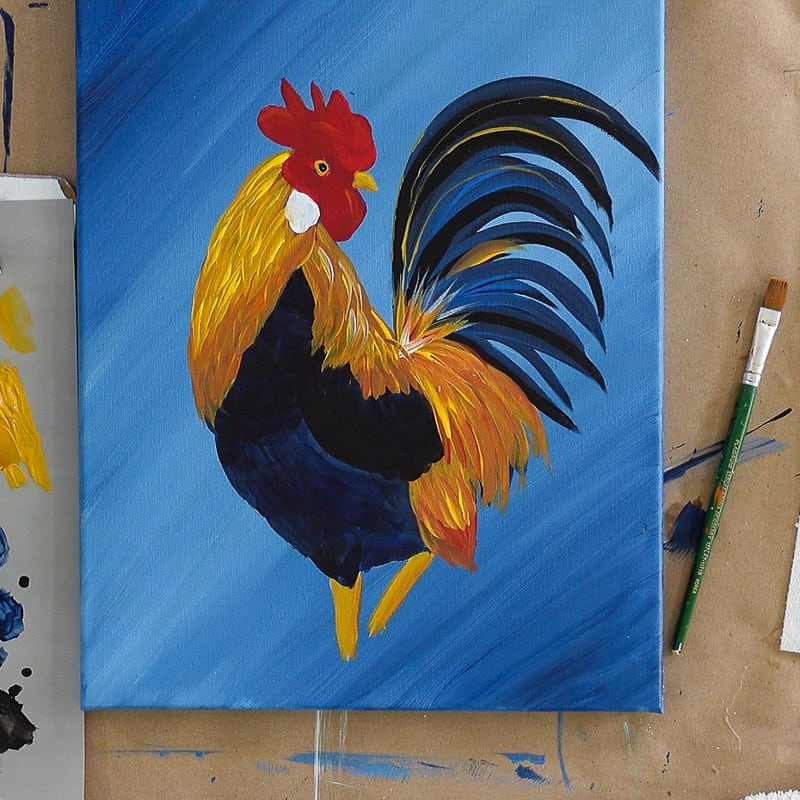
Using Yellow Ocher and Raw Sienna start at the bottom edge of the neck feathers, add some feathers using the chisel edge stroke. As you climb the neck with the feather strokes add a touch of Cardinal red to make the color on the coppery side.
Add more Moon Yellow to brighten it up. Just make sure the top feathers overlap the lower ones.
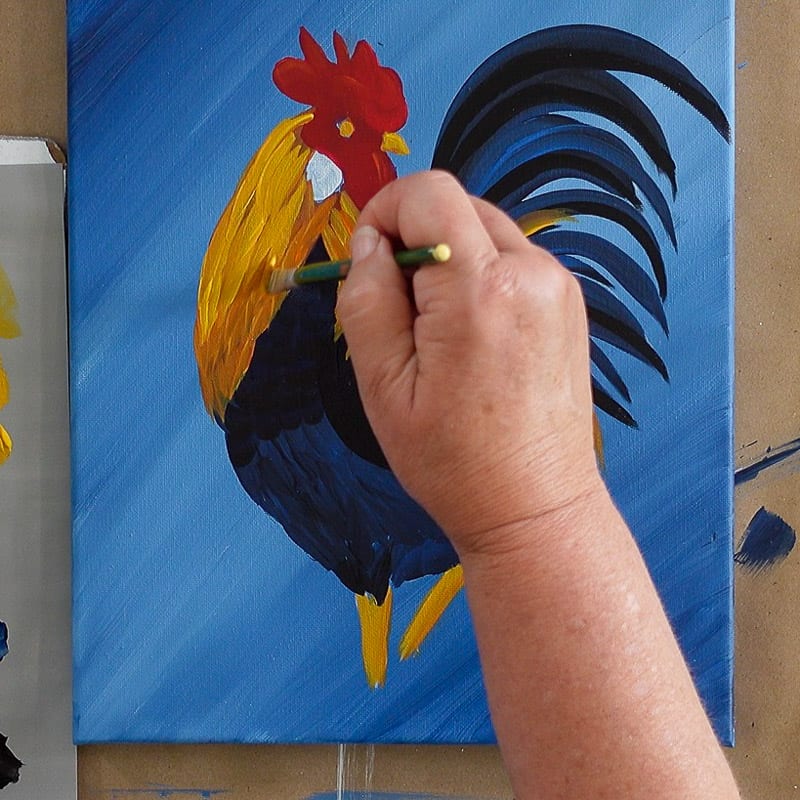
Brighten the front neck feathers
Using a double load of Raw Sienna and Yellow Ocher, restate the bottom neck feathers. Build from the bottom up. As you go up the neck use just Yellow Ocher and Moon Yellow (or School Bus Yellow) on the brush, overlapping the lower petals.
You want a rather gradual brightening as you climb. If there are some areas you wish a bit more coppery just add a touch of Pure Orange to the brush. Let some of the under color show through for depth.
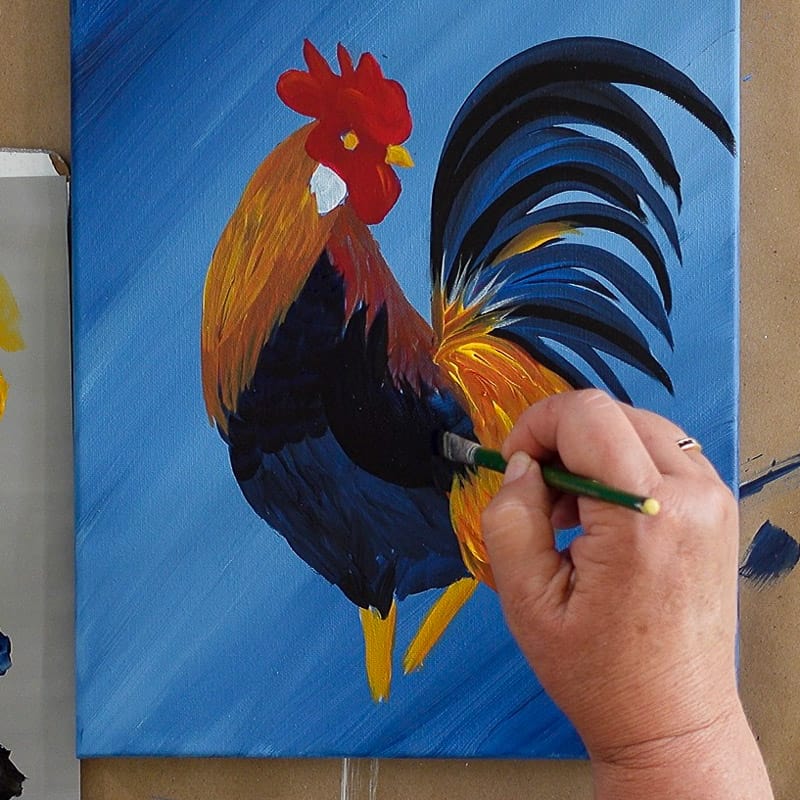
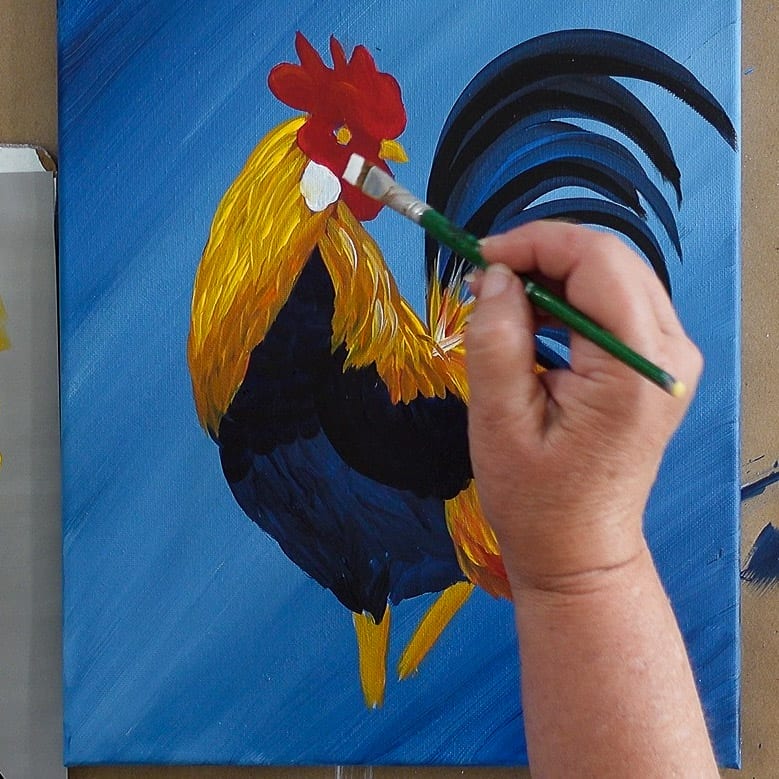
To add a touch of highlight to the back of the neck just double load your brush with Moon Yellow and Wicker White and add a few chisel strokes.
If you need to touch up where the wattle meets the neck feathers just go over it with some Cardinal Red.
Next use Wicker White and go over the Rooster ear lobe again. This will add more opacity and clean up any feather edges that may have overlapped onto the ear lobe.
Painting the Roosters Eye
In the video you can really see I have to work my way through this but I will break it down as best I can here with words.
Using the corner of the brush and a tiny touch of Wicker white add a dot in front of and behind the eye. This will be gone over but will create a bright spot in the end.
With the end of your paintbrush handle tap into some Licorice paint. Dot it off onto your pallet to make sure the size of your black dot is what you wish in the eye center of your Rooster.
Once you are pleased with the size dots you are creating then dot the Licorice into the center of the Yellow Ocher you had painted on his eye earlier.
Using the Liner brush and an inky consistency Licorice paint outline his eye. Mine turned out too wide of a line so I went back over it with Yellow Ocher.
The hint of black is all you need to emphasize the eye and the white you can tell adds the dimension at the sides.
Adding details
Using Yellow Ocher and the liner brush draw middle seams in some of the tail feathers.
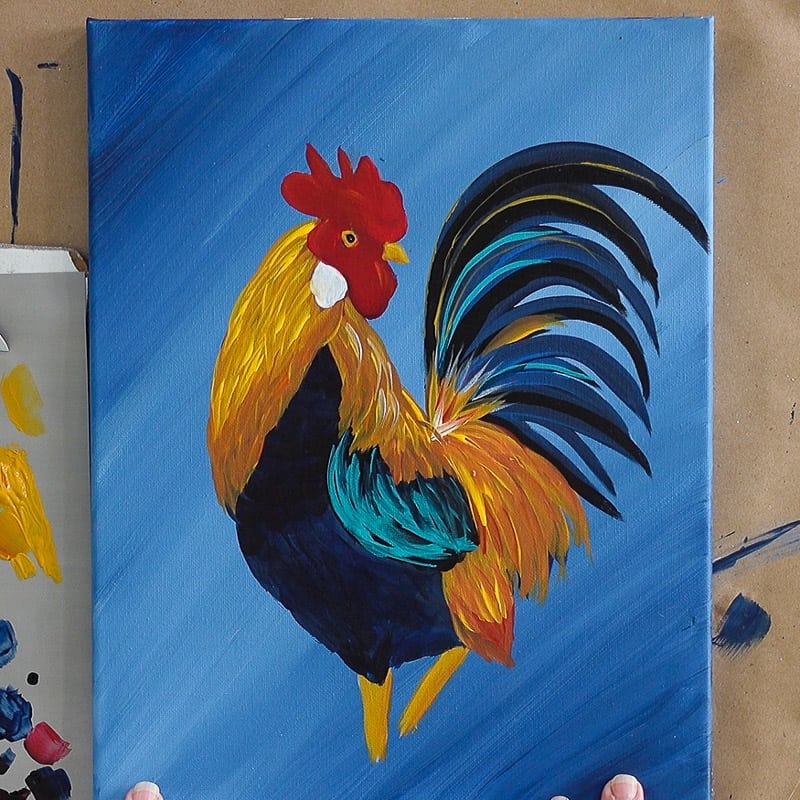
You could be done here but if you wish to add a real pop of color it is time to add some Aqua!
Load some Aqua onto your brush and using the chisel edge stroke in some touches of Aqua on his tail and wing. Start conservatively and add a bit more if you wish.
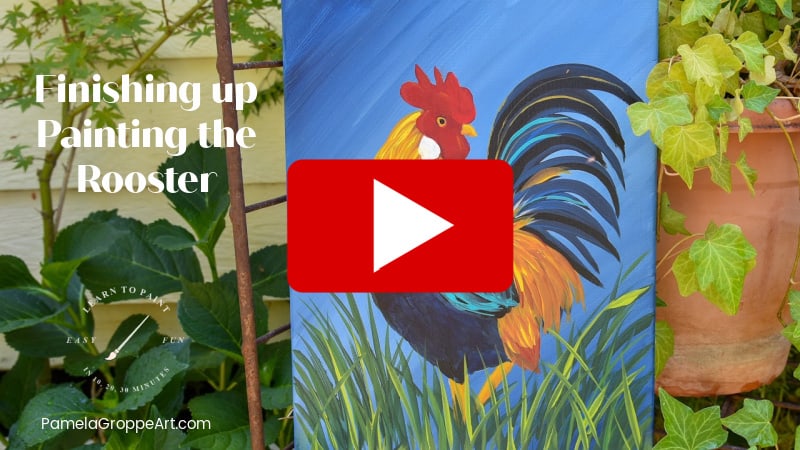
Adding the grass to finish the Rooster Painting
Now we are coming to the end. Load the brush with Thicket (a darker green) and using the chisel edge paint in some grass.
Reload the dirty brush with Classic Green, stroke in more grass. You want variations in color but the darker should be to the back.
Now reload again with Citrus Green and stroke in some bright color. Start conservative and add as you see fit. The grass should go in many directions and not just straight up.

When you are all done, don’t forget to sign your painting!
See the video:
So how did you like the 10, 20, 30 minutes to paint, the Rooster lesson?
Finish the Rooster Painting
This lesson focuses on the finishing details of the Rooster Painting! See the blog post for the instructions.
Materials
- Paint Colors Plaid FolkArt acrylics and/or Multi-Surface
- Yellow Ocher
- Raw Sienna
- Cardinal Red
- Licorice Black
- Moon Yellow
- Pure Orange
- Aqua
- Wicker White
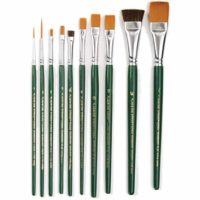
Tools
- FolkArt One Stroke Brush set
- 10/0 Liner or equivalent
Instructions
- See step by step instructions on website
Notes
You can use what colors you prefer, the paints listed were what I used in this lesson.
Recommended Products
As an Amazon Associate and member of other affiliate programs, I earn from qualifying purchases.
Happy Painting!