Morning Glory Topiary Painting
Create this beautiful Morning Glory Topiary Painting one easy stroke at a time. A beginner-friendly painting tutorial in acrylics.
I love topiaries in my garden, they just add that special touch. Today we are going to create a Morning Glory Topiary painting. This type of topiary is not based on real life, but artistic license. But that is what is so fun about art, you can create fantastical things that bring you great joy!

Morning Glory Topiary Painting Supplies
The printable supplies list is available at the end of this post.
Paint:
Plaid FolkArt multi Surface or regular acrylics
Teddy Bear Brown
Vintage White
Wicker White
Pueblo
Thicket
Basil Green
Coffee Latte
Real Brown or Burnt Umber
Cobalt Hue
Look at Me Blue
Licorice or Black
10 x 20 wrapped canvas
Graphite to transfer design
Plaid FolkArt Floating Medium or Glazing Medium
Crackle Medium
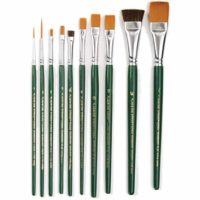
Brushes:
Donna Dewberry #12 flat
10 flat
¾ Inch Flat
¾ inch Scruffy Brush or Sponge
Paint a Terra Cotta Pot
Colors for the pot are Pueblo, Burnt Umber or Real Brown, Coffee Latte and Vintage White.
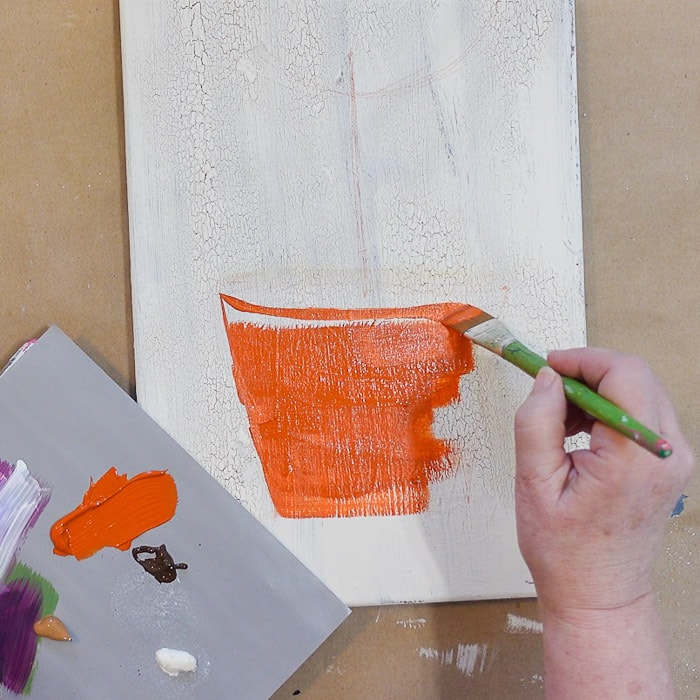
You can draw on a terra cotta pot or you can transfer the design using the pattern. It is a simple shape that you can alter as you please.
Here is how I transfer designs to painting surfaces, it is very simple.
Some pots are straight up and down and some are more tapered.
Fill in the shape of the pot with Pueblo and the 3/4″ flat brush. To shade along the right side add a touch of Burnt Umber or Real Brown to brush and drag from the right side toward the center of the pot. Be loose with it.
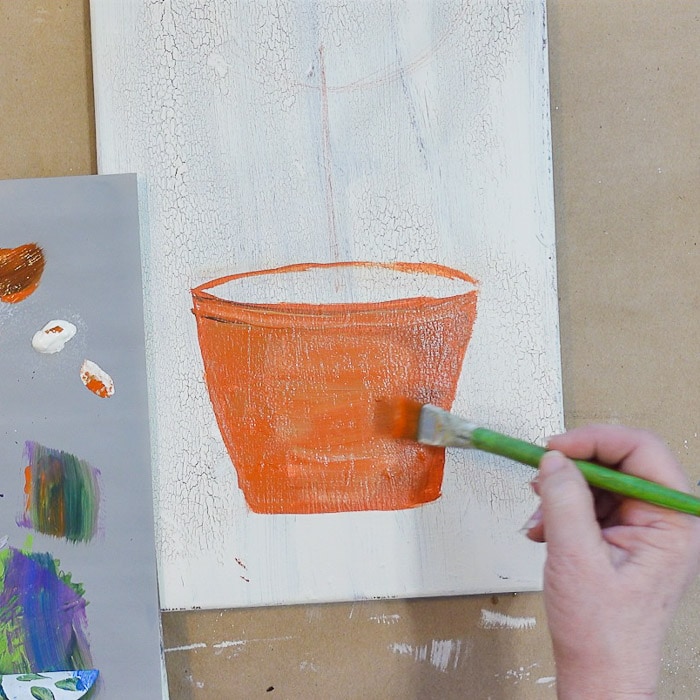
To add a touch of highlight add a touch of Coffee Latte to the brush and stroke the color from the left edge. add some in the center of the pot. You will be adding more shading and highlighting later, as well.
Don’t sweat this, just be loose and have fun with it. The pot is not the star of the show.
Paint the Topiary Trunk or Stem
Using the 3/4″ flat or the #12 flat double load with Burnt Umber and Coffee Latte. Using the chisel edge pull a slightly wavy line from the top of the trunk to the pot.
Need help with painting terms? See Basic Painting Strokes for help.
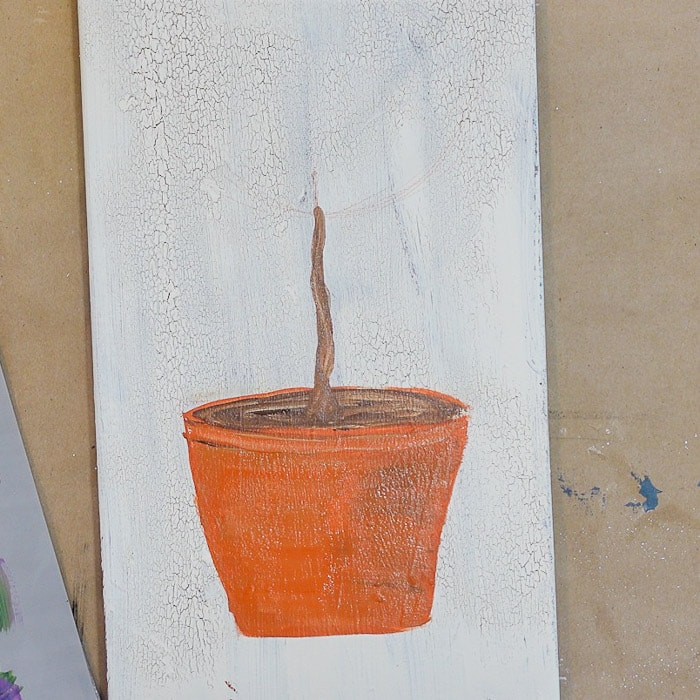
If you want this to be a straight line then go right ahead. I like the curvy feel in these topiaries. Add a touch of Vintage White to the brush to add a dash of highlight here and there in the trunk.
Topiary top foliage background
With the 3/4″ flat double load with Thicket and Basil Green. Slip, slap the color onto the surface, filling the orb shape.
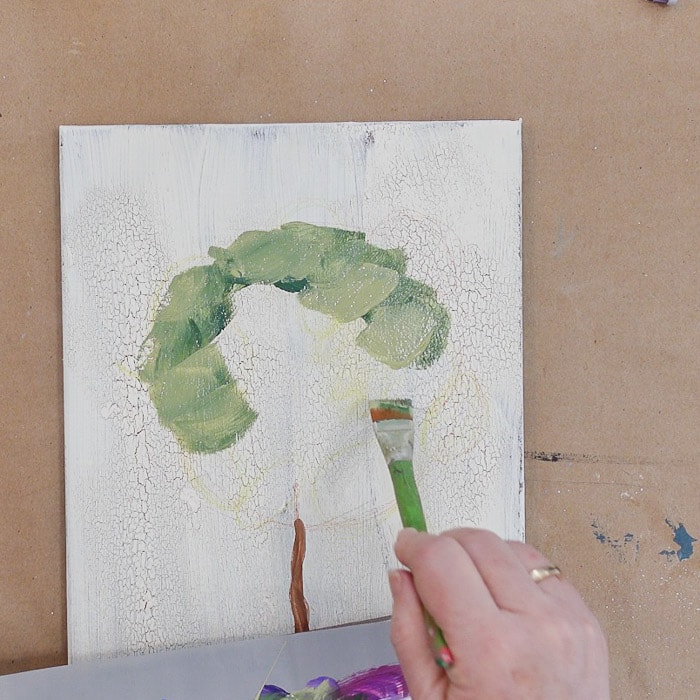
Be messy, and this is not a perfect circle just merely a circle shape.
Paint the Morning Glory
After the foliage has dried thoroughly, transfer the Morning Glory flowers to the surface.
Using the #10 flat brush double load with Cobalt Hue and Look at me Blue. Note that this is the flower that is facing backward. The upper edge will be a much lighter color.
Follow along the edge with the Cobalt Hue with the Look At Me Blue towards the inside of the flower.
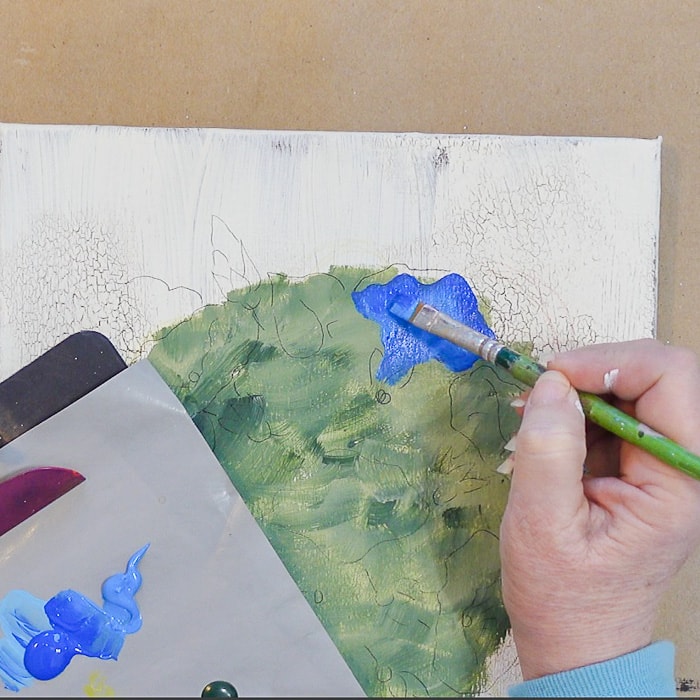
Follow the shape of the flower and fill it in with the chisel edge of the brush. (be sure to watch the video, it all makes more sense when you watch me paint it)
another Morning Glory lesson
All about painting Morning Glories
See a short but sweet tutorial all one painting Morning Glories.
Paint Leaves
Add the leaves where they emerge from under a flower. The leaves are painted with a double load of Thicket and Basil Green and the #10 flat brush. These are simple scallop stroke leaves that you can find the tutorial for here.
Add the lighter Blue
The morning glory bud is an easy stroke of Cobalt Hue, just fill in with the chisel edge or make a slider leaf stroke. We will add the detail later.
Using a mix of the Look at me Blue and a touch of Wicker White, paint in the turned back edge of the backward-facing morning glory and pull it into the centers of the other flowers.
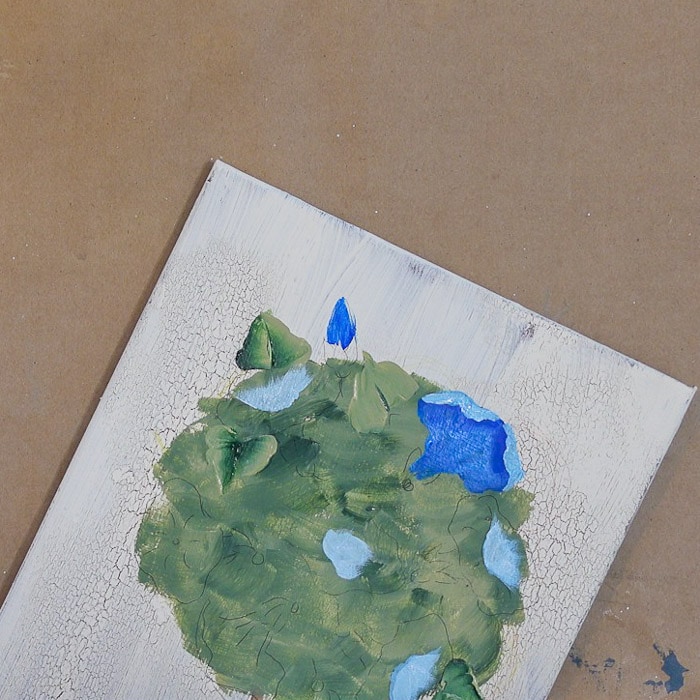
Paint in the rest of the flowers using the #10 flat and a double load of Cobalt Hue and Look At Me Blue.
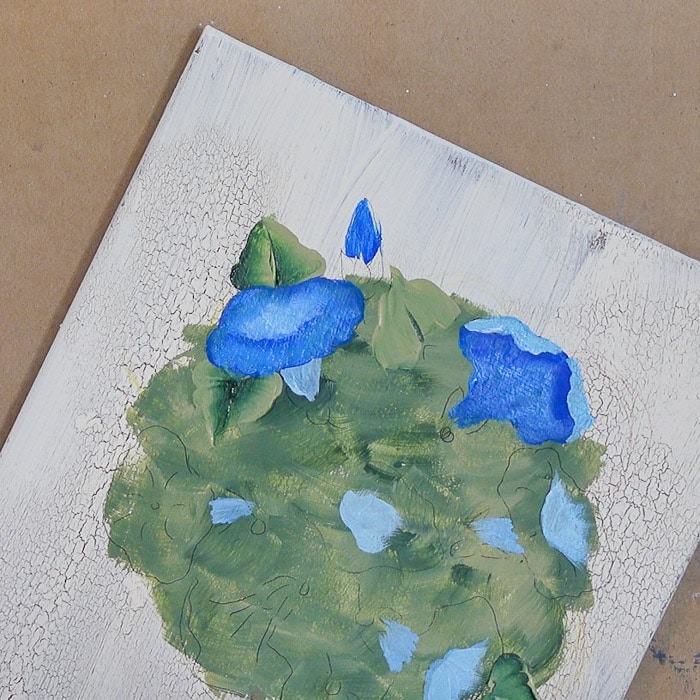
Follow the shape of the petals. Pull in lighter color where the petals curve.
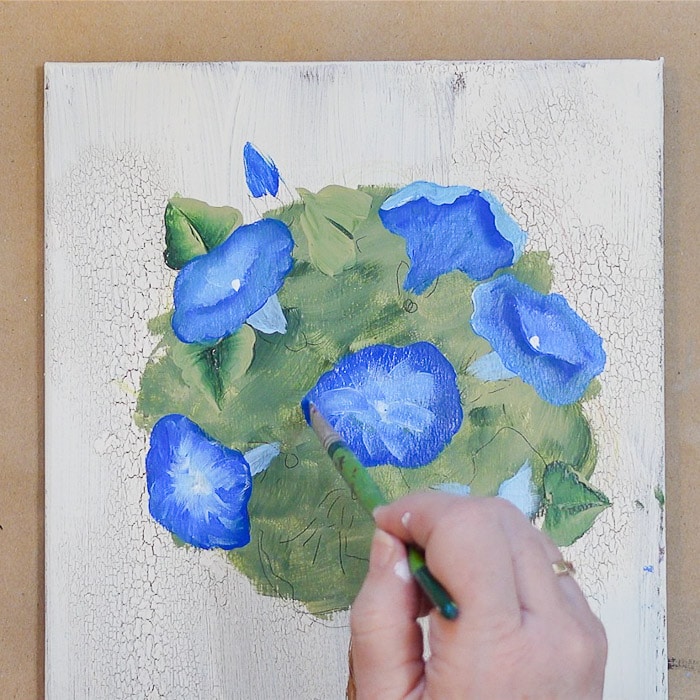
To mix it up a bit you can also paint a flower or two with the Look At Me Blue on the outside edge of the flower.
Bud Details and Calyx on Flower
To create the detail on the flower bud using the liner brush and the Look At Me Blue. Follow the shape of the bud making an S-shaped line. This mimics how the buds are wrapped petals before opening.
To paint the calyx on the flowers use the #10 flat brush double loaded with Thicket and Basil Green and a chisel edge stroke. Just drag a touch of color up the base in 3 lines.
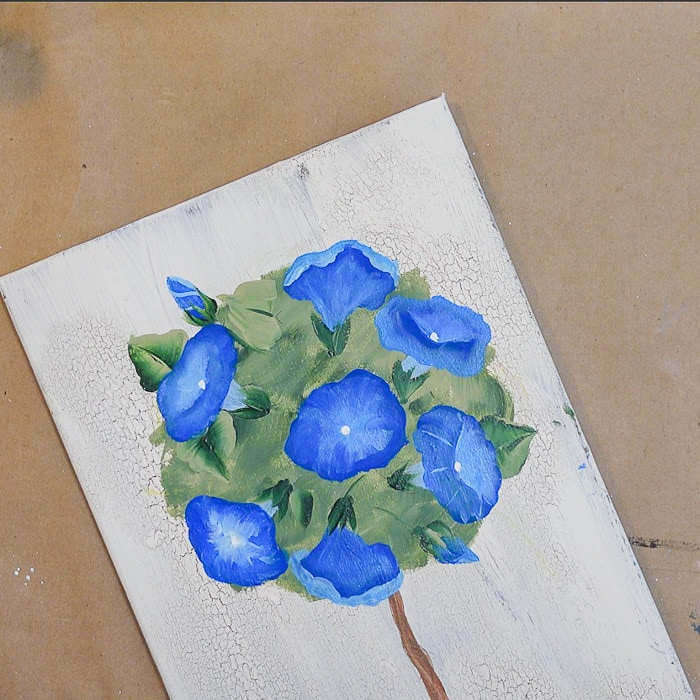
Add leaves and faint hint of vines coming from the base of the flower calyxs as you please. Less is more.
Note how the lighter color of the flowers follows the curve and is not a straight line especially on the front-facing flower. Don’t get too fussy with it, they will all come together as a whole.
Foliage at the Base of the Topiary
Using the 3/4″ scruffy brush or a sponge tap in some of the greens. Be loose and light with this, carry some down the edge of the pot. Add a touch of white in areas to highlight. Very light touch!
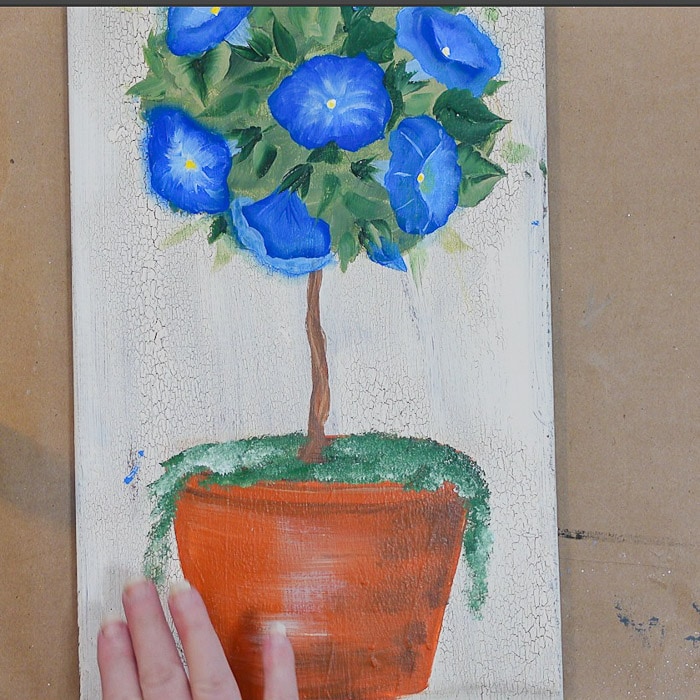
To add a touch more highlight to the pot use a touch of Vintage White or Wicker White on the brush and light brush some faint spots onto the center of the pot.
Drag a touch of shadow under the lip at the top of the pot. This defines the roundness of the lip. In the other Terra Cotta pot tutorial, I have a wider edge on the pot of traditional terra cotta pots. I have some of these round-edged ones I just love and wanted them in this painting.
Morning Glory Topiary Painting details
Some of these details or completely optional. I floated some transparent color around the outside edge of the morning glories.
You can add a vine trailing up the trunk with a few leaves and a morning glory bud, if you like.
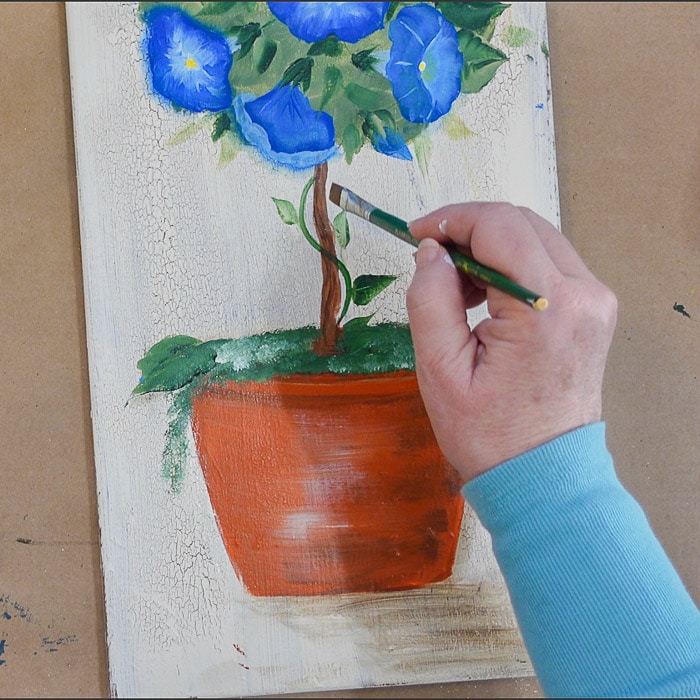
Add some shadowing under the pot to the right with a transparent layer of Burnt Umber and a touch of Black. Dry brush it in or use Floating medium with a touch of color to keep it transparent.
Add a scallop edge leaf to the top of the pot. And add some shadowing down the right side of the pot.
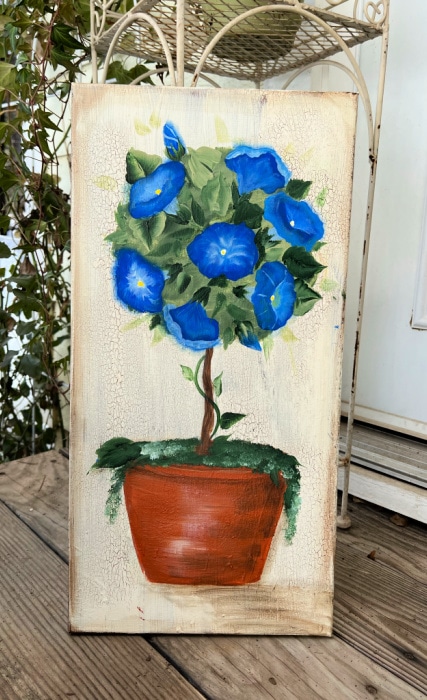
Now you have a lovely Morning Glory Topiary Painting!
Watch the video for even more tips and tricks!
Morning Glory Topiary Painting

How to paint a Morning Glory Topiary. Easy step by step painting tutorial for novice painters to more advances. This is first in a 3 part series of topiary paintings!
Materials
- Paint:
- Plaid FolkArt multi Surface or regular acrylics
- Teddy Bear Brown
- Vintage White
- Wicker White
- Pueblo
- ThicketBasil Green
- Coffee Latte
- Real Brown or Burnt Umber
- Cobalt Hue
- Look at Me Blue
- Licorice or Black
- 10 x 20 wrapped canvas
- Graphite to transfer design
- Plaid FolkArt Floating Medium or Glazing Medium
- Crackle Medium
Tools
- Brushes:
- Donna Dewberry #12 flat
- #10 flat
- ¾ Inch Flat
- ¾ inch Scruffy Brush or Sponge
Instructions
- See blog post for step by step instructions!
- Watch the video for added details you will find helpful.
Notes
You can use what colors you have, mix it up for your own unique creation!
Recommended Products
As an Amazon Associate and member of other affiliate programs, I earn from qualifying purchases.
The downloadable pattern to trace is available in the shop for $3.
But you are welcome to print off the free patterns of how to paint a terra cotta pot and a pattern for morning glories . You can put them together and create your own topiary, They are located in the Resource library . The password for the Resource Library is in every email I send.

