Paint a Fall Leaf Wreath
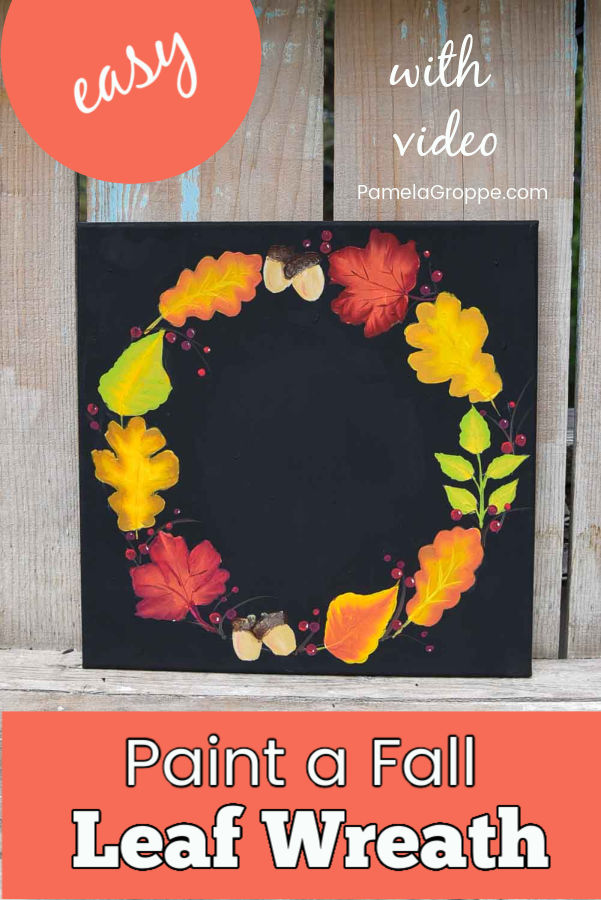
Paint a Fall leaf wreath one easy stroke at a time. Easy painting tutorial in acrylics for autumn leaves. Beginner friendly.
Want to paint a Fall leaf wreath? This simple painting tutorial will get you started quickly and easily.
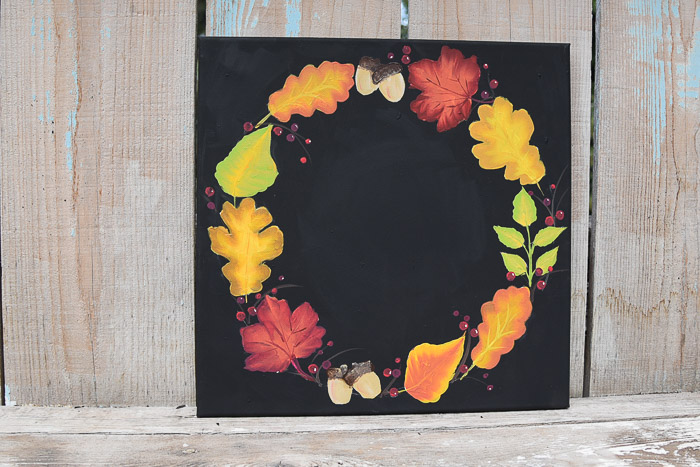
This Fall leaf wreath design is painted on a 14 in gallery wrapped canvas base painted with Black acrylic paint by Ceramcoat.
This post contains affiliate links. If you make a purchase after clicking a link I may make a small commission at no added cost to you.
Paint undercoat for Fall Leaves
Since yellows, oranges, and reds are not opaque they can become dull looking when painted on dark surfaces, like this black canvas.
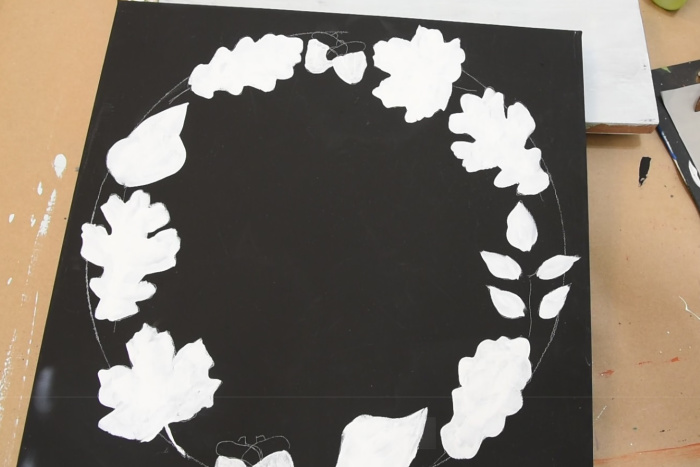
To make sure they turn out bright and beautiful the extra step of undercoating the leaves with white is important.
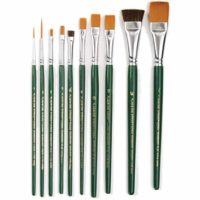
Put on some music or something else you find relaxing and just fill in the leaf shapes with Wicker White. For this step use a #12 flat brush or size to suit you.
Base Paint Leaves
Next up you will want to base paint your leaves with some Fall colors with a #12 flat brush.
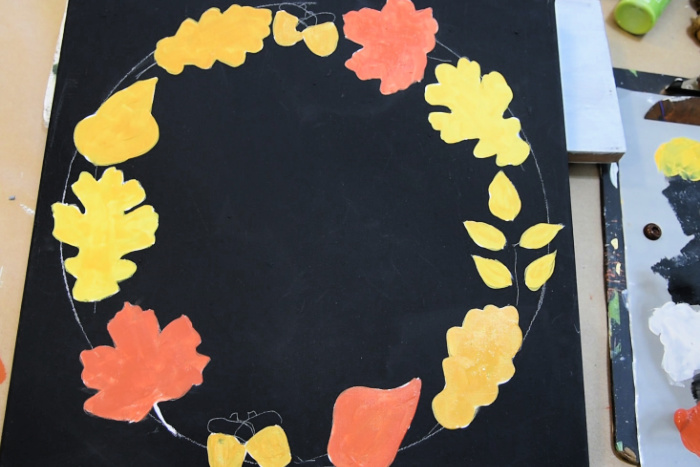
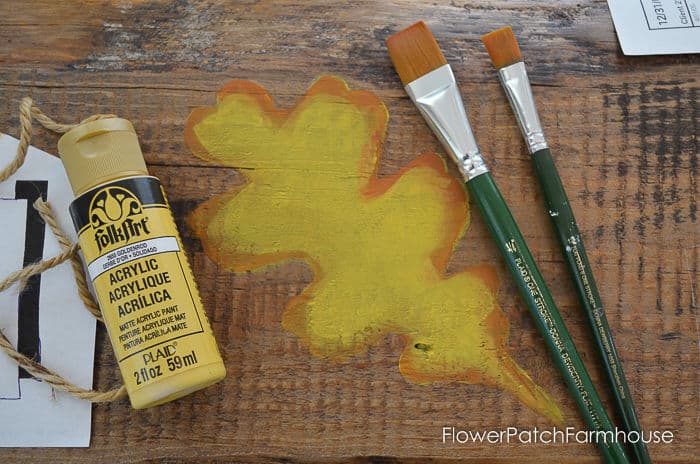
The deeply lobed oak leaves were base painted with School Bus yellow, the Maple leaves in Autumn Leaves and the rest of the leaves were base painted with Yellow Ocher. Also, the acorns were based with Yellow Ocher.
You can choose your own base colors as you wish. These are just what I used. Feel free to mix it up.
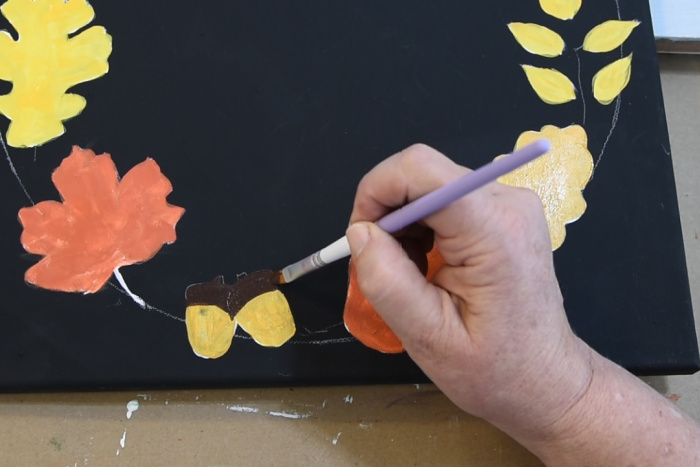
Base paint the Acorn caps with Burnt Umber and a #6 or 8 flat brush.
Are you new here and don’t know the basics? Try this post for some help!
After the Burnt Umber has dried you can dab on some Camel, Linen mixed with Burnt Umber, or another tan color with the corner of your brush to create a texture on the caps.
Add some shadows and highlights to the Acorns. The video shows this very well.
Paint Maple Leaves
Now using the #12 flat brush, double load with Autumn Leaves and Berry Wine.
With the Berry Wine side along the outer edge of the leaf design, paint the leaf with a slight wiggle of the brush.
You need to keep your eye on the outer edge as you glide the brush along. Reload as necessary. (the video at the end of this post will be most helpful in showing you how the brush moves)
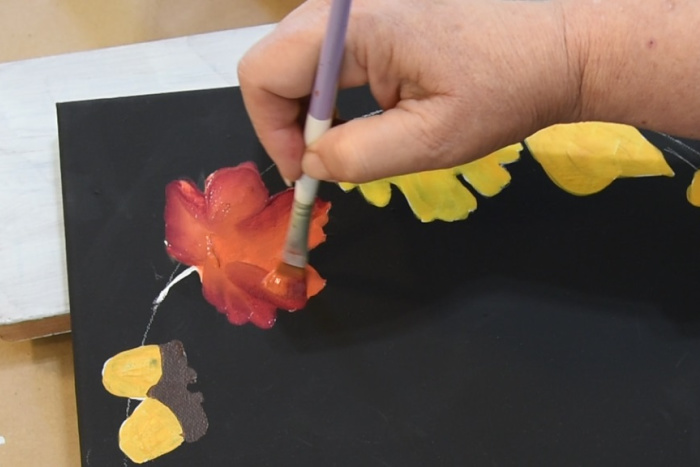
Let the leaf dry.
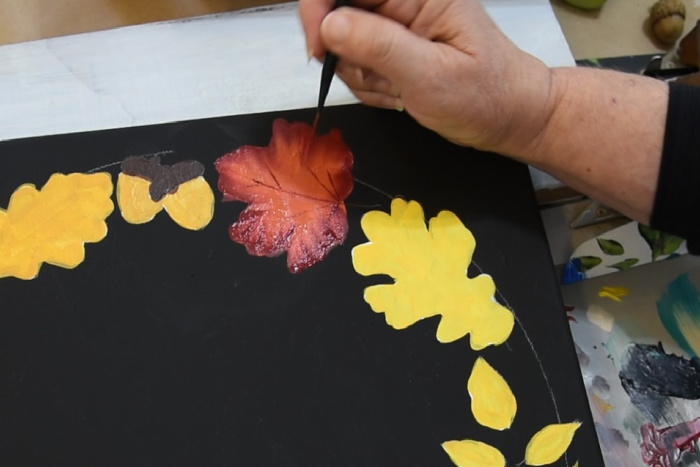
Next come back with a liner brush and inky Berry Wine paint, stroke in the veining on the Maple leaf.
Paint the Oak Leaves
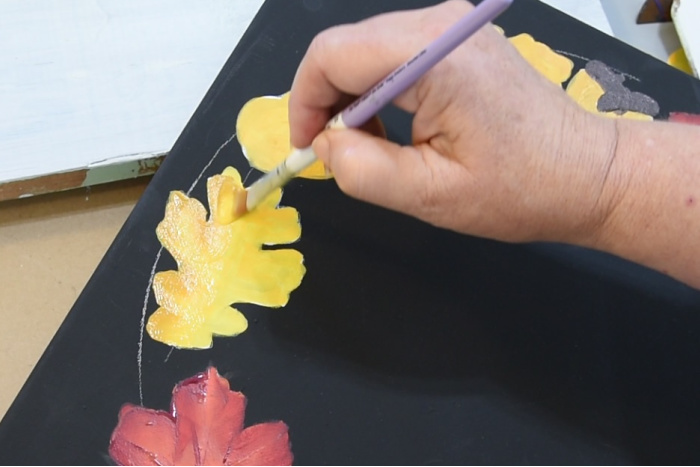
Now you will use the #12 flat brush, double load it with School Bus Yellow and Gilded Oak Plaid FolkArt paint.
Following the outside edge of the leaf stroke the paint on with the Gilded Oak to the outside.
Paint spray of leaves
Paint both sides of the oak leaf. You can bring in veins if you wish or leave it without.
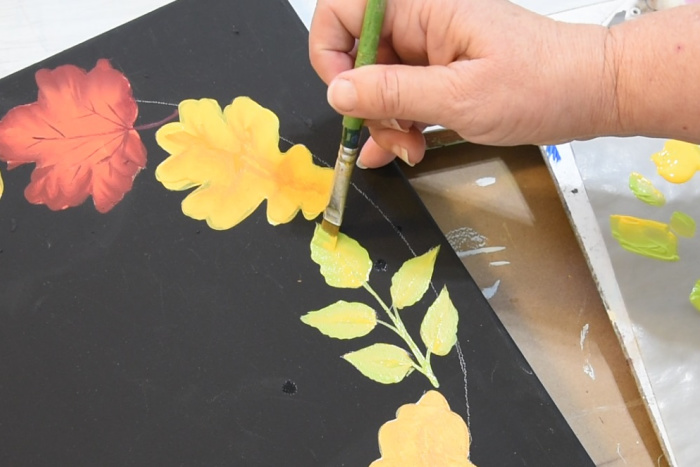
The small spray of leaves is painted in Citrus Green and School Bus Yellow.
Using a #10 flat or size you are comfy with paint the leaves with a slight wiggle stroke. Citrus Green to the outside edge.
Paint Smaller oak leaves
The smaller oak leaves are so satisfying to paint. You just smooth on the paint like spreading icing on a cake.
Double load the #12 flat brush with Autumn Leaves and Yellow Ocher. Add a touch of School Bus yellow to the Yellow Ocher to give it a touch of bright color.
With the Autumn Leaves to the outside edge just glide the paint on smoothly, keeping your eye on the outside edge and to stroke.
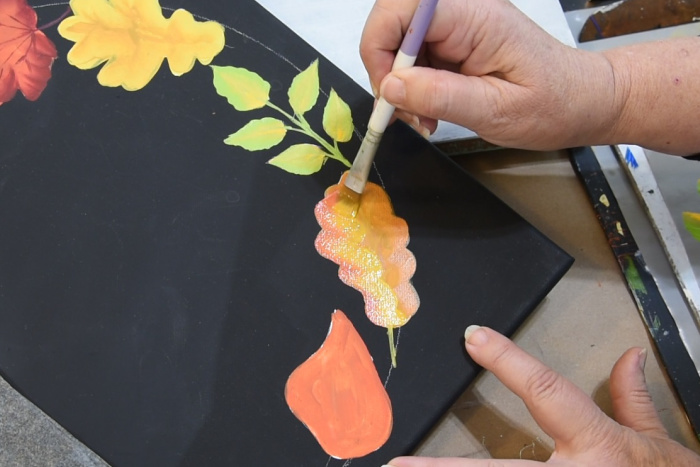
Don’t be confused in the video, I first started these leaves with some more golden colors then changed them as I did not like how it looked the first time around.
Add veining with a liner brush and School Bus yellow.
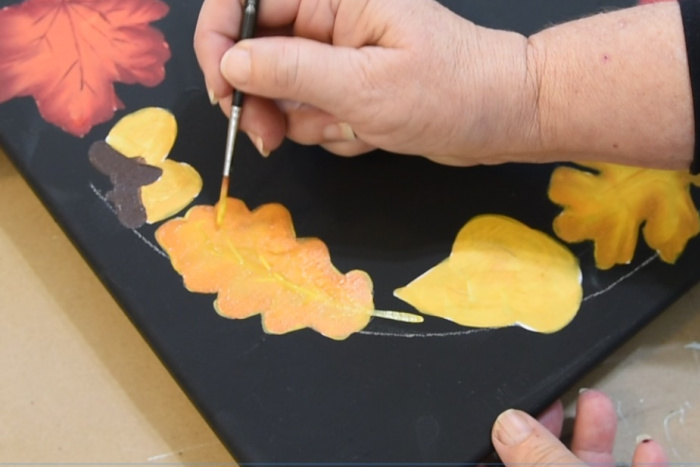
Paint rounded leaves
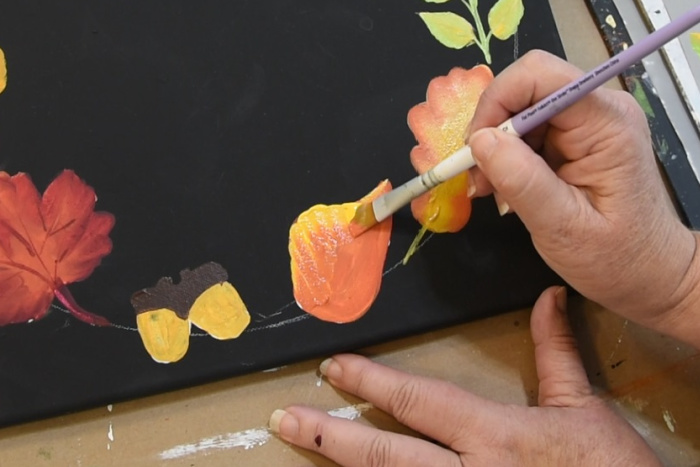
In this design, the two rounder leaves are painted using different colors.
One is painted with Autumn Leaves in the center with the brighter School Bus yellow to the outer edge and the other is painted with Citrus Green and School Bus yellow, with the green to the outer edge.
Using the #12 flat brush and a wiggle stroke just paint on the colors of choice.
You can add veining if you wish or leave them without. The option is yours.
If you need a bit more help go ahead and check out the Leaf Painting post all about painting leaves.
Paint Berries
Use a dauber (they come in many sizes) or using something like a pencil eraser add berries to the design.
Start with various size dots with Berry Wine.
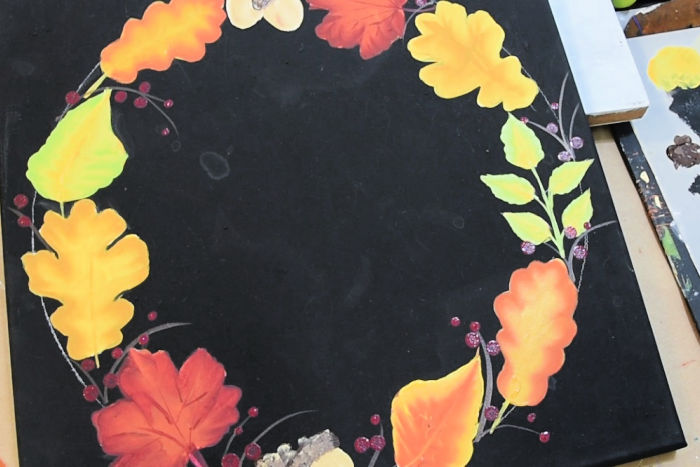
Let the berries dry. Once they are dry add Alizarin Crimson to some of the berries using the same dauber or tool. Just layer it on top of the Berry Wine color.
You can do this to all the berries if you like or you can leave some darker as I did for variation.
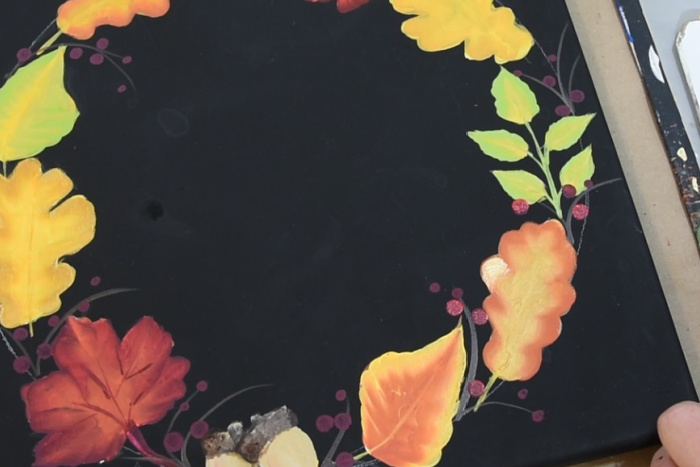
Let that dry thoroughly.
Using a liner brush and Wicker White add just a touch of light to the berries. Again you can leave some without the highlight for variation.
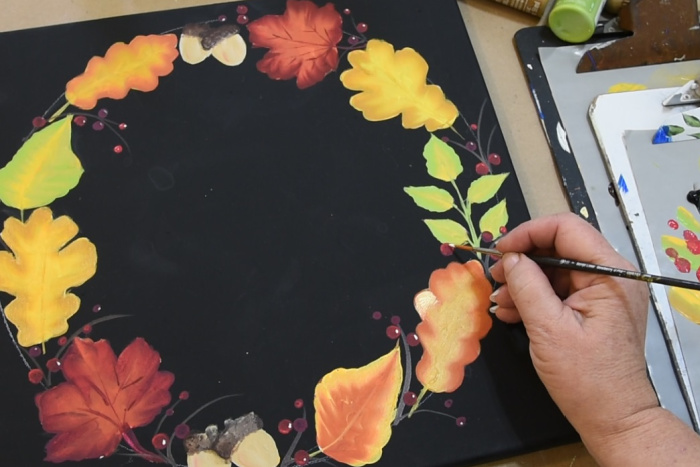
Ready for the video, it may clear up any questions you may have.
Happy Painting!
The pattern and supply list are available below, just sign up or sign in to access them. The traceable pattern is of the leaves, you will place them on the circle as you please

Great project….like the detailed instructions!!
Thank you so much for your resource Lib. of patterns and tutorials. They are very
helpful. I want to go through all of your tutorials on different flowers. I like painting florals.