Paint a Basket in Acrylics
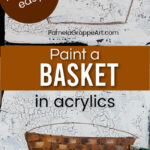
Paint a basket in acrylics. A pretty basket is a great base for so many things in a still life painting and isn’t hard once you have a learned a few simple steps. Combine this lesson with any of the flower, leaves and fruit painting tutorials for your own unique creations!
Paint a Basket in Acrylics is a short, skill-building painting tutorial. These simple steps will lead to an outstanding result. Change the colors, shape, and size as you please. This is a very basic basket form that is loose and easy.
This post contains affiliate links. If you make a purchase after clicking a link I may make a small commission at no added cost to you.
Materials to Paint a Basket in Acrylics
(a printable list is available at the end of this post)
Plaid Folk Art Paint (or paint you have)
Burnt Umber or Real Brown
Raw Sienna or Coffee Latte
Vintage White or Wicker White
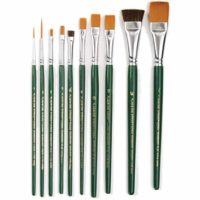
Brushes
#12 Flat
3/4″ Flat
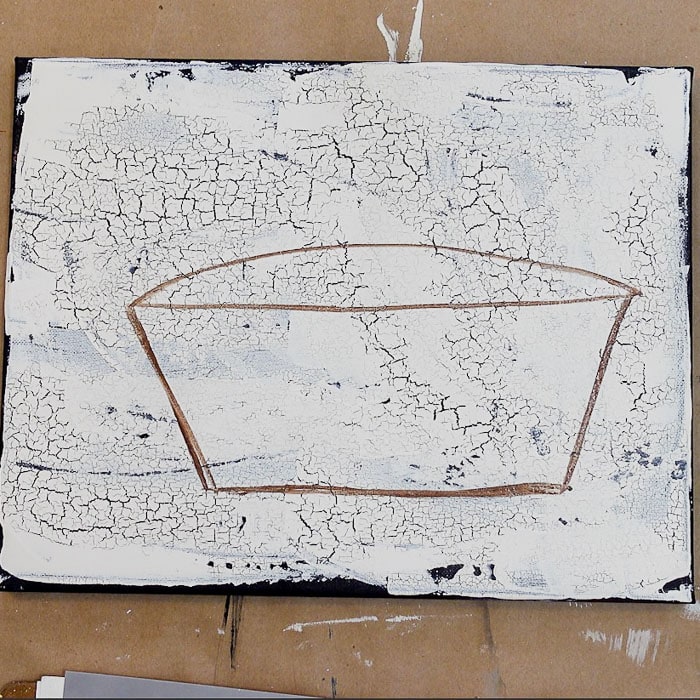
Base Paint Basket in Acrylics
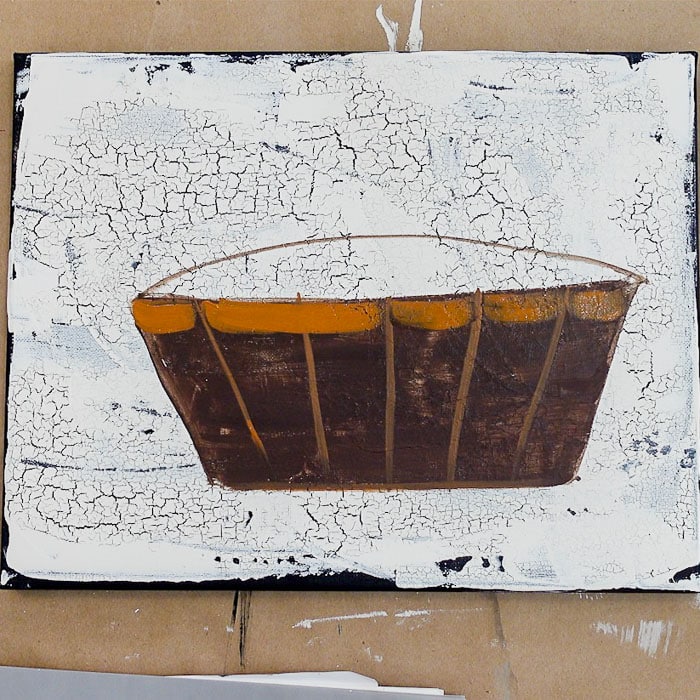
Using the 3/4″ brush and Burnt Umber or Real Brown draw the shape of your basket with the chisel edge. If it helps you, get a basket to look at as you paint and draw its shape.
For more help with terminology I use, see this post on Basic Painting Strokes.
Using the flat of the brush fill in the basket shape. Don’t worry about perfection. Typically when I paint a basket filled with flowers or whatever you don’t really notice the details of the basket, it is merely a backdrop.
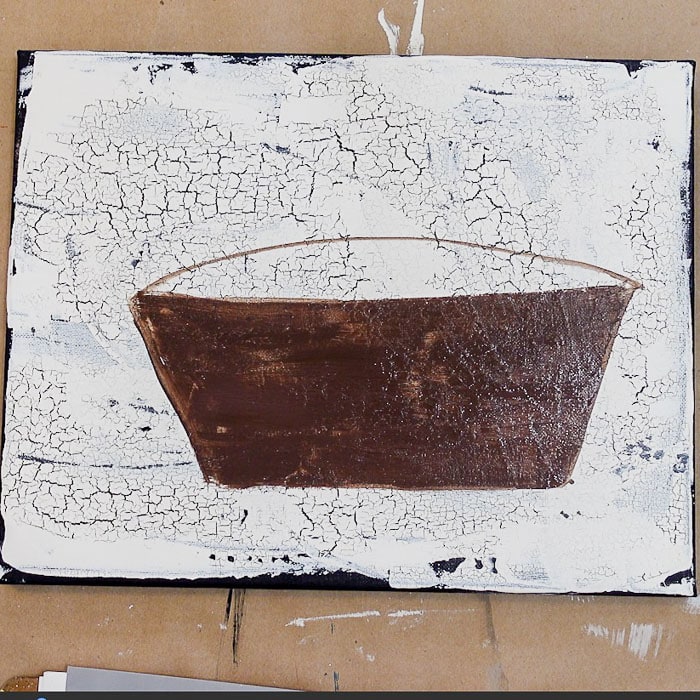
Let yourself be loose and free while painting, it is just much more fun.
Paint in Basket Stakes
Let the base color dry or use a blow dryer to hasten the drying.
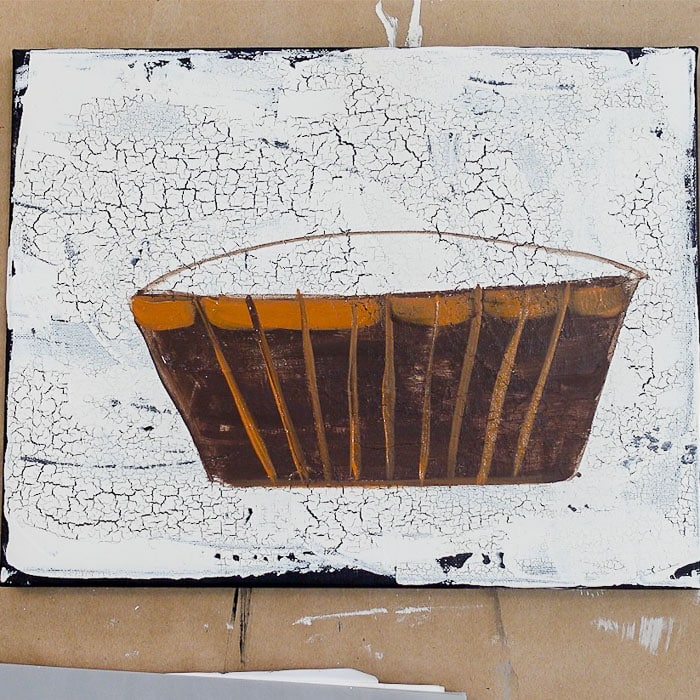
With the 3/4″ flat brush or a brush you wish, load with the Raw Sienna or Coffee Latte, (a medium color), using the chisel edge, draw the vertical lines of the basket. These are called basket stakes in basket weaving. (I had to look that up)
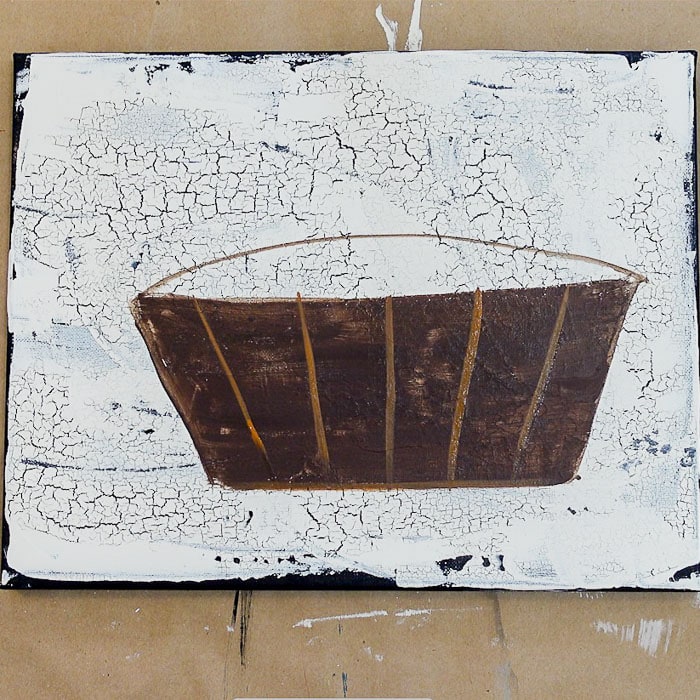
At first, I had them too far apart and needed to add more. As I started to add the weavers (the horizontal basket pieces) I wasn’t pleased with the look.
So I added in more basket stakes. The beauty of being free in painting is mistakes like this do not discourage you. You just learn how to fix them and be happy.
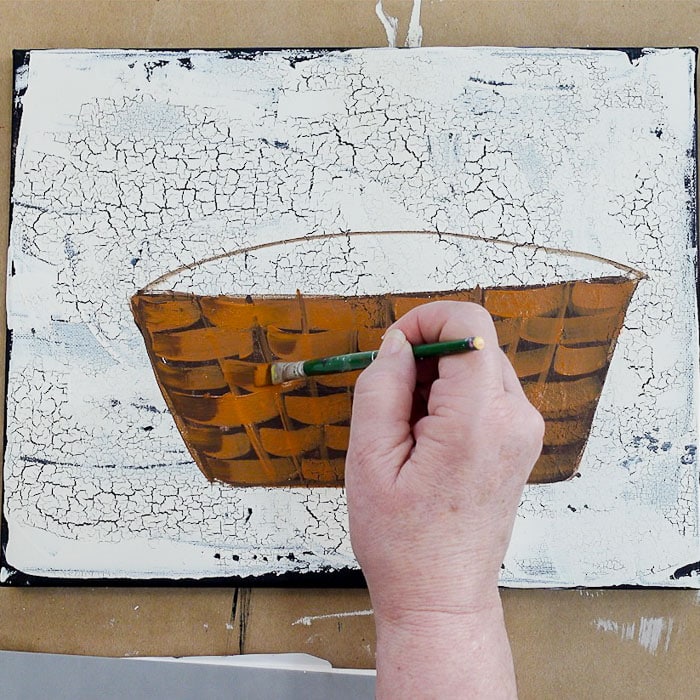
Add Basket Weavers
Now that you have enough basket stakes it is time to add the weavers. Use the #12 flat or brush that fits your design, and load with Raw Sienna or Coffee Latte.
At first, I used a double load of the Burnt Umber and Raw Sienna but I did not like how it was working so I changed to just Raw Sienna loaded on the brush. Stroke on the paint with a flat stroke from one side of the basket stake to the other.
As you paint the weavers, make sure to overlap a basket stake with every other one.
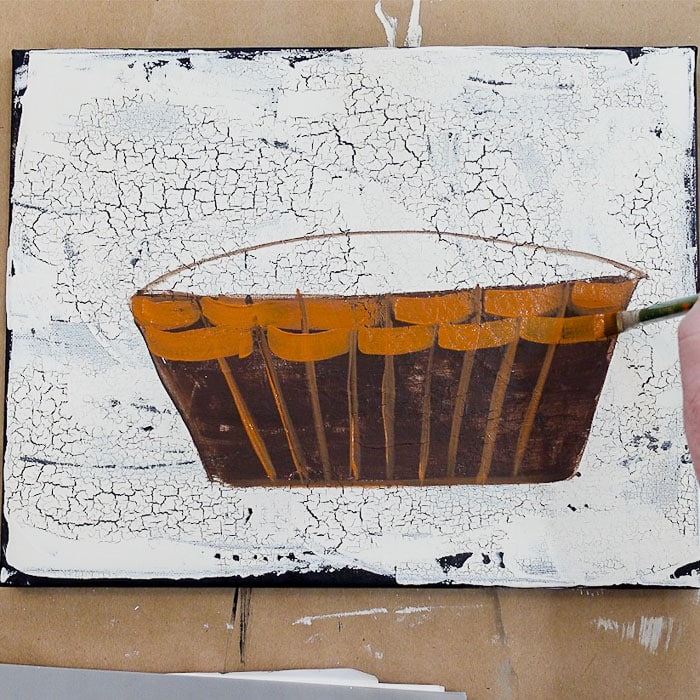
Stagger the strokes of the weavers as you descend the basket. You will note the upper row of weavers is offset from the next row.
Paint all the weavers like this until your basket is complete.
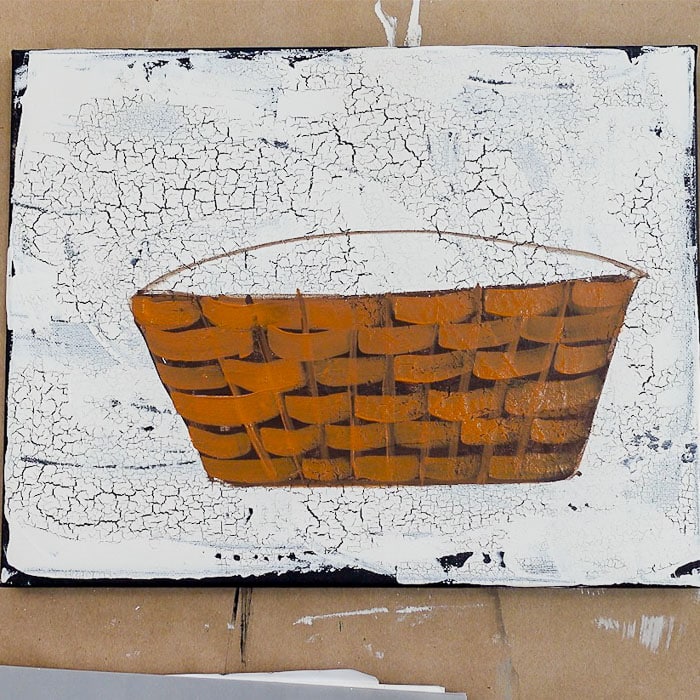
Note how it isn’t neat and tidy, the strokes are a little wonky in places. This is what I mean about being loose and free.
Now certainly, if you prefer tight and controlled, then go right ahead but it isn’t necessary for a beautiful result.
Shading Basket Weavers
To make it seem like the basket weavers have shape, give them a touch of shading. Using the #12 flat add a touch of Burnt Umber (or your dark brown color) and pull a touch of that color from the point where the basket weavers would be emerging from beneath the basket stakes.
Shade from both sides. Don’t worry about being uniform, just give it a touch of darker color.
Highlighting Basket Weavers
Next up you will be highlighting the basket weavers. Using the same brush and a light color, like Vintage White or Wicker white, lightly brush a touch of color on the center portion of the basket weavers.
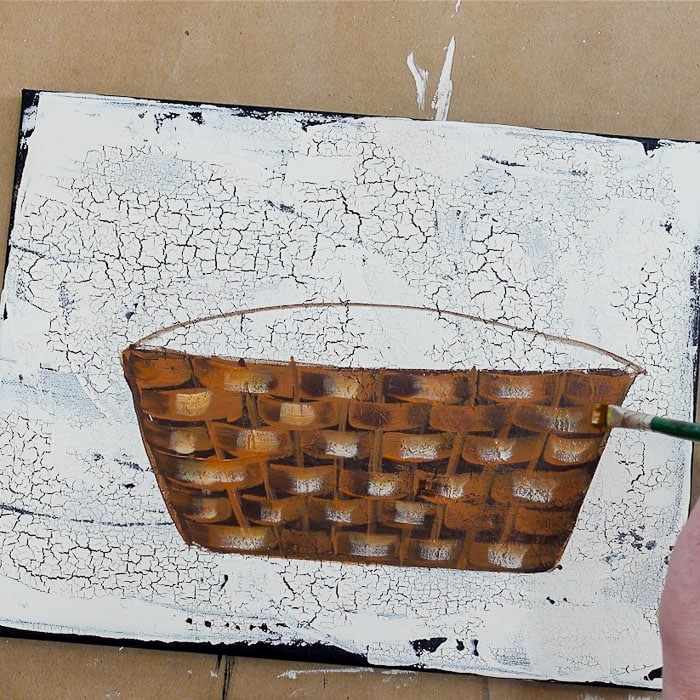
Note how the color is faint, a dry brush effect. Highlighting the center makes the weavers seem to be coming towards you, fooling the eye into thinking they are curving slightly.
And that is the basics of painting a basket in acrylics.
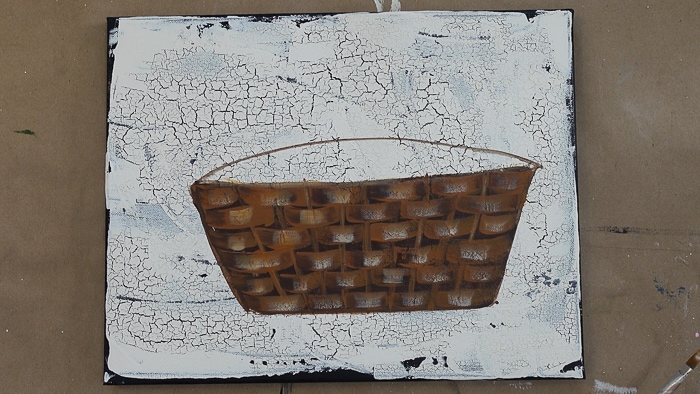
Paint a Basket in Acrylics – Choose your own design
Now for the extra fun part. Paint the basket in colors of your choice that fit your design. I started with a dark brown but you can easily make it much lighter.
For more basket painting ideas check out these painting tutorials:
Paint a Basket of Pansies
Basket of Geraniums
I wish you Happy Painting!
Printable Supplies List
Paint a Basket in Acrylics

Paint a basket in acrylics. Step by step painting tutorial for a woven basket.
Materials
- Plaid Folk Art Paint (or paint you have)
- Burnt Umber or Real Brown
- Raw Sienna or Coffee Latte
- Vintage White or Wicker White
Tools
- 3/4" flat brush (Donna Dewberry one stroke set)
- #12 flat brush
Instructions
- See blog post for instructions
- There is a video to paint along with as well for added instruction.
Notes
You can make this basket any color you like.
Recommended Products
As an Amazon Associate and member of other affiliate programs, I earn from qualifying purchases.