Paint Background for Rooster in 10 minutes
Quick and easy background for a Rooster Painting. This is part of the 10, 20, 30 minutes to paint series, the Rooster. Join us and learn to paint in minutes a day.
This is the 2nd lesson in the Rooster painting. First we gessoed our canvas’ for a better result and now we will take 10 minutes to paint a simple background.
We will be using a 11″ x 14″ canvas for this painting.
Related: Add gesso to your Canvas for a Better Painting!
A quick note, the time for this is for actual painting and not clean up. Always allow time to clean your brushes well.
Related: Basic Brush Care, proper cleaning of brushes for long life
This post contains affiliate links. If you make a purchase after clicking a link I may make a small commission at no added cost to you.
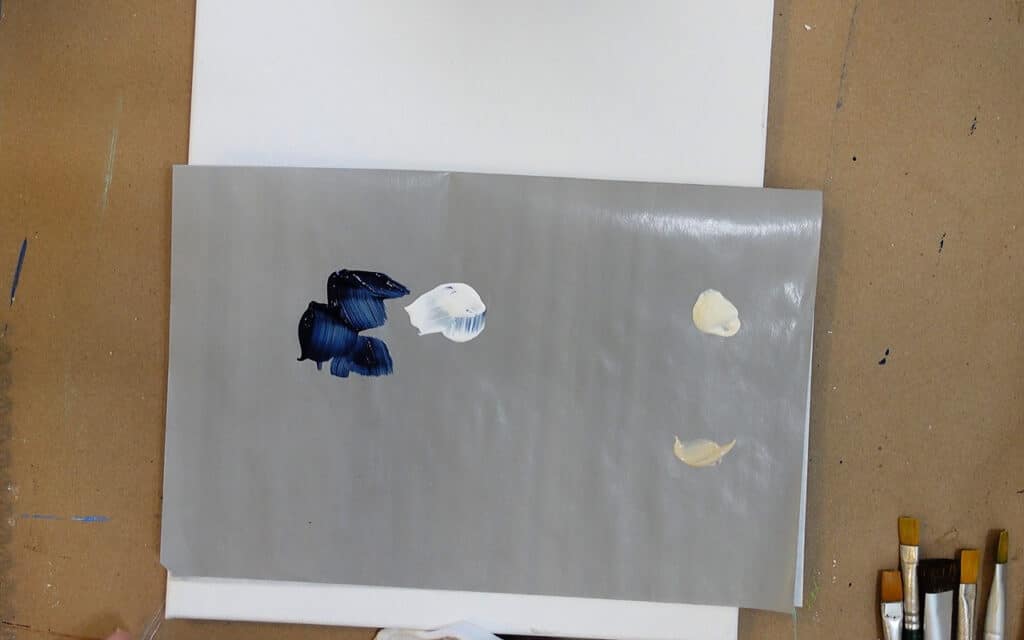
Colors to paint Background for Rooster painting
The colors chosen for this background are Plaid FolkArt Multi-Surface Prussian Blue and Wicker White. Optional colors you can add to tone are Warm White or Linen. But that is completely up to you and not a necessity.
I use the Richesons Grey Matters Palette Paper to lay out my paint.
Related: My favorite Painting Supplies
Practice on Mixed Media Pad for color choices
This is a bit of extra info. Use a Canson Mixed Media Pad to test out color choices if you wish to paint a different background color.
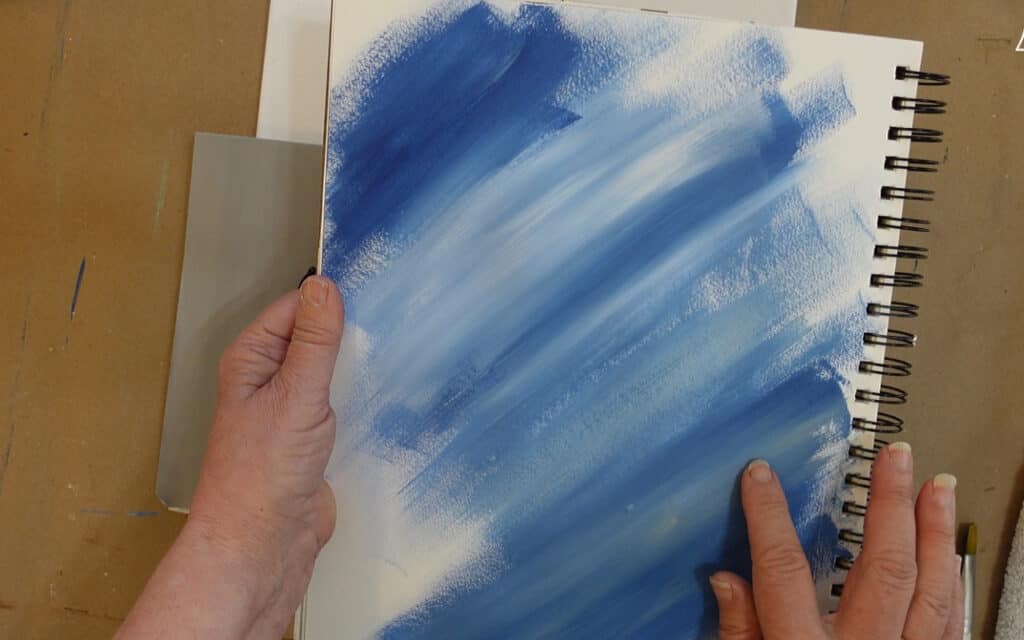
Begin Background Painting for Rooster
Using the 3/4″ inch Brush, load with Prussian blue, start in one corner of the canvas and stroke in the paint.
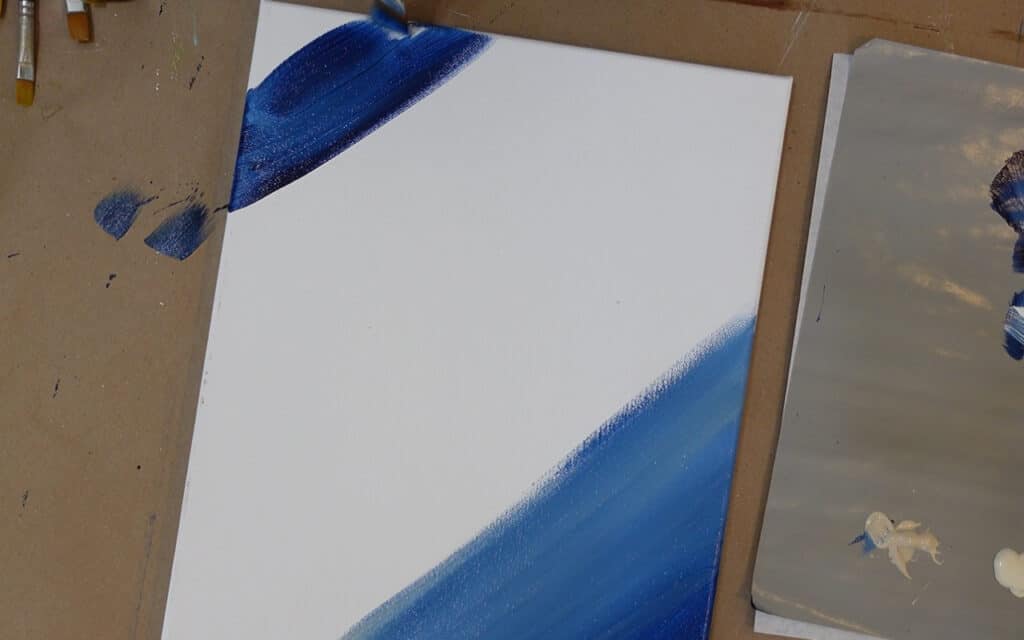
Add more white as you work towards the center. Don’t worry about being perfect! This is the background and not the star of the show.
If you get it too light on the corner then wipe out your brush and load only with Prussian Blue and go over the corner again. As you paint go around the edges with the color. (this lets you choose to NOT frame it if you wish)
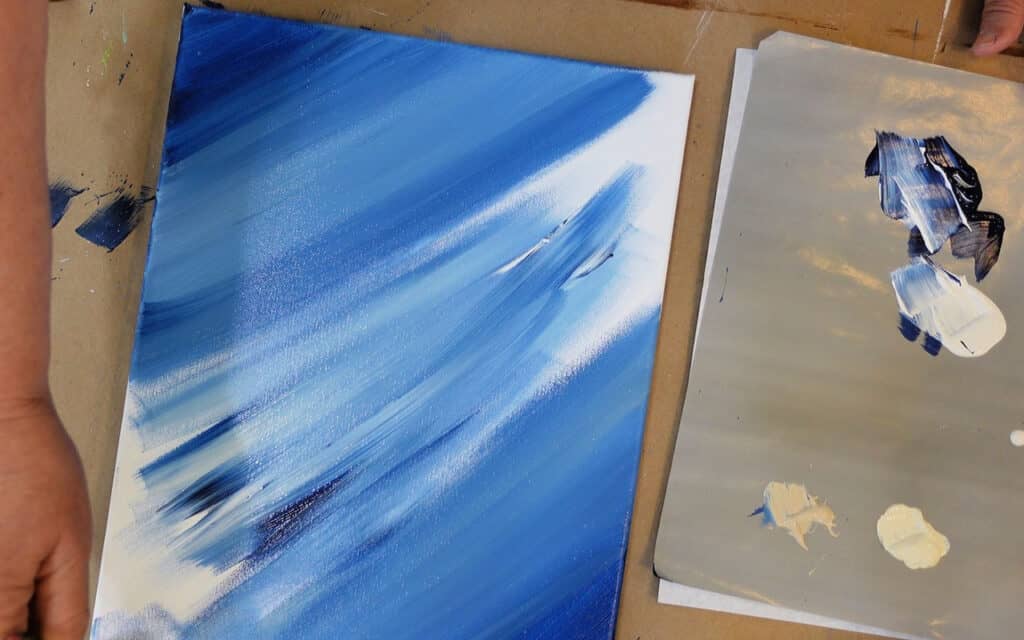
Blend the Background for the Rooster painting
Since we are working fairly quickly the paint stays wet and should blend easily. I will include video link at the end of this article so you can see it in action.
If you find the paint beginning to become tacky and lift then stop, let it dry, then continue on. This can happen if it is very dry or hot in your painting area. Don’t worry, it will work fine, it is just the nature of acrylic paint.
The beauty of acrylics is it dries fast but that can also be a curse. As you continue on your painting journey you will get a feel for it.
Just remember, if you absolutely hate it when you are done, walking away and coming back can give you a fresh perspective. I have been ready to toss many a painting because of being unsatisfied with how it is working out but when I walk away and come back later I see that I was wrong and continue forward with great success.
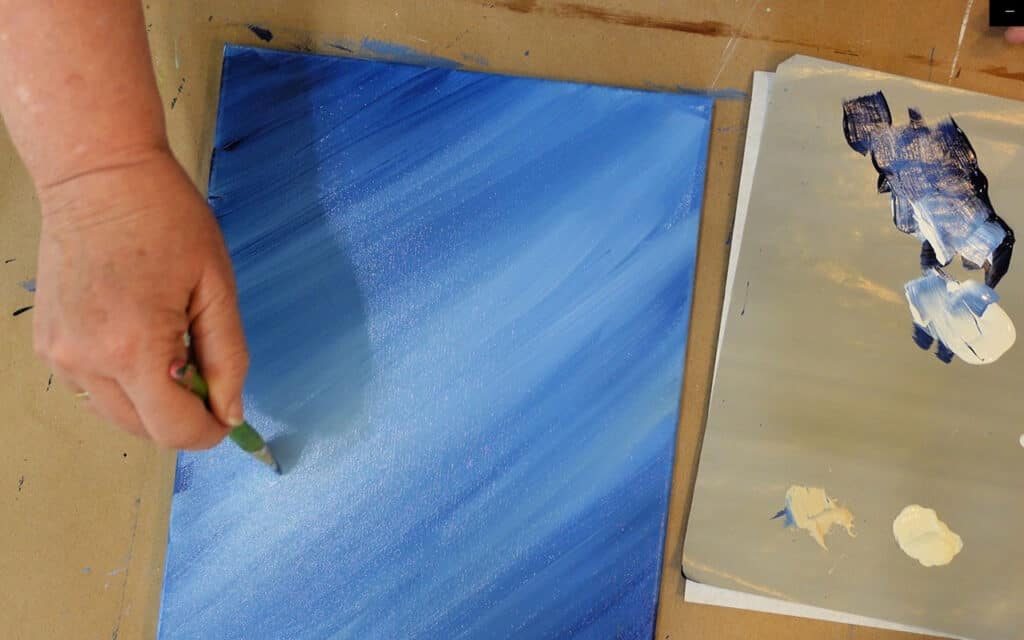
Background for Rooster painting is complete!
Let the background dry well. This can be in a few hours, or a few minutes. If you want to keep going to the next section quickly then use a blow dryer to speed drying time.

Watch the video for a step by step…
Now you are ready to proceed to the next step: Transferring your Design
Paint Background for Rooster in 10 minutes

Easy background painting tutorial for the Rooster painting in the 10, 20, 30 minutes to paint series. Perfect for beginner painters with little time.
Materials
- 11" x 14" gallery-wrapped canvas
- Plaid Folk Art Paint:
- Prussian Blue
- Wicker White
Tools
- Donna Dewberry One Stroke Brush set
Instructions
- Start with a gessoed canvas
- Load paint onto palette paper
- Using 3/4" brush paint Prussian Blue only onto first corner of canvas
- Add Wicker white as you work/stroke towards center, going from darker to lighter
- Begin from opposite corner then same way, Prussian blue, then adding white as working towards center
- Stroke quickly to blend colors
- DO NOT over blend, you want striations of color
- Paint sides of canvas along the way
- Let dry
Notes
You can choose your own colors, green, gray or brown. Choose something that will be a good contrast or complement to the colors in the Rooster himself.
Recommended Products
As an Amazon Associate and member of other affiliate programs, I earn from qualifying purchases.
Happy Painting!
For all the lessons for Painting the Rooster just press here