How to Paint Cherries or a cherry
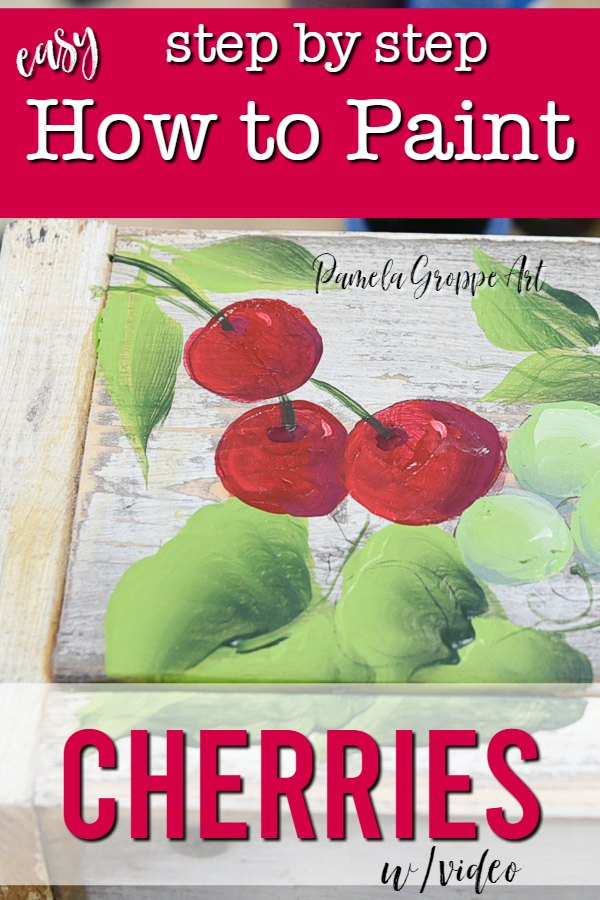
Easy how to paint cherries or even one cherry lesson. Step by step painting tutorial that is beginner friendly and fun for all.
This how to paint cherries tutorial will have you painting a cherry in no time.
Super easy and fun. I have a DIY crate I built and I am painting several different fruits on it.
I am sharing each fruit in its own lesson. I have already shared how to Paint Strawberries a few months ago.
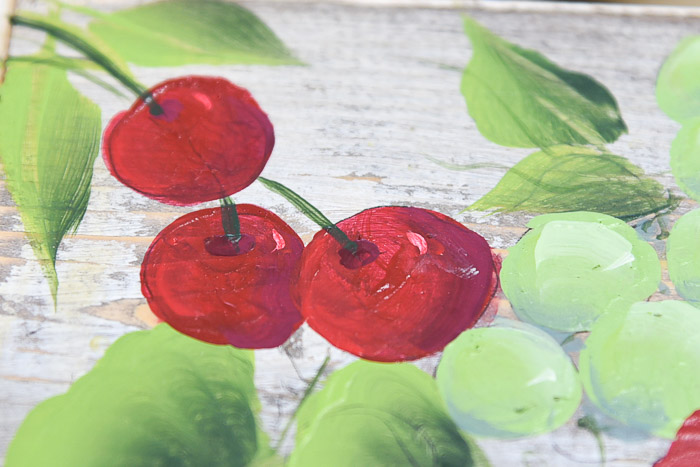
Base paint the cherries
A supply list is available lower in this post.
1.Load your #10 flat brush with Deep Tomato Red
(or other red color, I show you a couple different ones in the video at the end of this post)
Start with your brush on the chisel edge at the top of the cherry.
2. Press and rotate the brush between your fingers to make the first half of the circle.
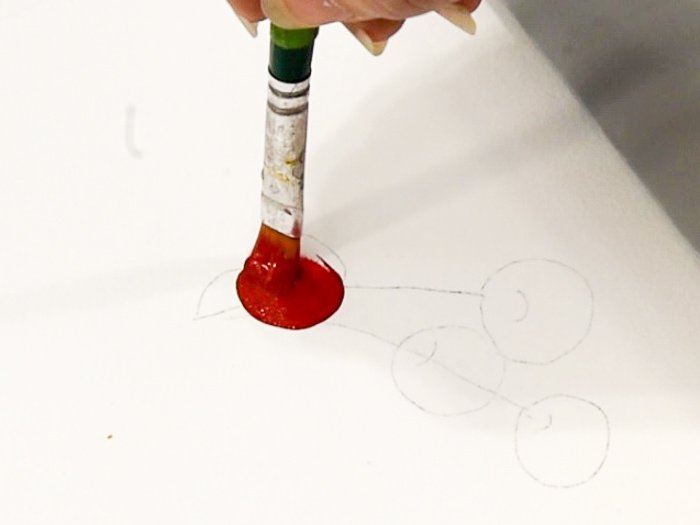
3. Reload the brush and paint the other half the same way but start at the bottom and stroke to the top. The video does a better job of showing you how I do it.
Note: the first video in this post is a quick over view. See the end of the post for the full length video in real time you can follow along with.
Let base coat dry.
How to Paint one stroke cherries
Double load the #10 flat brush with Berry Wine and Cardinal Red. Make sure the Berry wine is only a touch on the edge.
So the Cardinal will take up most of the chisel edge and the Berry Wine will make up maybe a 1/4 of the edge.
Note: See Basic Brush strokes for an explanation of loading, strokes and terminology.
Start on the chisel edge again at the 12 o’clock location.
With the Berry Wine against the outer edge paint the stroke the same as the base.
The Berry wine will create the shadow while the Cardinal red will add a touch of brightness to the center.
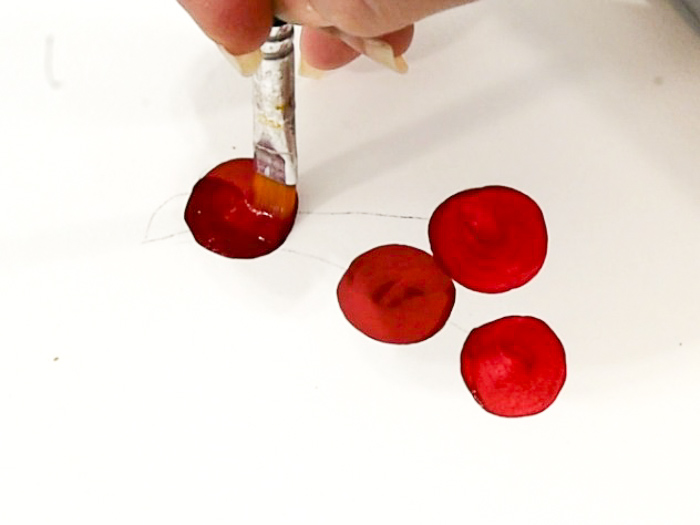
Stroke the center cherry seam
Reload the brush again with the Berry Wine and Cardinal Red.
Start at the top center or slightly to the right of the center and using the same stroke come down the center of the cherry instead of on the outer edge.
That create a seam shadow down the cherry. This is a one stroke method and is optional.
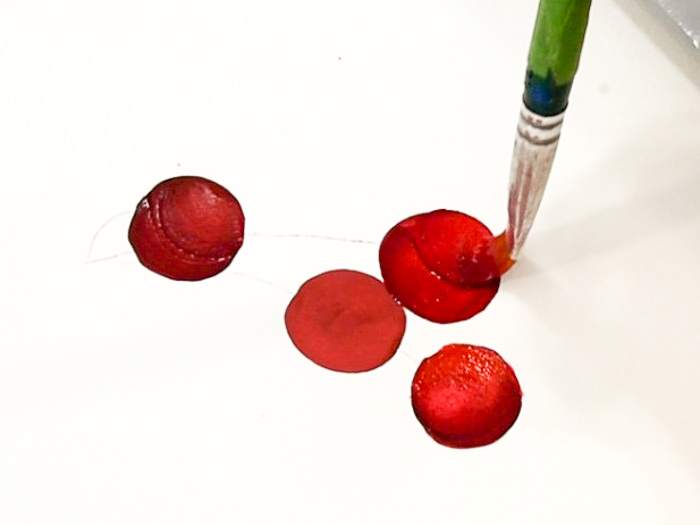
Paint a cherry with no seam
Base paint the cherry the same as at the beginning of this post.
In the video I show you that you can base paint in a lighter, brighter red for a different effect
Paint shadows on cherries
Side load the #10 flat brush with Berry wine.
Optional: you can double load with Berry wine and Cardinal or the Apple red if you wish.
Stroke along the lower outside edge with the Berry Wine to add some shadowing.
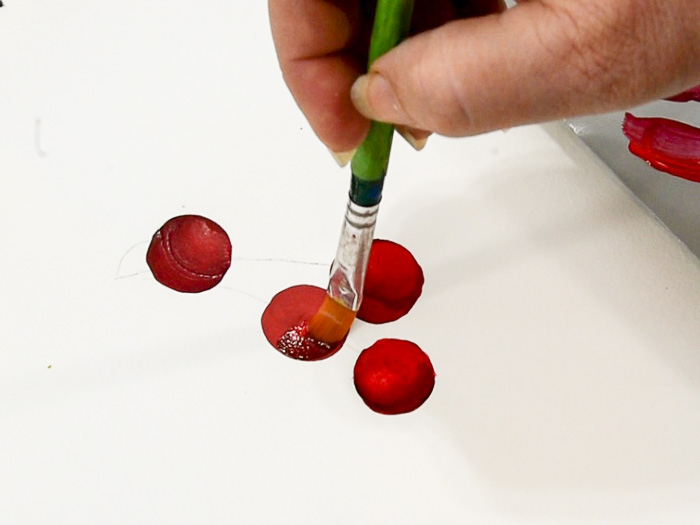
You can let that dry or you can continue to paint wet on wet. Sometimes wet on wet can pull up paint from your base layer depending on the stage of drying it is in.
Play it by ear. If it pulls up the lower layer then wait for it to dry completely before proceeding.
Add highlights to the cherry
Side load your brush with a brighter red, Apple red is good. Or you can highlight with Pure Orange.
Don’t try to add white to highlight, it will merely turn your cherries to pink and we want to keep them a luscious red.
Stroke the Apple red along the top edge to create the highlight.
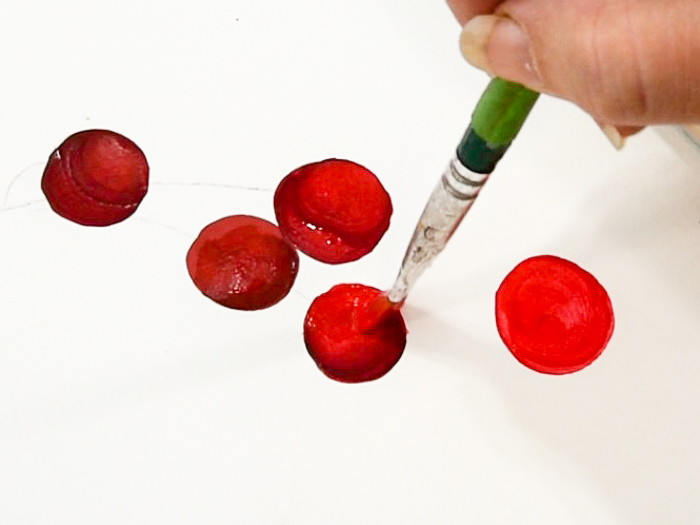
Paint cherry details
With the corner of your flat brush or the liner brush create a slight smile shape where you what the stem to come from the cherry. I call this a divot.
Keep it small. This is just a shadow of a color. I used Berry Wine or Black Cherry but you can also use Burnt Umber to create this little shadow.
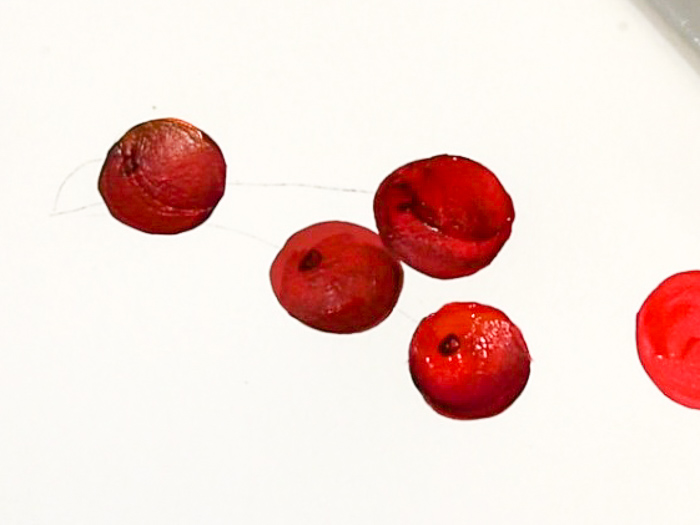
How to Paint Cherry Stems
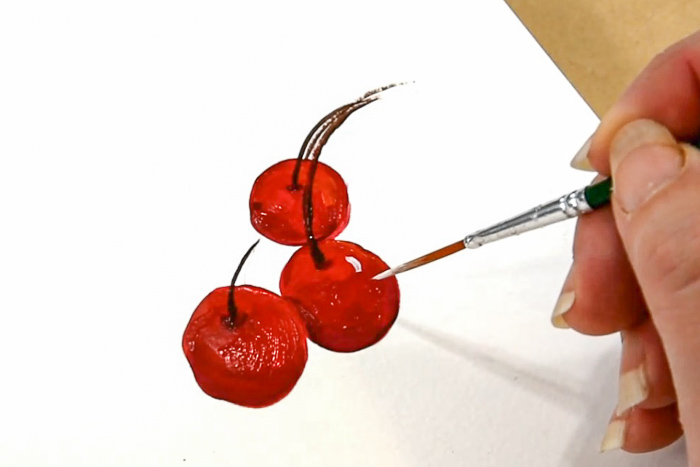
Using Burnt Umber or I have also used Thicket to paint cherry stems.
Load the #2 one stroke liner brush with inky paint. Inky paint is paint you have added a touch of water to thin to an inky consistency.
You want the paint to flow from the liner brush in a thin line.
Pull thin stems from the divot you painted on the cherry.
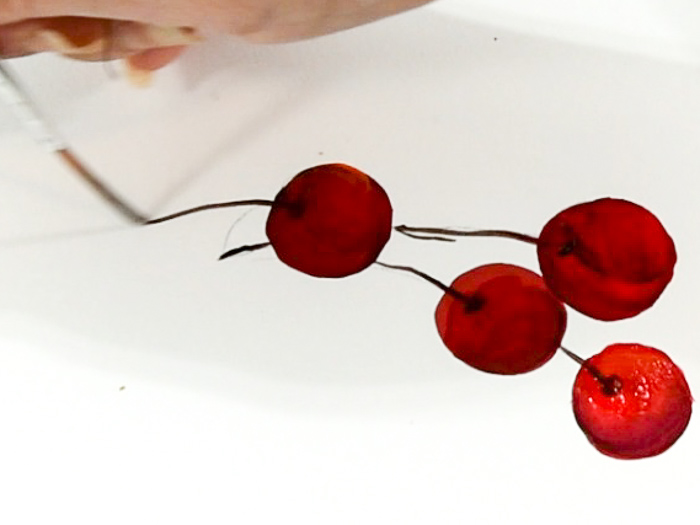
Sorry for the blur, I caught the shot while my brush was moving.
Add some leaves if you like. For a painting tutorial on leaves visit:
Now to add a Spark of Light
Now you can add some white. Let the painted cherry dry.
Dip the tip of your #2 liner into the white.
Touch the tip to the place you want to add a spark of light and make a comma stroke.
Keep it small and light. Don’t be overly critical of it at first.
I always think the spark won’t work or I don’t like how it looks.
Walk away and come back and you will see that it really does add a little something to make your cherry come to life.
Want the printable pattern for the Cherries?
If you are already a subscriber not need to sign up again, just go to the Resource Library and put in the password you received in the latest email update.
Not yet a subscriber? Fill out this form to join us.
Full length video
Supply list
Happy painting
The surface I am painting my fruit designs on is a DIY rustic box or crate. Press here to see how to build one yourself!
Supplies How to paint Cherries

Step by step How to Paint Cherries lesson. Beginner friendly paint tutorial to paint a cherry.
Materials
- Plaid Folk Art Acrylic Paints
- Deep Tomato Red
- Berry Wine
- Cardinal Red
- Engine Red (option)
- Apple Red
- Pure Orange (option)
- Burnt Umber
- Wicker White
Tools
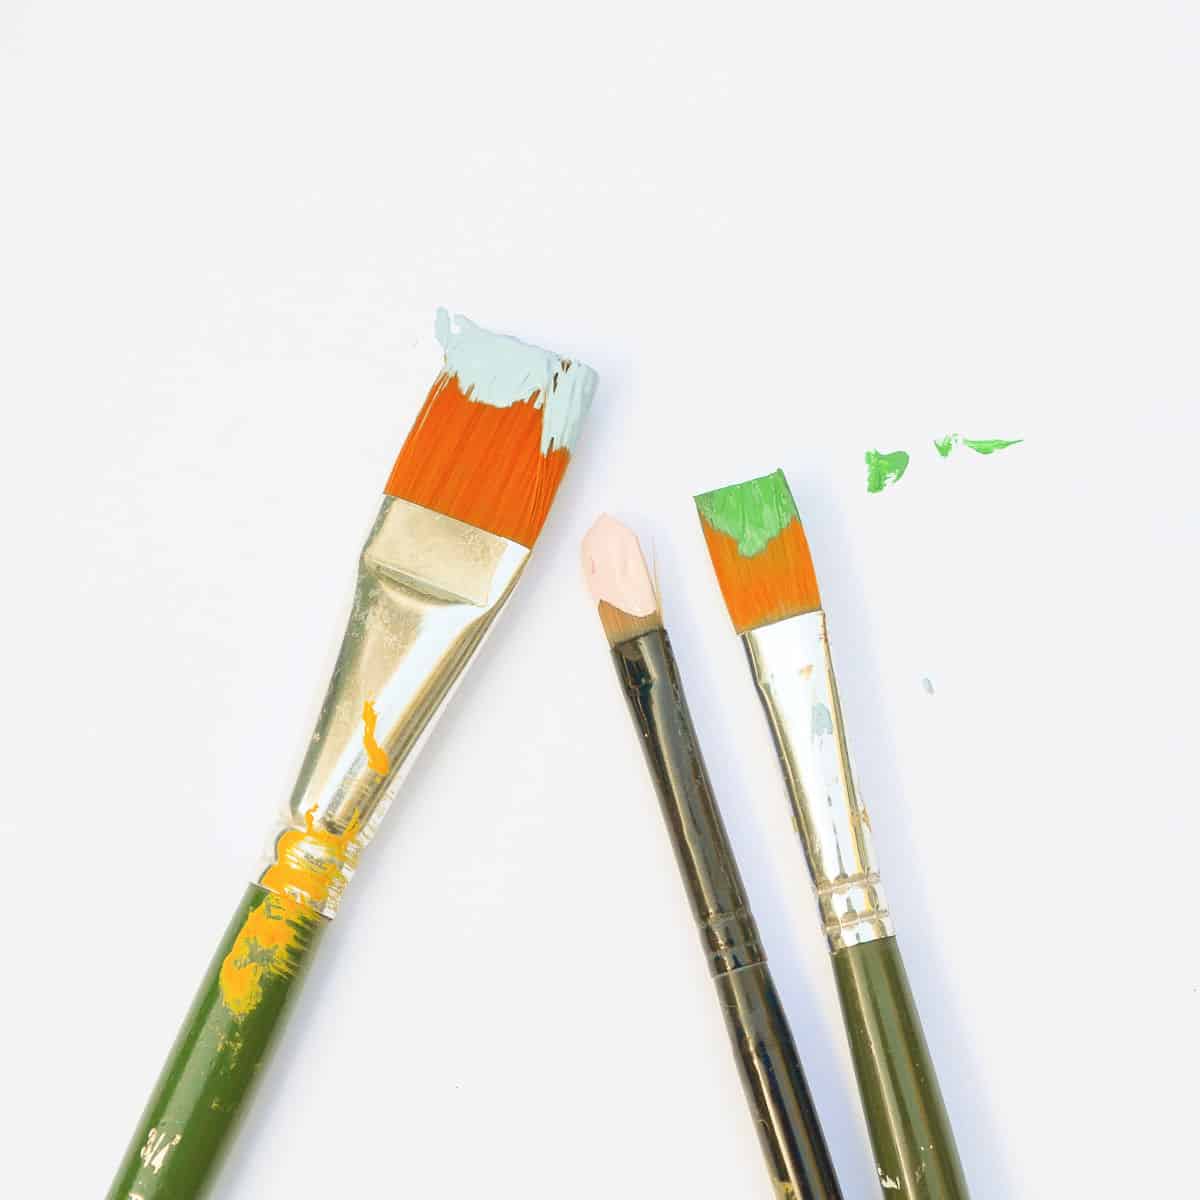
- Plaid Folk Art One Stroke #10 flat brush
- #2 liner (comes in same multi-pack as #10)
- Rinse basin
Instructions
- Base paint cherries
- Paint shadowing
- Add brightening to opposite side
- Paint cherry divot
- Stroke stems attaching to cherries
- Add leaves
Notes
There is a couple ways I show in the lesson and video. Have fun and try not to be perfect.
Recommended Products
As an Amazon Associate and member of other affiliate programs, I earn from qualifying purchases.
Please PIN and share!
