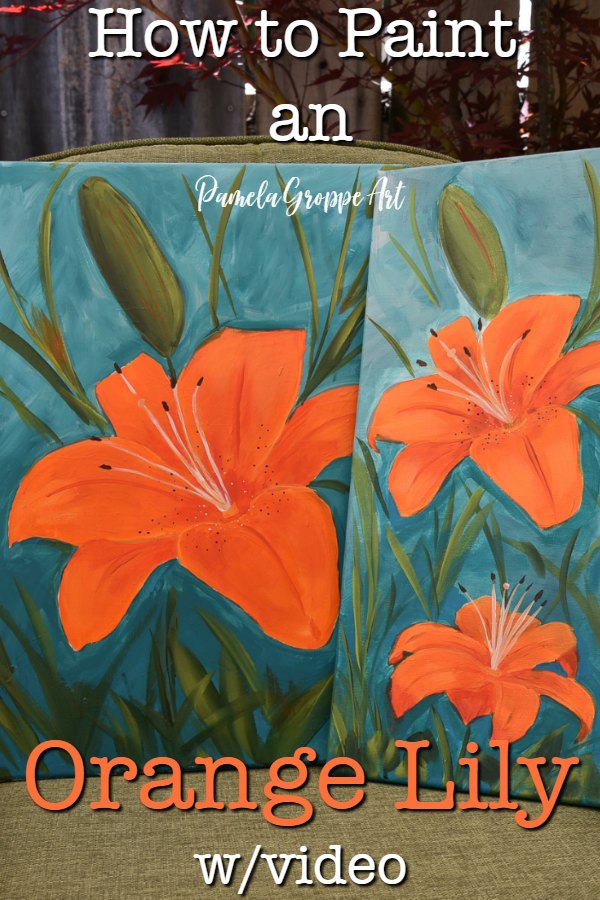
How to Paint an Orange Lily

Learn how to paint an orange lily on a large canvas in acrylics. Easy step by step painting instructions with video.
You can learn step by step how to paint an orange lily on a large canvas.
This is the instructions for the lily with a link to the more in depth complete lesson. The complete painting is much too long to do in detail on a blog post.
The printable pattern in the resource library is for the traceable pattern only. The detailed step by step instructions are for purchase
This post contains affiliate links. If you make a purchase after clicking a link I may make a small commission at no added cost to you.
I painted this orange lily on two sizes of stretch cotton canvas and on a large wooden surface. If you follow me on Instagram I shared the photos of them all at one time or another. Though each was painted using the same design each came out unique. That is the wonderful nature of painting.
FYI: The first video in this post is a quick silent overview. The real time video is embedded at the end of this post.
Supplies for Orange Lily Painting
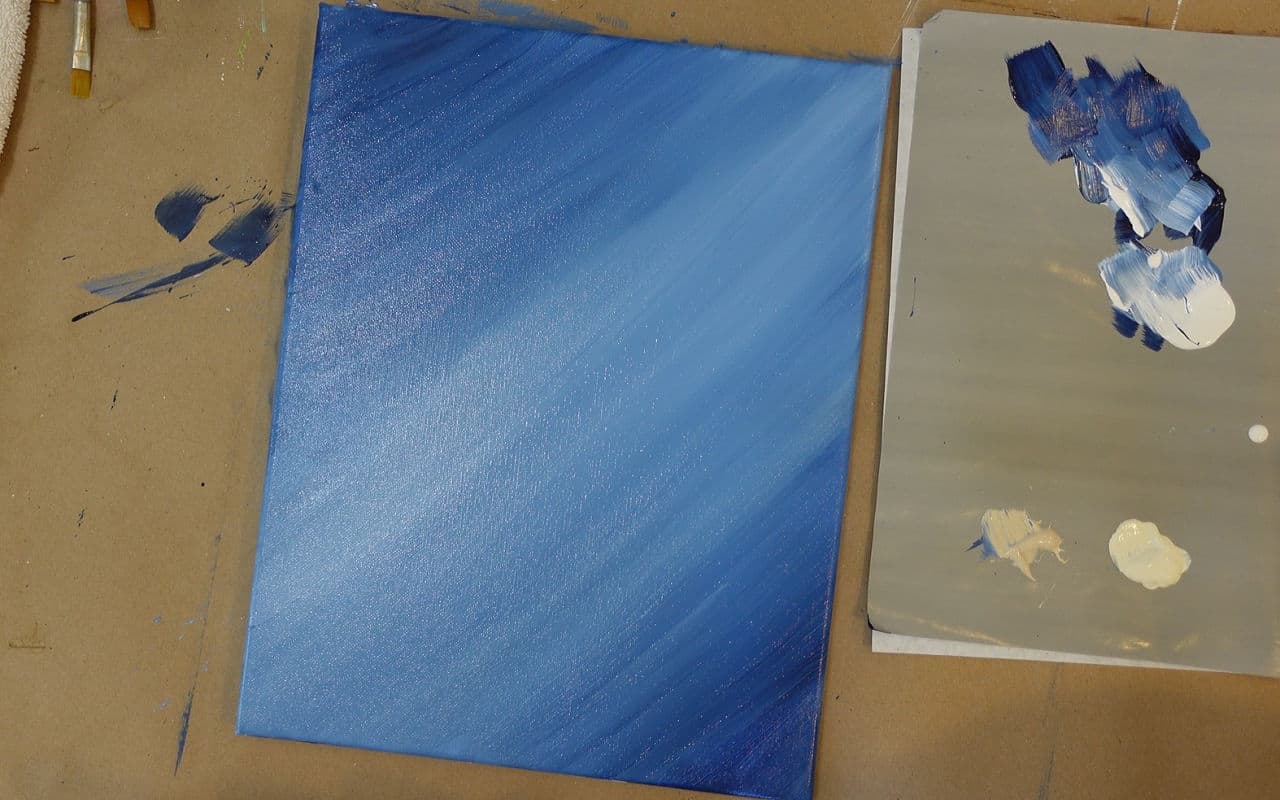
Lets get started, first you will need a 16 x 20 canvas you have added a couple layers of gesso to. Need more info on adding gesso to your pre-primed canvas? Tap here to read why and how to gesso your canvas.
The canvas in these photos has been tinted and I show you that in the workshop but leaving it white is perfectly fine.
- Paints
Plaid Folk Art Multi Surface & Regular
Pure Orange
Vivid Orange
Orange Poppy
Licorice
Burnt Umber
Wicker White
Linen
16″ x 20″ wrapped canvas
One Stroke Brushes
Note: if you can’t find Orange Poppy then mix a bit of Cardinal red with your Pure Orange to deepen it. Many of these supplies you can find in your local hobby/craft store.
Or here at Plaid Online
Enlarge pattern
The free pattern in the Printable Library prints at 8.5″ x 11″ so if you wish to enlarge it for a canvas go here: DIY Enlarge Painting Patterns
The full workshop linked below has a full size pattern.
Transfer Lily Pattern
Transfer the pattern to the 16 x 20 canvas. For a step by step lesson on transferring patterns to your canvas see this post here.
As part of this lesson there is a photo to refer too. Subscribers can access this in the Library. Tap here if you wish to join for free and get access to the reference photo and printable library.
Step by step painting tutorial for a Lily
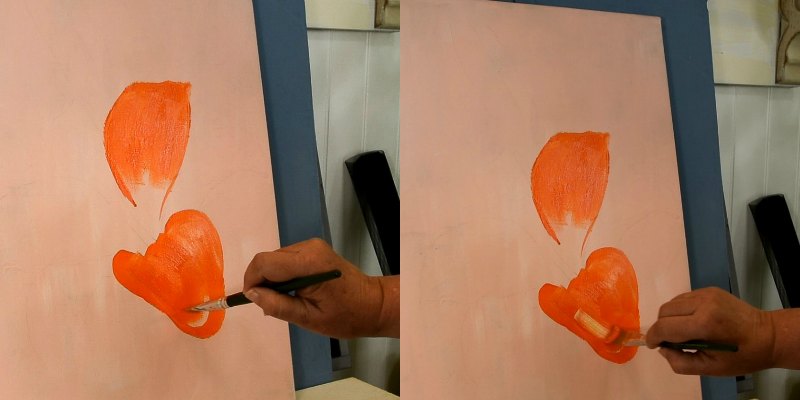
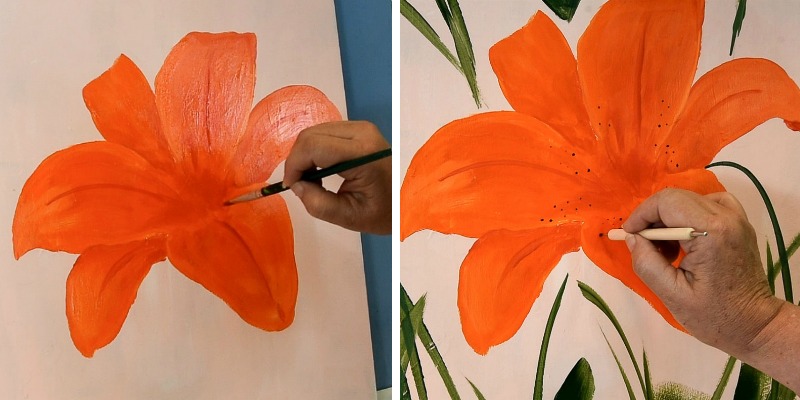
Start with Pure orange on the 3/4″ flat brush. Fill in the front 3 petals, they overlap the other petals.
Add a few highlights with Vivid Orange as you work. Look at the reference photo for an idea of where to blend in the highlights. The Pure Orange will be wet so it should blend in very easily.
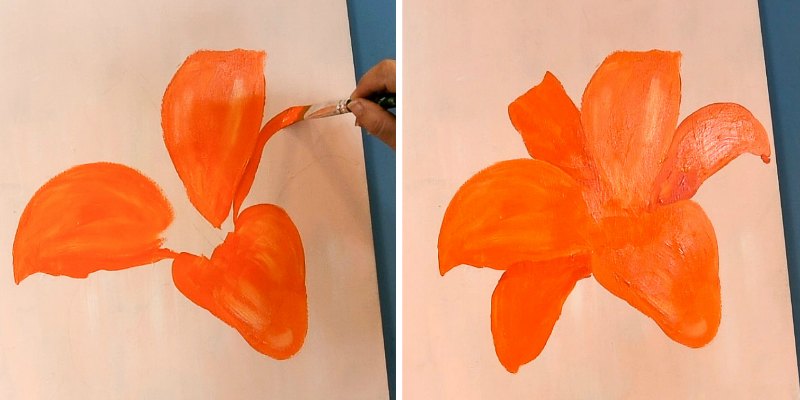
Under petals
Next use Orange Poppy to paint in the under petals. As you stroke in the Orange poppy add Pure Orange to your brush where the petals are a bit lighter. Make sure that the Orange Poppy is darkest where the petals emerge from beneath the upper petals. That puts them in the shadow a bit.
Paint Lily Petal Vein
With the chisel edge or your 3/4″ brush add a vein to the center of your petals following the curve as it goes to the center.
Now, using the corner of a smaller brush, 12″ flat, paint the curl at the tip on the far right petal with Orange Poppy.
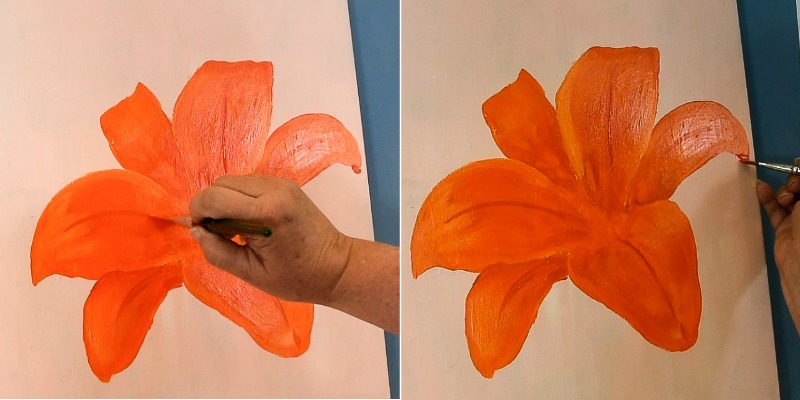
Deepen color of Lily center
Using your #12 flat brush deepen the center of the lily with Orange Poppy. Slide your brush upwards from the center blending and streaking the color into the petals. (the reference photo shows the center being a lighter color but to create depth I went with a darker shadow inside)
You are welcome to try and make it a lighter color if you wish, it is your painting.
Paint Orange Lily details
With a stylus and Licorice dot in the freckles strategically. Look at your reference photo for an idea. Remember, you don’t need to be exact, just get the feel of them in there.
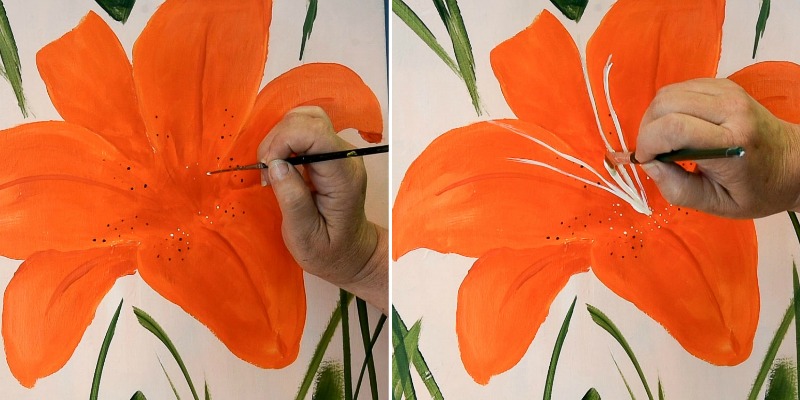
With a liner brush tap in some pollen with Wicker White. The pollen should be like dust so use a very light touch.
Add the stamens with the chisel edge or a flat brush and a double load of Wicker White and Linen. Use the size that works best for you. Or you can use a liner.
Not sure what some of the terms I am using mean? Check this post out with explanations of strokes, loading and more.
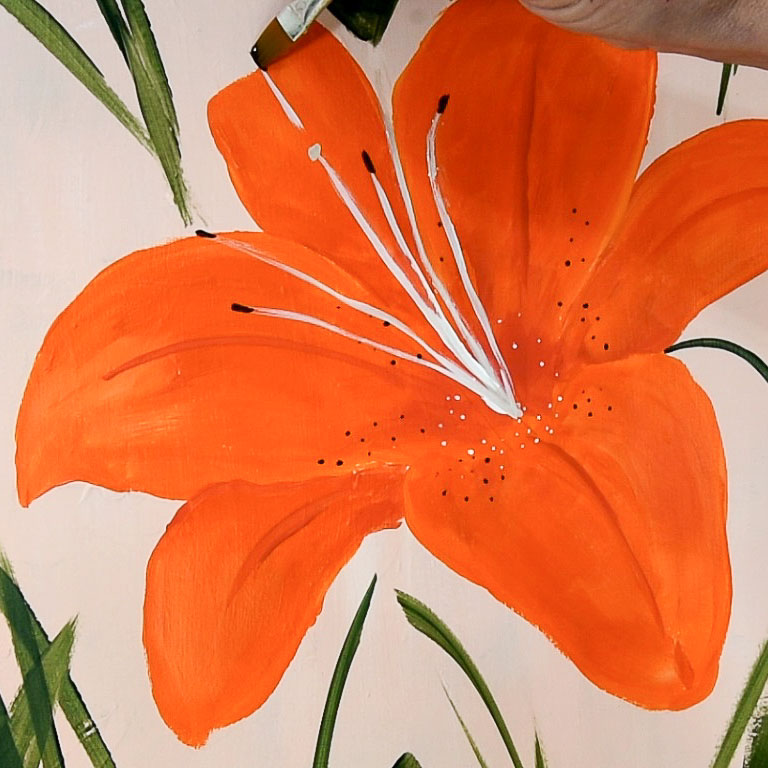
Using the corner of the #12 flat brush and Burnt Umber tap in the pollen pods at the tip of each stamen, these are called anthers. The center one is called the Stigma and has the circular tip piece in the same color as the stamen.
Note: many times the stamens and stigma are similar in color as the flower but in this painting I have used my artistic license to make them stand out more.
And now your Lily is done. The foliage is merely long strokes pulled on the flat and chisel edge of your brush.
Tap the button for a complete start to finish lesson of the entire painting Workshop. Paint an Orange Lily
Happy Painting!

Loved the video… hopefully on a rainy day I will attempt to try this … weather has been to beautiful to sit inside
This video will help me so much! Thank you. I learned several mistakes I have been making with a little bit of a heavy hand. Also I love that you showed us how to fix mistakes. Glad I found your site.
I am so glad you found it helpful. I am always making mistakes then trying to figure out how to fix them. Mistakes are an opportunity to learn! Embrace them.