How to Paint Clouds, Easy!
Have you ever wondered how to paint clouds? I made sure to make this tutorial easy and beginner-friendly. We will go over the basics of painting clouds step by step, as well as some tips and tricks for getting that beautiful cloud effect. So grab your brush and acrylic paint, and let’s get started!
Painted clouds can be tricky and many how-to-paint clouds tutorials simply are not as beginner-friendly as you would hope. There are some good ones too, right now let me share my easy clouds painting method.
This cloud painting tutorial in acrylics is truly beginner-friendly and you can build your skill towards more realistic clouds as your painting journey progresses.
This post contains affiliate links. If you make a purchase after clicking a link I may make a small commission at no cost to you.
How to Paint Clouds in Acrylic
Let’s start with our cloud painting supplies.
Tools:
3/4″ Scruffy Brush (Donna Dewberry One Stroke)
Craft sponge You can also find these are Michaels and Hobby Lobby.
Paint:
Plaid FolkArt Regular or Multi-Surface Paint:
(or acrylic paint of your choice)
Wicker White
Steel Gray
We will start with the brush method and then I will share how to paint clouds with the sponge.
Painting a Cloud with a Scruffy Brush
The 3/4″ brush makes the cloud painting easier for me.
You can do it with a flat brush but that is not as fast and easy. The flat brush works better wet on wet and this is done on a dry background.
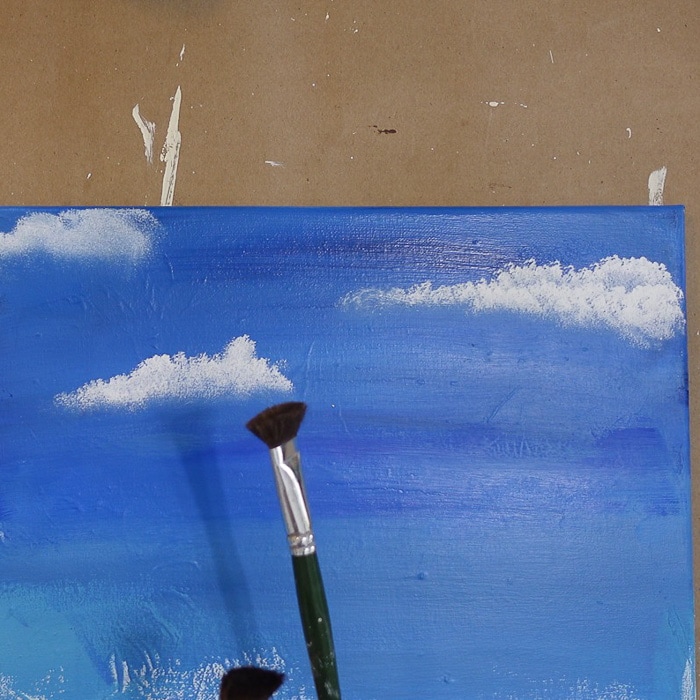
Load the Brush Properly
So first you need to load your brush with Wicker White. The way you load it is important. Tap the edge of the brush into the edge of the Wicker White.
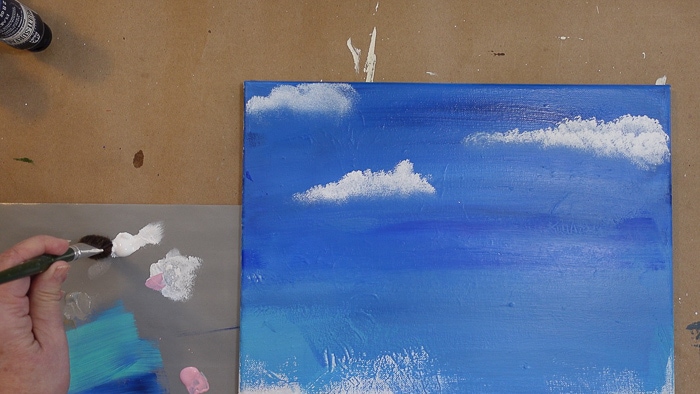
Then tap off some of the paint onto your palette paper. When painting your cloud you will do it in layers. It is best to start with less paint and work up.
You can see me tapping away from the puddle to work some of the paint out.
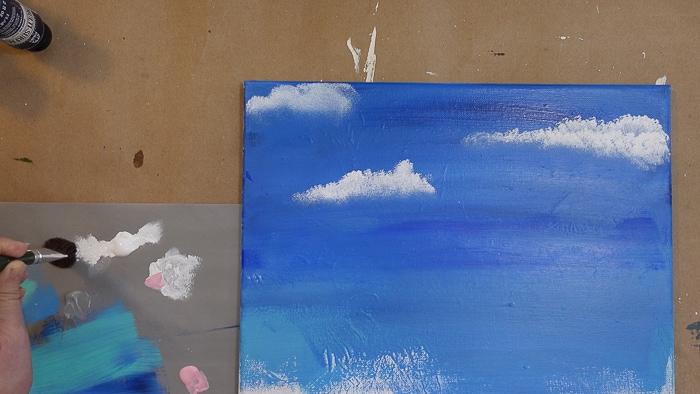
Begin first layer of cloud painting
With the loaded edge of the brush at the top, begin pouncing the paint onto the surface. Work to the side and down as you go.
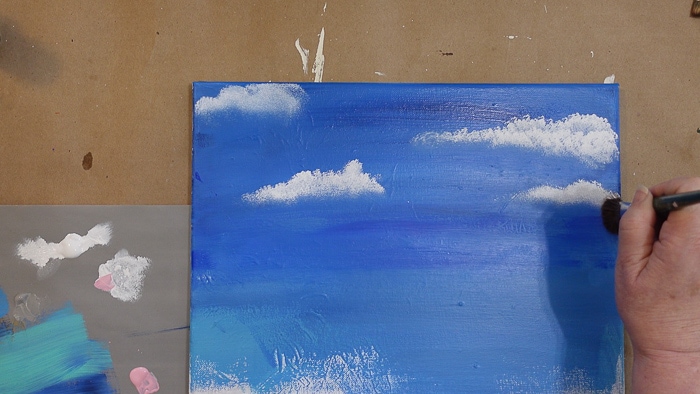
highlight top of cloud
Brighten Top of Cloud
To bring a touch more light to the top of the cloud load a touch more Wicker White onto your brush the same way we started with.
Tap in along the top of the cloud to highlight or brighten that area.
Painting a Cloud Second layer
Reload the brush and begin the second layer on the same cloud. Start just below the area that is more transparent and shows the background layer.
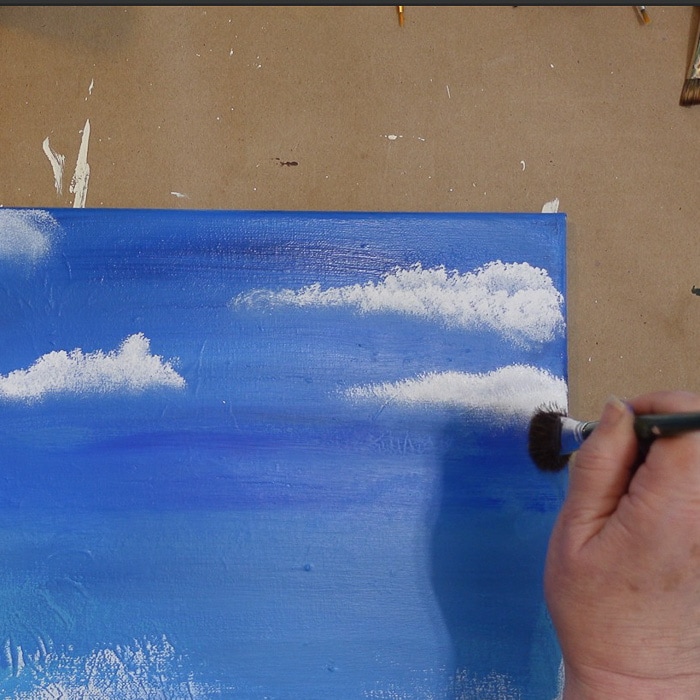
This is where you had less paint in the brush as you came down on the cloud. (please see the video link at the end of this post, it will really show you what I mean)
You want the more transparent part to show so do not cover with the white. Having darker areas of the cloud makes it have more dimension.
Note how you can see a darker area between the upper area and the lower one you just painted on the cloud.
Start small, you can always enlarge your clouds if you need to.
Look at photos of cloud shapes and decide what you want yours to look like
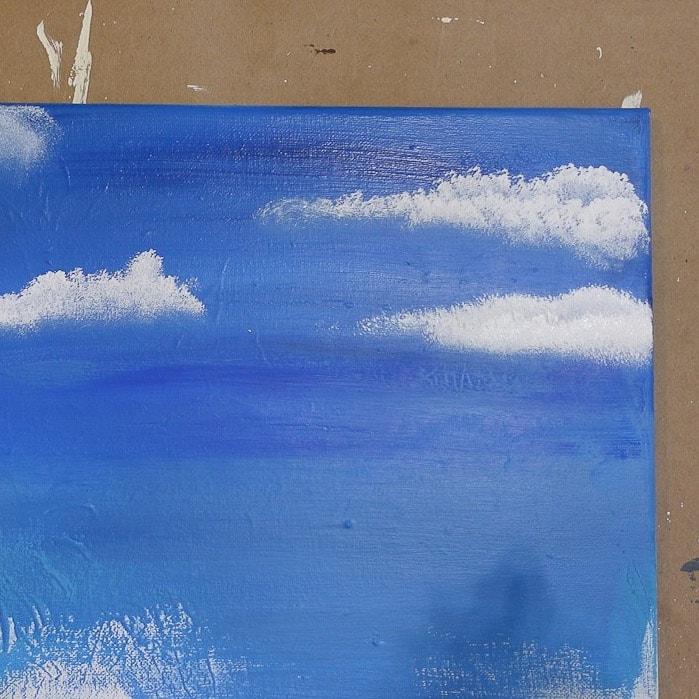
How to Paint Clouds with a Sponge
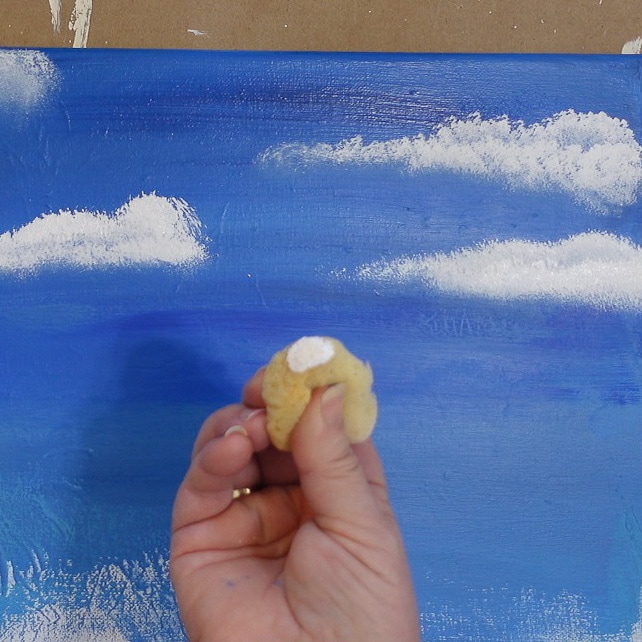
Load a small craft sponge with white paint. Tap it off as you did with the scruffy brush.
We want to start lightly and get the feel of how the sponge works a little differently at painting clouds.
Start pouncing the sponge onto the surface moving to create the billowy, fluffy clouds.
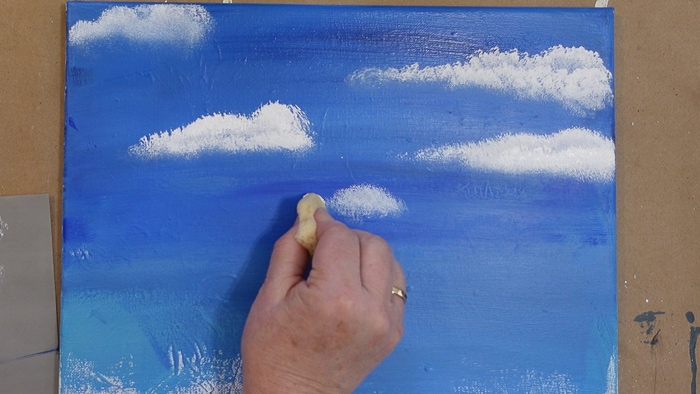
As the paint runs out work to the side and down, creating a fainter white or more transparent area on the cloud.
Add a touch more paint to the sponge. Tap in more white at the top of the cloud to make it brighter just as you did with the scruffy brush.
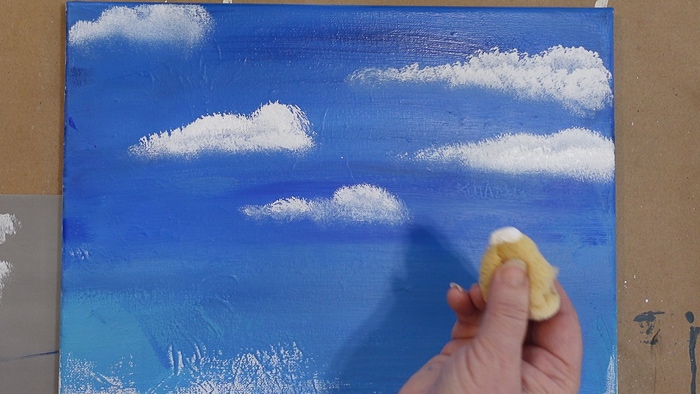
Do not overthink this. You may not like the effect you are creating at first but if you take a break, walk away and come back you may find it is better than you thought.
Sponge Painted Clouds – Second Layer
Reload the sponge with white. Come down to the lower edge where the paint is more transparent. Start painting on the second layer of white.
Note how you can still see where the darker area of the cloud shows through.
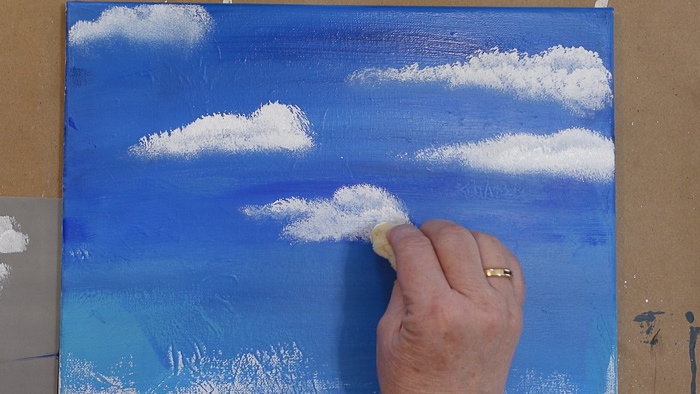
Add a touch more white to the top of the layers to highlight where the light may be touching the clouds.
Make sure to vary the shapes of your clouds and not make them monotonous! This is where looking at photos of clouds will help.
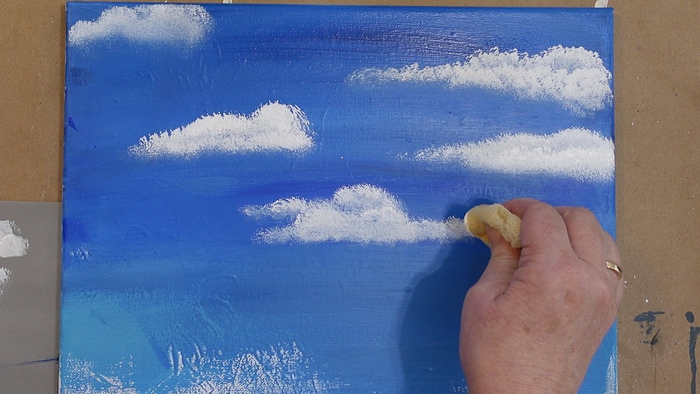
Adding Shading
Have you ever really looked intently at clouds to discover they have some grays or brown in them. In a future lesson, we will cover how to paint storm clouds but this little tip helps you shade for a touch of realism.
After you have painted your cloud with the sponge or the scruffy brush you should have a faint touch of white in them, but barely.
Tap into some Steel Gray acrylic paint. Very little and tap off some to soften.
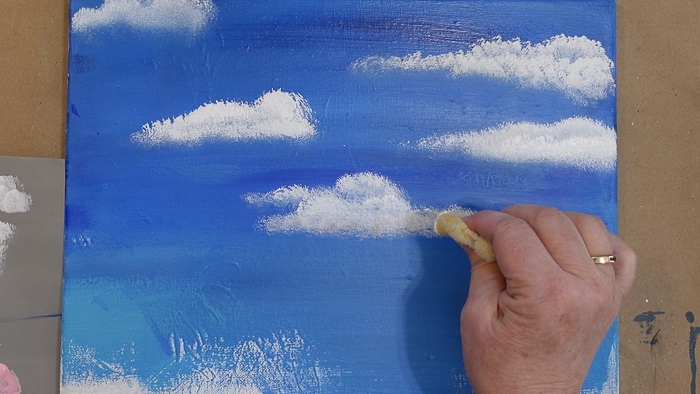
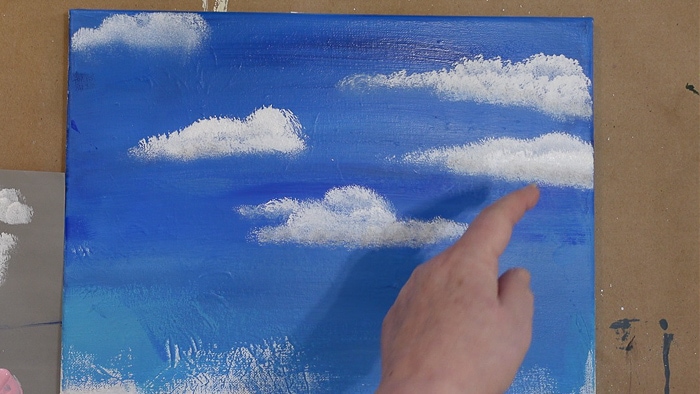
Pounce that gray along the bottom of the cloud and in areas you want to add a touch of shading.
Can you see the hint of darker color where I am pointing?
You can also add the gray into the cloud. I decided to use the small scruffy for more control in this smaller cloud.
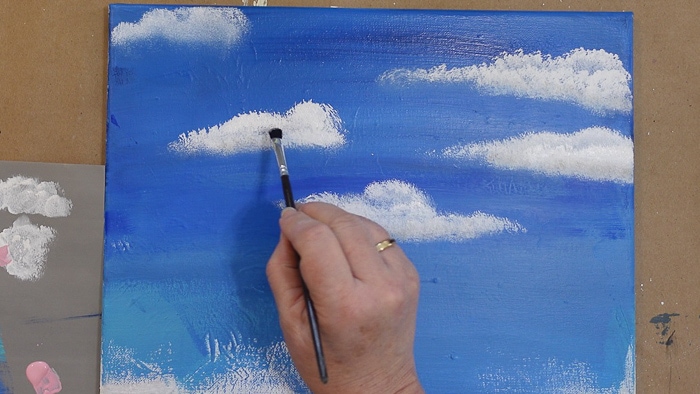
If you get too much shading, just let it dry and go back over areas with white. Relax and enjoy the process. Some days it just flows and other days I am constantly fixing things. But each and every time I paint I am learning or improving my skills.
Remember, clouds in paintings are usually a backdrop and not the star of the show, so even if they are not as perfect as you would like no one is really going to notice in the overall painting.
Be kind to yourself as you learn to paint and embrace your personal style that will begin to emerge.

Enjoy painting clouds.
