Paint a Hummingbird
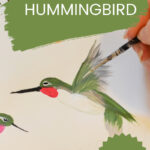
How to Paint a Hummingbird, step by step tutorial on painting a beautiful hummingbird in acrylics. Beginner friendly!
I know you are going to love how to paint a hummingbird! You might have thought that it was an intimidating feat but really when you break it down one stroke at a time it is much easier than you imagine.
Hummingbirds come in so many different colors and even shapes that you can have a great time painting up a few. Keep practicing and try to paint them from different photos. This lesson is merely a starting point and you can improve each time you paint a hummer.
Hummingbird Painting Inspiration
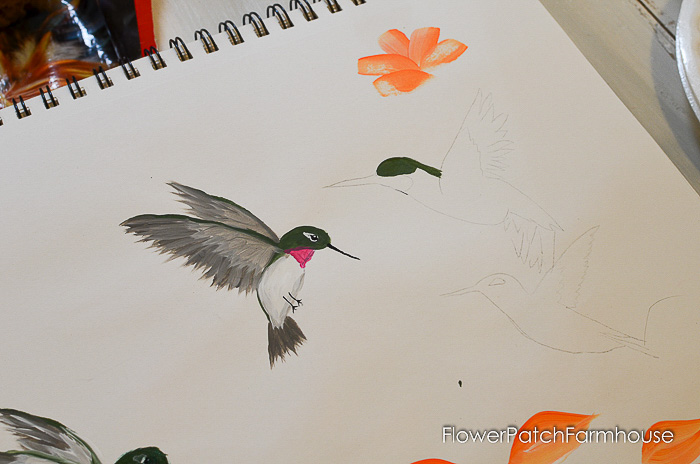
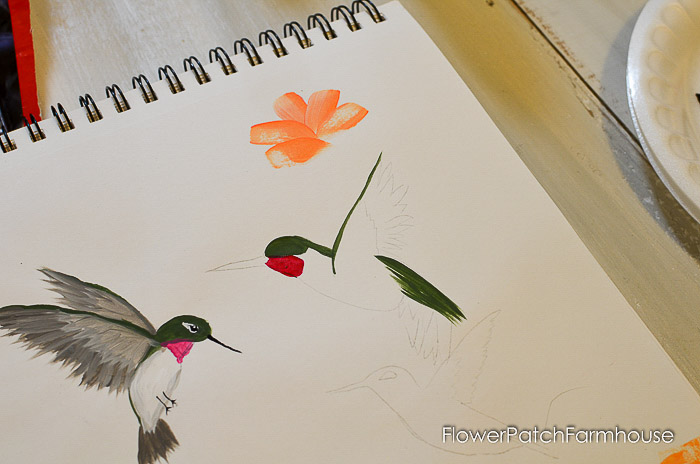
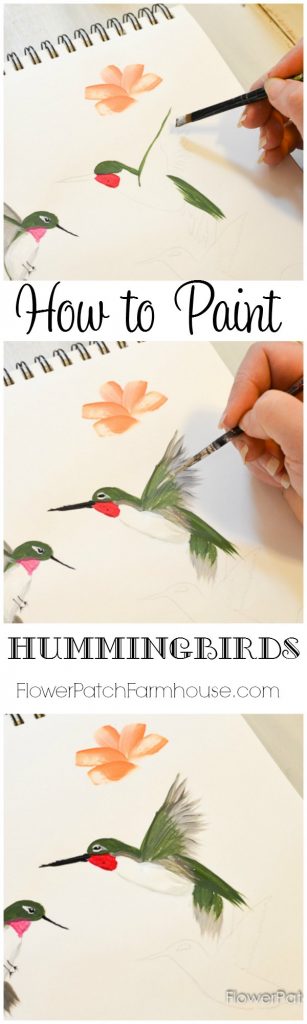
I took a photo of a hummingbird and made a sketch of it. Then I transferred it to my paper. You can see the other hummingbird I painted in the video on the left. He is slightly different than the one we are painting today.
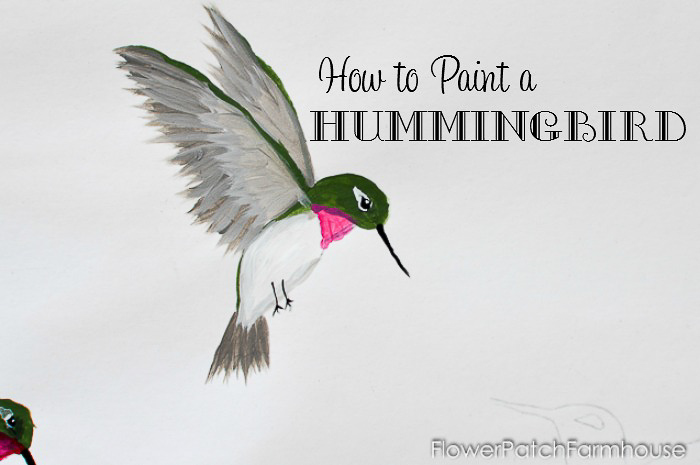
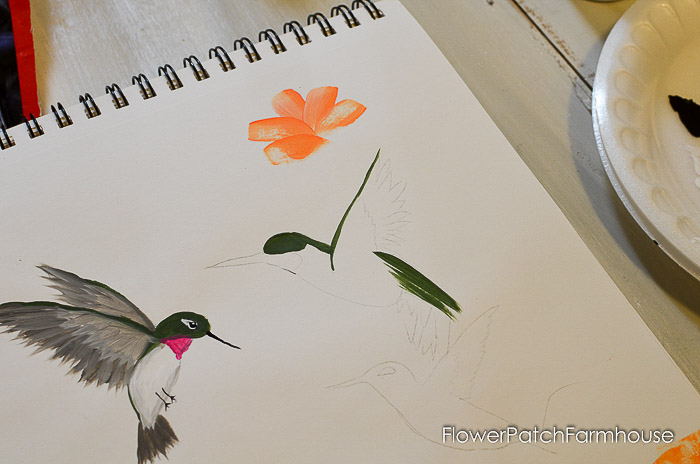
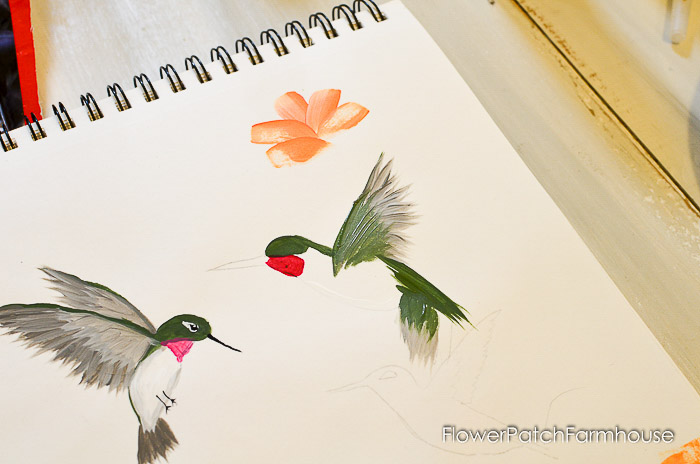
Painting Hummingbird Head and Back
I start filling in with the green on his head and upper back. You can paint these any size you like so use a brush that fits or you are comfy with to paint the area.
I run a line of green along the top edge of the wing and down his back, I make spiky strokes with the chisel edge of my brush to emulate feathers.
Embrace Variations
You see he has more green on his back than the hummer on the left.
Also, the red on his face is in a different spot, that is how it is, look at photos of hummers, you will find all sorts of markings on them so roll with it and try a few.
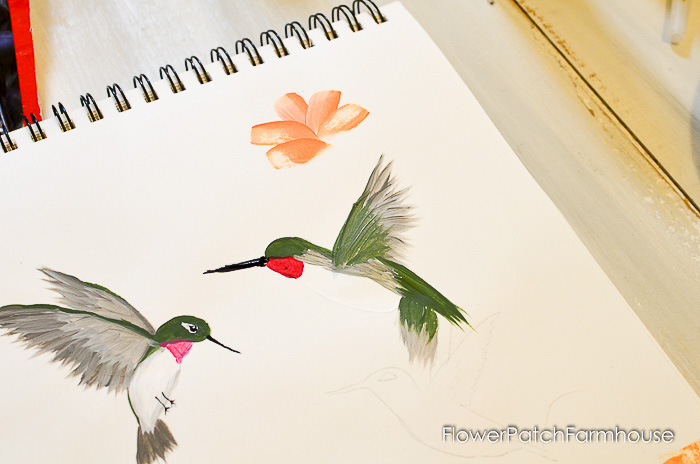
Painting Hummingbird Throat
Add the Alizarin Crimson on his thorat. Just fill it in with gentle strokes.
Paint Hummingbird Tummy
Paint his tummy area white, no worries about being exact as many of your future strokes will overlap the tummy area.
Hummingbird Wings
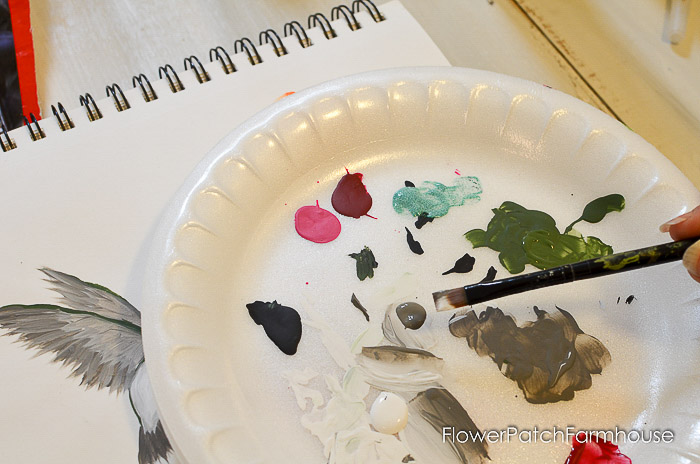
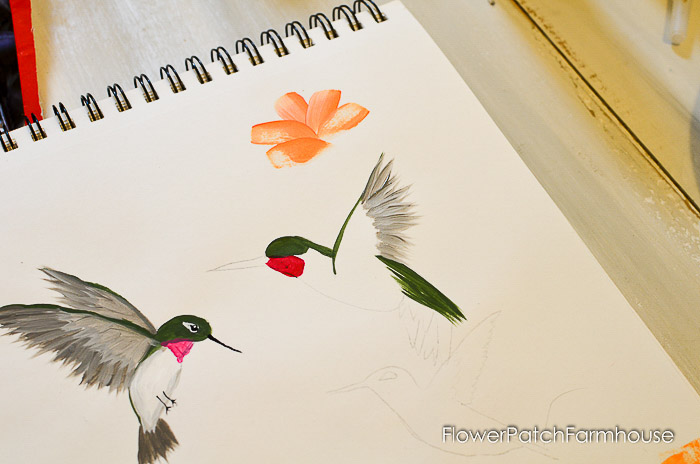
Double load grey and white onto my brush by dipping each corner in a color and blending it into my brush by stroking it back and forth on the palette until the color blend towards the center.
Leading with the white edge of the brush I flick strokes on loosely to create his feathers. (the video gives you a good idea of how I do that)
Paint Hummingbirds Tail
I use the same chisel edge strokes with grey and white for his tail which is swooping forward instead of just facing down.
Building with Strokes
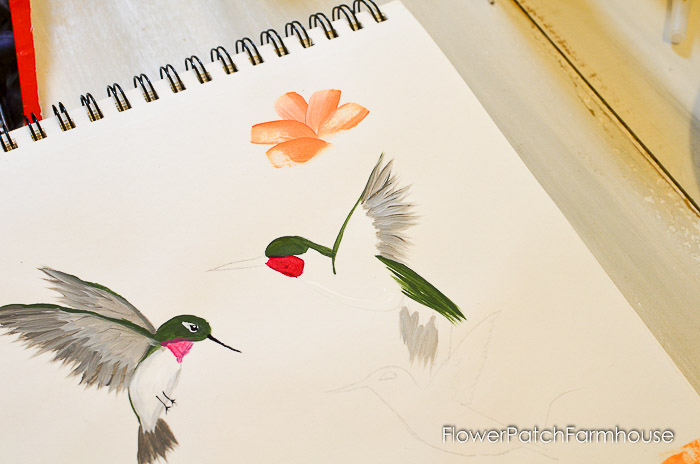
Overlap the grey strokes with green chisel strokes on both the tail and wings.
Shading
Shade along his body towards his back with a double load of gray and white, leading with the white edge. You can use a liner if you need more control for the beak but paint it with black and so it comes to a point.
Push thru the Ugly Stage
There is always a point when things look messy, don’t get discouraged, the details make it come to life. Just keep on painting. It will begin to come together.
Painting the Hummingbird Eye
Now add the eye. This can be the tricky part for me and can make or break your painting. The eye is what gives it life
Start with a black dot a third of the way back from the beak. With your liner brush, outline it with the thinnest line you can of white.
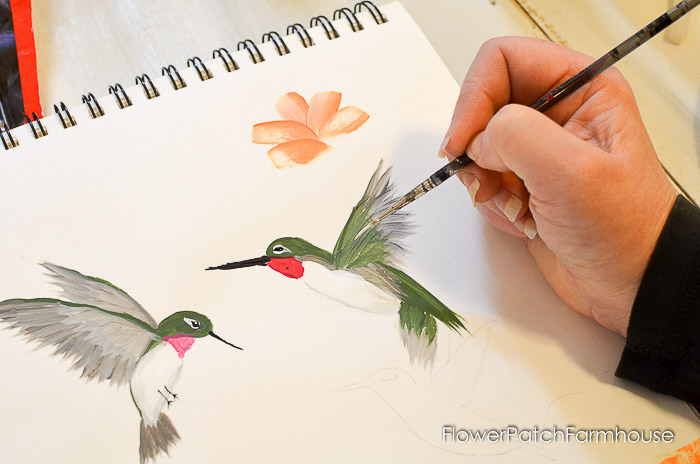
Now add a tough of highlight of white to the top of the black dot to give it a spark.
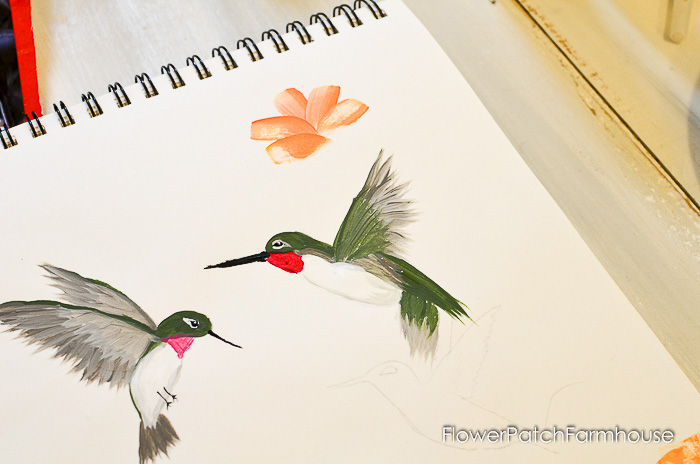
There you have your hummingbird.
Here is the video for the hummer on the left…
https://www.youtube.com/watch?v=wXFn4yRgNtQ
Happy Painting!
Supplies
For the hummingbird in this tutorial and in the video (it is a different hummingbird in the video) I used these colors:
DecoArt Americana:
Titanium White
Avocado Green
Neutral Gray (you can also just mix up a gray with your black and white if you wish)
Alizarin Crimson
Black
#8 Flat brush
Brush Basin
I am painting on my Canson Mixed Media paper.
Painting Book I am loving right now…Painting Butterflies and Blooms
This is so beautiful! I love hummingbirds.
These are the cutest little hummingbirds! I love them. Pinned.
You may it so easy and also show how to correct a poor or incorrect stroke! Couldn’t ask for more!
Thank you. It does help when you know how to correct mistakes, we always make them.
Very nice tutorial…love all types of birds. You make it look so easy! Thank you for sharing your knowledge with us…love watching your videos!!