Paint an Apple in Acrylics
How to Paint an apple! Easy, beginner friendly painting lesson in acrylics.
Learn how to paint an apple! Apples are quite easy to paint and this method is so much fun for the beginner! I hope you enjoy painting apples as much as I enjoyed creating this lesson.
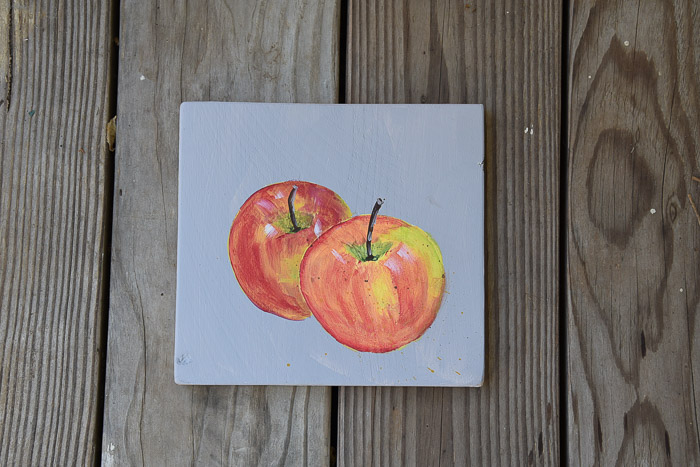
This lesson is part of a larger worshop I am working on that will be painted on the side of a rustic box.
Related: How to Build a Rustic Box
Once complete the workshop will take you through the painting of each fruit then how I put them all together to make a complete design across the box.
Note: the first video is a quick overview and the complete step by step video is at the end of this post.
This post contains affiliate links. If you make a purchase after clicking a link I may make a small commission at no added cost to you.
Get the downloadable PDF version of this post here!
Draw an Apple
Draw an an apple on your surface of choice. I am using a painted piece of scrap wood but this would be beautiful on a small canvas.
Related: How to Gesso a Canvas before Painting (yes, even pre-primed)
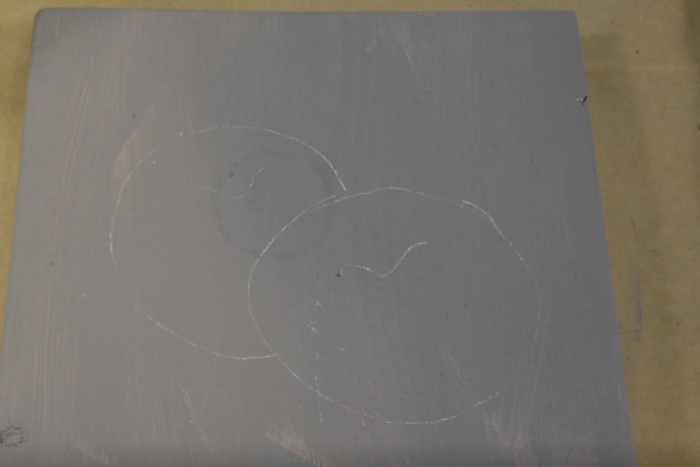
It is easy to draw an apple. They are basically a round shape. No need to be exact.
Apples come in different sizes and shapes. These are modeled after Gala apples.
Base Paint Apple
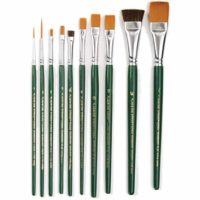
Since the background was a gray color I base painted the front apple with white using the 3/4″ flat brush. (this set is my go to brushes)
Due to the nature of yellow and red paint not being opaque the white underpainting makes it easier to get the brightness desired.
This photo lesson is primarily focused on the front apple, the full-length video shows how to paint both apples.
I did not base paint the back apple with white as it is not the focal point so I wanted it to recede and not be as bright.
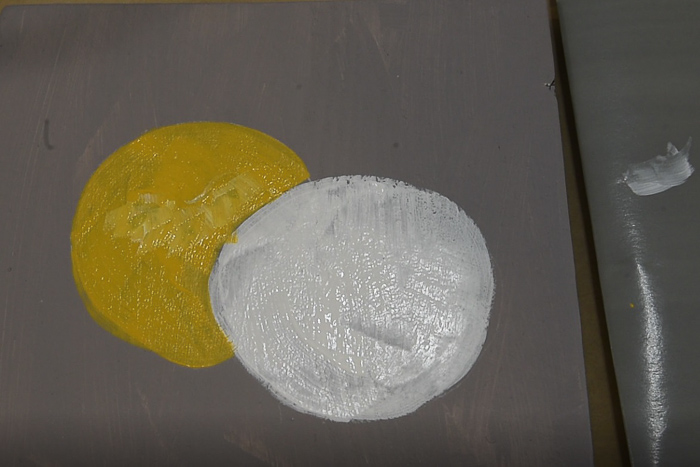
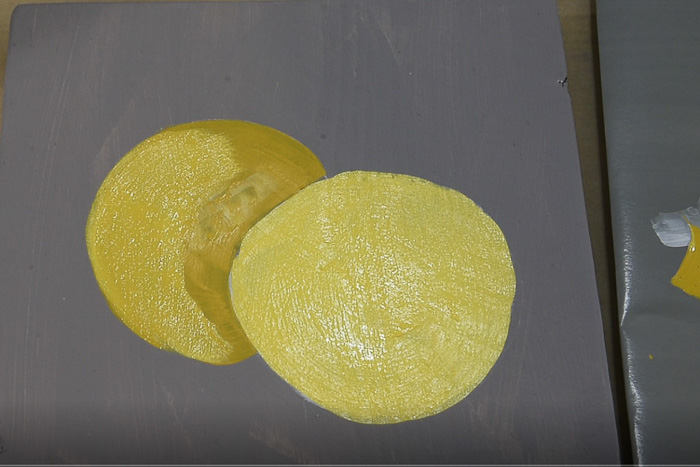
Once the white has dried base paint with Plaid Folk Art Lemon Custard using the 3/4″ flat brush. (or size you find most comfortable)
Adding red streaking
Using the chisel edge of #12 flat brush and Engine Red create a line on the front apple in the shape of a smile under where the dimple will be for the stem.
Related: Basic Brush Strokes
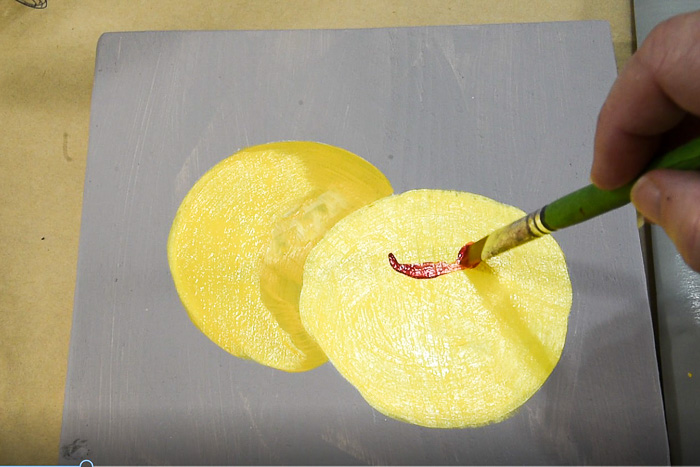
Using the same #12 flat brush pull the red color down into the yellow with sweeping strokes.
Follow the curve of the apple to create roundness.
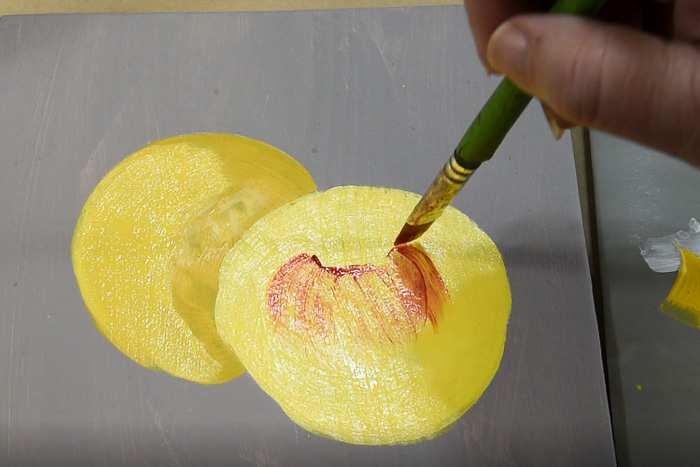
Keep your touch light. You want it to be streaky, not opaque.
Add the same Engine red to the rest of the apple using the same sweeping type strokes.
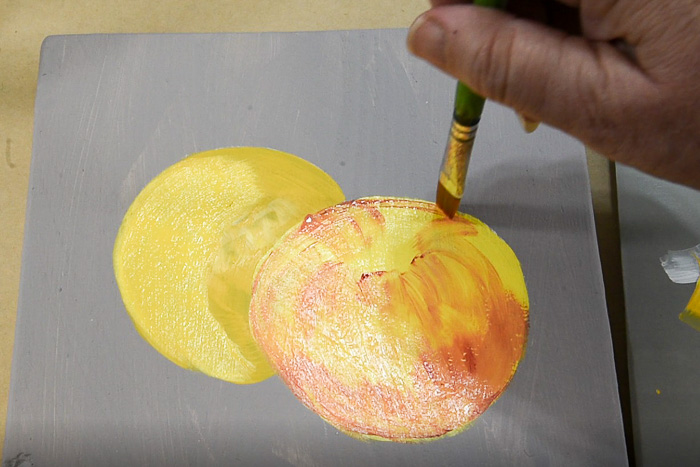
Leave a bare yellow spot on the right side of your apple. This will be shaded later with a different color.
Leave the dimple area yellow too.
Shade the stem dimple
Using the corner of the #12 flat and Citrus green, stroke upward from the center of the dimple area and flair outward.
Then add Thicket right down into the dimple to shadow it further.
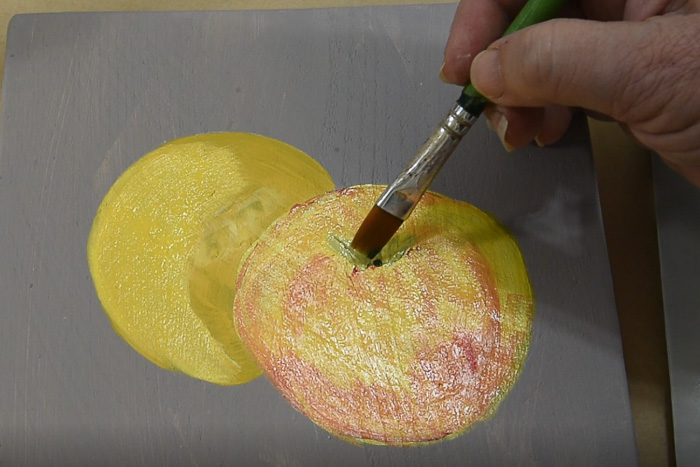
Let apple dry.
Deepen apple color
Using glazing medium (or water) in your #12 flat brush side load with red and with the red side against the outer edge of apple glaze down deepening the red color.
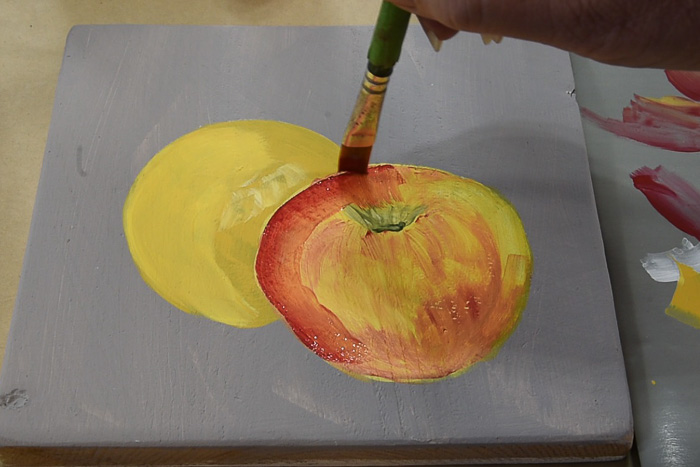
Keep glazing on red until you are satisfied with the color.
You can leave it more yellow or make it redder. The choice is your, there are not hard and fast rules.
Also I left a bare yellow spot near the center. In the video I share how I added it back when I got too ambitious with the red glazing.
Adding a shadow
You will note that I left the right side more yellow.
This is the add a bit of a shading of color.
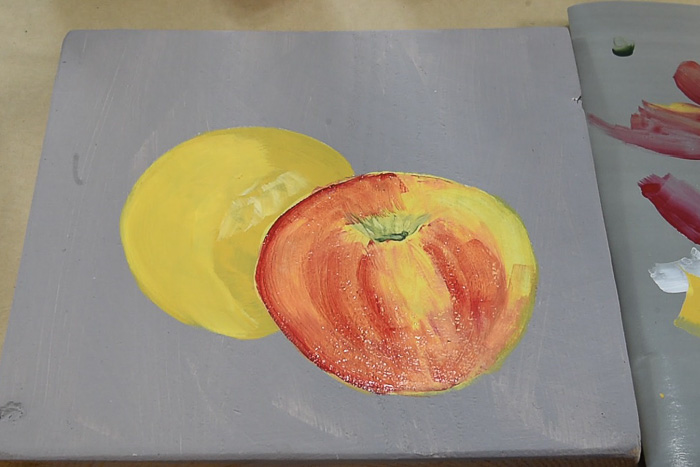
Using glazing medium (or water) side load the #12 flat brush with Citrus Green and stroke it along the right edge.
Again, you want this to be a glaze of color and not opaque. The yellow still shows through.
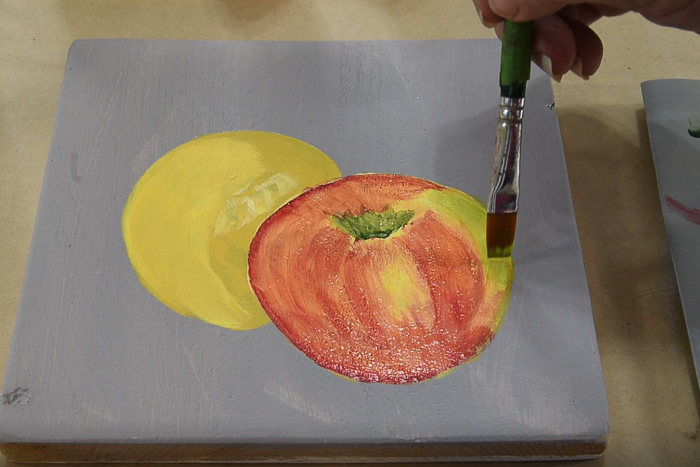
Paint apple stem
Painting the apple stem is quite straight forward. Using the #2 Script liner and inky Burnt Umber paint, stroke on the stem. I curve it to one side or the other.
The top is a bit broader than the base.
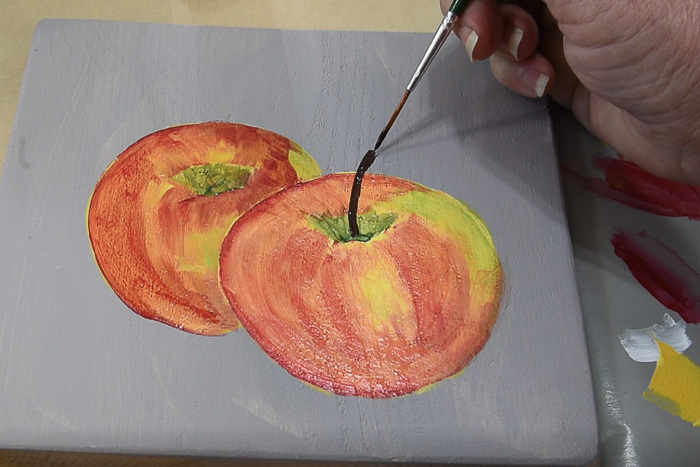
Using Wicker white blended in with the Burnt Umber add highlights to the stem. Use a dabbing touch to create texture.
Along the top I make a u shape to create interest.
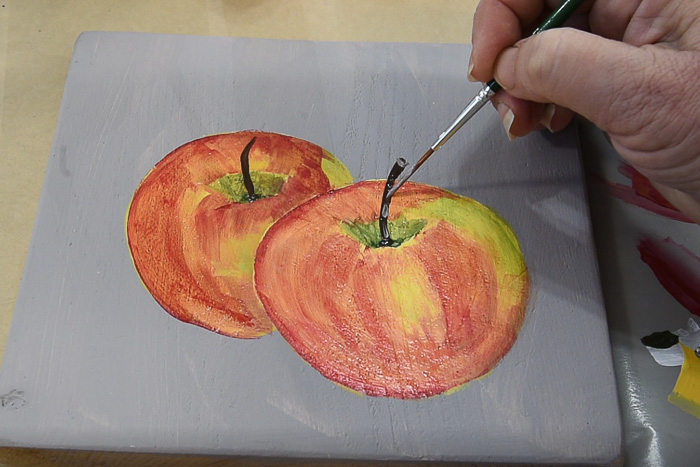
Add highlights to apples
Using a touch of Wicker white on a damp brush, light add some highlights to the apples along the shoulders.
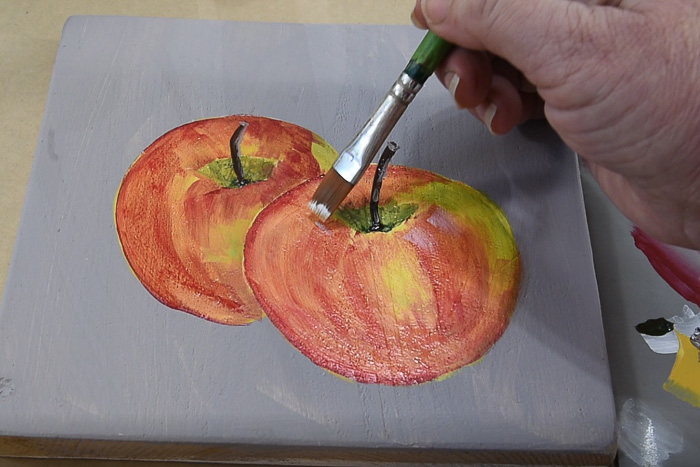
Remember, less is more. Go easy on the highlights.
I also used some inky paint and an old toothbrush to add the speckling.
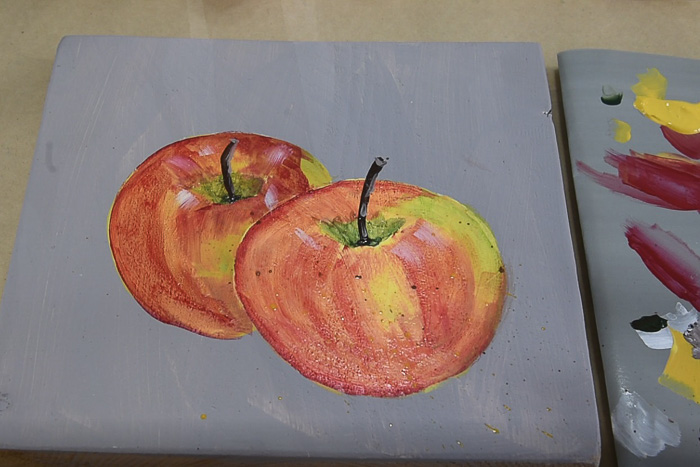
Supplies:
How to Paint an Apple

Easy how to paint an apple tutorial. Simple painting lesson for everyone including beginners.
Materials
- Plaid Folk Art acrylics
- Wicker White
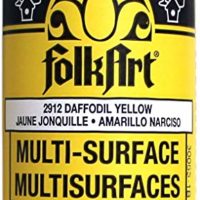
- Daffodil Yellow
- Golden Rod
- Citrus Green
- Thicket
- Engine Red
- Burnt Umber
- Glazing Medium
- Surface of choice
Tools
- Donna Dewberry One stroke Brushes (10 piece Multi Pack)
- Brush basin
- Paper towels
Instructions
- Base Paint Apples
- Add red glazing in sweeping strokes
- Shadow stem dimple
- Add shading colors to right side
- Add stem
- Paint on highlights
- Fly speck
Recommended Products
As an Amazon Associate and member of other affiliate programs, I earn from qualifying purchases.
Paint an Apple Workbook & Printable Template $4.97
Unlock the joy of painting with this beginner-friendly workbook on painting an apple in acrylics!
Now for the full video you can follow along with
Please PIN and share!
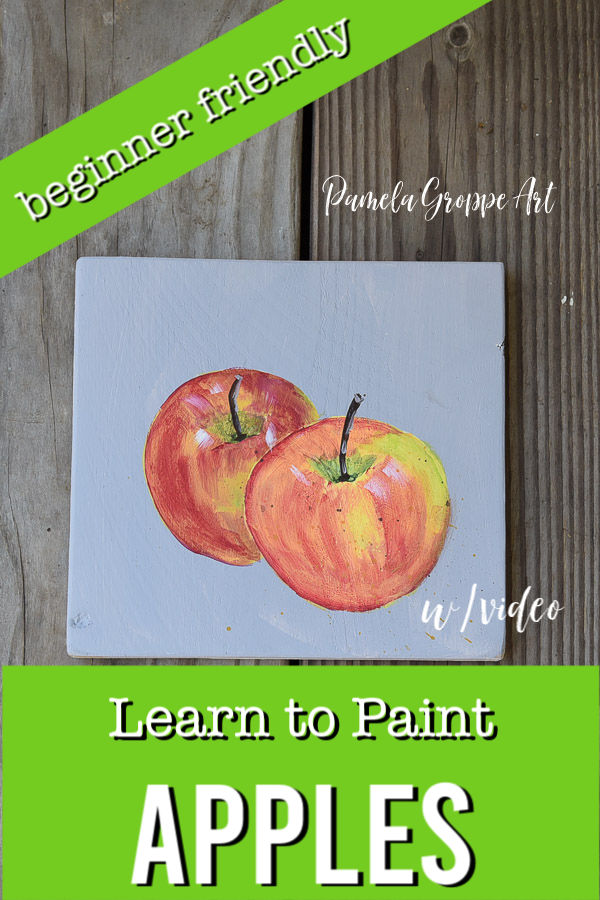
Want more fruit painting lessons? These will come in handy when I do the rustic painting box workshop.
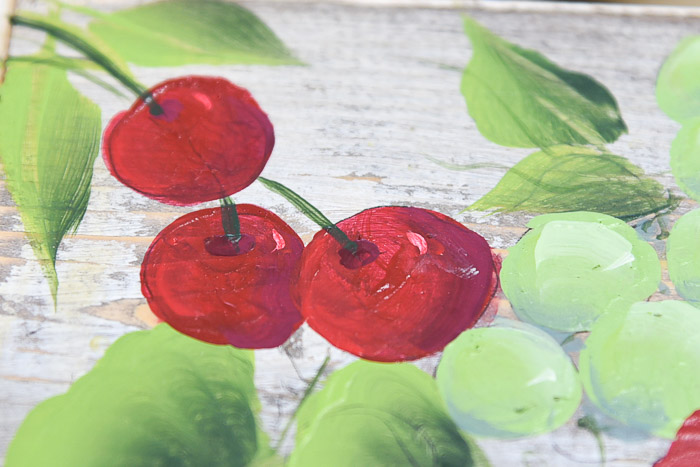
How to Paint Cherries
Paint Lemons
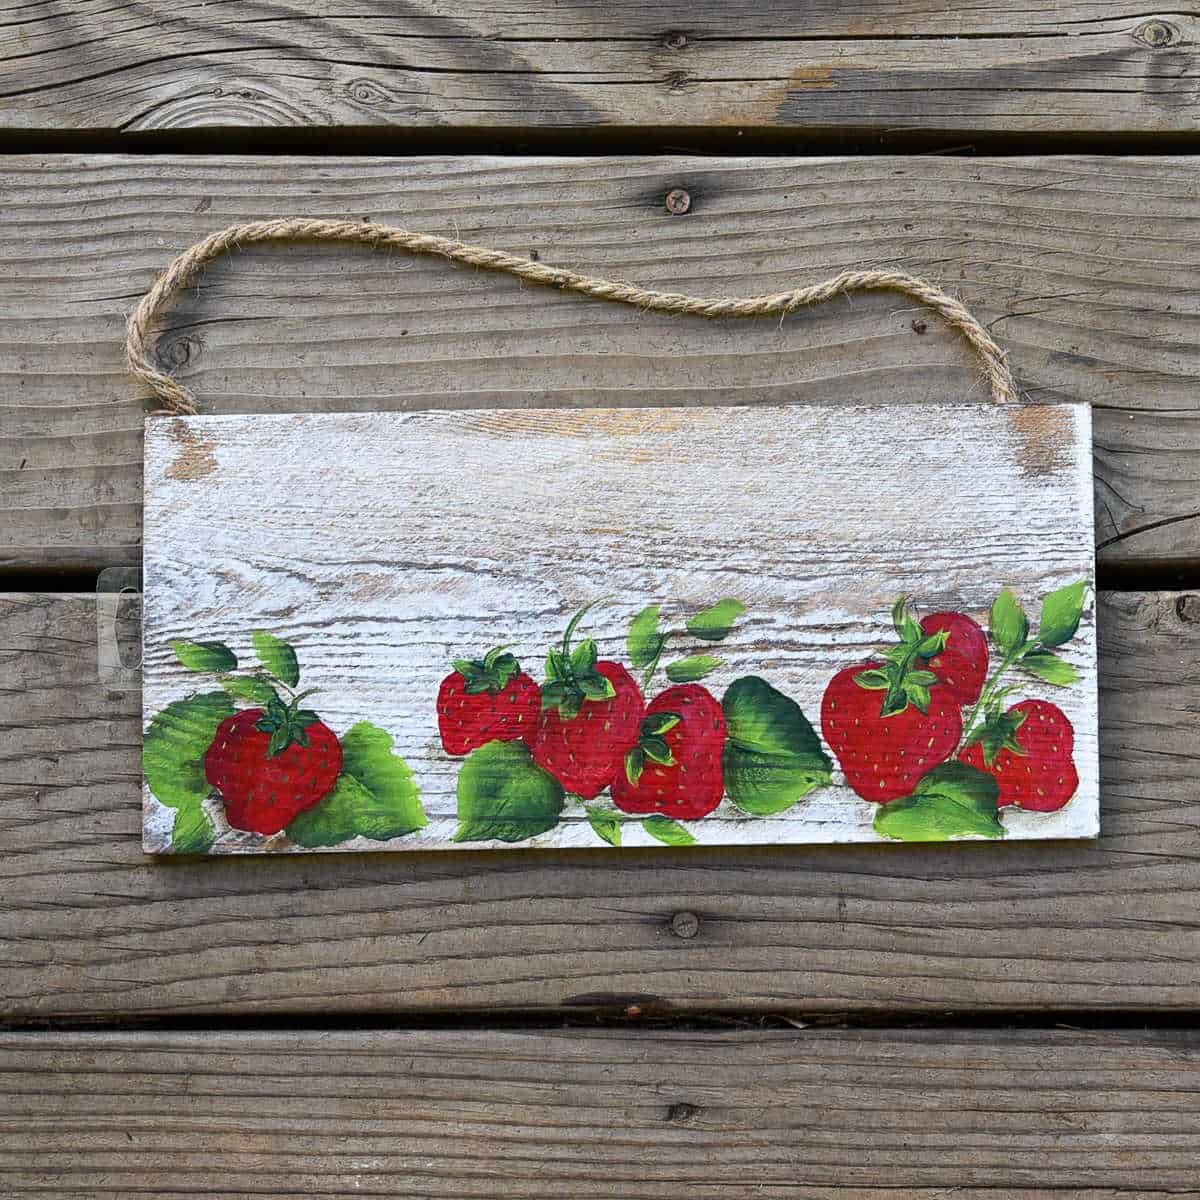
Learn to Paint Strawberries
Happy Painting!
For another apple painting tutorial visit here to see how Andy B. Jones paints them.
I have learned so much from your instructions. Thank you, thank you.
You are most welcome! Glad you enjoyed it.