Create Signs with Word
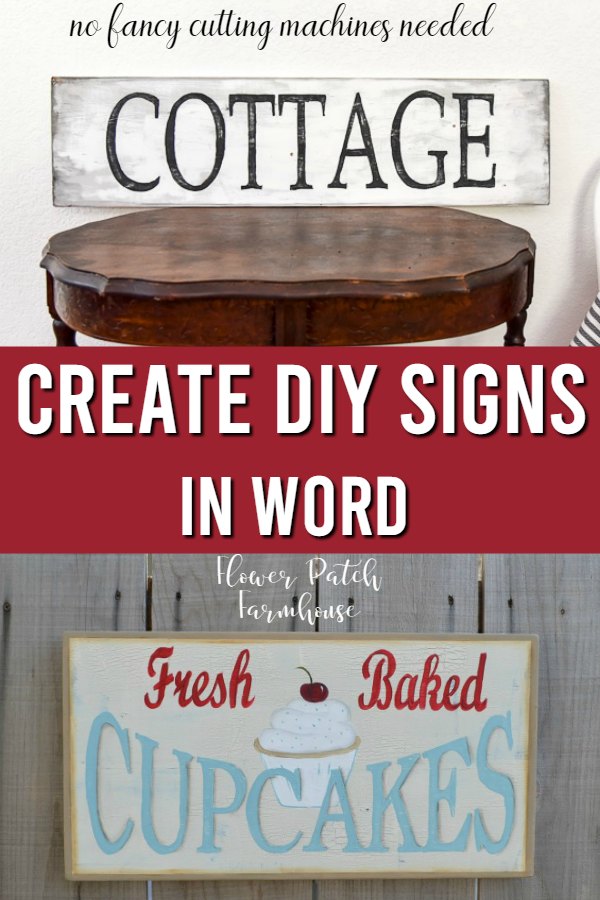
Create Signs using Word, no Stencils are needed. Hand-painted signs are still popular, creating them is as easy as using your Microsoft Word Program. I show you how step by step.
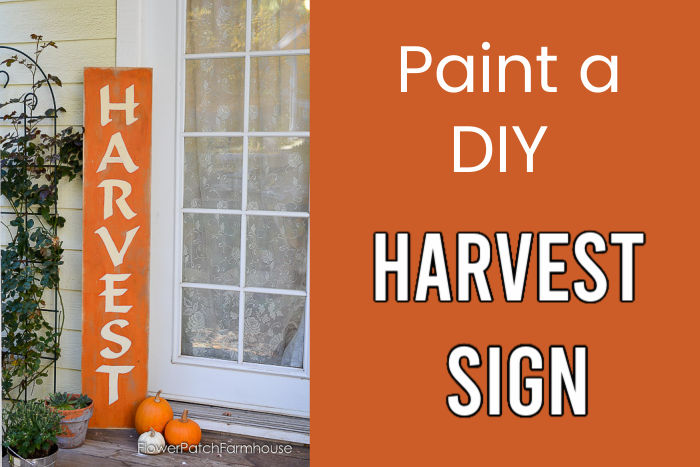
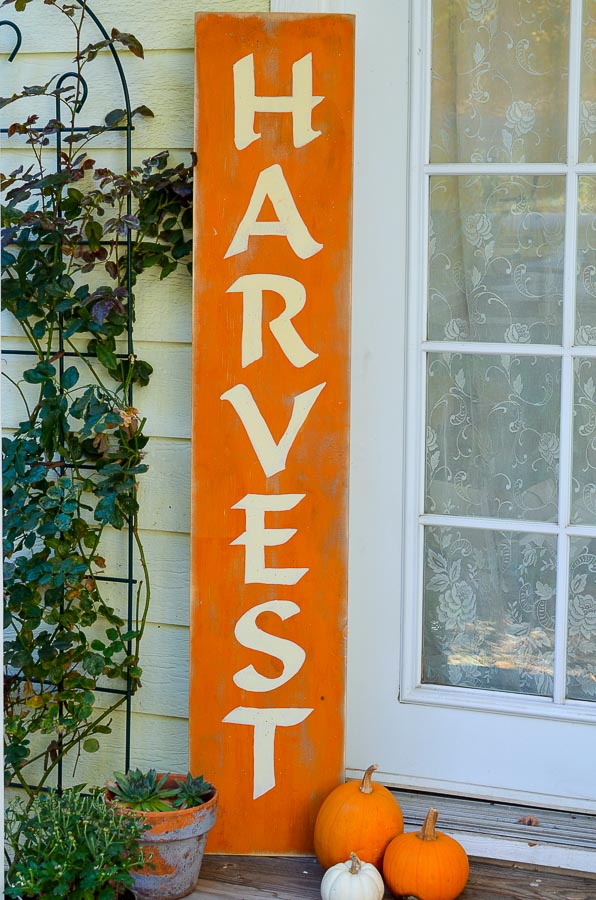
My Harvest sign tutorial is one of my most popular. When I create signs using WORD it is much less expensive than using stencils or fancy cutting machines.
I figured you would like to know how to create your own signs too.
(I updated this post for newer versions of WORD)
There are a lot of screenshots for you to follow as I attempted to make this as comprehensive as possible.
Create Signs with Word – Get Started
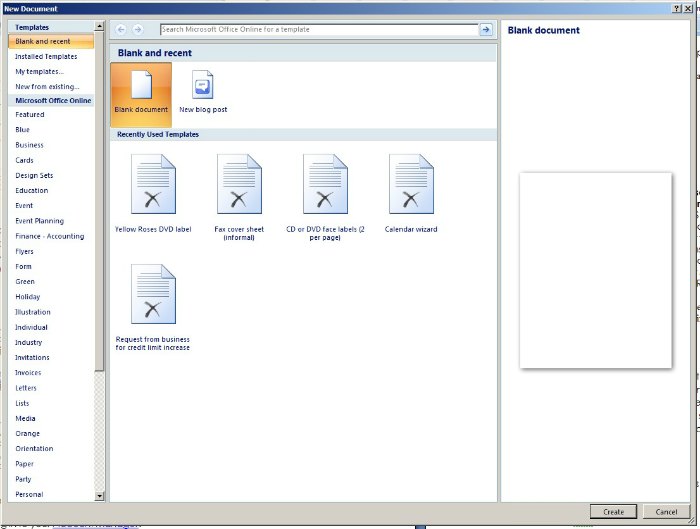
Start by opening the Microsoft Word program and choose Blank Document. (note: I am working with Word 2007)
I have the subscription for the Microsoft Office from here. I have had it a few years and it has paid for itself 10 times over. Broken out over a year it is less than $5 per month.
I am now using a new Word program, this tutorial works for the newer Word too but for one detail which is noted at the end of this post.
Start in the Home tab of Word.
Fonts
Now choose your Font. Click the arrow next to the font box and a drop down menu appears I have many extra fonts that I have found by searching around for free fonts and I have some on my Fonts Pinterest board.
For this Demo I chose Calligrapher, it was a font I found online for free.
You can also get weekly free fonts from Creative Market. Just sign up for their emails and they have freebies each week.
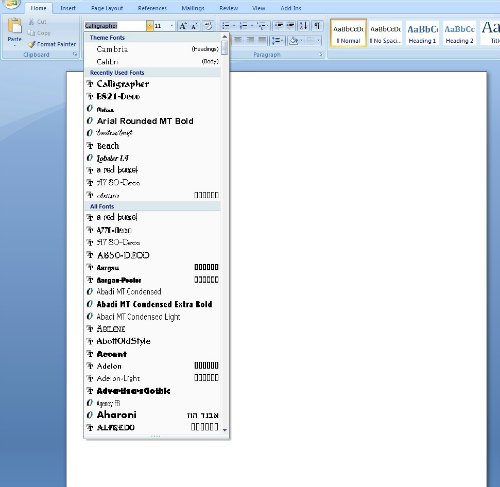
Wording or Lettering for your DIY sign
Type the word you wish for your sign. If you don’t like the font you chose then highlight the word, (left-click on the mouse and drag the cursor over the word) and change it.
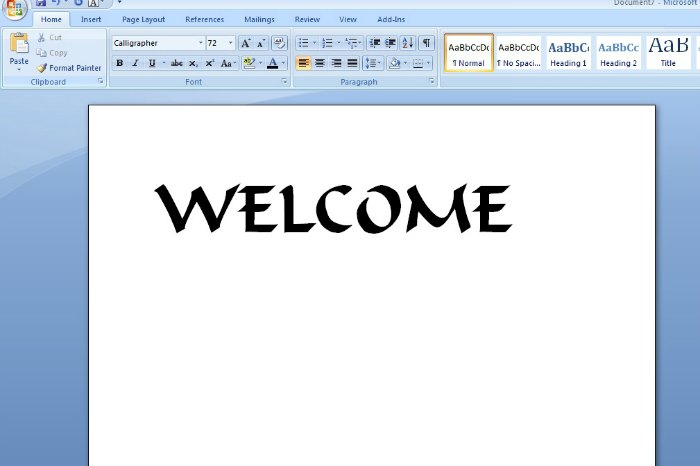
Obviously, this is not big enough for a large sign so now you need to enlarge the font size.
Making sure the word is highlighted go up to the size box and highlight the number in the box.
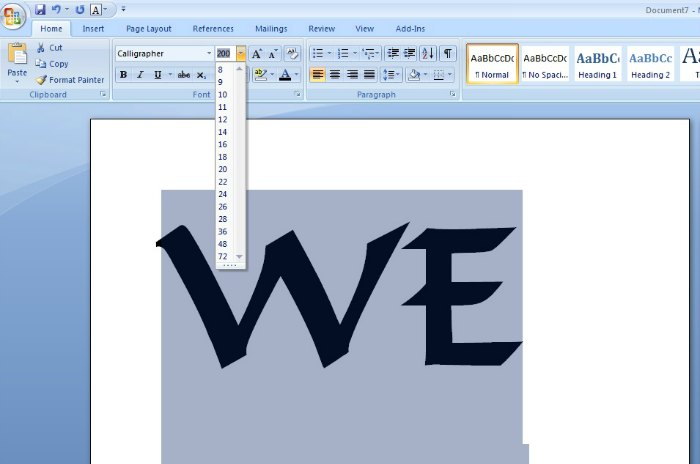
Make the Font Bigger
Note the drop-down menu only goes to 72 and that just won’t cut it so that is why we highlight the number in the box and then type in a larger number.
I keep testing numbers until I find one that I think is large enough. I know my paper is 8.5 x 11 so I eyeball what the letters will actually be.
To use as much of the page size as I can I adjust the margins…
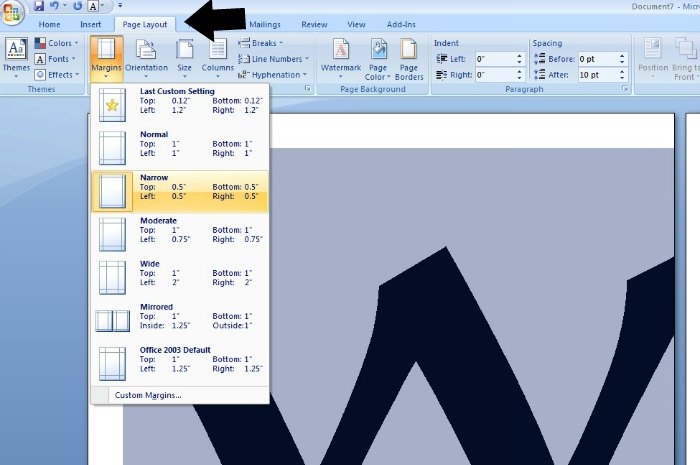
Go to the Page Layout tab in Word and open Margins. It will give you several choices and I pick Narrow, which is half an inch all the way around.
There is a custom margins option but for some reason, I have not been successful in getting it to do what I want so I stick with the Narrow option.
If I want the lettering to be wider than tall I switch the page Orientation to landscape.
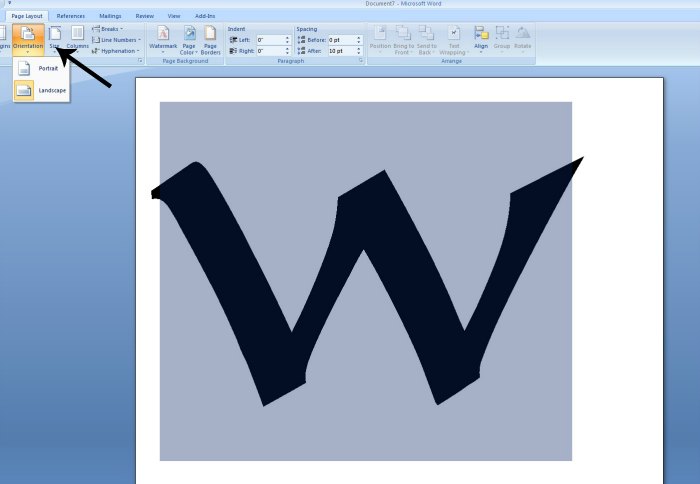
The Orientation tab is right next to the Margins tab in your toolbar.
Budget Friendly
Since I am frugal and don’t want to waste a ton of black ink by printing solid letters (especially when all I want is an outline), I make sure to change that.
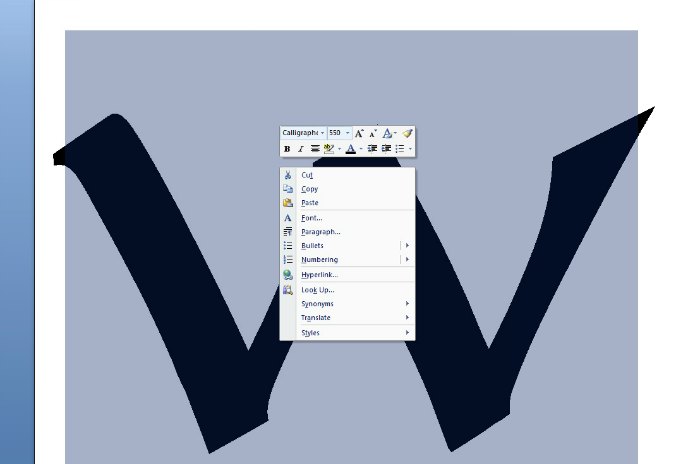
The sign word should still be highlighted, right click your mouse as you hover over the first letter of the word and this menu should drop down.
The 4th choice down is Font, click on that and it will open up another menu for you.
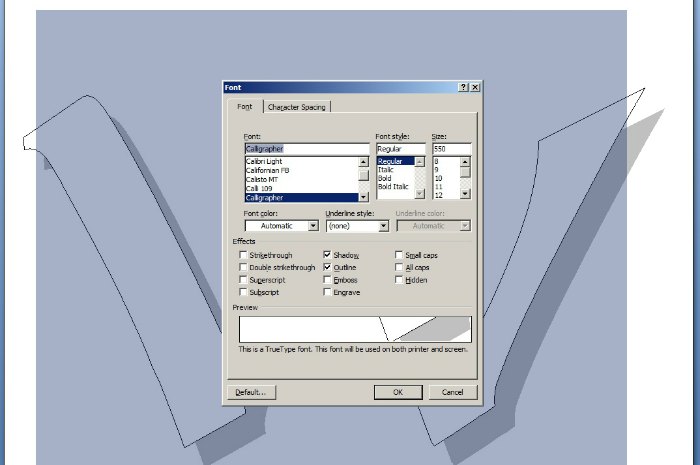
You will note I clicked on two of the boxes, one is Outline and the other is Shadow.
Design Options
Use Shadow if you want to add dimension to your lettering by painting a shadow on your sign but this is optional, you can just click Outline and the letters of your word should turn white with just a narrow outline. (which obviously uses much less ink than solid letters)
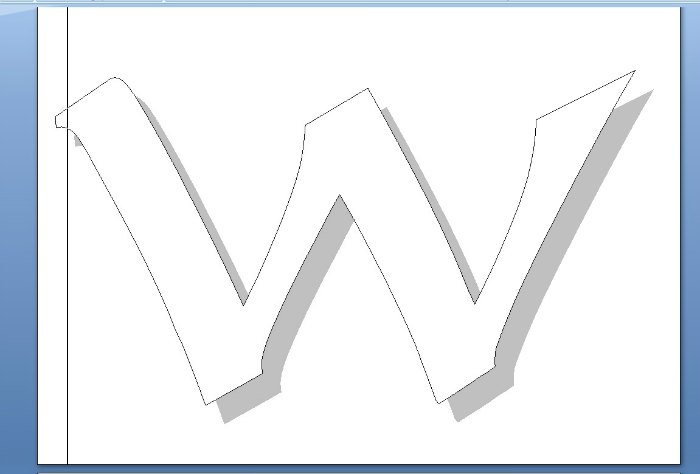
Print your DIY sign wording / lettering
Now you are ready to print. Preview your pages to get an idea of what it will look like, some of the letters could be cut off and it is better to find out now rather than after printing. Adjust the size of your font to make it fit the paper.
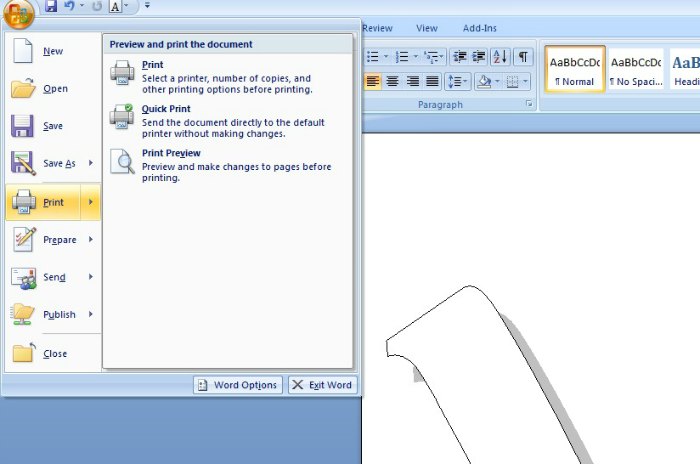
It happens and if I want that particular size I just fudge in the rest of a letter when I paint the sign or I choose a smaller font, print the word then enlarge it by scanning and using the enlarge feature on my printer.
Assemble
Once I have printed out my letters I line them up along a center line and tape the pages together making sure I have even spacing between them. Then I transfer the letters to my surfaces and fill them in.
Update
My newer WORD program works just the same except for one change to get the lettering an outline you need to do these two steps.
When you pick you font, change the color to white by clicking the theme color button on the tool bar.
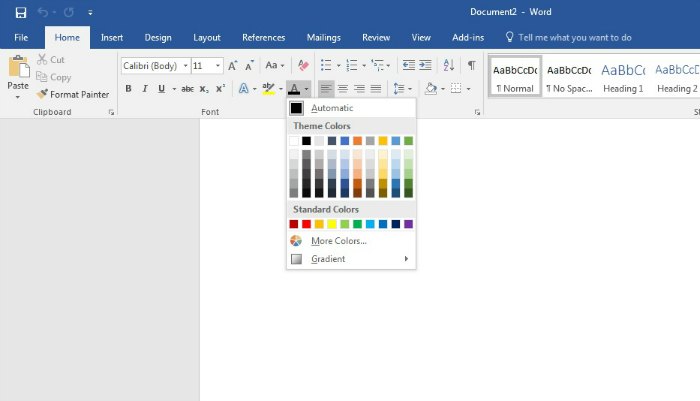
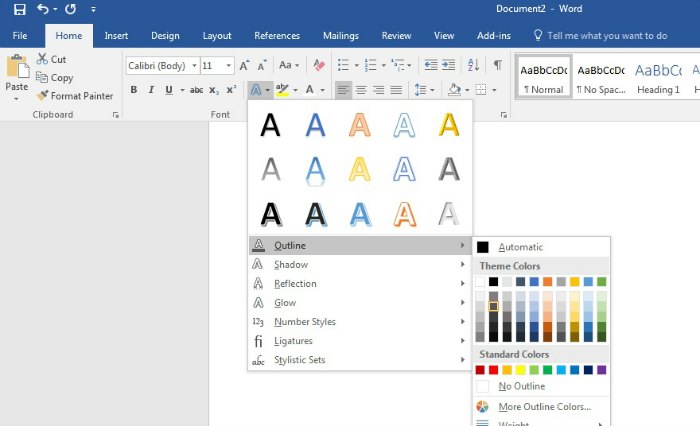
Next you need to choose Outline on the toolbar, then the color of the outline, you can use black but I use grey as you can see by the highlighted box in the color choices.
And the rest is the same so go create signs using WORD!
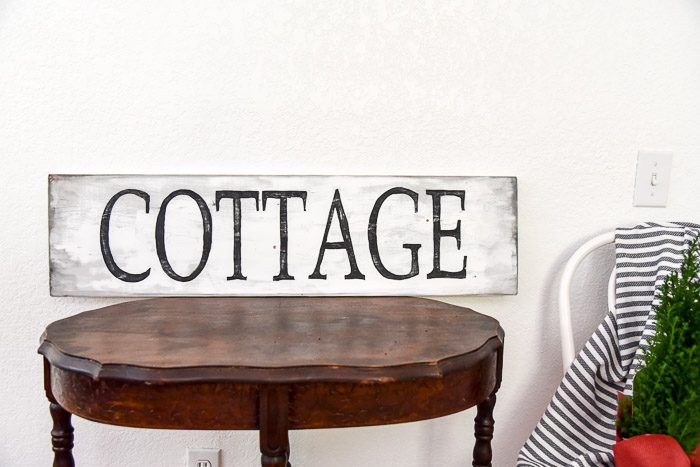
To see the post on hand painting lettering just CLICK HERE.
Keep this handy! PIN and Share
I wish you Happy Painting!
Other Posts you May Enjoy
Painting Hand Lettering
Hand Painted Fall Welcome sign
Fun Winter Painting Designs

