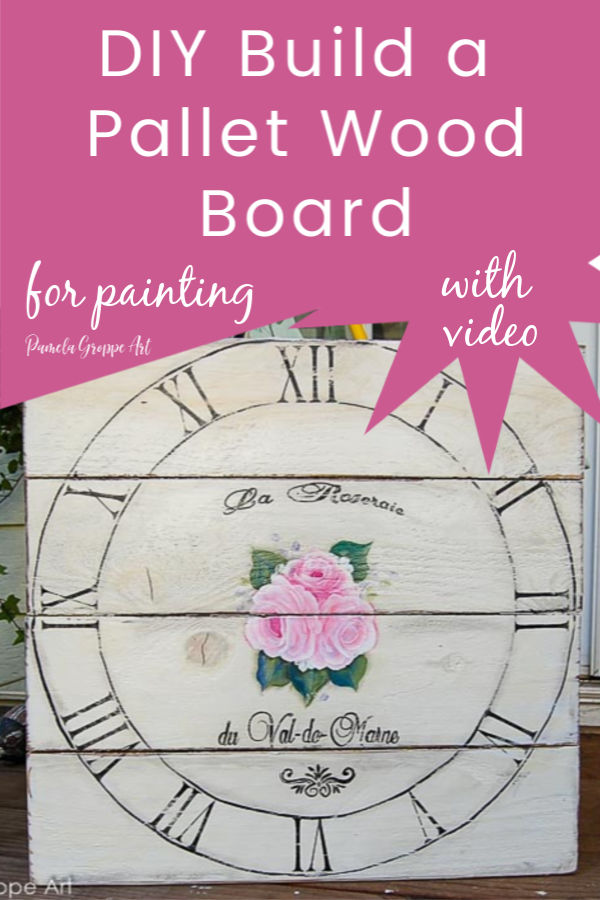
Build a Pallet Board to Paint
How to build a pallet board to paint. Do you love the look of art painted on wood boards? I show you how to build your own!
Would you like to build a pallet board to paint? I love painting on wood and actually I did not start using canvas until five or so years ago. Back in the late 90’s I sold hand-painted signs on eBay and used reclaimed wood. I had such great success on eBay I started a website. Custom orders poured in for larger signs and I had to start attaching boards together to create them.
Thus was born my DIY pallet wood surfaces to paint. There may be different ways to build them but this is what I do for Pallet Wood paintings!
This post contains affiliate links. If you make a purchase after clicking a link I may make a small commission at no added cost to you.
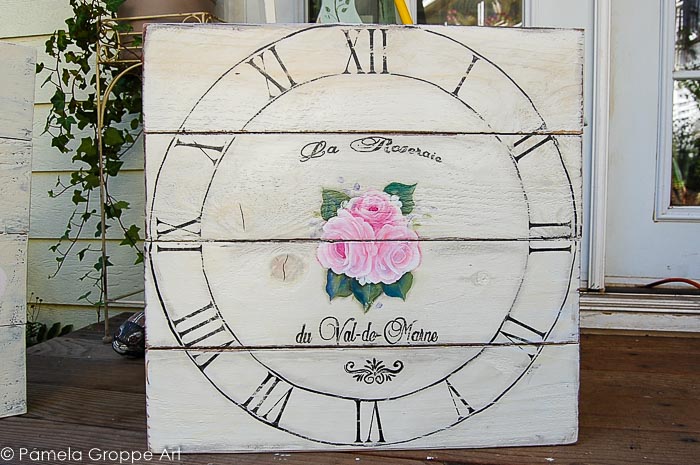
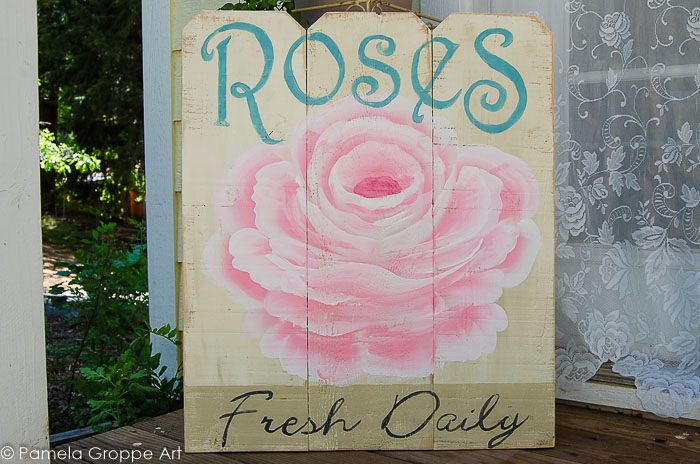
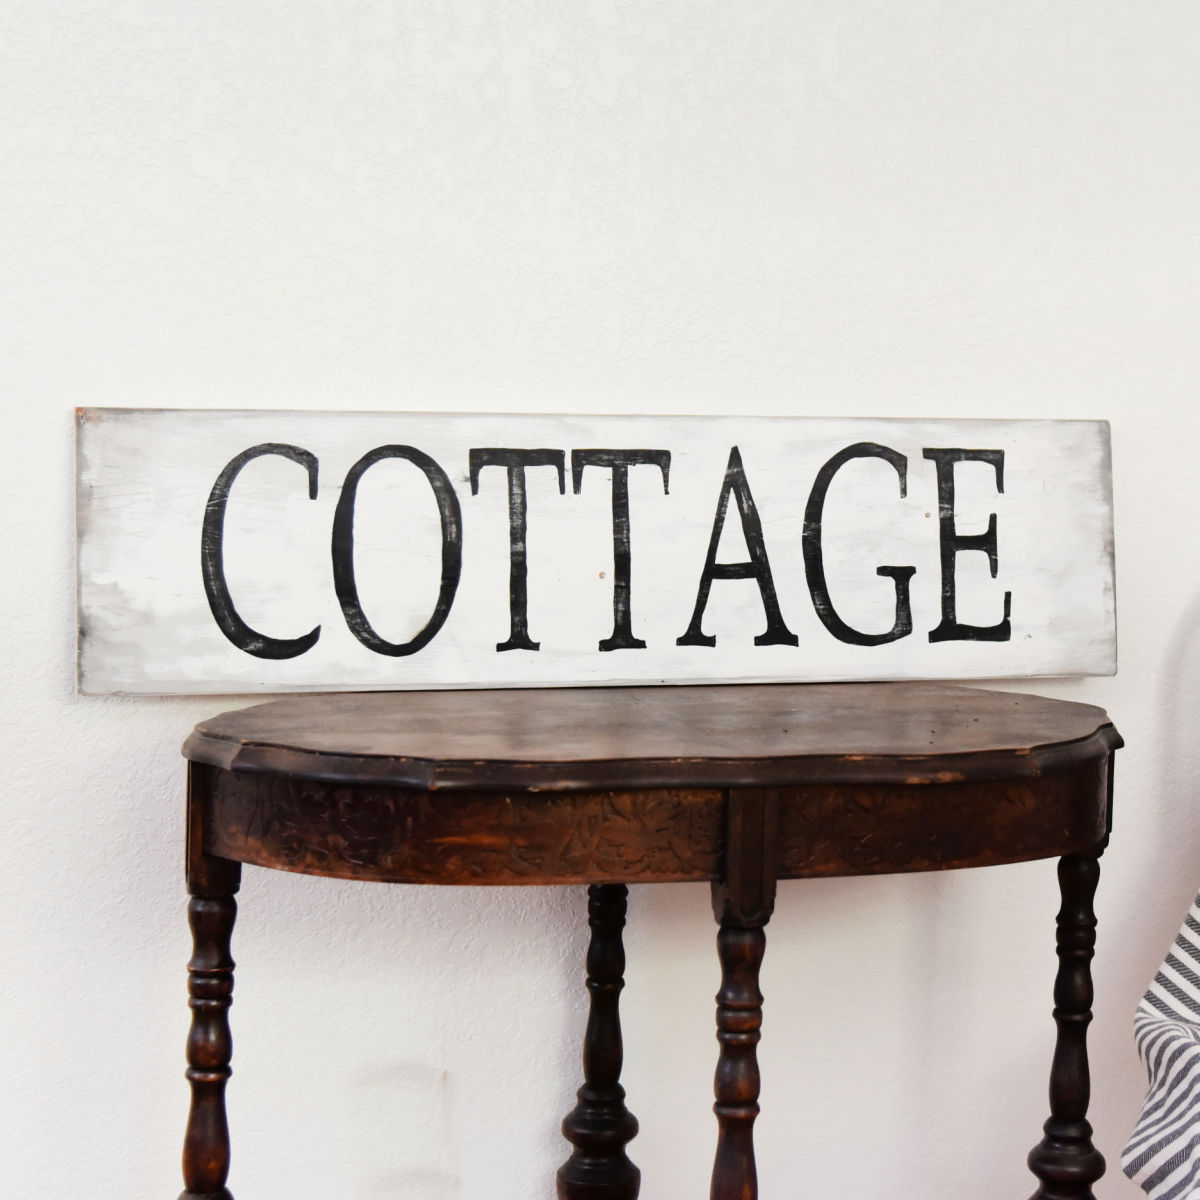
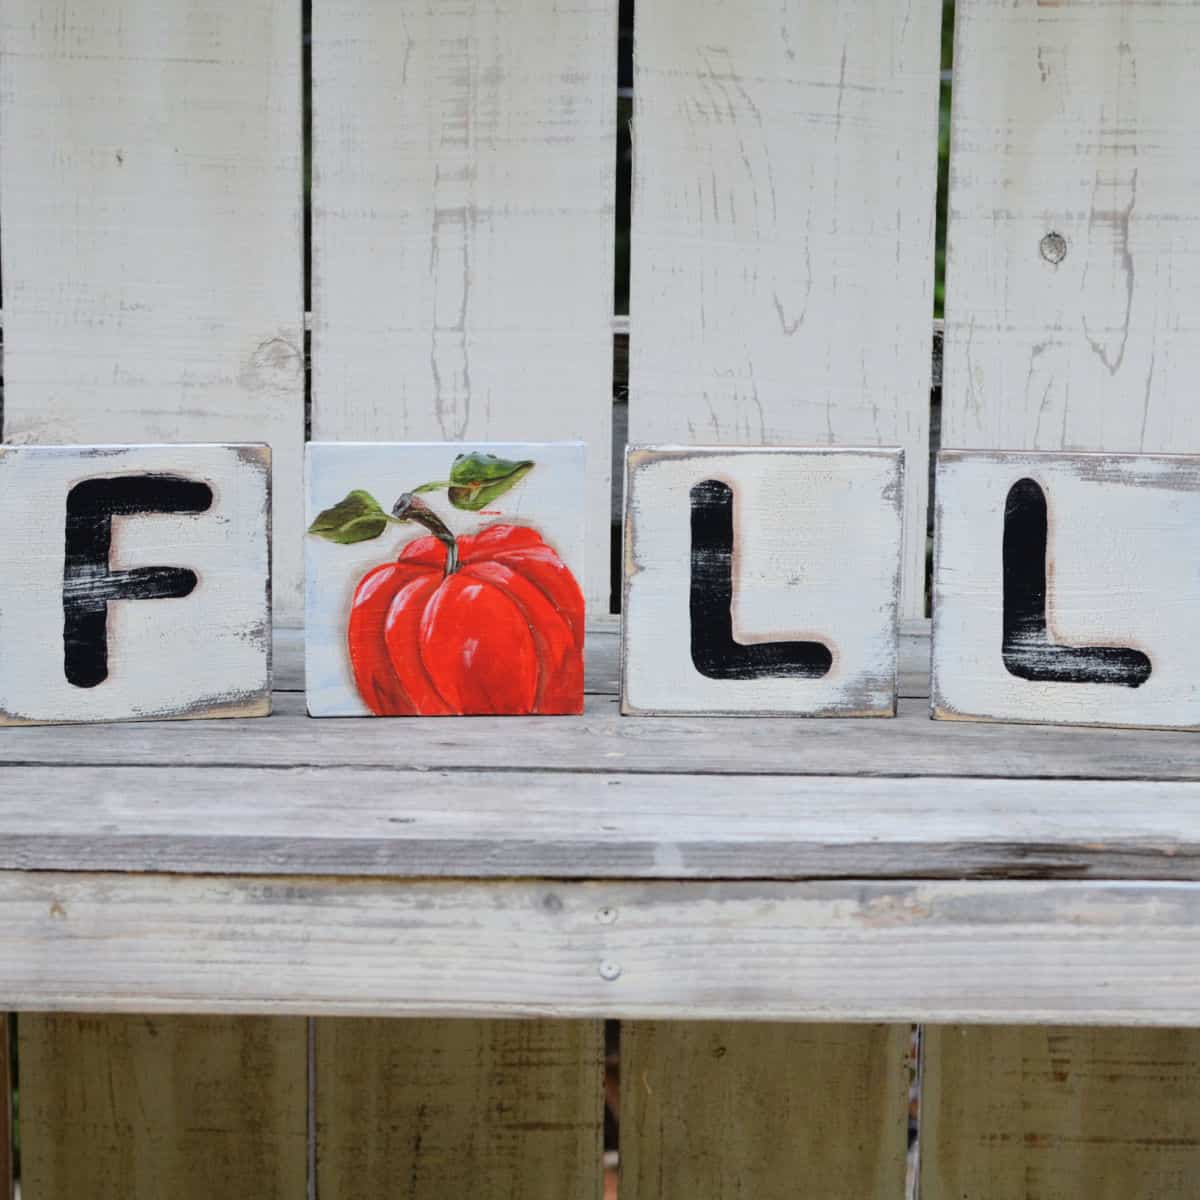
Here is a couple of examples of things painted on pallet wood boards.
Faux wood clock painted in 2011
This was a custom sign and is two 1 x 6 boards put together and painted in 2013

Wood used for pallet wood signs
Supplies:
One 1 x 2 lathing strips 8 feet long
One 1 x 4 board 8 feet long
Tools
Ryobi Drill with Drill bit and screw head
1 1/4 inch wood screws (or screws long enough to engage in both boards but not punch through to other side)
Miter Saw
Sanding Sponge
Varathane Spar Urethane (exterior water based)
You can use builder lumber you get at big box stores like Home Depot or Lowes but I get mine at a local lumber yard.
You can use pine, doug fir, or even cedar fence boards.
The signs and paintings shown above were painted on 1 x 6 boards but in this DIY tutorial, we are going to use 1 x 4’s at 8 feet long. (which is not really 4 inches wide but closer to 3.5 inches wide)
How to Build a Pallet Wood Board to Paint
Building your own pallet wood boards to paint or for crafts is easy to do and fun. Create custom sized surfaces to paint signs and paintings on.
Materials
- Regular lumber 1 x material
- example: 1 x 4 boards, 1 x 6 boards etc, determined by what you want to do
- In this tutorial the lumber used was 1 x 4 at 8 feet long
- 1 x 2 lathing strips
- 1.5 inch wood screws
- Exterior Wood glue
- Rustoleum exterior water based Spar Urethane in Satin
- Sanding sponge
Tools
- Ryobi drill
- DeWalt Compound Miter saw
- Ryobi orbital sander
Instructions
- Cut 1 x 4 boards to length, in this example that was 18 inches
- Align boards
- Cut and pre-drill lathing strips
- Attach to aligned boards at back with wood glue and wood screws
- Sand front
- Apply urethane to seal wood and knots
- Sand again when dry with sanding sponge to smooth raised grain of wood.
Notes
You can build any size you prefer.
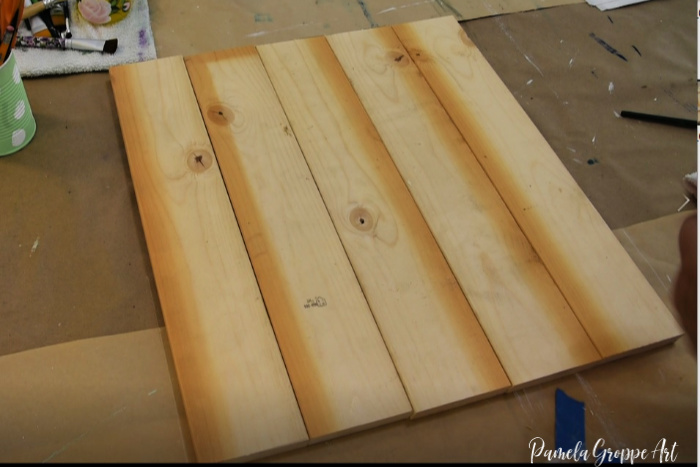
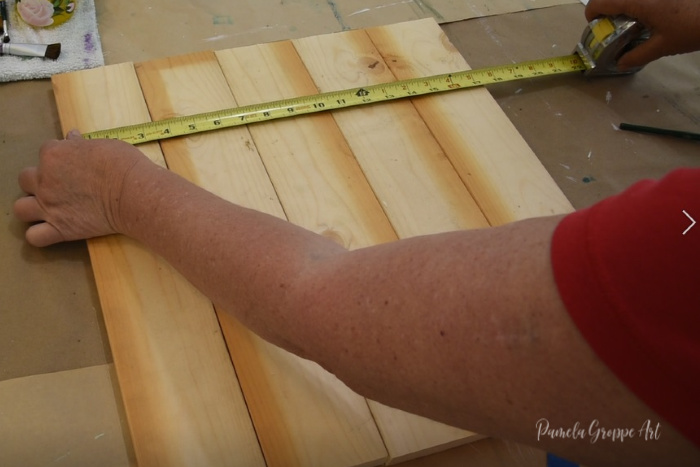
Cut the boards to length
The measurements for cutting all depend upon what you want to create.
In this instance, I was going for 18 inches tall and the width was going to be 17.5. If you want this to be more square then cut the 1 x 4s in 17.5 increments.
These boards have been stored and are discolored but that is not a big deal.
With the 1 x 4’s cut and lined up take the measurement across for the support pieces. You may think you know what it will be but remember the adage “measure twice”.
This one is 17.5 inches.
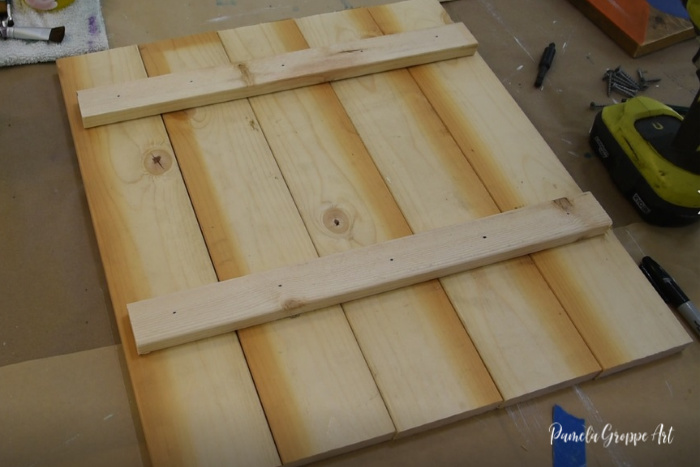
Cut 1 x 2’s lathing strip the length minus an inch or so, you don’t want them to overlap the edges.
Prepare for attaching
Line up the lathing strips where you want them on the pallet board. Keep the boards snug across.
With a sharpie place a dot approximately center of each board across the lathing strip.
Place a scrap piece of wood beneath the lathing strip.
Pre-drill holes into lathing strip. This prevents the wood from splitting when you screw it down. This is where those dots come in handy.
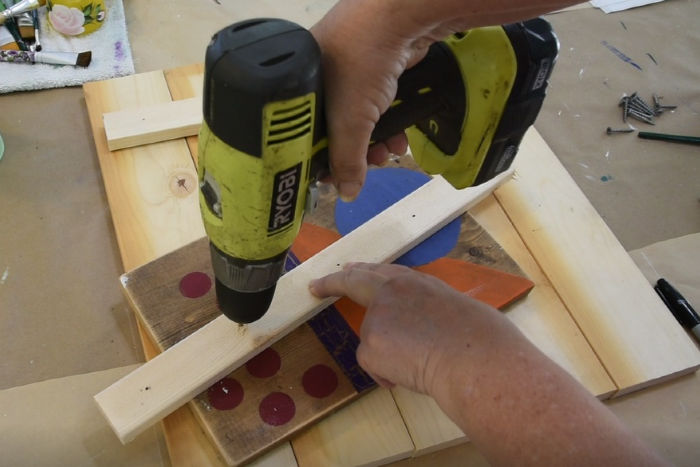
Fasten lathing strip to boards
Run a bead of wood glue across the back of the drilled lathing strip. I prefer exterior wood glue.
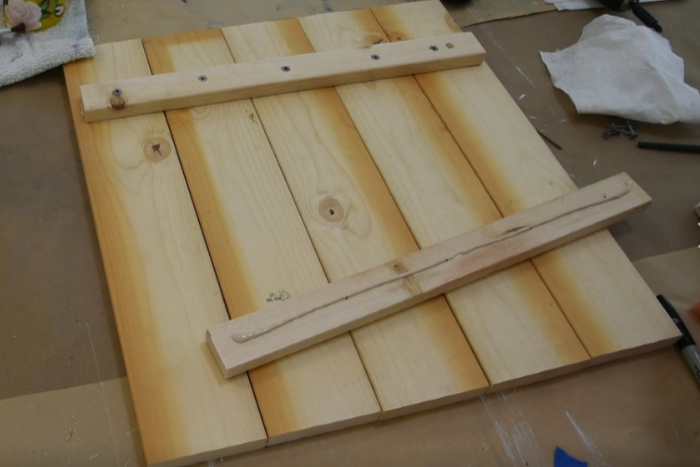
Place lathing strip over boards and starting in the center screw onto boards.
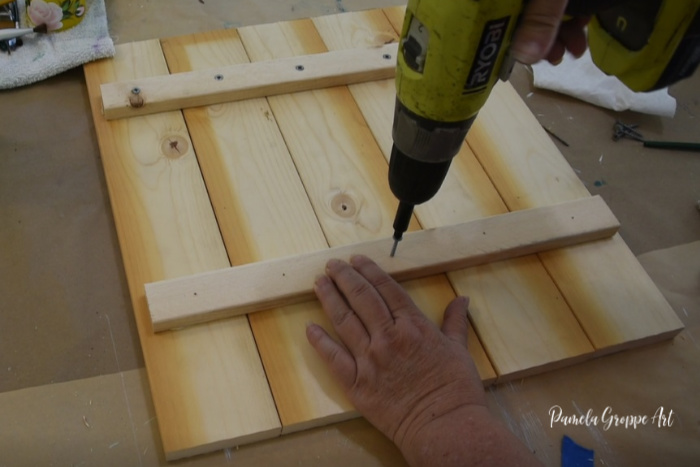
In the video linked at the end of this post you will see how I used a clamp to keep the boards snug together when they wanted to splay.
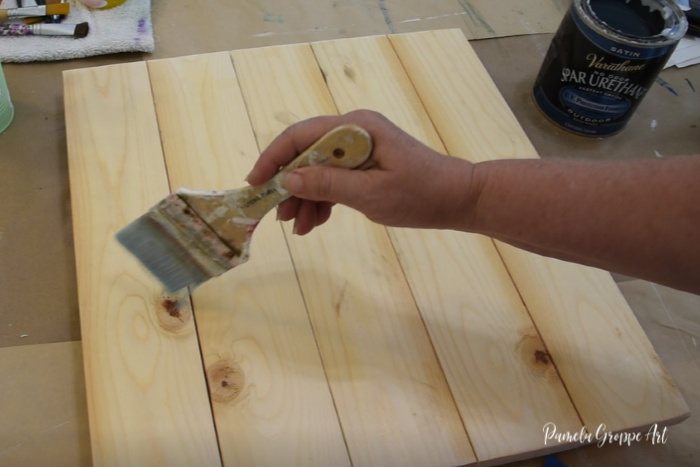
Seal wood
Because knot holes can contain resin that will bleed through paint, sealing with an exterior urethane can help keep that from happening.
Let the urethane dry then lightly sand the boards. The sealer causes the grain to raise on the wood making it rough. A light sanding with a sanding sponge is enough to smooth it out.
And that, my friends, is how I build DIY pallet boards for painting or signs. And I did want to mention that one of the benefits of painting on pallet boards is if you royally mess up on a painting you can just sand it down and start again. (I have used that trick a time or two)
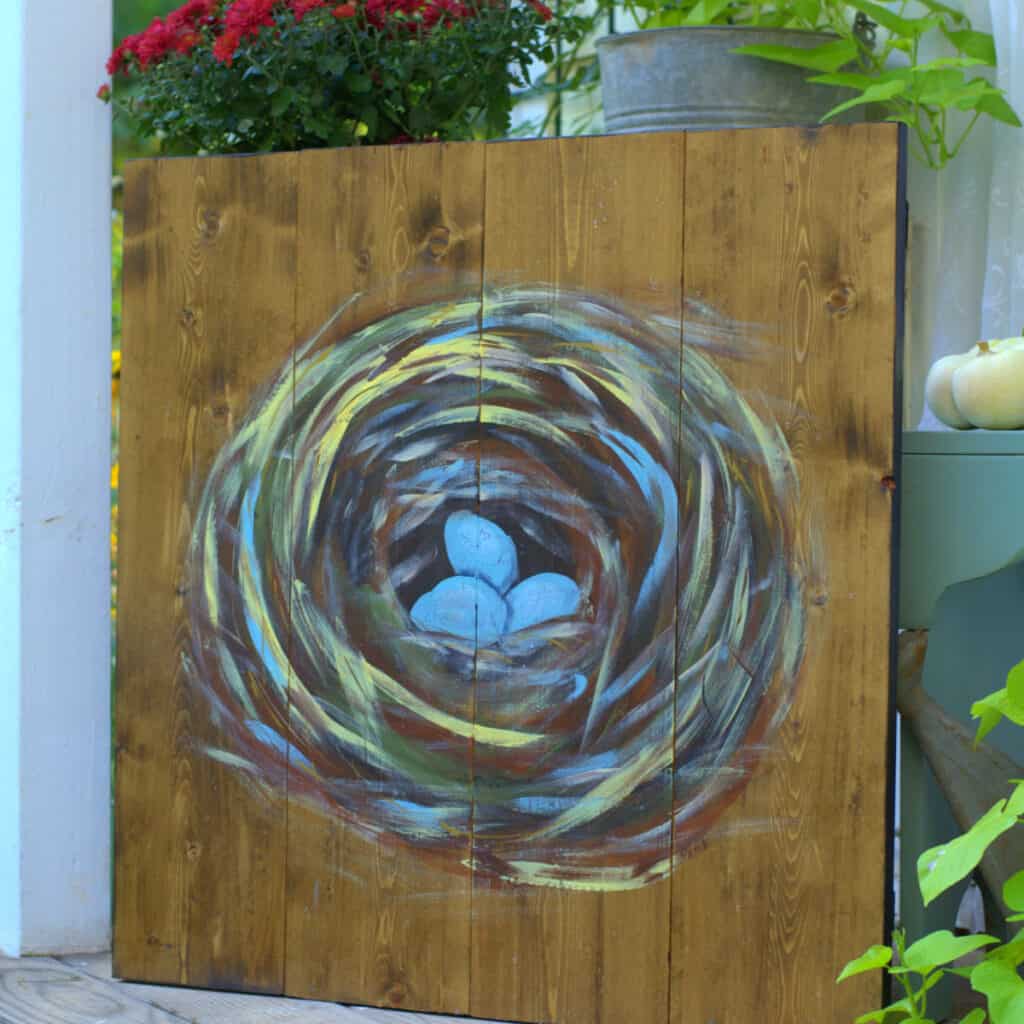
Want to see a few more examples? One is my nest painting lesson located here.
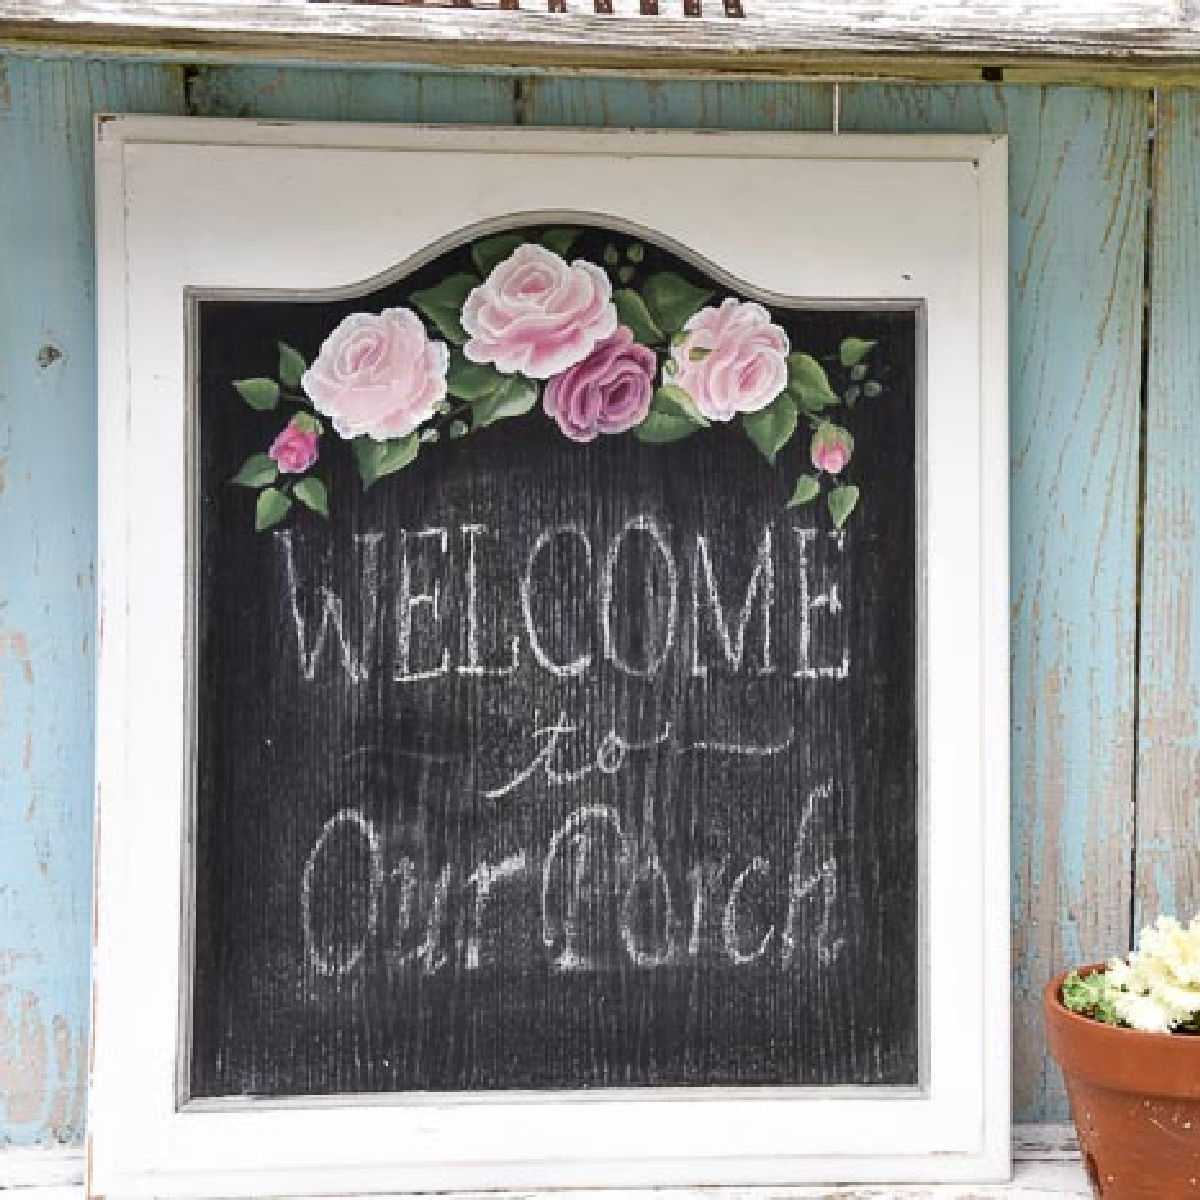
This Rose pallet wood sign below was painted on dog-eared cedar fence boards.
Be sure to sign up for email updates as I will be adding more paintings on pallet wood boards soon! They are a lot of fun.
Happy Building (then painting)


Hi my sister! Love your pallet board creations. I’ve been doing these also, but I’ve been using paint stir sticks that Home Depot and other paint stores give out for free when I don’t have the lathing strips. I’ve also cut one of the pallet wood pieces into strips for lathing pieces. Love your stuff. Hope we can work together in the new system.
Great idea. I have seen others do that but the home stores started charging 50 cents each for them here. I should ask again. I think so many were asking for the paint stir sticks to use for different crafts they decided they needed to charge for them, which I can understand. We will have so much fun in the new system and having the time and energy for so many things is something to look forward to!