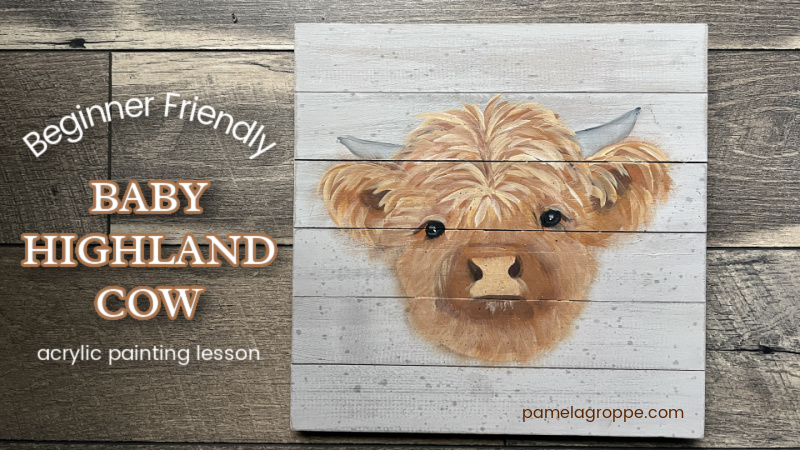
Highland Cow Painting
Unleash your inner artist with this Highland Cow Painting Tutorial! Perfect for novices and pros – Complete with easy-to-follow steps & engaging video!
I have had an itch to create a highland cow painting tutorial for a long while and I have finally got it done. It took me a bit of practice to make it simple enough for beginners while interesting enough for the more experienced.
This post contains affiliate links. If you make a purchase after clicking a link I may make a small commission at no added cost to you.
Highland Cow Painting Supplies
I used a 12″ x 12″ Wood surface from Wal-Mart. It was around $7 and had a nice finish that pairs well with this design. You can paint it on a canvas or any surface you wish.
If you want to practice first I like to use the brown builders paper that comes in a roll at Home Depot or Lowes. I use this as a protective cover for my table and for wrapping things for shipping.
Paint & Brushes
Plaid FolkArt Brand Paints or Use What You Have
- Raw Sienna
- Burnt Umber
- Caffe Latte
- Licorice
- Camel
- Linen
- Steel Grey
- Brushes: Donna Dewberry 10 Pack
- Graphite Paper
- Fine Point Pen or Stylus
- Varnish to Finish
- Frog Tape aka Painters Tape
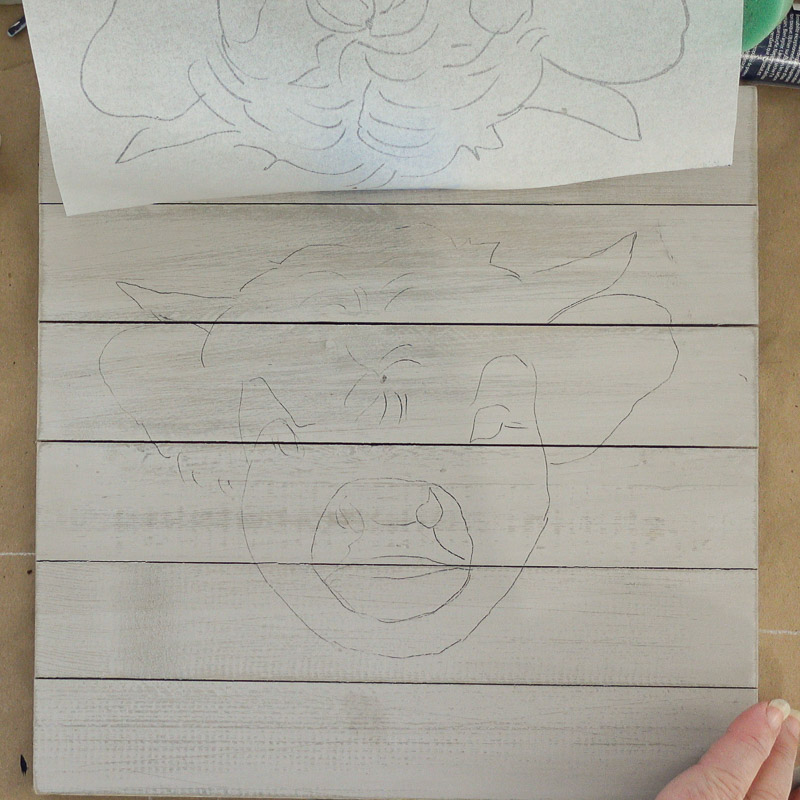
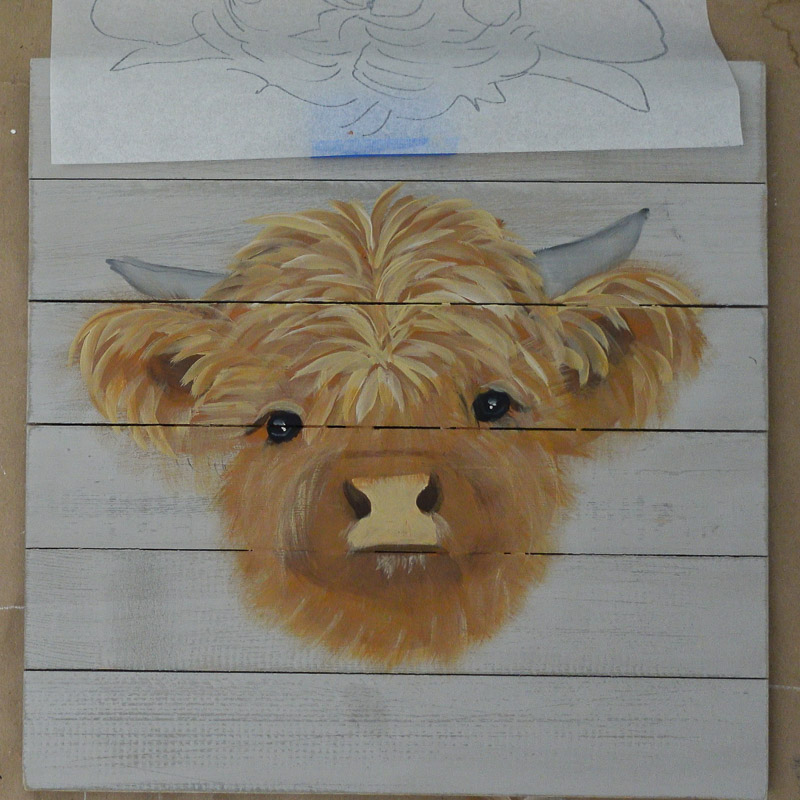
Transfer Pattern to Surface
I like to trace my pattern to a piece of transfer paper that is see-through. This makes it easier to relocate onto the design if I inadvertently remove it.
Tape the pattern to the surface and place graphite paper between the surface and the pattern. Graphite side down.
Follow the outline of the pattern with a pen or stylus to transfer the design to the surface.
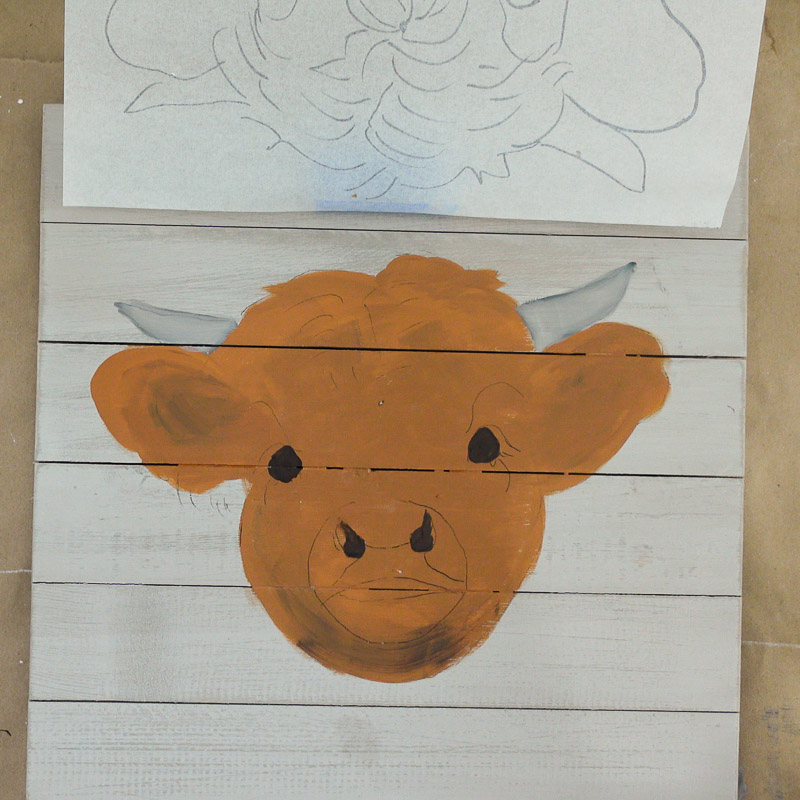
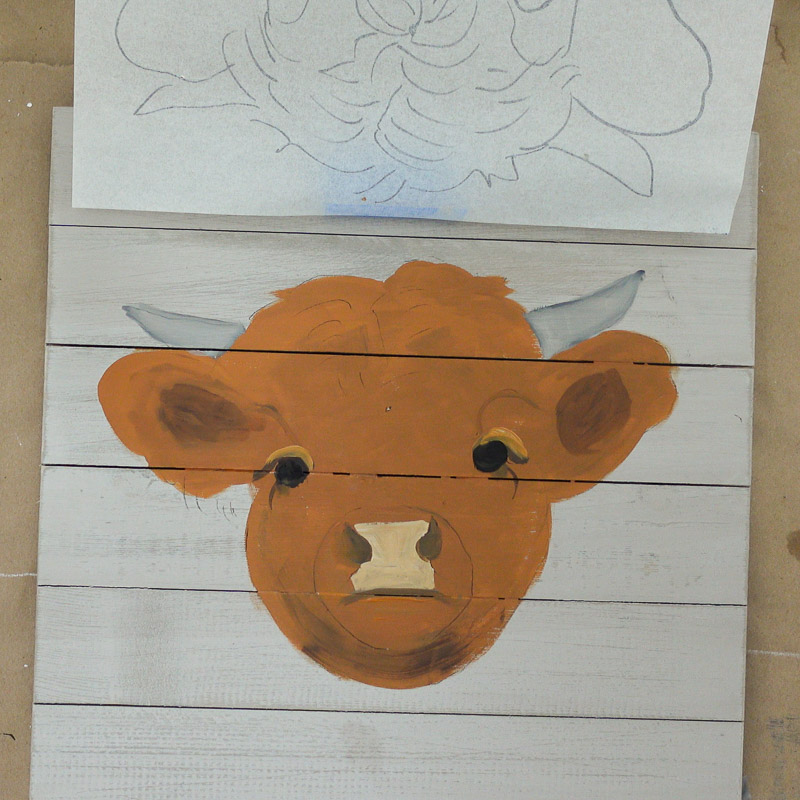
Base Paint
Using a 3/4 in flat brush base paint the Highland cow painting with Raw Sienna.
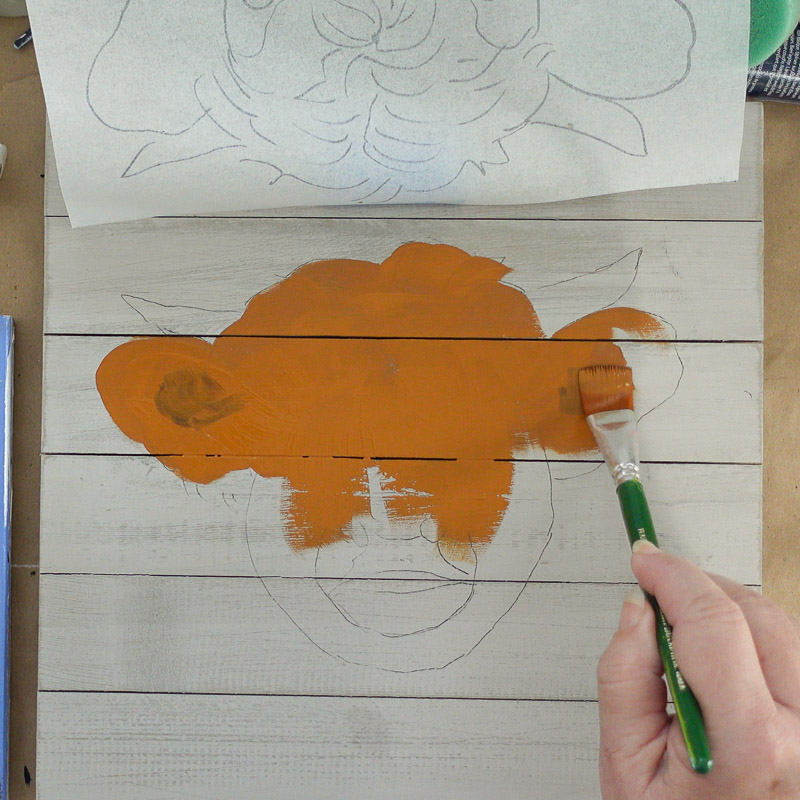
Add a touch of Burnt Umber to the brush as paint in darker areas. I used a photo off Pinterest of a Highland Cow baby for reference. I show you one I used in the video I have linked below. But any reference photo can work.

Highland Cow Painting Horns
Using the #12 flat brush paint the horns with Steel Grey. Add a touch of black to darken the edges and where they connect to the head.
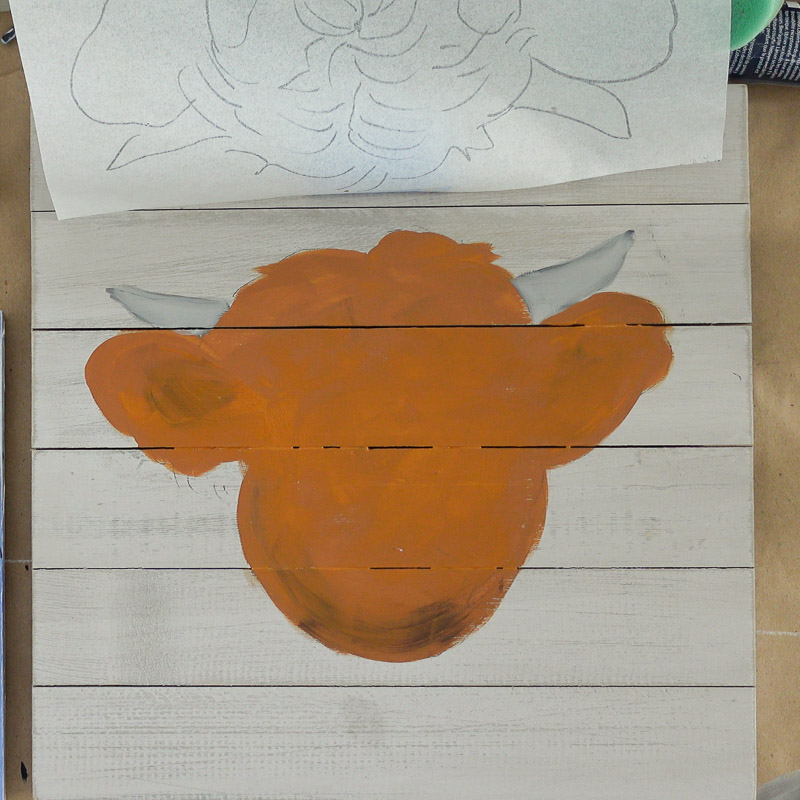
Let dry.
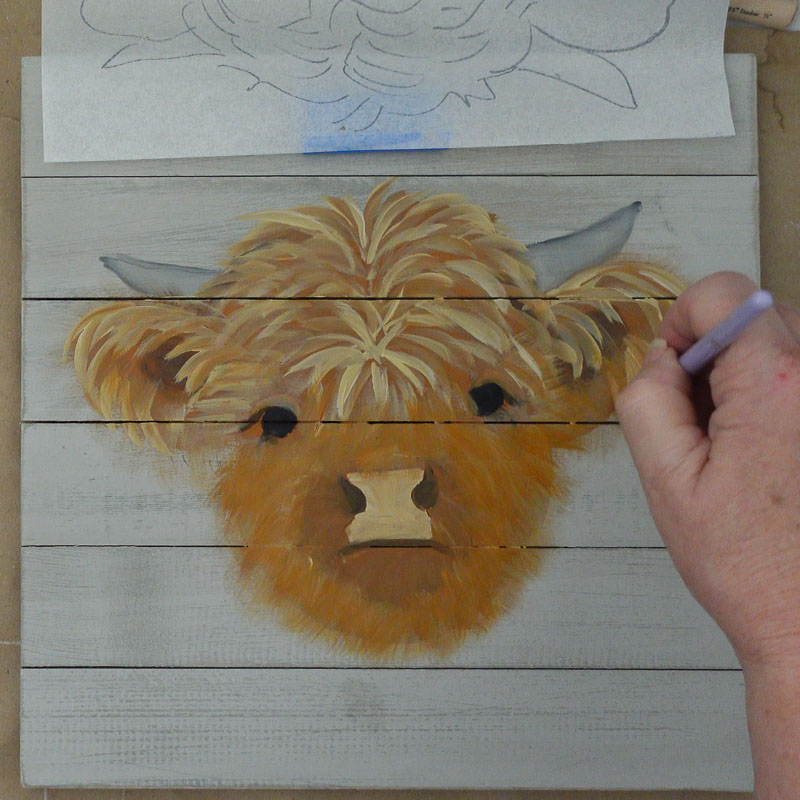
Add Details Outline
After the paint is dry pull down the pattern and transfer the details. Eyes, nose and mouth.
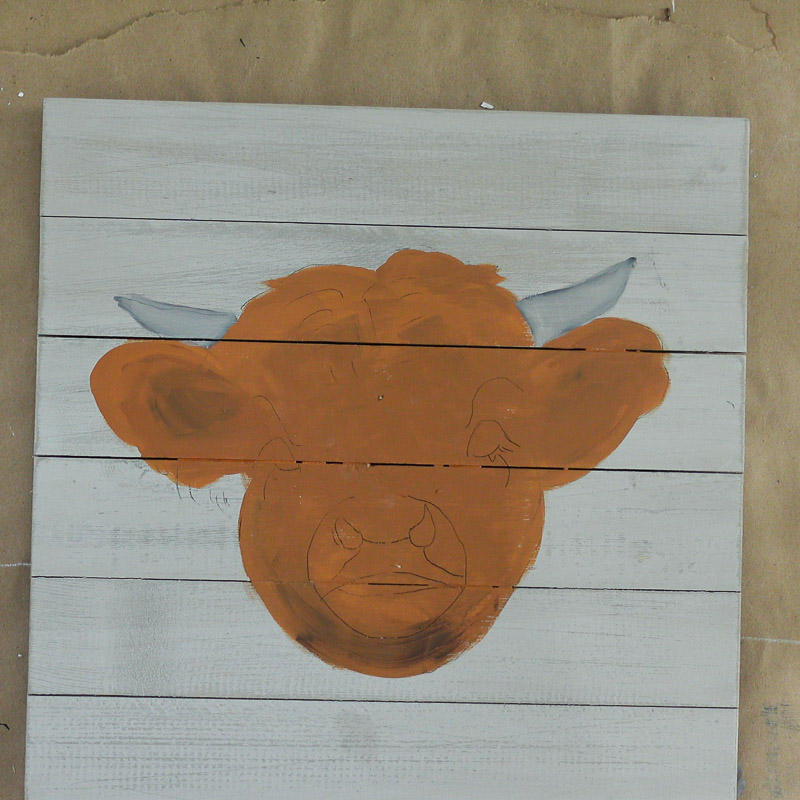
I also gave myself a bit of the hair on his forehead but that is optional.
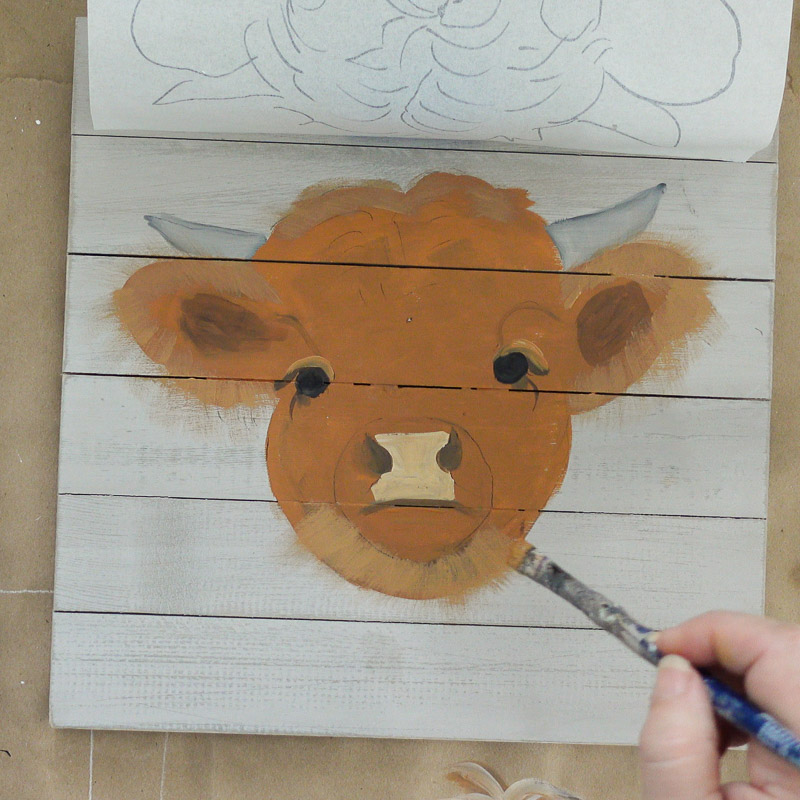
Eyes and Nostrils
Using Burnt Umber and a touch of Licorice paint in the nostrils and eyes. I used a #6 flat brush but you can use what you find comfortable.
Eyelid
For the eyelid I mixed a bit of Raw Sienna with some Burnt Umber and shaded in with that.
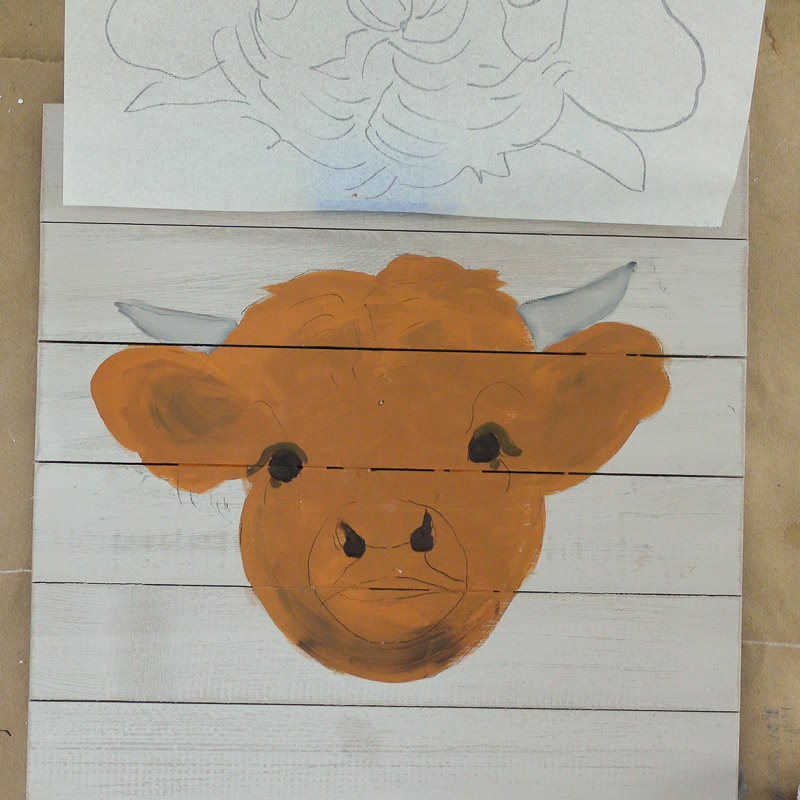
Add a bit of a line below the eye if you wish, this mostly gets obscured in the finished painting so this is optional.
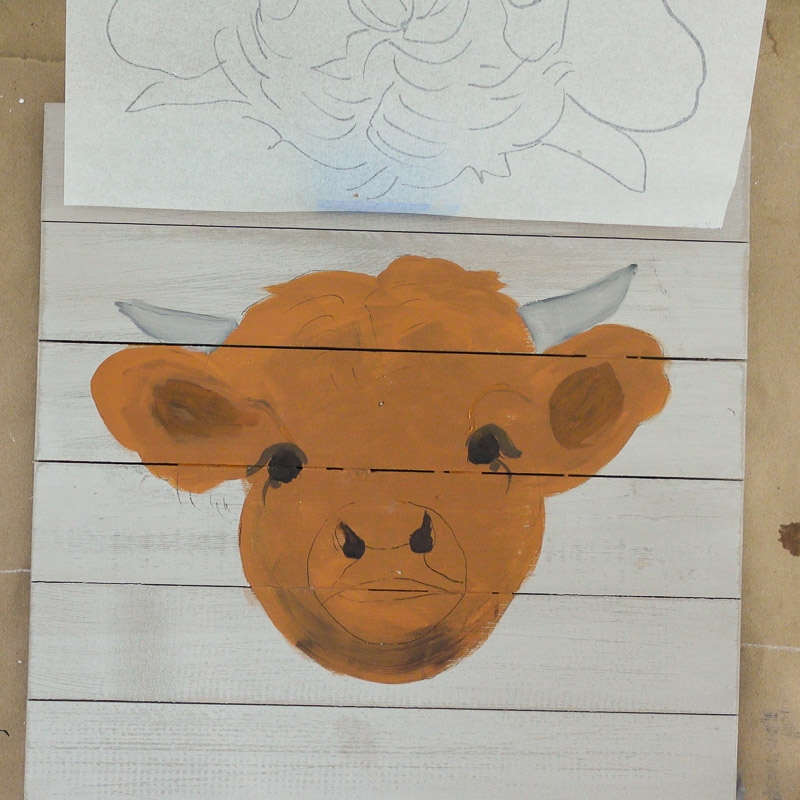
Shade in the Ears
Use whatever brush you find comfy water down some burnt umber and add more shadow to the center of the ears.
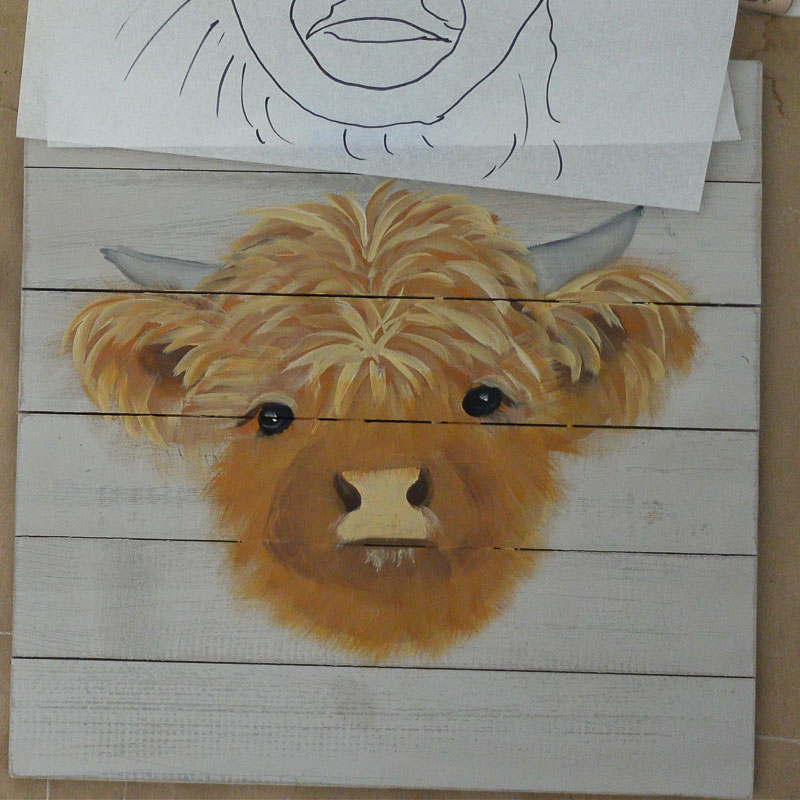
Painting the Nose and Mouth
Lighten the nostrils with a mix of Steel Grey, Raw Sienna, and Burnt Umber. This is just what I chose, you can refer to the photo you chose to mix the nostril color, the dark color was just too dark and it needed to be lightened.
Using a #6 flat brush mix Linen with some Raw Sienna and paint in his nose. The paint does not have to be mixed a lot. Just brush mix it a bit.
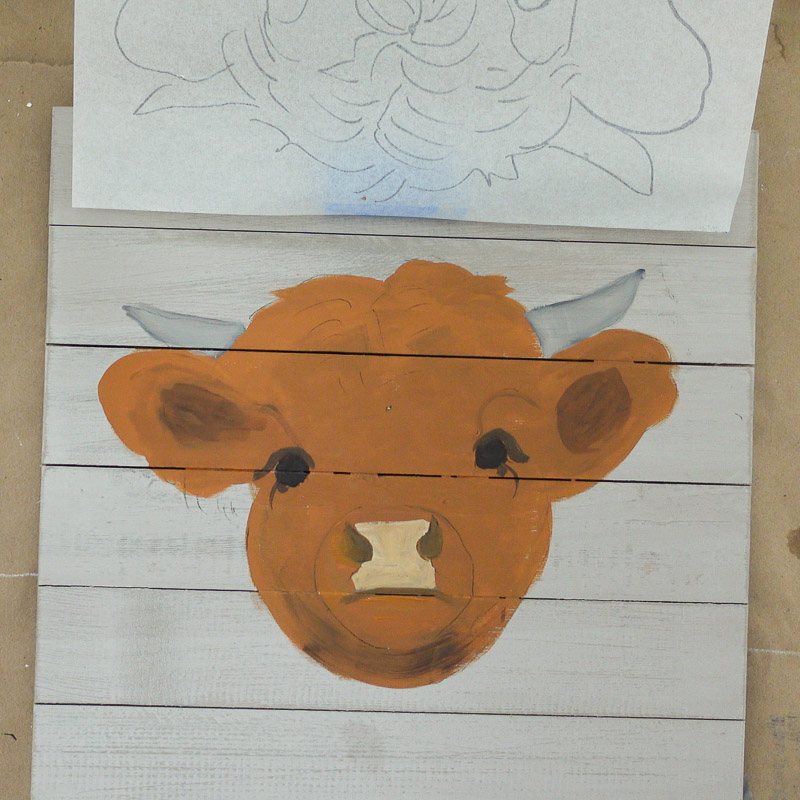
Using the same brush without cleaning it, add a touch of Licorice and paint his mouth.
Eyelid
To create an eyelid, load the #6 flat brush with a mix of Camel and Raw Sienna to lighten the area.
Start Adding Cow Hair
Using an old worn brush or a rake brush load with Caffe Latte and stroke in the direction the hair would be growing.
Notice the feathery edges of the brush strokes extend beyond the edge of the base painting. Go around the entire cow head with soft feathery strokes.
Switch to the #12 flat brush and double load with Caffe Latte and Camel. Using the chisel edge of the brush stroke in some tufts of hair.
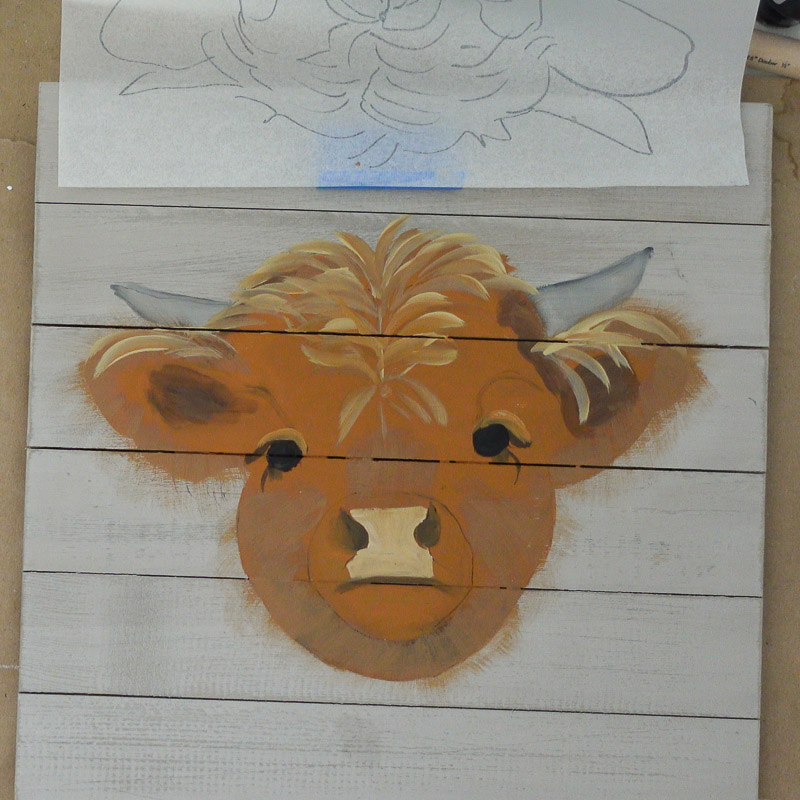
Add a touch of Raw Sienna in it toward the center of his part. (see the video for a better idea, link is at the end of this post)
Face
Switching back to the scruffy or rake brush double load it with Caffe Latte and Camel.
Stroke some hair outward from the eyes and around his muzzle.
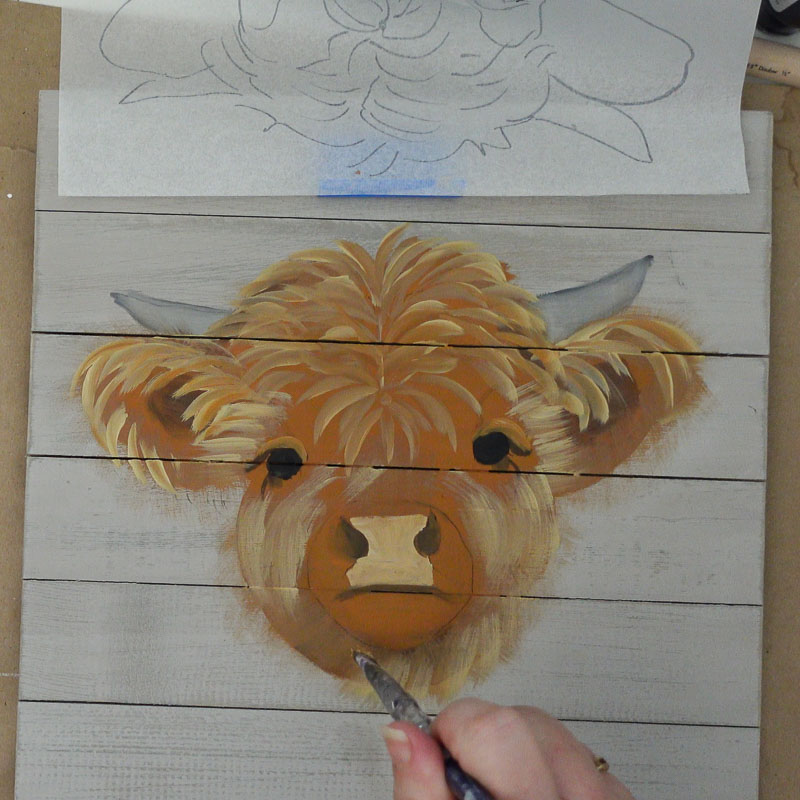
Go back over the face with Raw Sienna and the scruffy brush.
Using the #12 flat brush, double load with Camel and Linen. Stroke in some lighter hair tufts in areas.
Finishing Details
With the corner of the #6 flat brush and Linen give the eyes some highlights. Thin the paint and make an upside-down arc in the lower part of the eye.
Use a stylus to add a bright dot of Linen for added spark.
Glaze a bit of Burnt Umber under the mouth. When that has dried highlight with the scruffy brush and a touch of Linen.
Using the damp scruffy brush, make a hint of a line at the top of his muzzle.
This gives more definition.
And there you have your sweet baby highland cow painting!
The step by step Workbook is available here!
A printable traceable template is available here!