Wooden Signs
“Unlocking the Secrets to Prepping Wood Boards for Stunning Hand-Painted Wooden Signs!”
So you want to create wooden signs on standard lumber? Today I share with you how to prepare the wood for the best results.
When crafting hand-painted signs on wooden boards proper preparation is key to success!
This post is about standard lumber from a local lumberyard or big box home store and not the woodcuts you can buy from hobby or craft stores. Those are usable immediately.
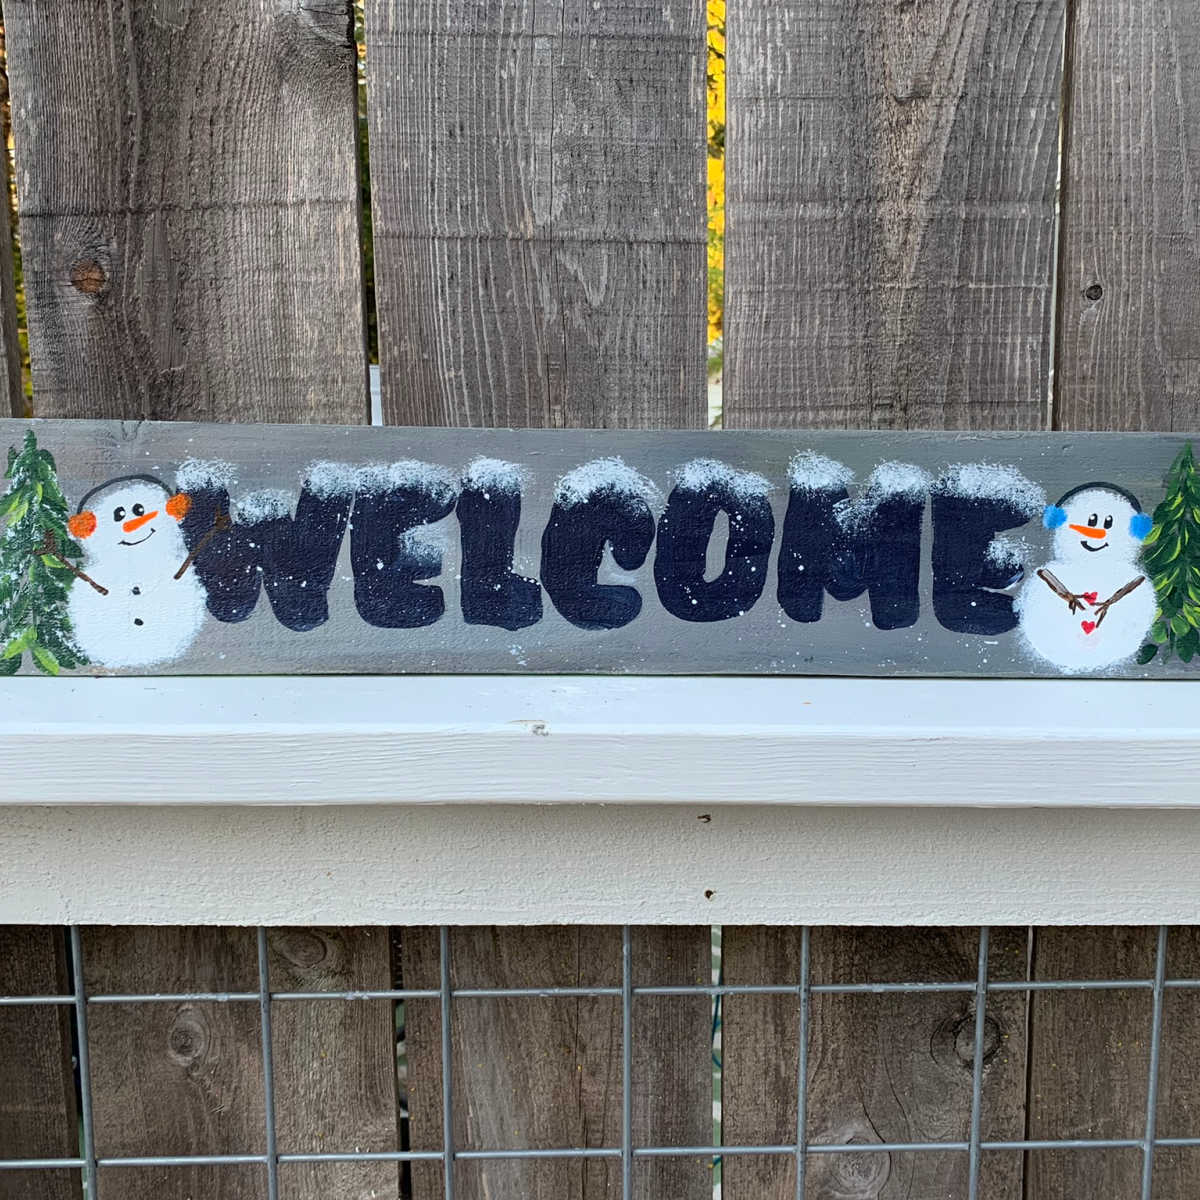
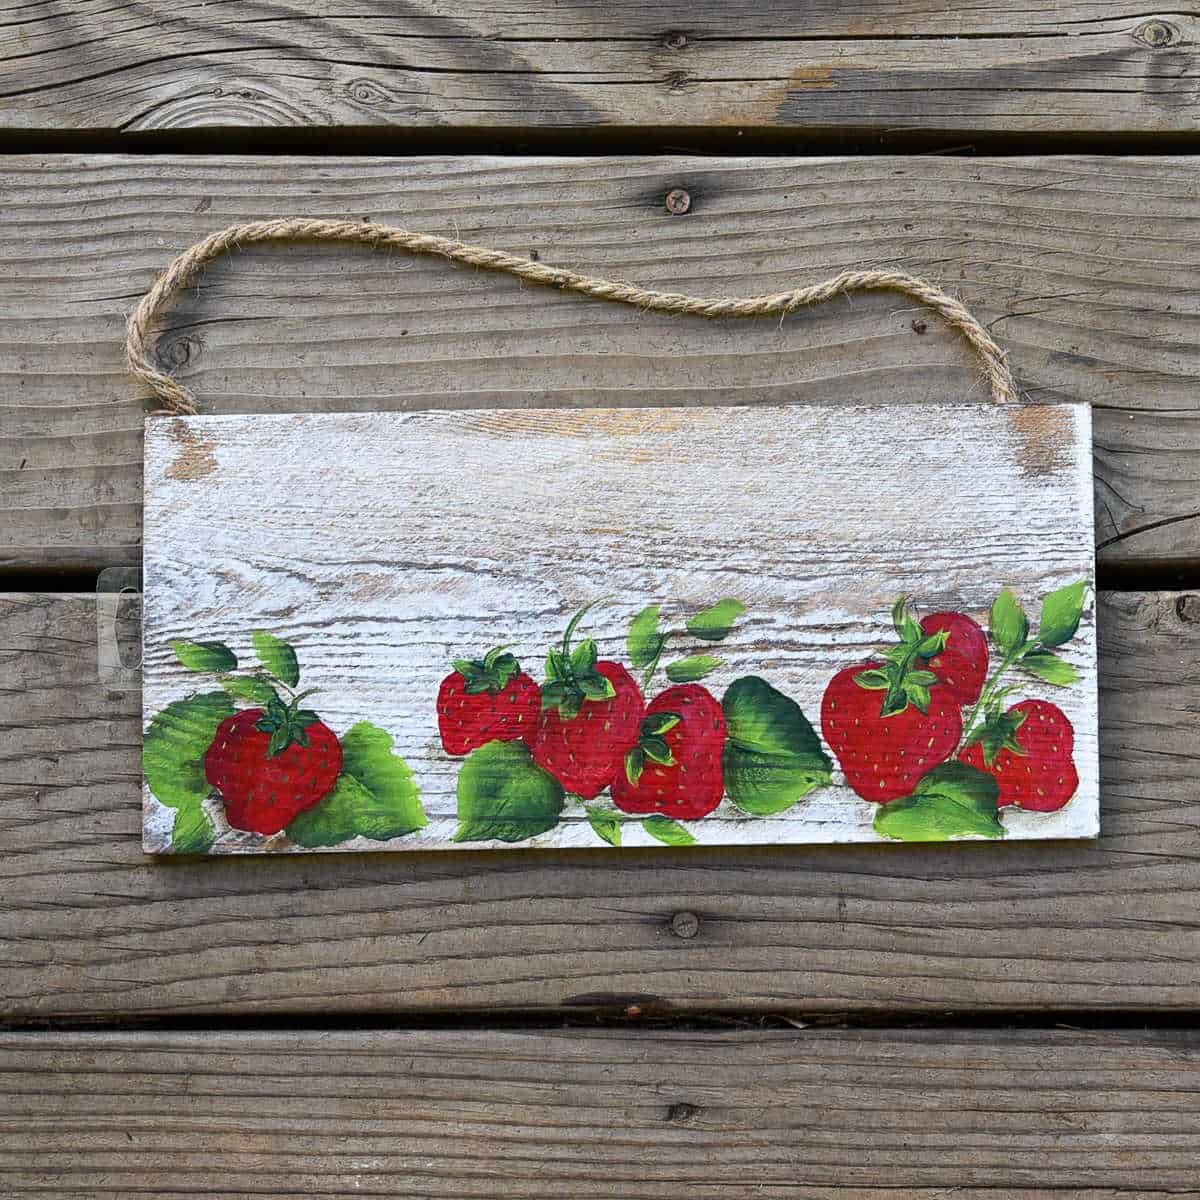
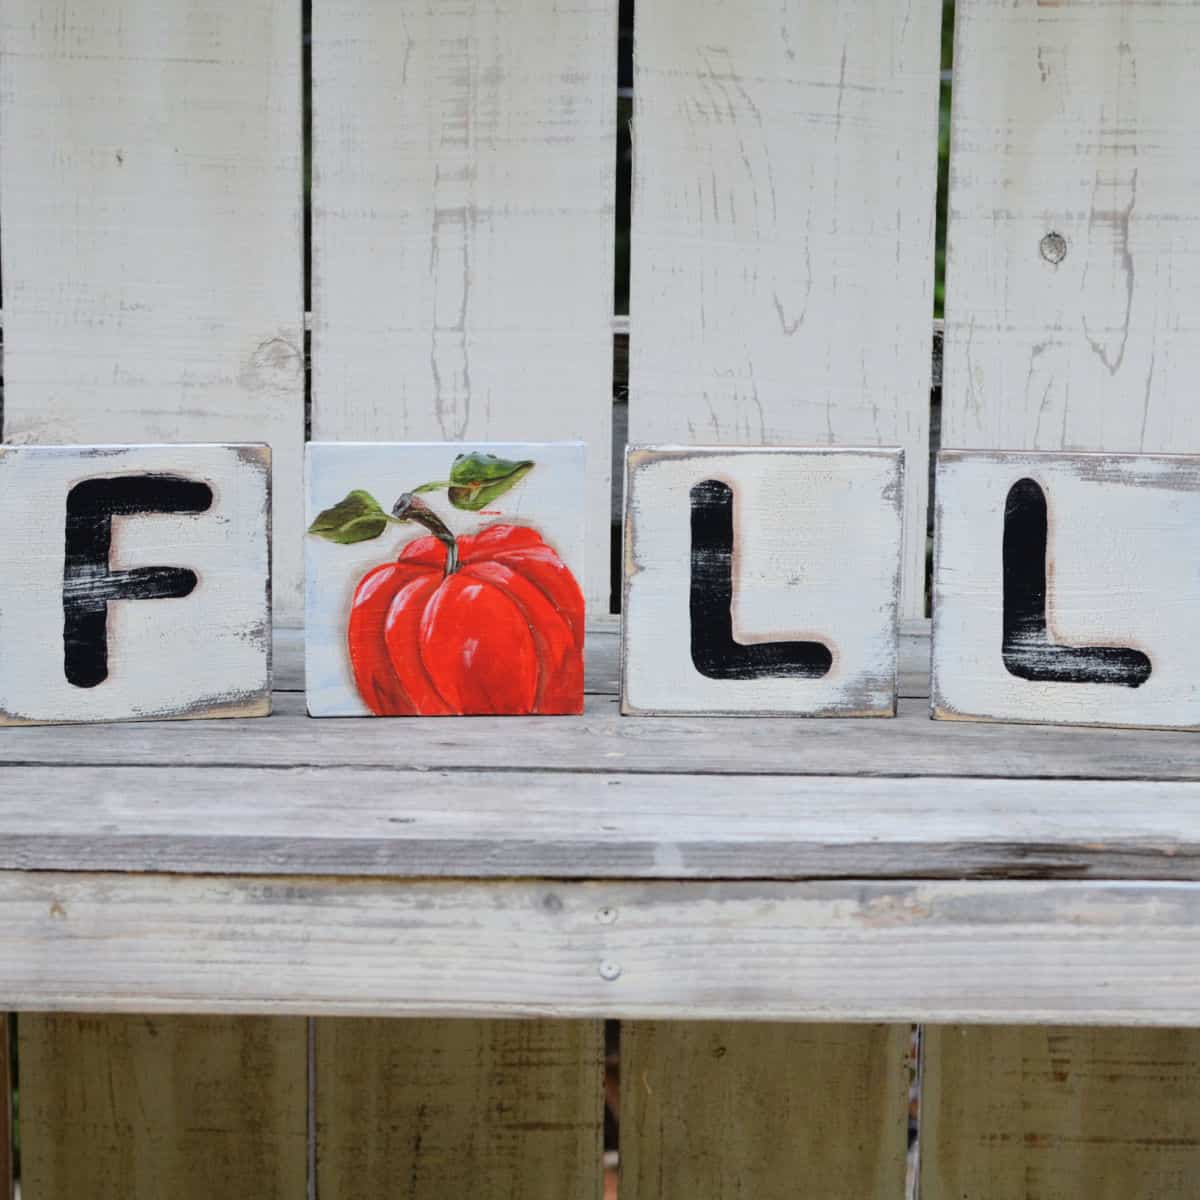
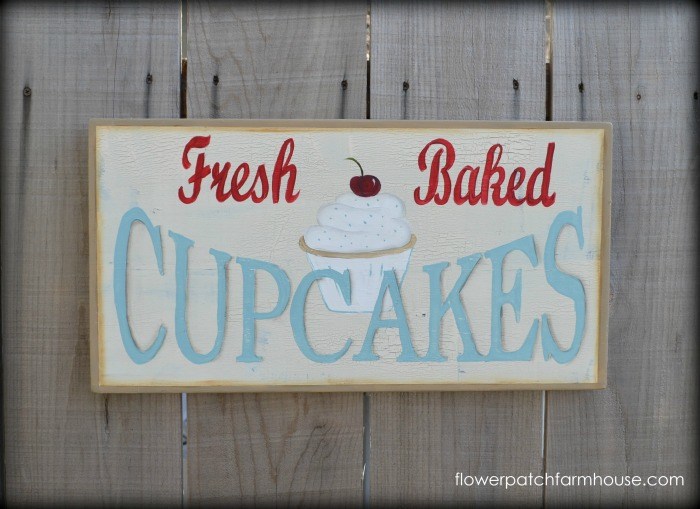
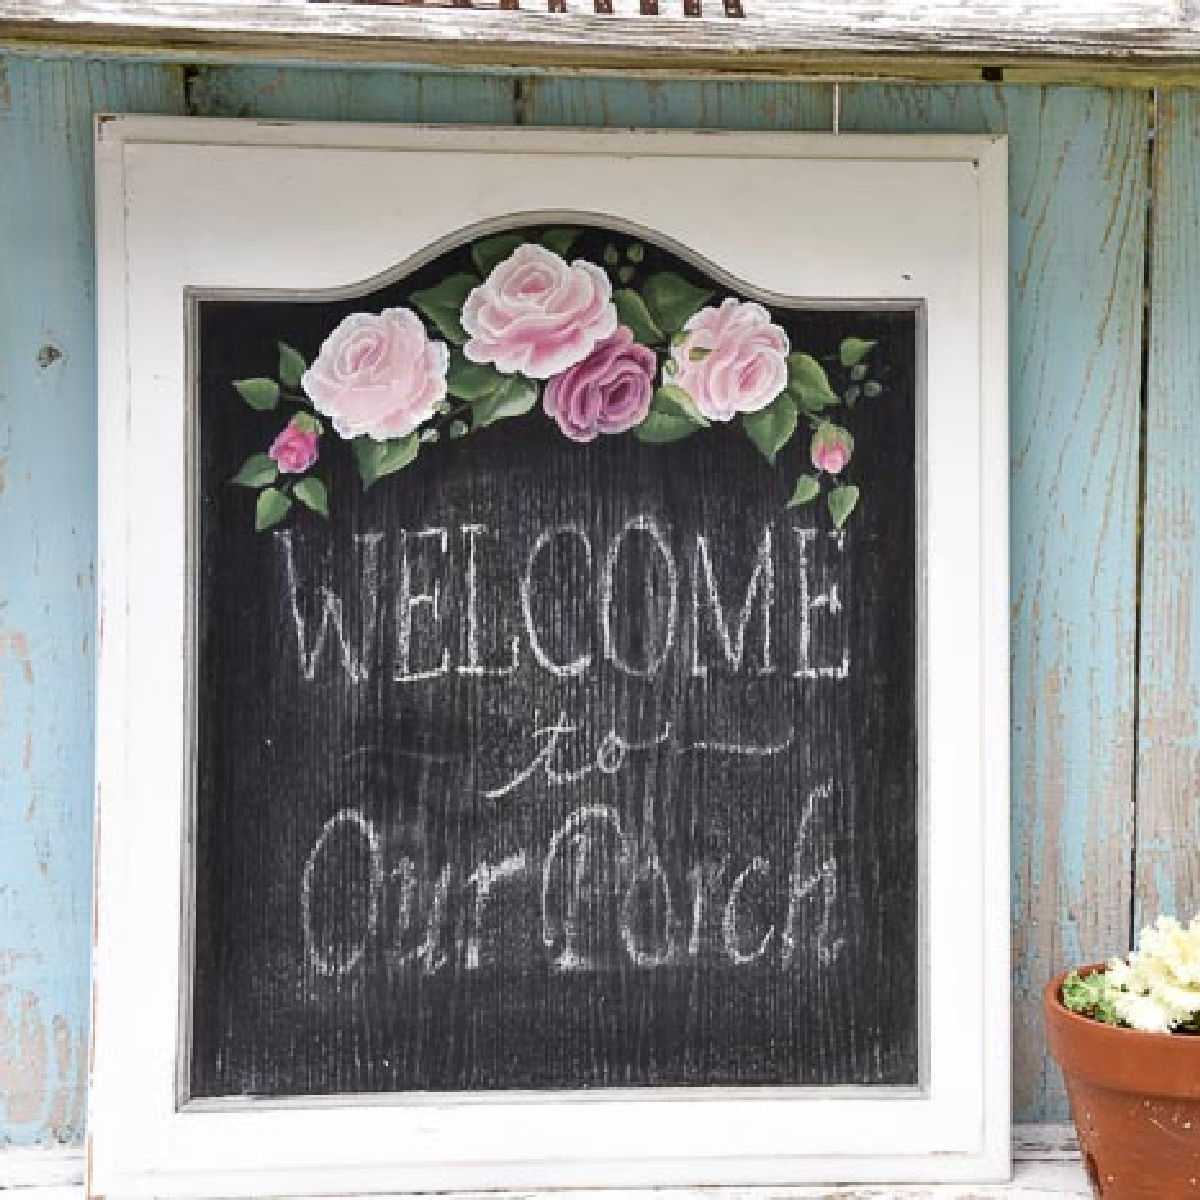
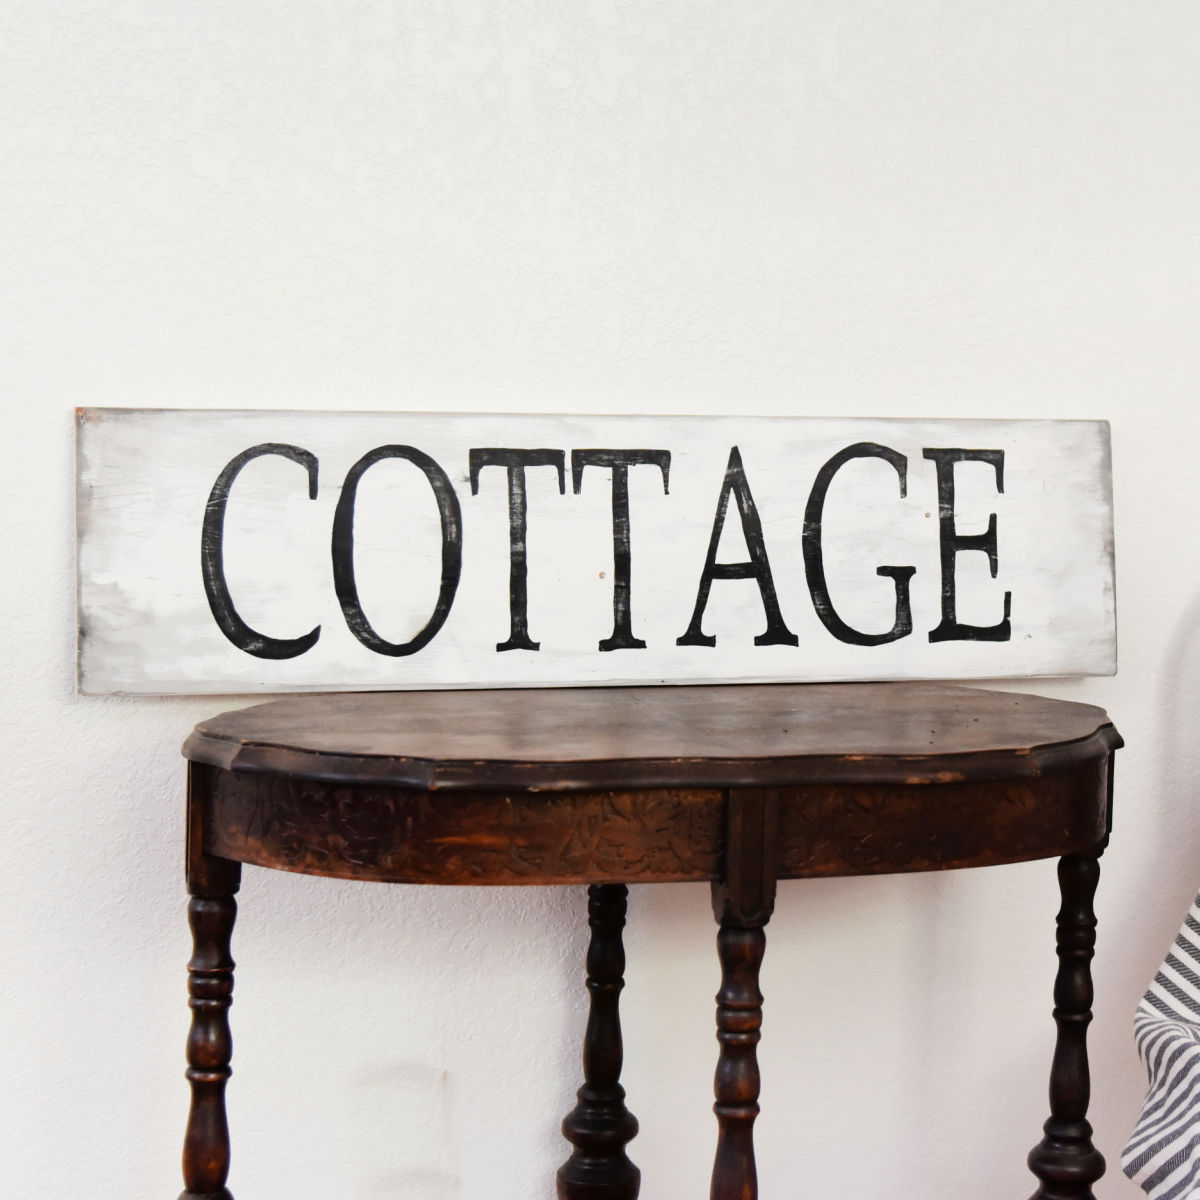
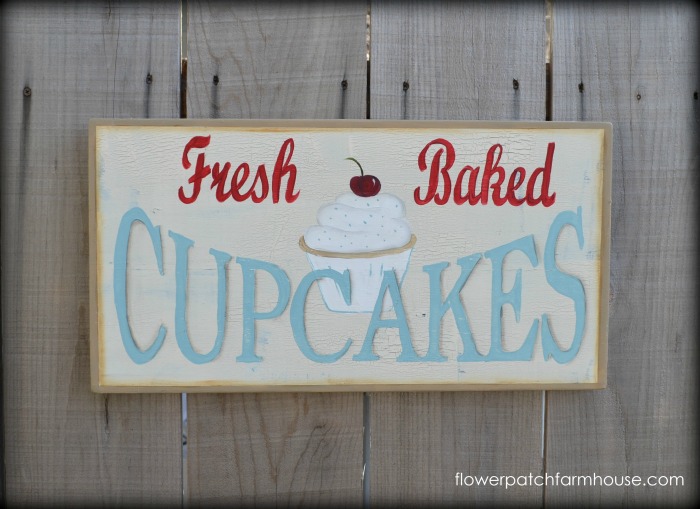
Want to see more signs I have painted?
Benefits of Prepping Wood
Preparing the wood properly is essential to keep the boards flat and straight.
Some wood has knots that can discolor the painted surface and standard lumber can have a very rough surface.
Wood is very porous and needs help to get the opacity you want and maintain the colors of your paint.

Drying Wood Boards
It is important to dry the boards properly to avoid warping, curling, and extreme cracking.
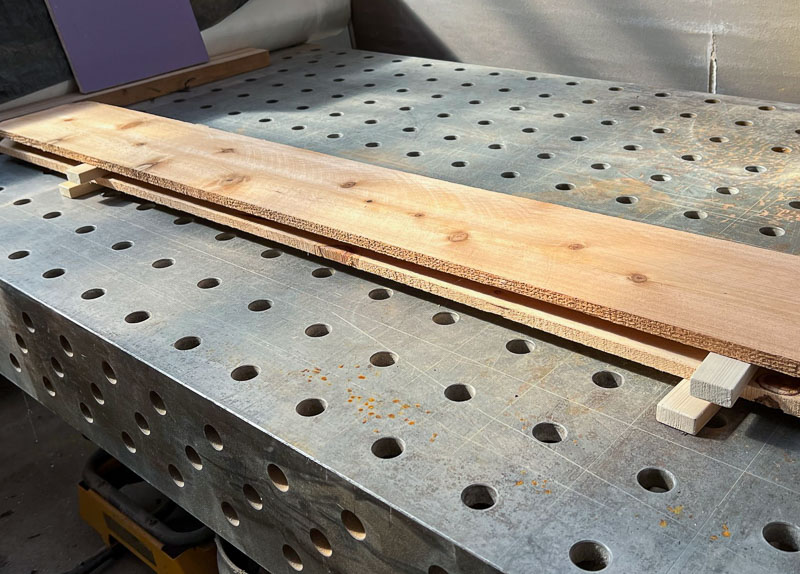
Most standard lumber boards are still green or wet when you buy them. If they are not stacked in a way for them to dry evenly then they will warp.
To let them dry well, place each board on a flat surface with shims (I use 1 x 2 pieces cut about 8 or 9 inches in length) under each board.
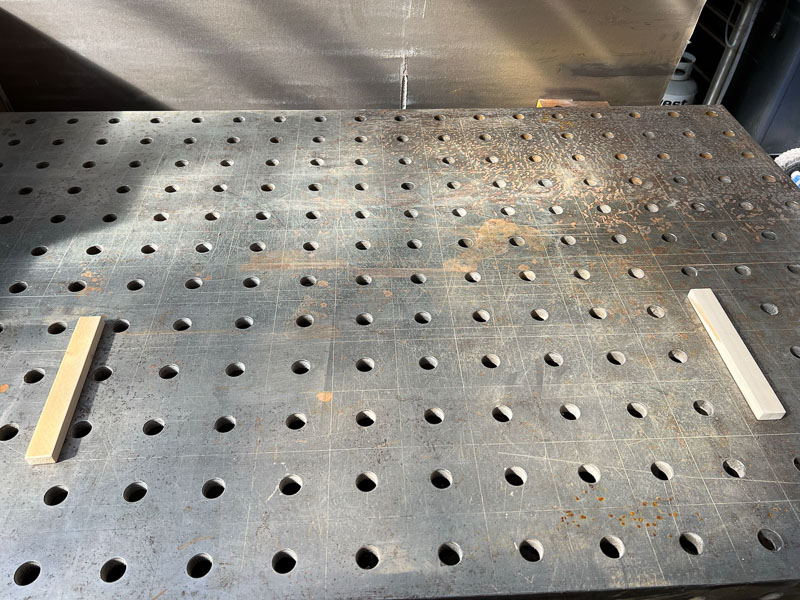
Every other day or so I will flip each board over. Air should be able to pass through under each board in the stack to help dry it flat.
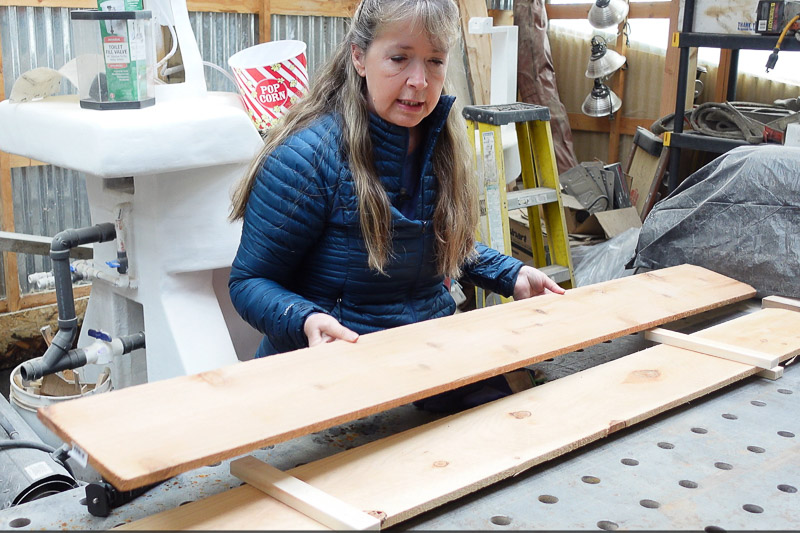
Make sure to do this in an indoor space or in a shady spot, never in direct sunlight.
How long it takes for the wood to dry will vary by your environment (humid or arid), how wet the wood was when you purchased it and if there is a breeze (I use a fan to blow across it if I wish to speed up the drying process).
There is no easy way to know if the wood has dried completely but I give the wood at least a couple of weeks to dry.
Sanding
Sanding the wood is essential for a smooth surface to paint on. Especially if you do stroke work painting.
You can paint on rougher surfaces but the strokes won’t be smooth and effortless. Impressionism is easier on rough wood surfaces but we are talking about something different here.
Use a palm or orbital sander. Battery or electric. You can hand sand but it is a long, arduous process.
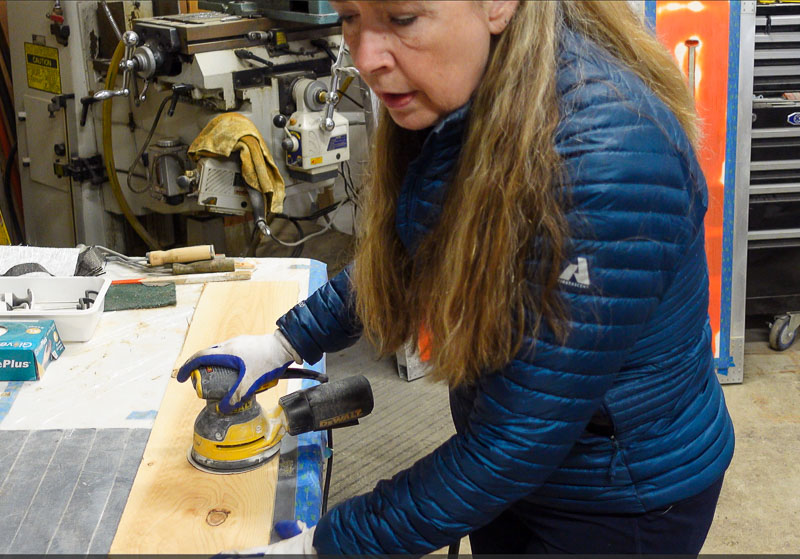
Start with rougher grit sandpaper, I usually use 80 grit to get started.
Sand the board on top, back, and edges. The back does not need to be as smooth as the front unless you are planning on creating a double-sided sign.
I typically sand the board whole, before I cut them to sign size but you can do either.
Once I get it sanded well with the 80 grit I change the sandpaper to 200 grit for final sanding to get a very smooth finish.
Sand in the direction of the wood grain. Wipe down with a tack cloth or very slightly damp rag to remove the dust.
I cut the boards to sign size as I decide what design I am painting on each. Remember to sand the fresh-cut edges to smooth.
Treat Knotholes
Most inexpensive lumber boards have knotholes. I try to find ones with fewer knotholes than others but that can be tough at times.
To treat the knotholes I will use my kitchen torch used to make Creme Brulee and gently heat the knotholes to draw out as much resin as I can and scrape it off with a putty knife.
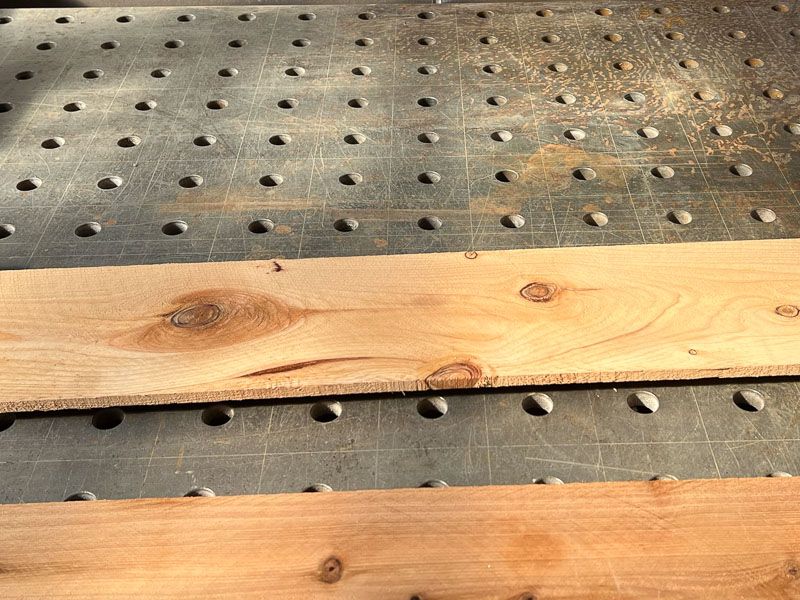
Many times I need to resand that area after removing as much as I can with the putty knife.
I apply a varathane sealer as well. Both methods are limited in how well they keep the knotholes from discoloring in the future but they go along way it help.
If you want to risk of knotholes stains from eventually coming through the paint of your sign then buying knot free wood would be preferred.
I often market my signs as rustic and imperfect and the stains are not a problem.
Base Painting
Base painting usually takes a couple of coats. I use whatever is on hand.
Many times that is craft paint colors I don’t have any other use for or I have also bought house paint off the discount rack. Both work.
Use light coats of paint and don’t get it too thick.
If the board has a lot of knots I will coat it with an exterior Water Base Rustoleum Spar Urethane product. This is usually available at most home stores.
Sand the varathaned surface lightly with a piece of brown craft paper or a piece of a brown paper bag, this will just add a touch of ‘tooth’ to the surface.
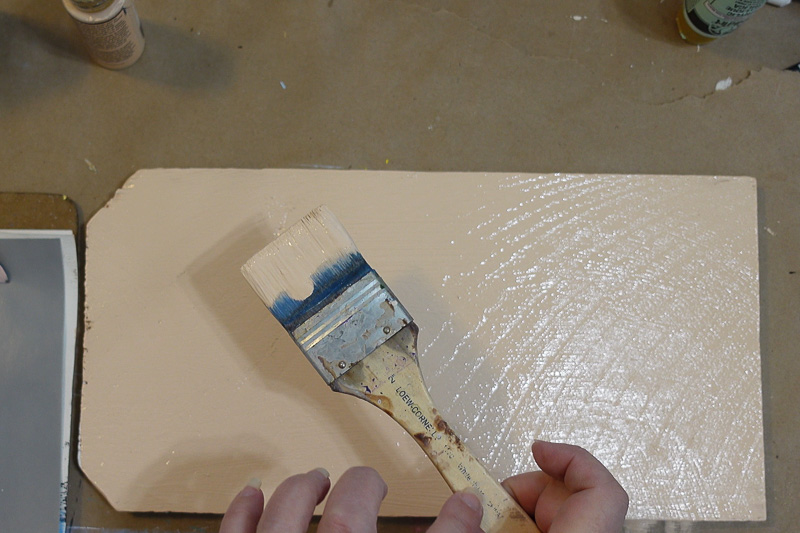
Using a paintbrush or roller, coat the board with a layer of paint. Spread the paint evenly and smoothly.
These are my favorite paintbrushes for base painting as they are easy on my hands.
Make sure to paint around the edges after the top to smooth any drips and to base coat them too.
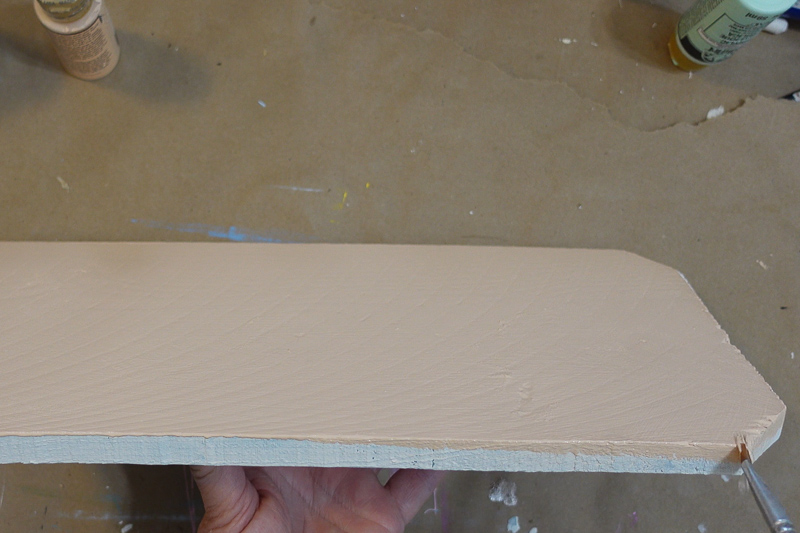
Let dry. You can speed it up by placing it in front of moving air like a fan or using a blow dryer on it. Be careful and use the cool setting if you have one, getting the paint hot can make it blister.
Starting by preparing your wood properly, drying, sanding and base painting will improve the quality of your hand-painted signs and by using inexpensive wood you can keep your costs lower.
For fancier signs with less chance of blemishes then using the precut wood pieces is recommended.
This should help you get started on your sign painting journey and stay tuned for more in this series on How to Paint Signs to Sell, Gift, or Decorate with.
Happy Painting!