Paint Daisies in a Basket
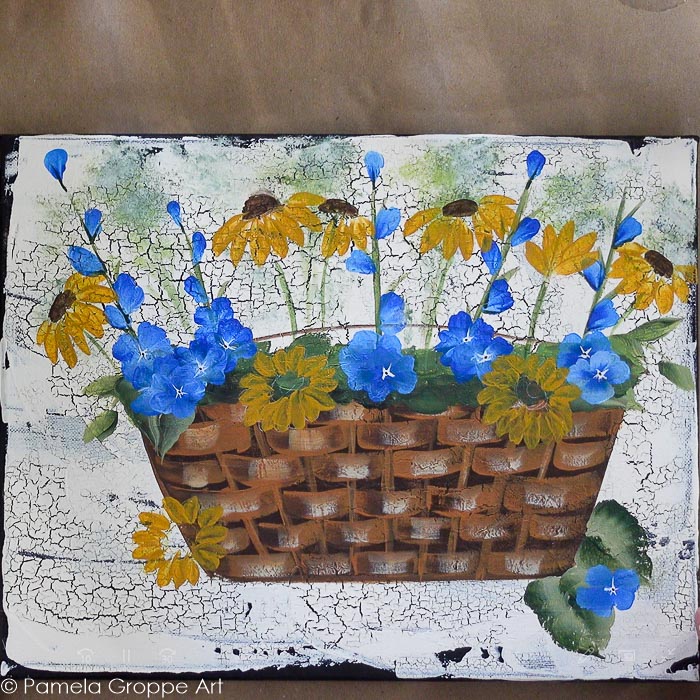
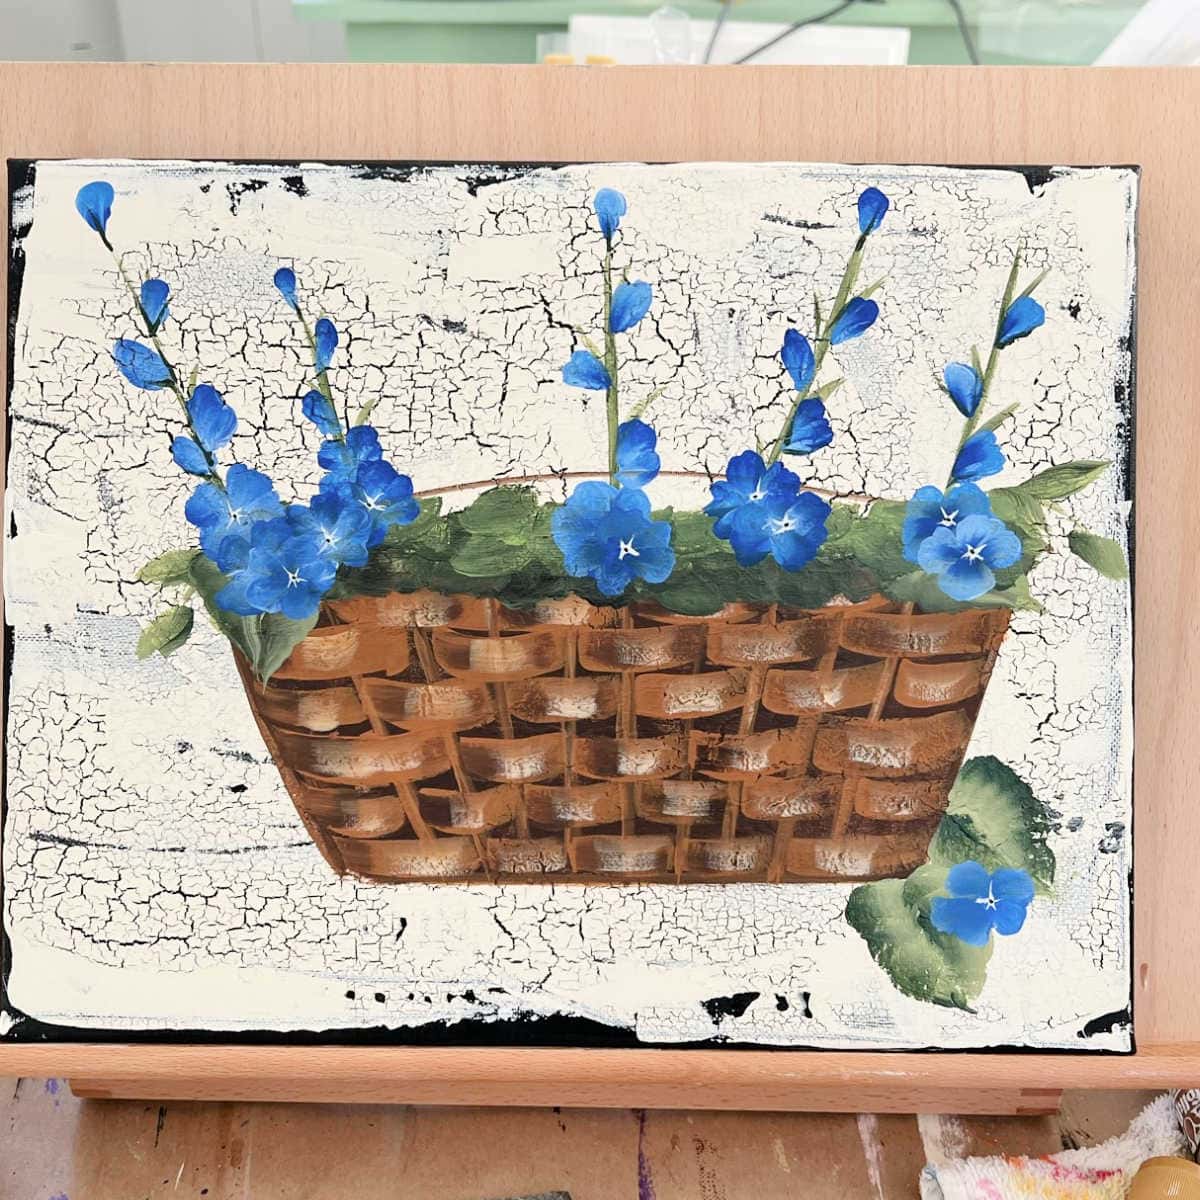
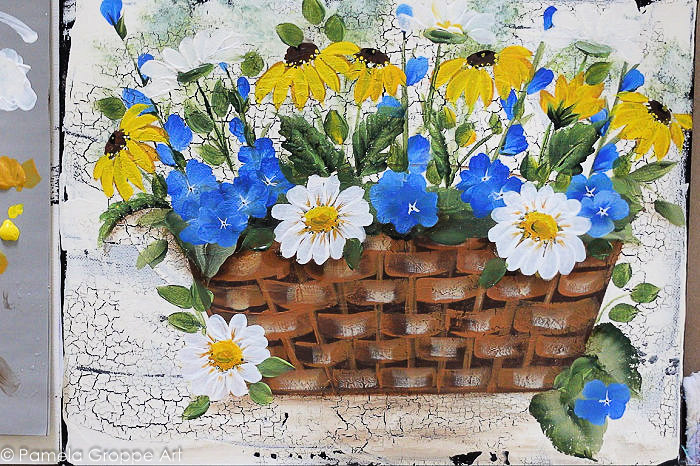
Paint Daisies in a Basket in acrylics one easy step at a time. This is part of a series of paintings for you to complete in your own time.
Follow along and paint daisies in our basket of flowers.
This post contains affiliate links. If you make a purchase after clicking a link I may make a commission at no added cost to you.
Supplies for Paint Daisies in a Basket:
Plaid Folk Art Paint (or use what you have)
- Yellow Ocher
- Wicker White or Titanium White
- Daffodil Yellow
- Moon Yellow
- Vintage White
- Thicket
- Burnt Umber
- Floating medium or Glazing Gel
- Fresh Foliage
- Brushes: Donna Dewberry One Stroke Set
Links to all the prior lessons for this series are at the end of this post.
Undercoat Daisy Flowers
Using Yellow Ocher paint the petals for the Daisies. (this was in a prior video when the Black-Eyed Susans were painted.
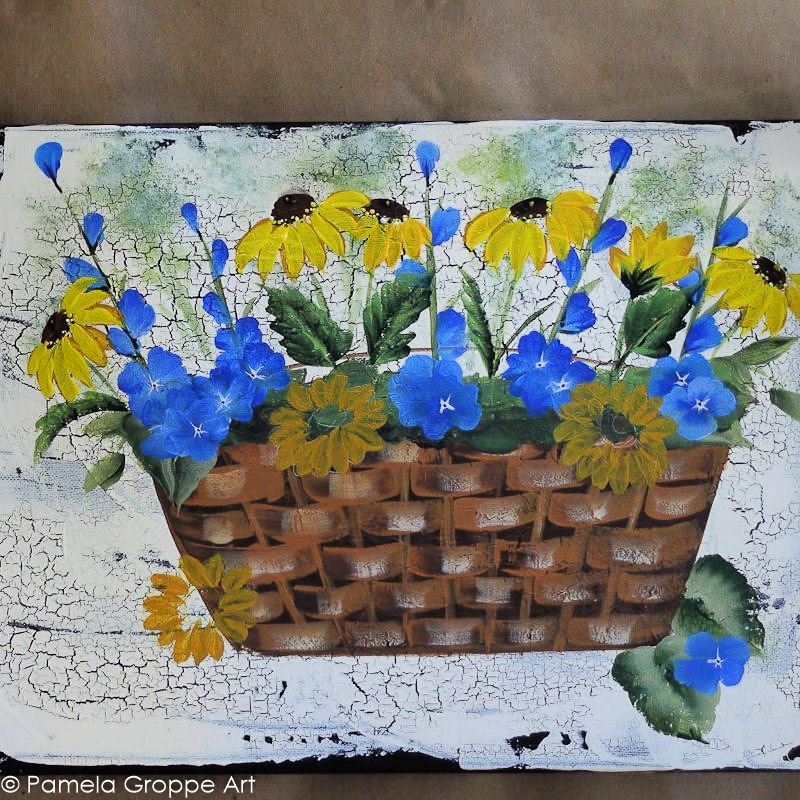
Paint Daisy Petals
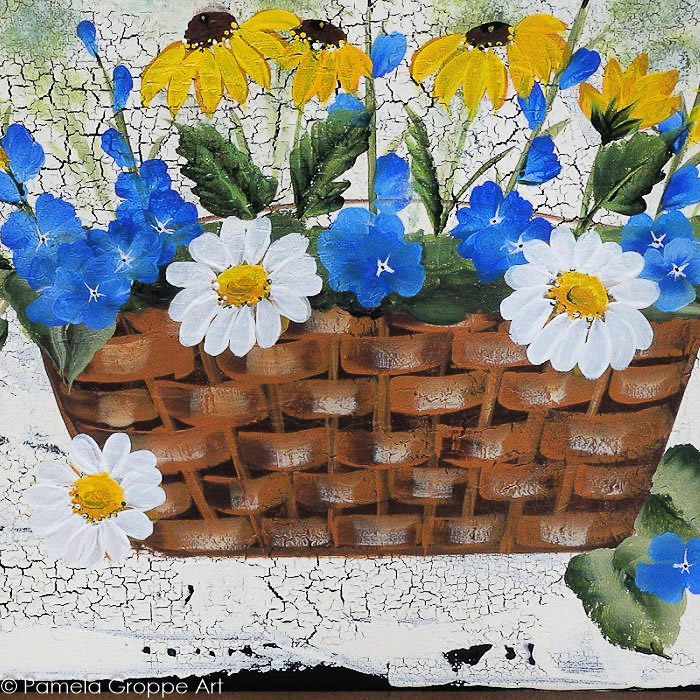
Using Wicker White and a filbert or the #10 flat brush, paint the Daisy petals. Pull the strokes inwards towards the center ending with a point.
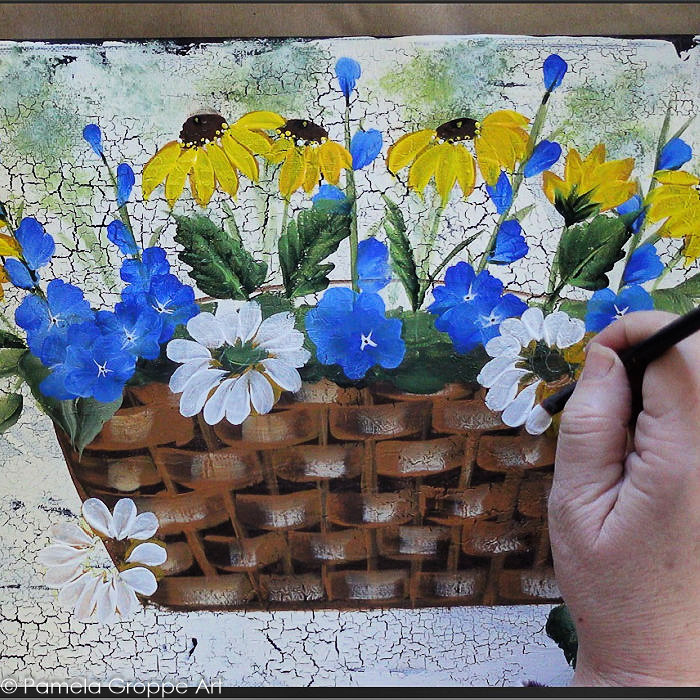
Related: Basic Painting Strokes
Paint the Daisy Flower Centers
Using Daffodil Yellow and a flat brush (size that is comfy for you) paint in the Daisy centers.
No need to be perfect, this is just the base color.
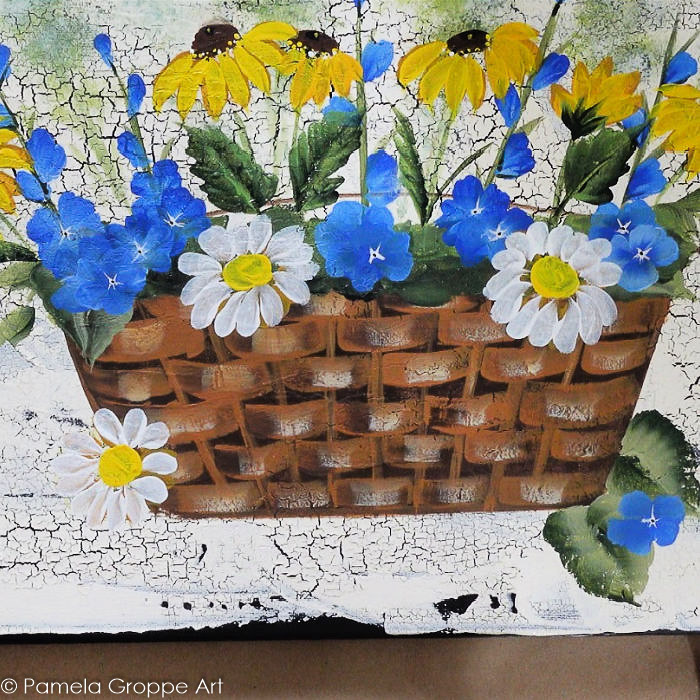
Recoat Daisy Petals
While the Daffodil yellow base coat dries it is a good time to recoat the Daisy petals with Wicker White to make them more opaque.
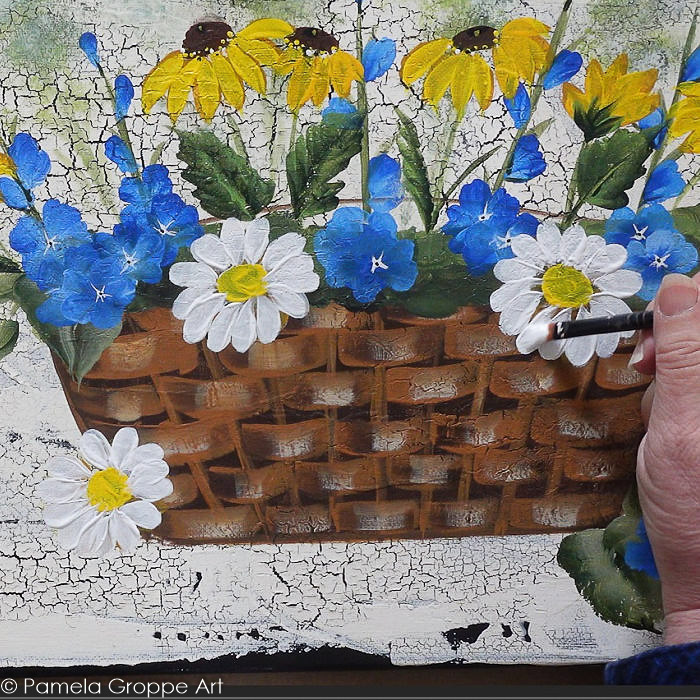
Daisy Centers with Scruffy Brush
Double load a small scruffy brush with Yellow Ocher and Moon Yellow. Pounce in a circle around the center with the Moon yellow towards the top of the circle and the Yellow Ocher at the bottom. (see video for a visual)
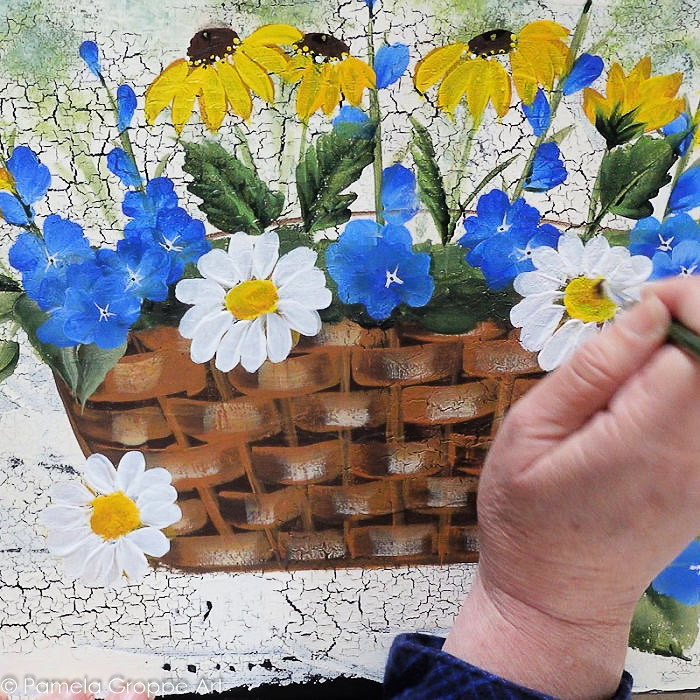
Using the corner of a #10 flat brush and Daffodil yellow, tap in a touch of highlight along the top of the Daisy center.
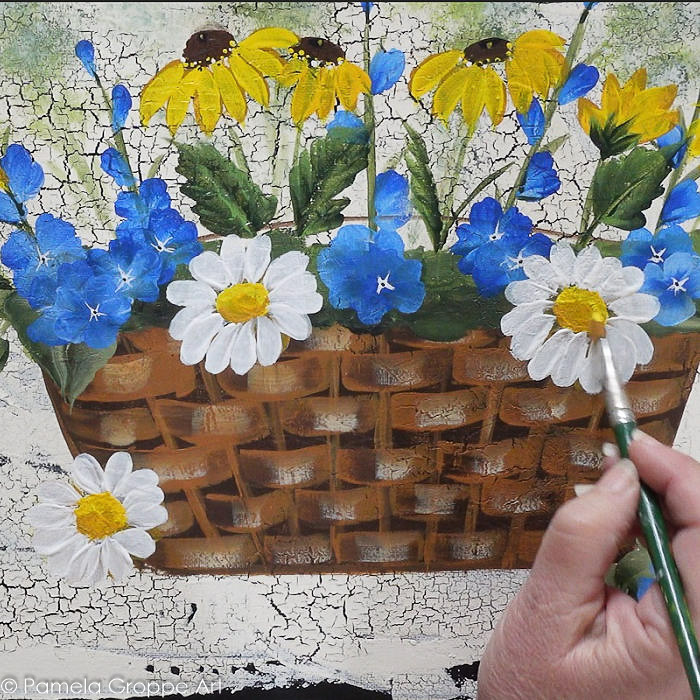
Now tap in some Yellow Ocher along the bottom edge the same way. You could also use the scruffy for this if you wish but I like having a touch more control with the flat brush.
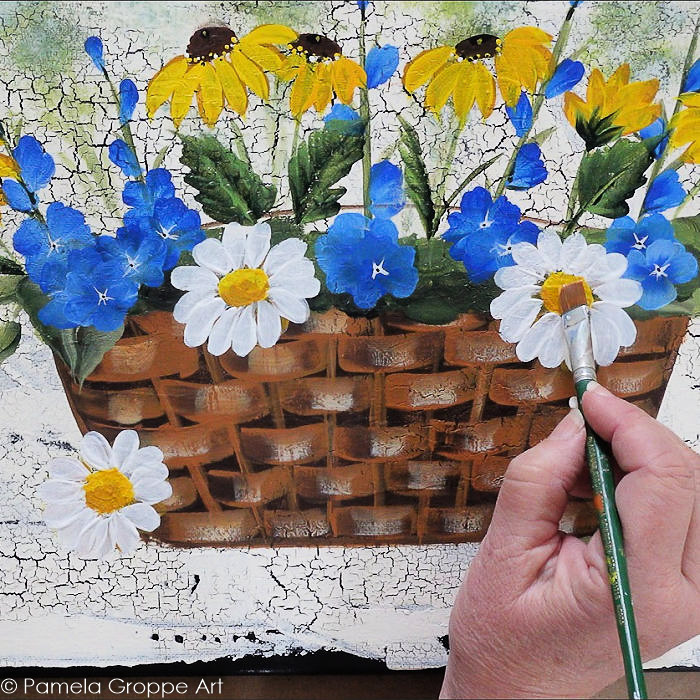
More Daisy Center Details
Using the corner of the flat brush load with a touch of Thicket or Burnt Umber and place a C stroke in the center of the flower.
Don’t worry if the paint is still wet and it blends in a touch, we want that. You are adding an indication of something and not a stark stroke.
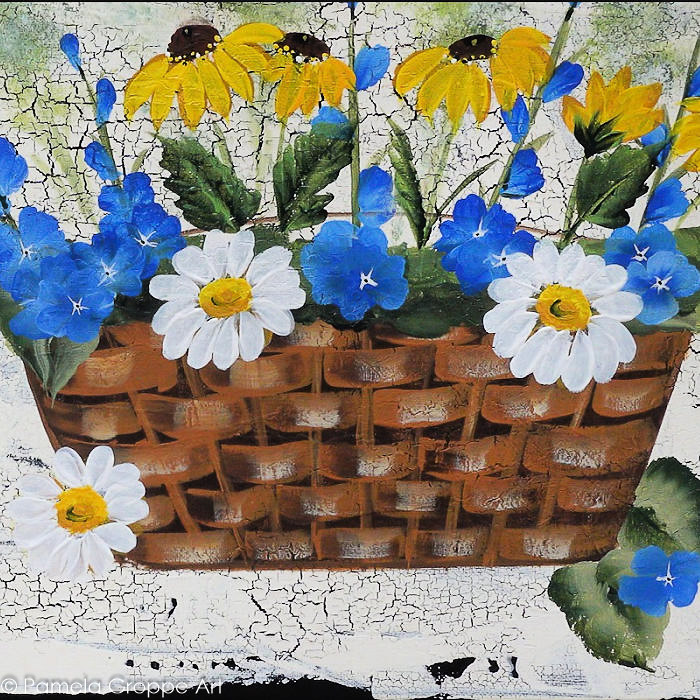
With a stylus or other pencil tip, tap in some dots of paint along bottom edge of Daisy center. I used Wicker White, Thicket, Moon Yellow, and Yellow Ocher.
Remember less is more.
Paint Details on Daisy Petals
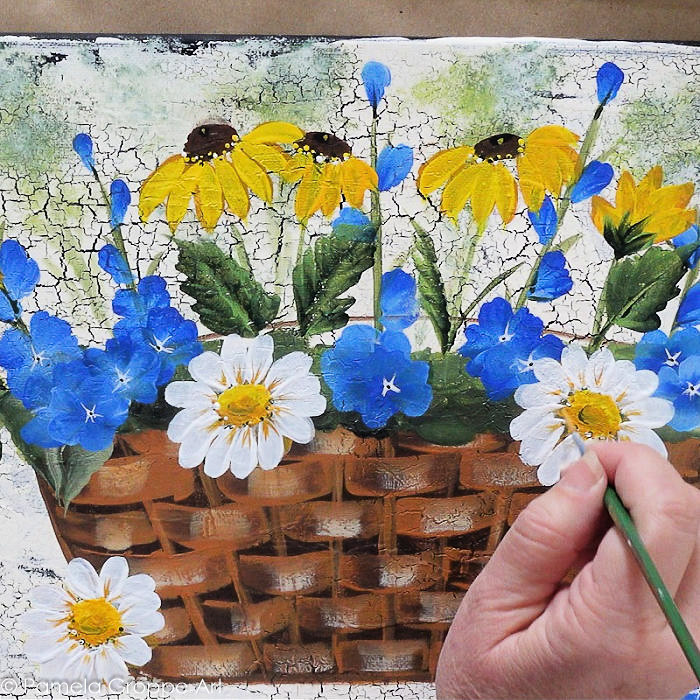
Using a liner brush and inky paint pull some streaks into the petals radiating out from the center.
Pull them in a V shape.
Paint Background Daisies
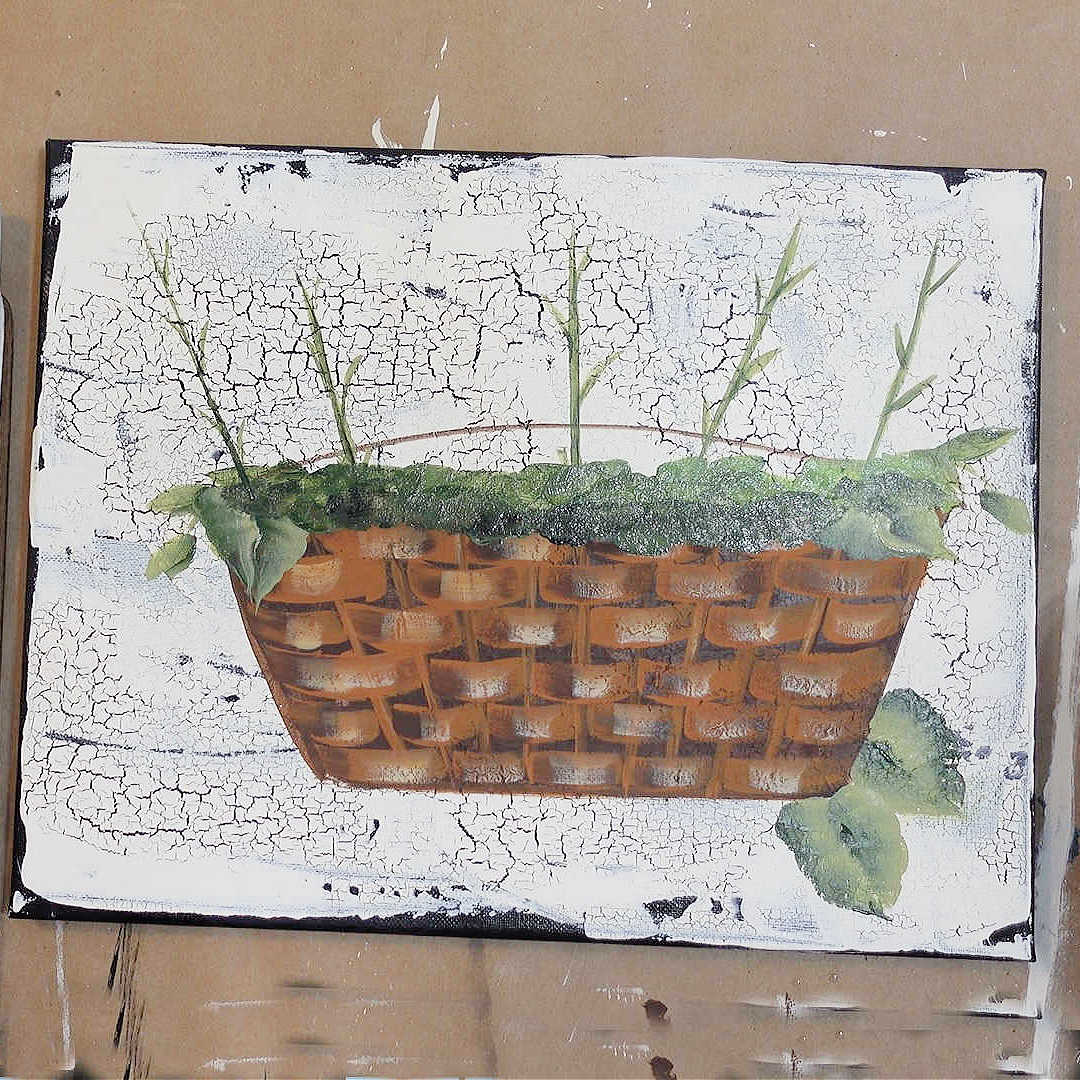
Using a flat brush double load with Thicket and Fresh Foliage. Pull some stems in the background and make a half circle for the base of the side facing Daisies.
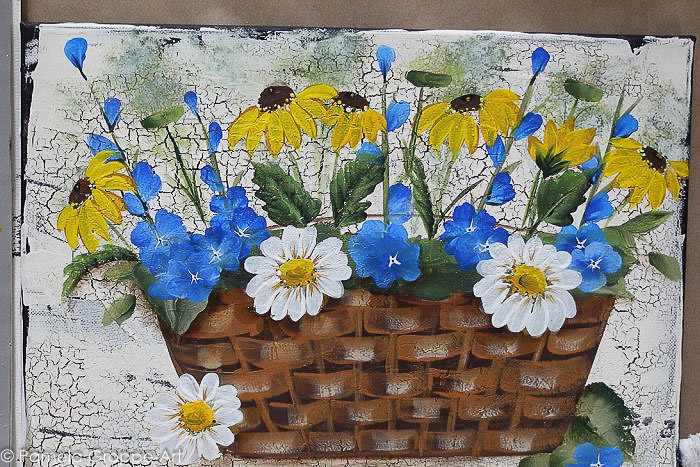
Load the filbert brush with Wicker White and the on the other side of the brush with the Vintage White.
Pull petal strokes towards the centers.
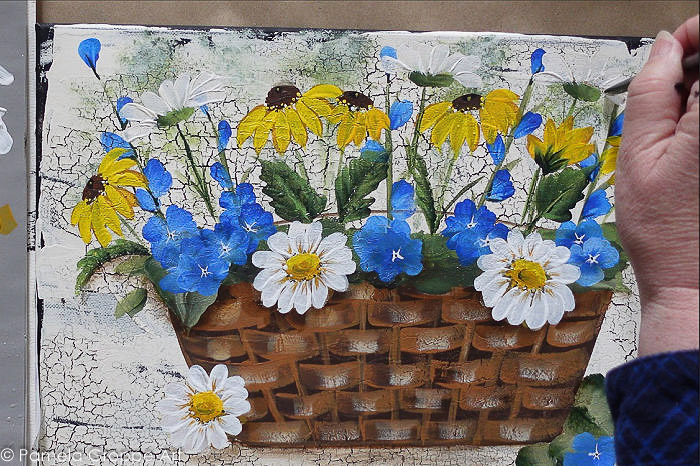
In the video I share a photo of my Daises blooming and where I got the inspiration for these side facing ones. One you can barely see the center.
So I painted one side facing Daisy with a touch of yellow center right above the stamen then add some truncated front petals. Which are just a couple of dashes across the stamen.
Add More Leaves
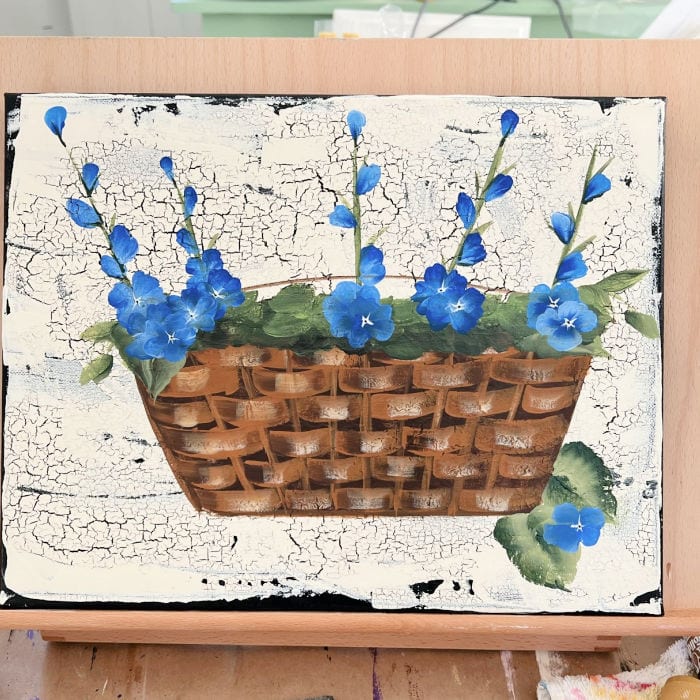
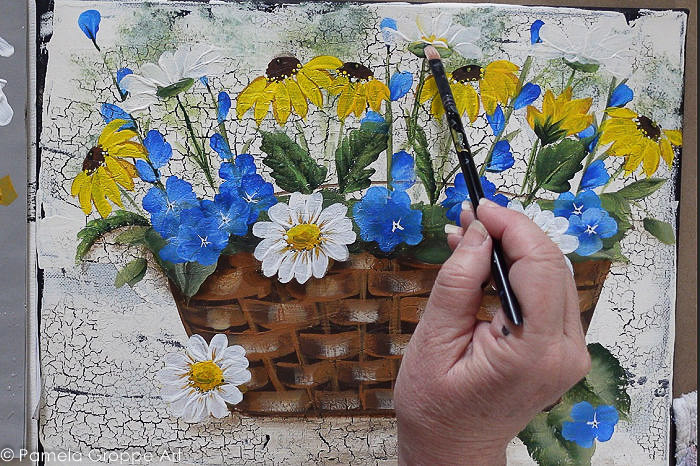
If you feel the need to add more leaves. This is optional, you could add more flowers and take this painting in any direction you would like. Make it yours. I feel like adding more of the blue flowers, they seem a touch sparse to me.
Stay tuned and I share that in another post!
Shadowing
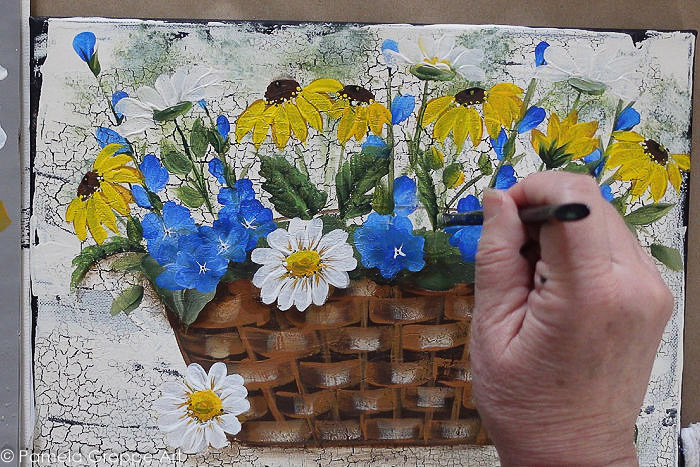
To add a bit of dimension let’s add some shadowing to the basket and under some of the flowers.
Thin some Burnt Umber with Floating Medium or Glazing medium (or water) paint some of the transparent dark colors under your basket.
Pull some of that dark color beneath the flowers at the base of the basket and along the top edge of the basket.

If you like you can paint a tabletop or surface that your basket is sitting on. It’s up to you.
Until next time, Happy Painting!
