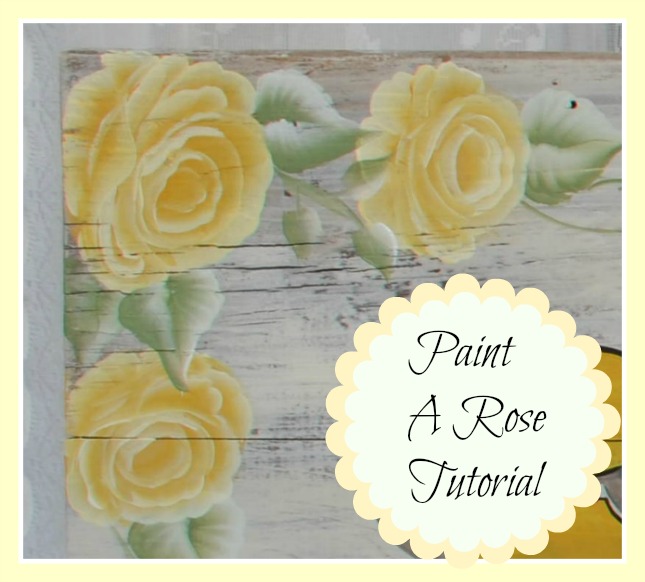
How to Paint Yellow Roses
Learning to how to paint yellow roses is the same a most other colors. I share my tips and tricks for painting yellow roses with success.
How to Paint a Yellow Rose one easy stroke at a time. Yellow can be a tricky color to get opaque but I show you how in this tutorial.
Please PIN & Share
For a complete list of tools and supplies I use when painting just click here: Painting Supplies. A step by step worksheet is available in the Subscribers Resource Library. Not a subscriber? Fill out the form lower down in this post to gain access to the printable!
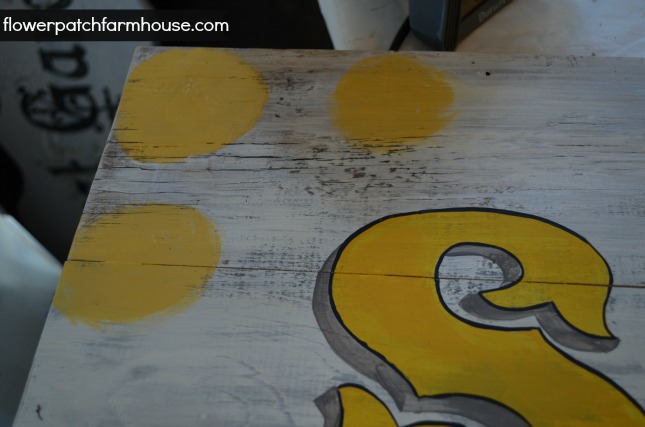
Start with Base Coat
I start with basing in the basic circular shape in the size of rose I want in a darker yellow.
I am not particular on them being perfect, just a general circular shape.
This post contains affiliate links. If you make a purchase after clicking a link I may make a small commission at no added cost to you.
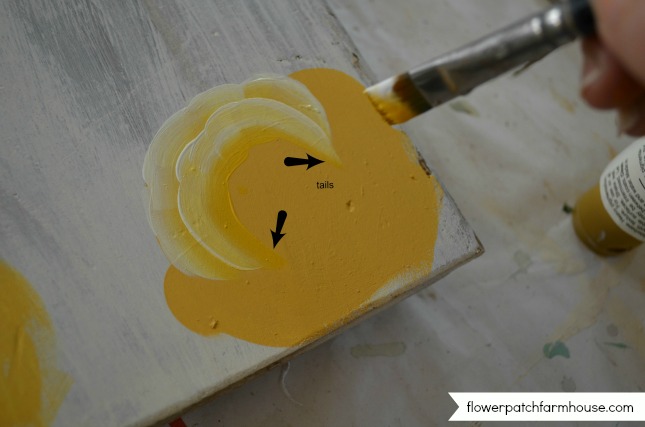
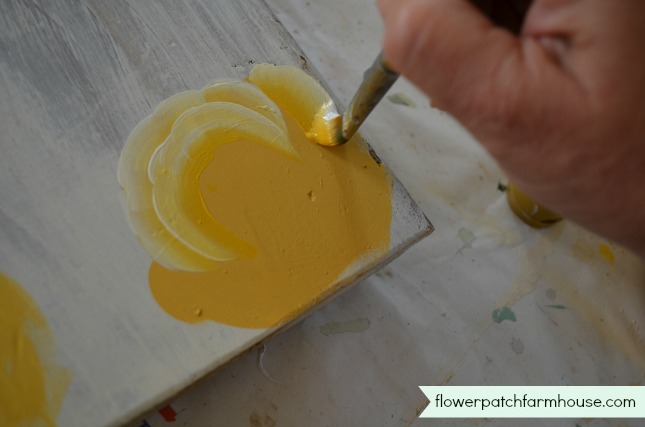
Start Your Stroke Layers
I double load my brush with the darker yellow, Antique Gold in DecoArt or School Bus Yellow in Plaid Folkart. Stroke on the first stroke which is the back of the bowl of the rose, it is an upside down U stroke. (for a detail post on the different strokes please visit this post, Basic Painting Strokes)

I add more strokes on either side of the first stroke and pull down some tails. The video at the end of this post is very helpful in showing you exactly what I mean.
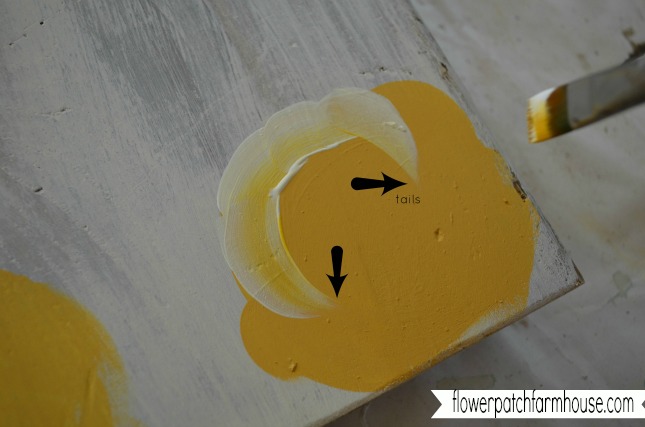
The last two strokes are comma strokes where you lift to the chisel edge to get a narrow tail, the left on is less sharp but it will still work just fine.
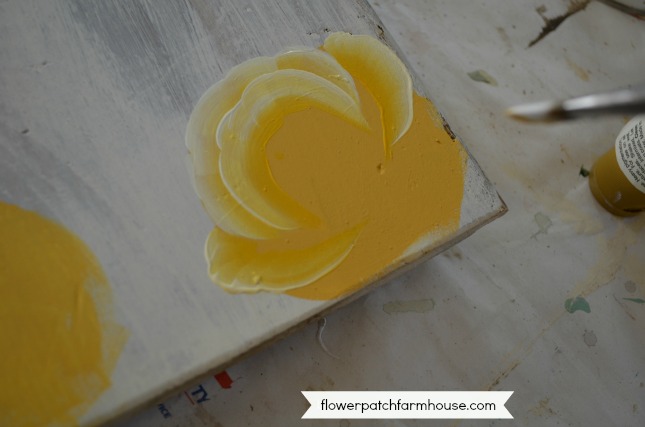
Second Layer
I start a second layer of strokes about halfway up the first layer.
Again you end with tails.
Armchair Strokes
Next add a couple comma strokes on either side, rather like arms on a comfy arm chair.
These in with a tail as well.
Bottom Petals
Now we add a bit of a skirt at the bottom, these are shell shaped scallop strokes. Normally I would make these larger but I was going off the board here so I shortened them.
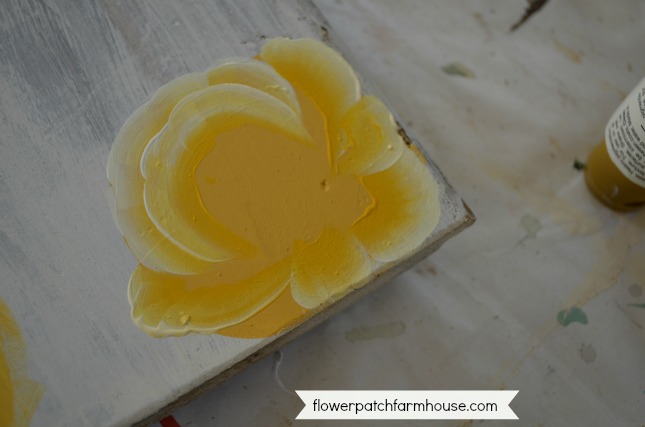
Layer 3
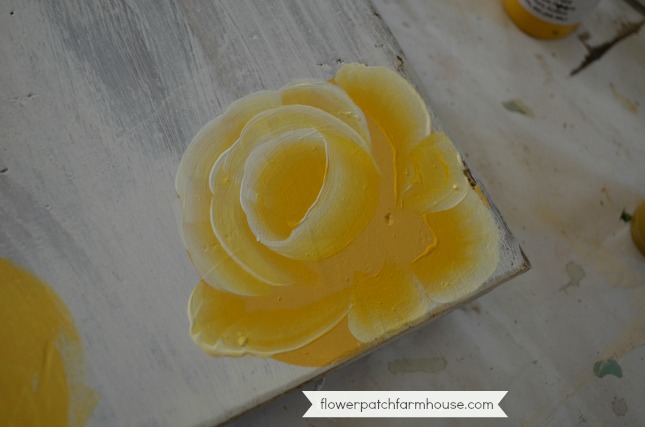
Lets work on the bowl of the rose again. I add another upside down U stroke in the middle and a dab of the darker yellow to the center to give the rose center more depth. This third layer is optional, you can leave it as the two and it just makes for a wider bowl as if the rose is more open.
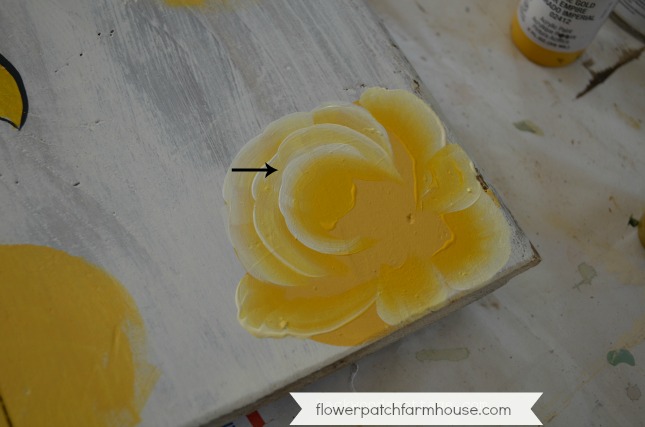
Close up Bowl
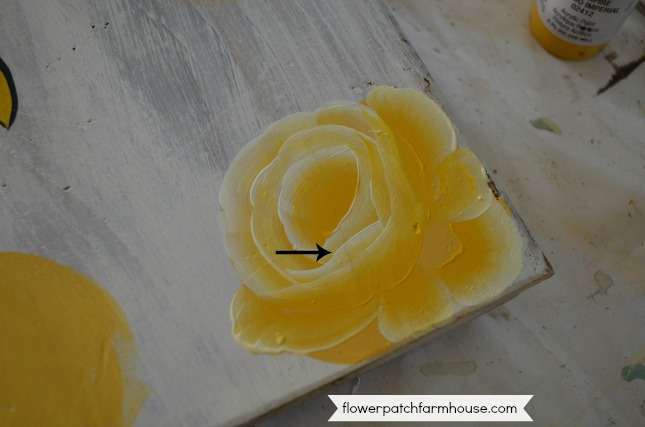
Now start to close up the center with a large U stroke, this is where those tails come into play, line up the chisel edge of your brush with the tail and start your stroke.
Some of the strokes will meet to make a U and some you can bring over each other to make it look like an overlapping petal.
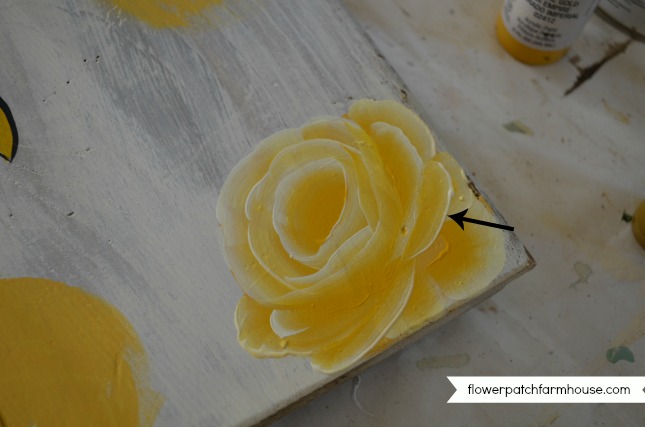
Add the last U stroke of the bowl then add more comma strokes on either side to finish her up.
You can add the leaves at this point or many times I start with the leaves so they sit under the rose. My How to Paint Pink Roses shows you that in better detail.
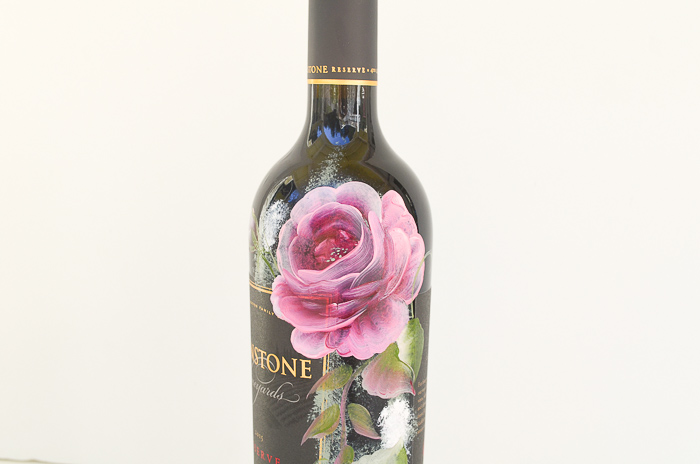
I shared how I painted this sign, click here to go there now.
Now you know how to paint a rose, step by step.
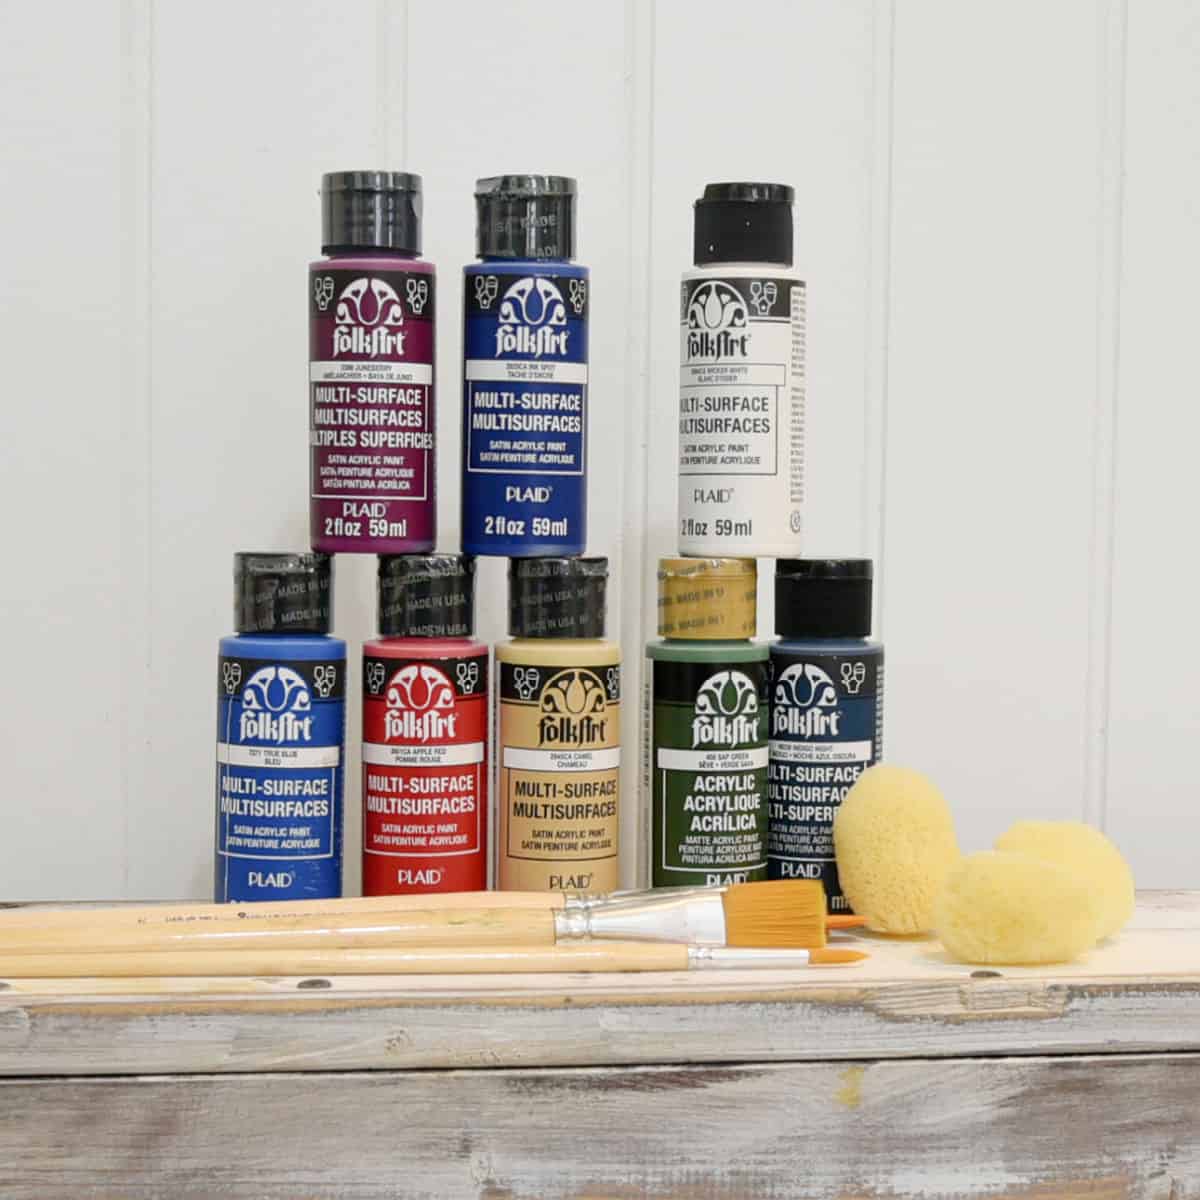
Supply list:
Brushes: #10 & #12 flat brush (these packages are a good buy One Stroke & Royal Majestic)
Paints:
DecoArt Americana Titanium White or FolkArt Wicker White
Delta Ceramcoat Antique Gold
Medium Yellow
Brush Caddy
Some great painting books I have learned from:
Priscilla Hauser’s Book of Roses
Priscilla Hauser’s Book of Decorative Painting
Flowers A to Z with Donna Dewberry
Already a subscriber? Every email I send has the password included at the end so you are good to go!
Now for the disclaimer.
No matter how easy I made this look it took me forever to get it down on painting these roses, I have painted literally hundreds and hundreds.
So if at first you don’t succeed keep on trying.
Watch videos on painting, try your hand at different methods and find your niche.
If there are any questions just drop me a line or leave a comment.
I will help all I can.
More Painting Posts You will Enjoy
How to Paint the Back of a Rose
Basic Painting Strokes
Paint Roses on Glass
Happy Painting!

Pamela, those sure are beauties! I adore handpainted details and admire the skill required to execute them, it really is becoming a lost art. This type of painting looks oh so fabulous on Biedermeier inspired pieces of furniture. They look fab on signage too! I would like to invite you to share your painting techniques with us over at #FridaysFurnitureFix over on my blog. If you haven’t a furniture piece, signage is welcome as well, we would love to have you!
Thank you so much! I will definitely try. I get bogged down from time to time but I will put this on my radar!
JUST WANT TO THANK YOU FOR SHARING YOUR GIFT OF PAINTING AND THE GREAT EASY TO UNDERSTAND INSTRUCTIONS. WITHOUT PAINTING EXPERTS LIKE YOU HOW WOULD WE ALL LEARN TO JOY OF CREATING OUR OWN CREATIONS? THANK YOU SO VERY MUCH.
SANDRA
You are most welcome Sandra, so happy you find my tutorials helpful.
Pamela, your roses are absolutely beautiful. They look so real! Maybe some day I can master them. I keep trying
Thank you for sharing.
I am an amateur, hobby, person. I started rather late in life, say, after 68. Your step wise instructions make a lot of sense to me. I will try your way and get back with doubts.can I send you some of my attempts for your professional comments so that I may improve.
Sure, you are welcome to share on our Facebook page. Or email them to me.