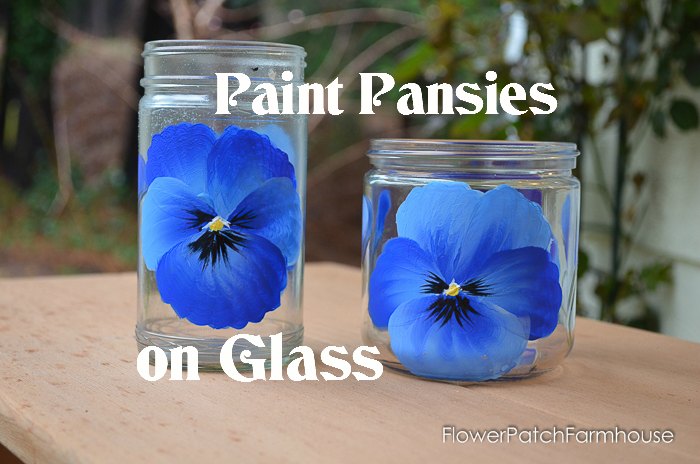
How to Paint Pansies on Glass
How to Paint Pansies on Glass. Glass painting is so easy and fun. Paint a pansy or two and turn recycled jars into works of art.
How to paint pansies on glass is an easy painting lesson that will get you excited about painting on glass. You will be painting all sorts of glasses, mugs and vases for gifts or your own decor. A video is included lower down in this post.
![]()
Have you tried painting a pansy on glass yet? It is one of the easier flowers for me. There are a few flowers that still elude me but I will master them eventually and I hope to share.
I felt confident enough with how to paint pansies on glass to make you a video on how to paint them. I know you can do this! If you want a step by step on how to paint a pansy CLICK HERE.
That is my regular tutorial on painting Pansies on a painted surface but the steps are similar. The main difference is you don’t necessarily need to do two coats like you do with painting on glass.
How to Paint Pansies on Glass Video
This video is long winded and I do more than one pansy so you get to see me do several. You need to let the paint dry between coats so doing several pieces at once is key for me. I use a fan to dry them quicker. I turn it on and have it blow on the pieces to dry them while I work on the other pieces. Unlike a blow dryer I don’t have to hold the fan.
Okay, enough yapping from me…here is your How to Paint Pansies on Glass video
Supplies:
FolkArt Enamels
Wicker White
Cobalt
Licorice
Thicket
Fresh Foliage
FolkArt MultiSurface
Look at me Blue
Daffodil Yellow
Brushes
Glass painting set
Detail set I speak about in video
The paints should also be available in your local hobby/craft stores like Hobby Lobby, Michaels and JoAnn’s.
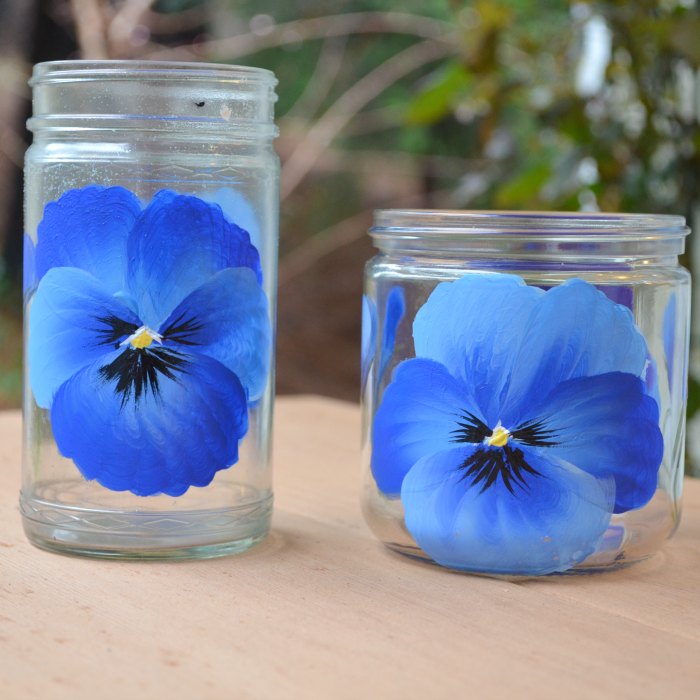
Now grab your brushes, paint and a recycled jar (mine are salad dressing and pickle jars) and let’s paint some Pansies!
To Bake Painted glassware
Let the paint dry for 24 hours then place in a cold oven, you can set them on the rack or on a cookie sheet. Set the temperature to 350 degrees , let the oven rise to temperature then bake for 30 minutes. Once the glass items have baked for 30 minutes, shut off the oven, don’t open the door and let cool completely, then remove from oven.
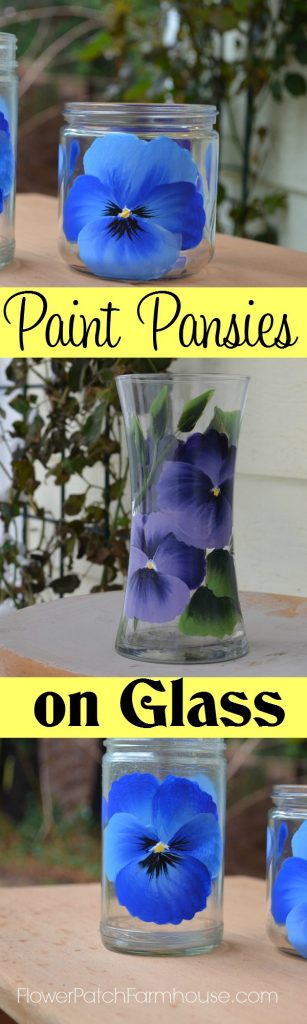
Please Pin and Share
Happy Painting!


GREAT WORK..THANK YOU
The blue just pops, doesn’t it? I am trying to get more glass done and some workshops.
Great lesson thank you. Look forward to more.Boni
Your painted pansies are BEAUTIFUL!! You are so talented!
Thank you so much, Debbie. They are so fun to do as well!
Thx this will be me end my granddaughter summer project.❤️
have fun!
These are impressive. Do you need special brushes when using multi surface paint on glass?
No, you I have used both the Enamel brushes, made for the Enamel paints and the regular Donna Dewberry one stroke brushes to use Multi surface paints on glass.
So very pretty and you make it look so easy!
Hi Pam, thanks so much for sharing your knowledge. You mentioned on your “supply list” that you don’t use a sta wet pallet for glass paint…I was wondering why? I tried to find it by scrolling thru some of your tutorials but couldn’t find it. I would really appreciate an answer. Thanks again.
Great question, I don’t use a sta-wet palette with my glass paints as water breaks down the integrity of the enamels thus interfering with the paint staying put after baking when the glassware is washed.
I might be overly cautious in this area but I have had some glassware lose its design when in the dishwasher (I tested to see if it was really dishwasher safe) and when I inquired why the paint may have washed off I was told it could’ve been because water was used while painting. So using water makes the enamel paints less durable.
These are beautiful! Do you think this technique would work to make a candle holder? What about a wine glass? Thank you!
Absolutely, I have painted them on wine glasses and the candle holder I assume is round or cylindrical but with enough surface to paint on. Go for it. You can easily wipe off and restart on glass if you mess up. I do it all the time. 🙂