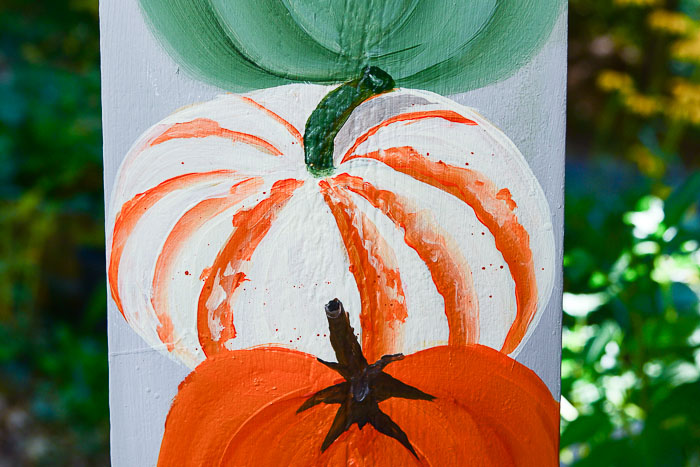
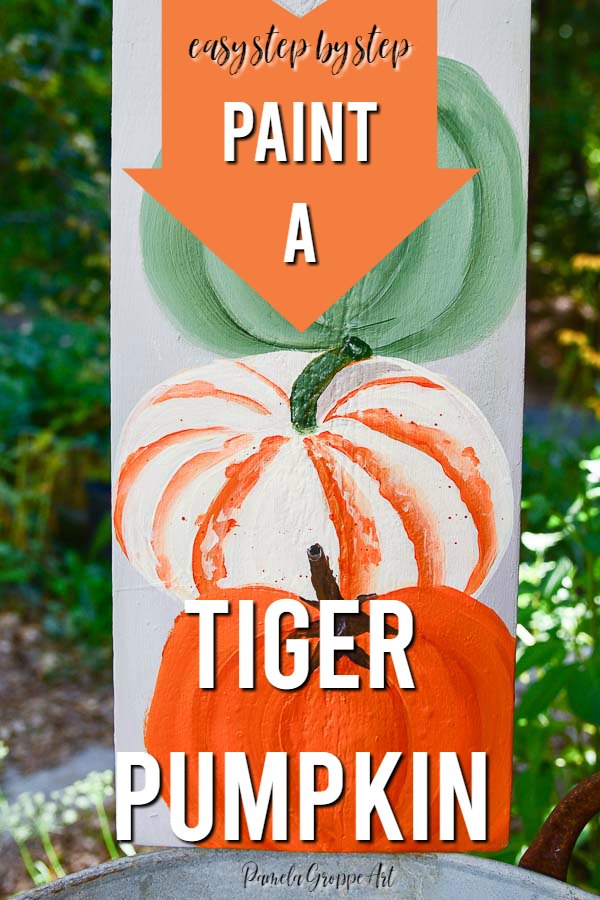
Paint a Tiger Pumpkin

Painting a tiger pumpkin is a bit different. Come paint this fun little pumpkin with me! The methods to paint a tiger pumpkin are slightly different but so easy. You will love it.
Tiger pumpkins have some different markings that give them their name. Fun splotches and stripes that are easy to create for even beginner painters.
Let’s learn how to paint them one easy step at a time.
Basic Pumpkin Shape
Start with the outline of your pumpkin on your surface. This is part of 3 pumpkins I am sharing this month. You can see the Green Pumpkin Painting post here.
There is a link for the pattern for you to download available below.
The shape of this pumpkin is a bit different than the green. It is as if it is leaning towards you slightly showing the back shoulders of the pumpkin.
This first video is a quick overview of how to paint a Tiger Pumpkin. A full-length video is linked at the end of this post for a more detailed step-by-step.
This post contains affiliate links. If you make a purchase after clicking a link I may make a small commission at no added cost to you.
Begin Painting First Layer of Pumpkin Colors
Double load the 3/4″ flat brush (or whatever size fits your project) with Vintage White and Pure Orange with a dash of Pueblo.
New here and need help with terms like “double loading” or types of strokes? Visit my Basic Brush Strokes article that shows you step by step.
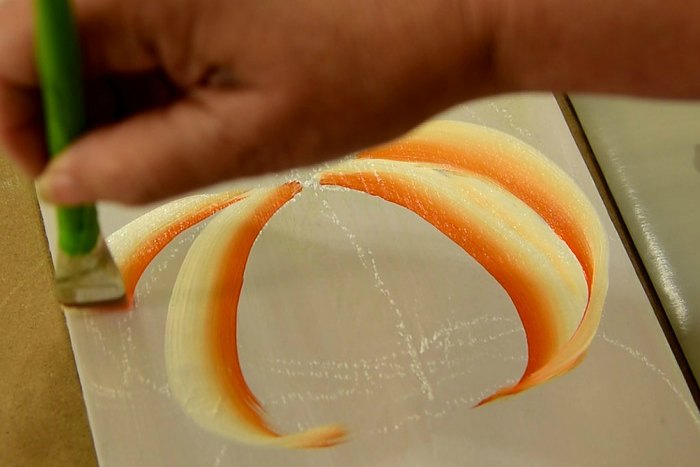
Starting on the chisel edge of your brush make a backward C stroke. Follow the pumpkin rib with the orange edge of the brush.
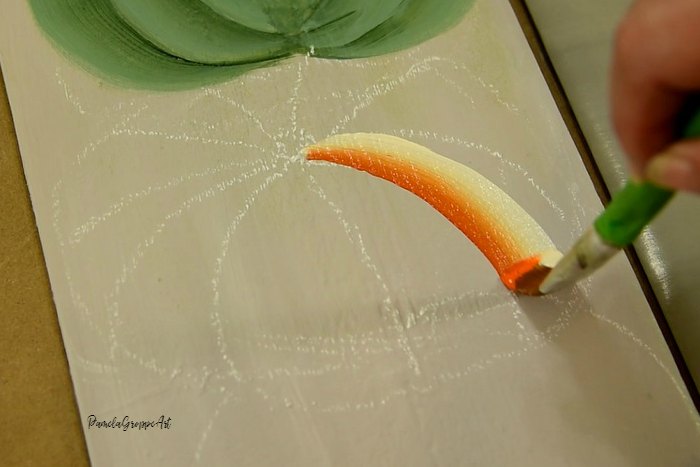
Reload your brush between strokes. Paint the rest of the ribs in C strokes following the outline on your surface.
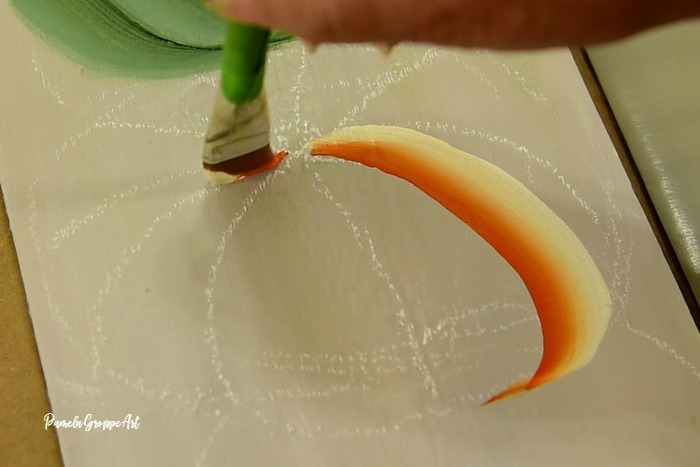
Note how the brush starts on the chisel edge then as you stroke along it will flatten out to widen the stroke.
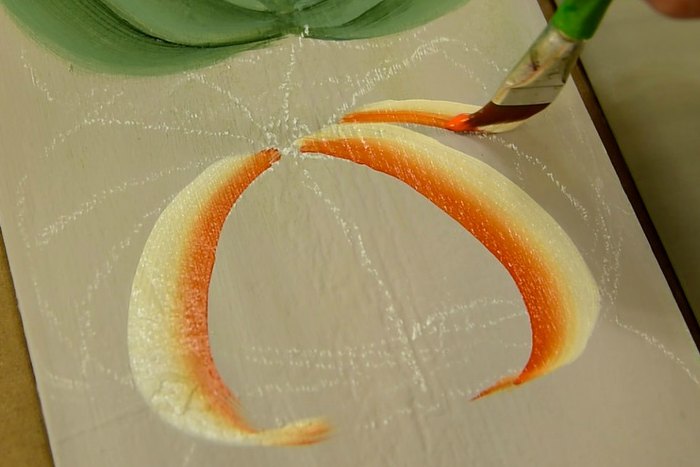
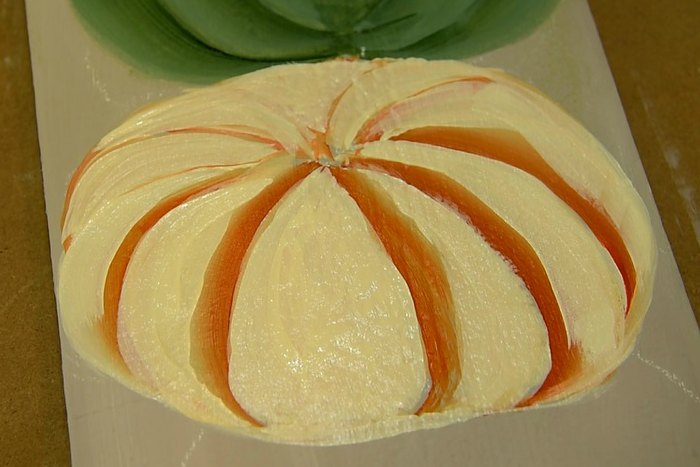
You can use the Vintage White corner to fill in between where gaps are left. Don’t fret too much over some Orange colors streaking into the Vintage White.
It will all come together.
Painting the Back of the Tiger Pumpkin
Use a smaller brush if you need to get in and paint the back shoulders of the pumpkin. I switched to the #12 flat brush for more control.
Double load the #12 flat brush the same way as the 3/4″ with Pure Orange and Vintage White.
These are not C strokes but just paint in with simple strokes following the outline.

Tiger Pumpkin Second Layer
Let the first layer of strokes dry. You can speed it up by using a blow dryer.
Once dry, load a flat brush with just vintage white and stroke over the Vintage white areas again.
Don’t worry about being neat, just paint it in!
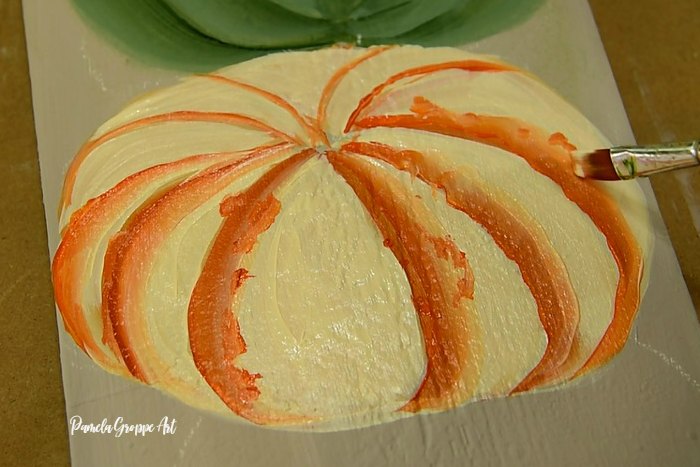
Paint Tiger Pumpkin Details
There is no need to let the Vintage White dry before starting this next step.
Double load the #12 flat brush with the Orange and Vintage white. Using the Orange loaded corner of the brush, scumble along the orange rib creating some lumps and bumps.
Be loose and jerky with this step to make it look more natural. The Orange will blend a bit into the Vintage white.
That is the look you want, some of the Orange will be more faded than other parts.
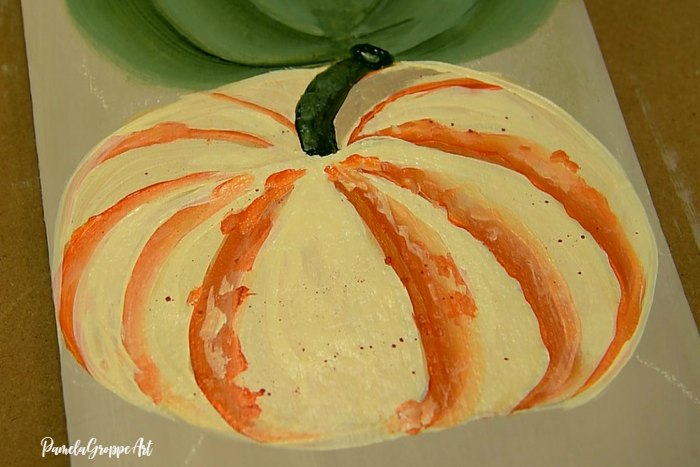
Add a bit of fly specking or splattering with watered-down paint and a scruffy brush or old toothbrush. (I show you how in the full-length video)
Finishing Touches
The stem is painted basically the same as the green pumpkin in the last lesson. There aren’t any tendrils that come down into the ribs of the pumpkin on this one.
Supplies
Plaid FolkArt Paint in these colors
Pure Orange
Pueblo
Vintage White
Thicket
Plaid Donna Dewberry Brushes
For a full list of my “go to” painting supplies visit this article.
And that, my friends, is how you paint a Tiger Pumpkin. You could also paint this with green ribs.
See the full length Tiger Pumpkin painting video here
Want a pattern for this? Get access here by filling out this form or signing in.
Please PIN & Share
Happy Pumpkin Painting!


Thank you so much for posting this lesson, Pamela. It is so relaxing and gets me into the Autumn spirit and back into my studio again after summer. Love all your lessons, and appreciate your posting for our enjoyment.
can ‘t wait to pain t this