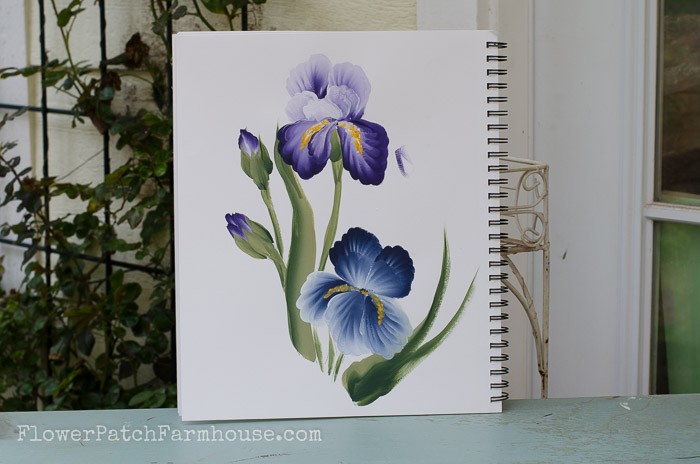
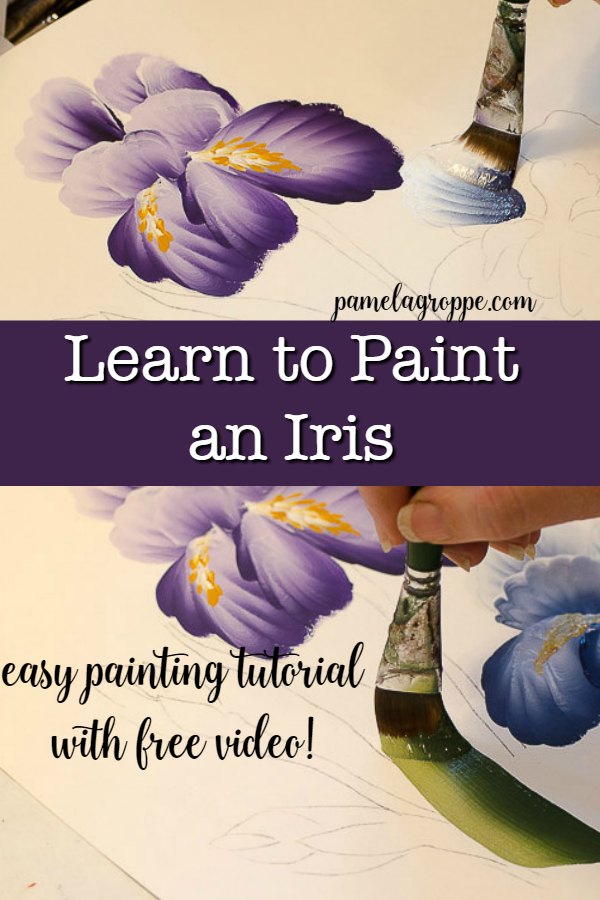
How to Paint an Iris in Acrylics

How to Paint an Iris one stroke at a time. An acrylic painting lesson for a lovely Iris, or two.
How to paint an Iris one stroke at a time. Here is my simple and fast how to paint an Iris lesson in acrylics. Getting the wiggle of your paint brush can be challenging but keep practicing and you will get it!
This post contains affiliate links. If you make a purchase after clicking a link I may make a small commission at no added cost to you.
And so as not to disappoint those that love learning from videos, I have also made a How to Paint an Iris video. The first video is a quick demo and a full length real time video is linked at the bottom of this post.
I confess it has been a long time since I painted an Iris so it was a challenge but worth the refresher course I gave myself.
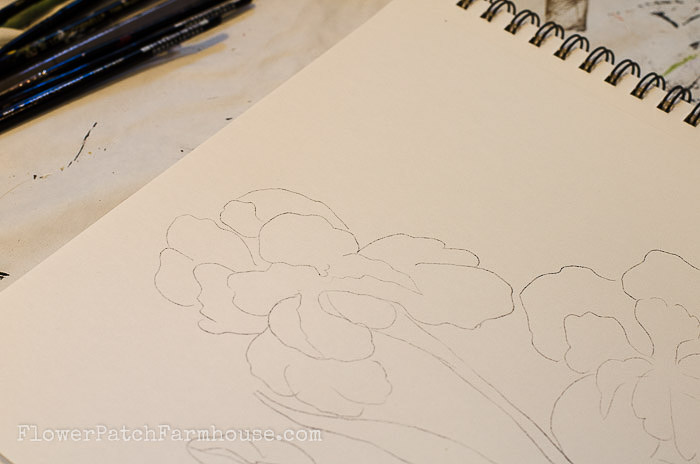
Iris Painting Pattern
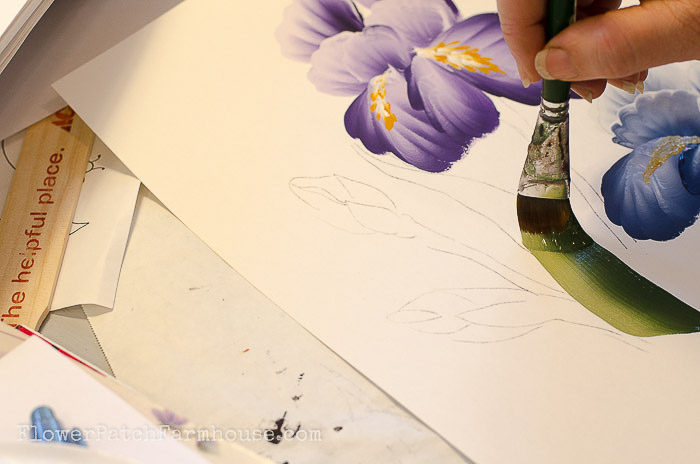
I started with a pattern drawn on to my paper…(I took photographs from my Iris in the garden and made a pattern)
Paint First Iris Petals
- Double load the 3/4″ brush with the paint and started with the very back, top petals.
With a ruffled scallop stroke paint the first petal with the white to the outside. The top petals are all going to have the white on the outer edge.
In the video you get to see me paint the purple Iris also.
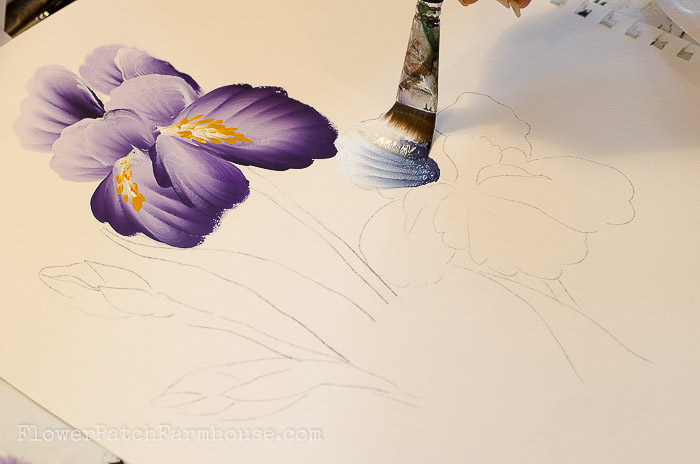
2. Reload the brush and use the same type scallop stroke and put down the next petal.
Keep Layering Iris Petals
3. Keep layering your petals until you have the top done.
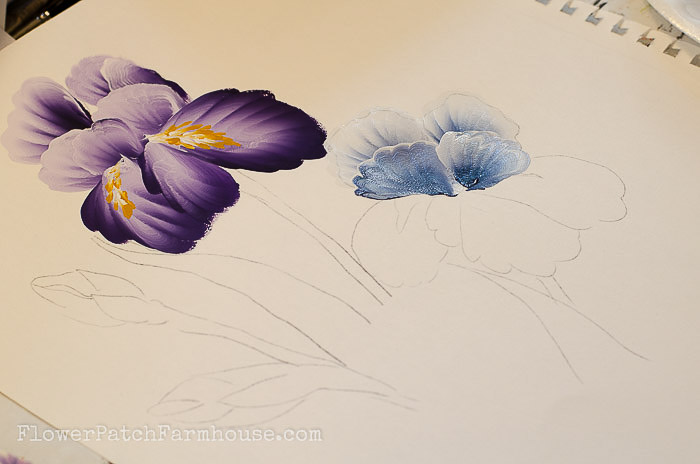
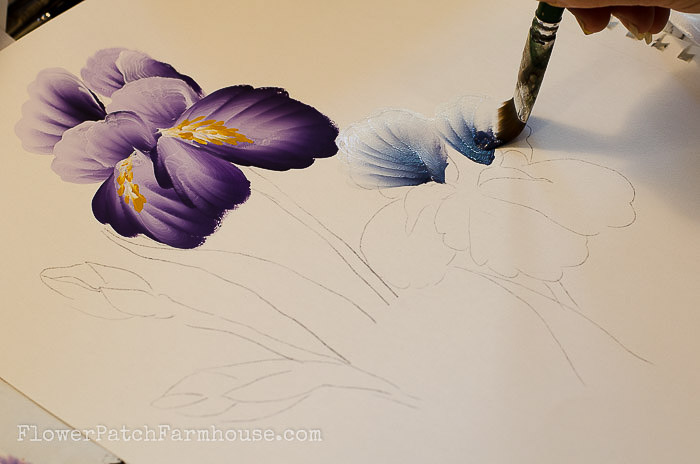
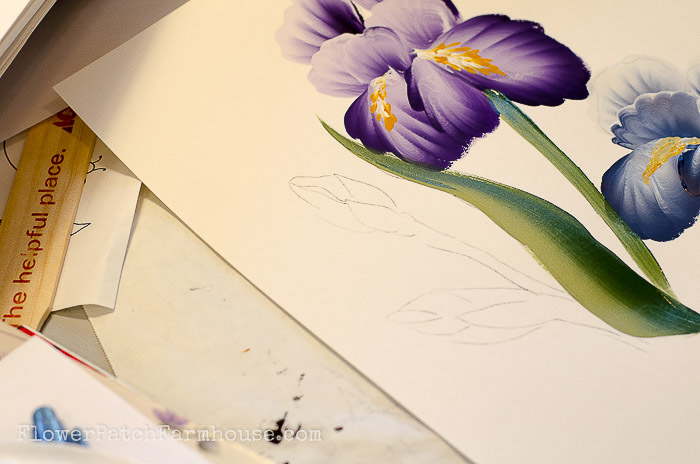
Paint Bottom Iris Petals
4. Reload your brush between each petal. The bottom petals with have the blue on the outside edge.
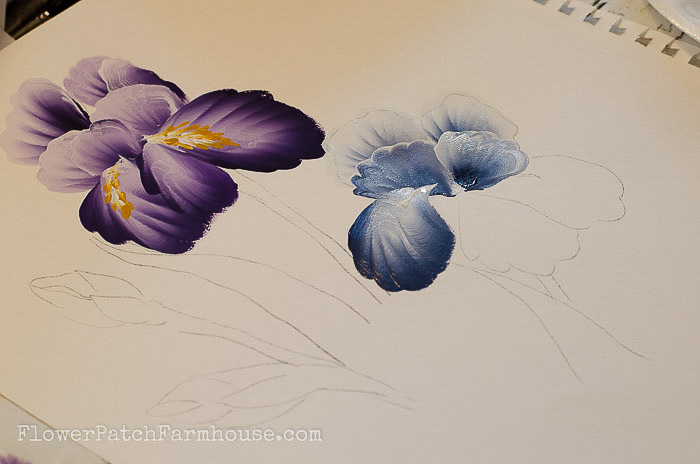
This iris has three lower petals. Layer them as you wish.
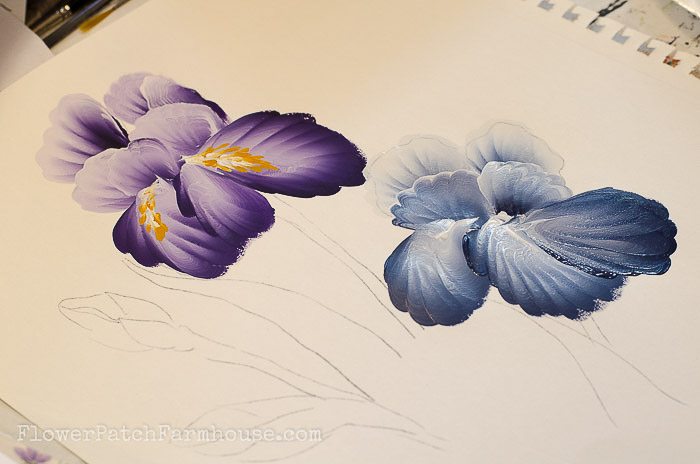
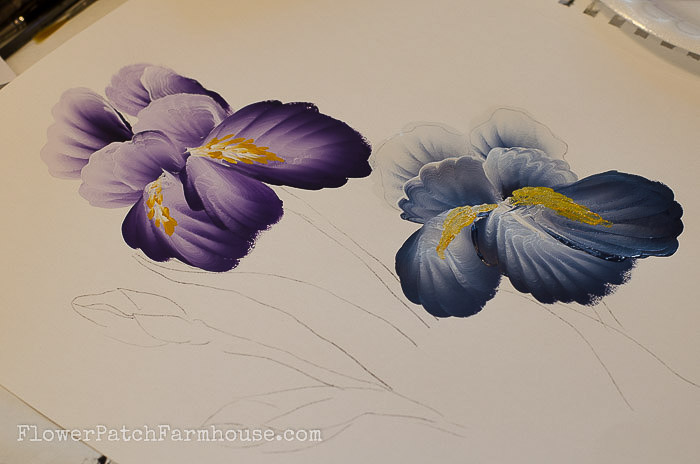
Painting Iris Beards
5. Let the Iris petals dry then come back in and add the beards.
6. Double load the #12 flat brush with the Yellow Ochre and white.
Leading with the white pounce on your shape of the beards, making them curve a bit as if following the fall of a petal.
Paint Iris Leaves & Stems
7. Add in the leaves and stems, ideally, we would’ve done that first but I got a little turned around.
Double load the 3/4 in brush with the dark green and lighter green.
Starting on the flat edge pull the brush towards the tip of the leaf turning to a chisel edge as you stroke towards the tip.
Pull the stems down from the bottom of the flowers using the chisel edge.
Supply List:
Donna Dewberry One Stroke Brush set
Paint colors (These paints should be available at your local JoAnns, Hobby Lobby or Michaels craft stores):
Dioxazine Purple
Plaid folk Art Paints:
Wikcer White
Midnight blue or Navy Blue
Thicket
Fresh Foliage
Yellow Ochre
School Bus Yellow
Book to Enjoy…Bold Expressive Painting
Now you have some lovely Iris’ to paint on anything you like. You can paint these in a smaller size just use a smaller brush and pattern.
Please forgive that I failed to replace my microphone in the video during the filming of painting the blue iris, you can see it on the left of the screen lying on my paper instead of clipped to my sweater where it should’ve been.
Click on the links below for more painting Fun you may enjoy!
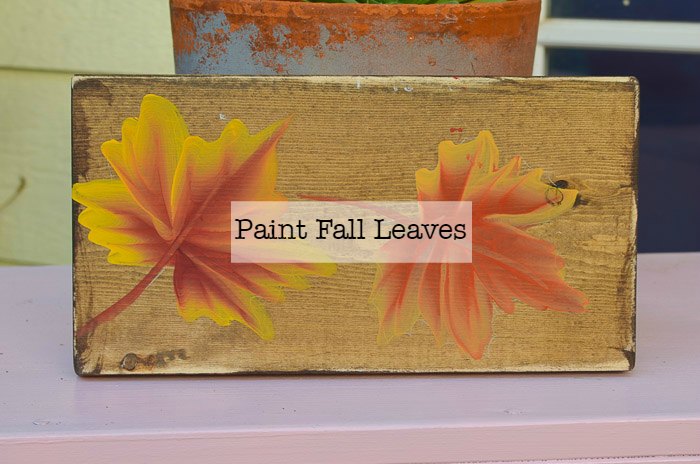
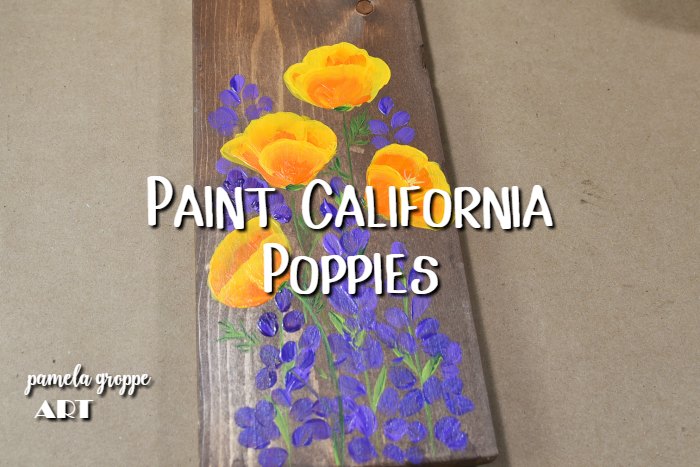
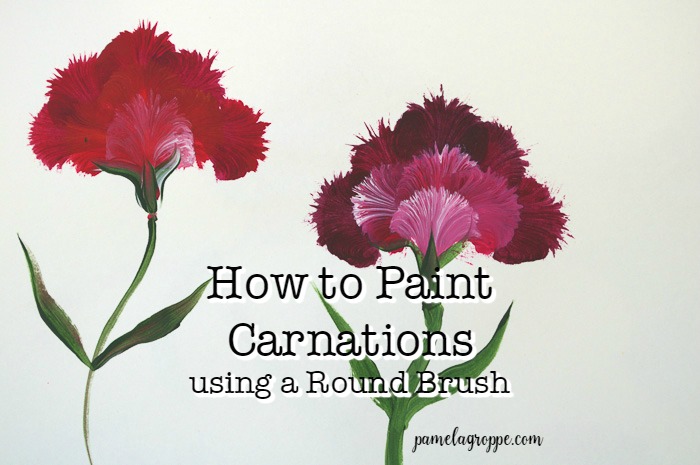
Paint a Basket of Pansies
Paint a Simple Sunset Beach Scene
How to Paint Lavender in Acrylics
Happy Painting!

Please PIN and Share!
I couldn’t find the video in the post. Help.
Thank you for letting me know there was a problem. I think it is all fixed! 🙂
what is a scallop stoke and what type brush and size are you using. thanks.
Sorry I sent you astray. The first two photos of my painting the petals are in sort of a sea shell shape, that is a scallop stroke. Also the first petals of the video show a scallop stroke.
I was wonder ohnf if y you had the trace of the flower to download or use?
I will trace the actual painting and put one up for you.
Very nice tutorial. Thanks so much!