Paint Orange Pumpkins in Acrylics

Paint orange pumpkins in acrylics. A step-by-step pumpkin painting tutorial easy enough for beginners. A free video is included.
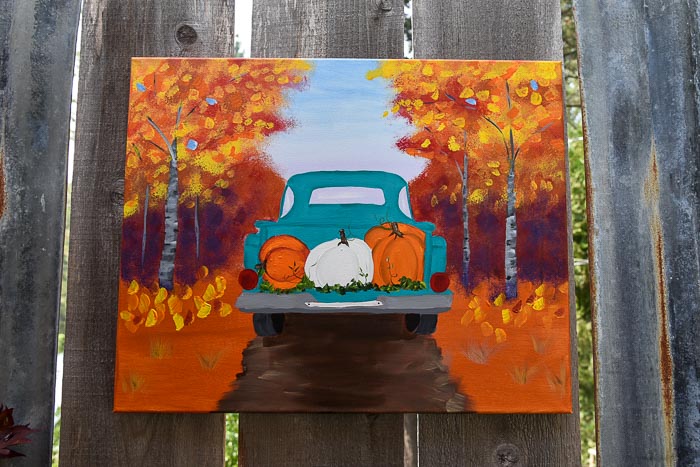
Fall is the time to paint orange pumpkins in acrylics on just about anything in decor. Really you can do this any time of year but Autumn seems to be the time that pumpkins take center stage.
No time to view this now? PIN for later.

This post contains affiliate links. If you make a purchase after clicking a link I may make a small commission at no added cost to you.
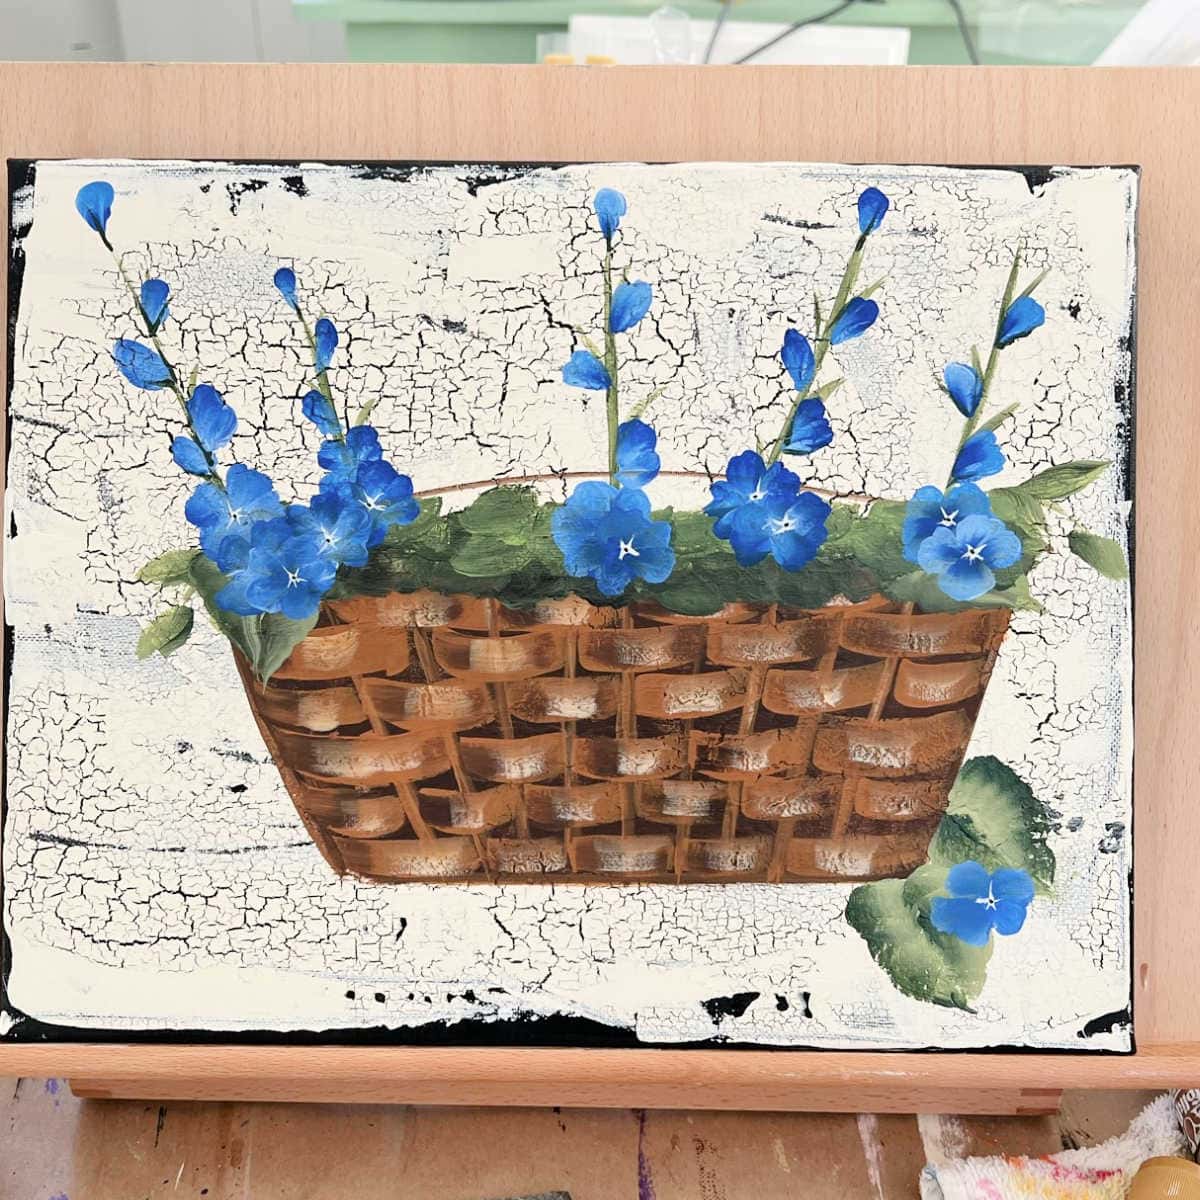
When I shared my Fall Scrabble Tile art I had a two-sided tile in place of the A. One side had a Fall Leaf painting and the other an Orange Pumpkin.
If you need help with certain terms or techniques you will find this helpful Basic Strokes for Beginners
Full list of supplies I use every time I paint Basic supplies you will find useful
Supplies to paint orange pumpkins
One stroke brushes which include #12 Flat Brush.
Americana Decoart paints
Tangelo Orange
Georgia Clay
Banana Cream or you can use Folk Art Sunflower instead of Banana Cream
Folkart Burnt Umber
Folkart Floating Medium
Brush Caddy
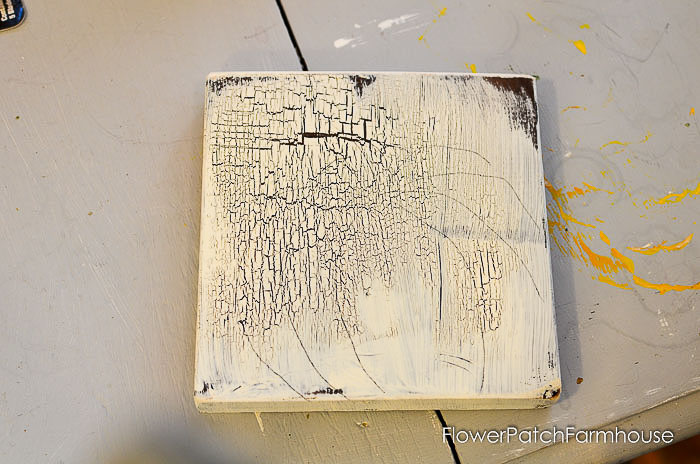
Preparation
First choose your surface of choice, on this one I used a 1×6 pine board cut into a square, you can also use stretched canvas
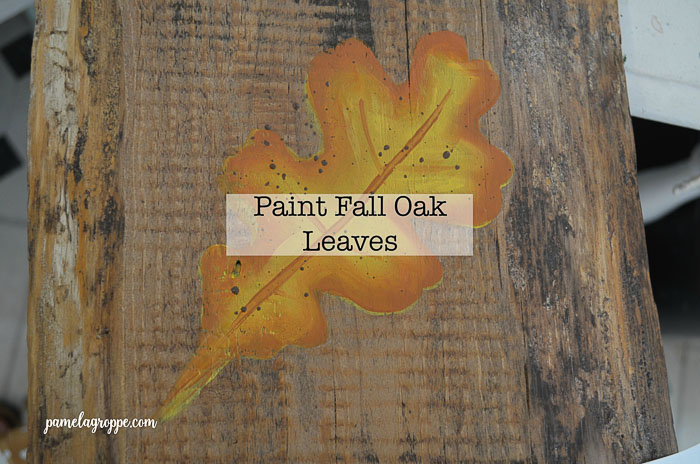
For a tutorial on getting the crackle effect visit this post :How to Use Crackle Medium
1. Paint background color
2. Add crackle coat
3. Paint on top coat
4. Let crackle background dry thoroughly
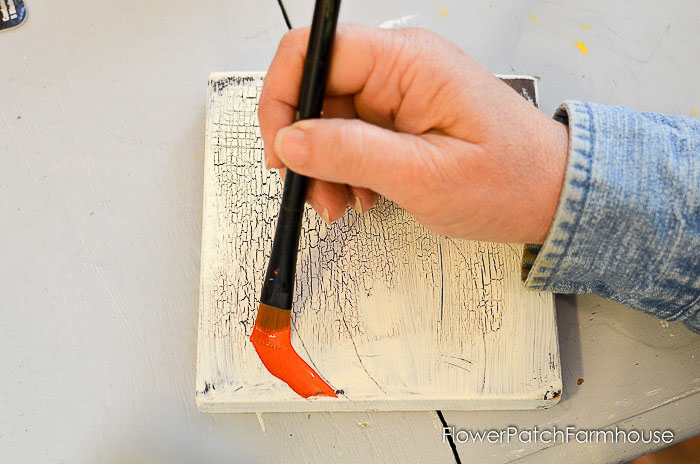
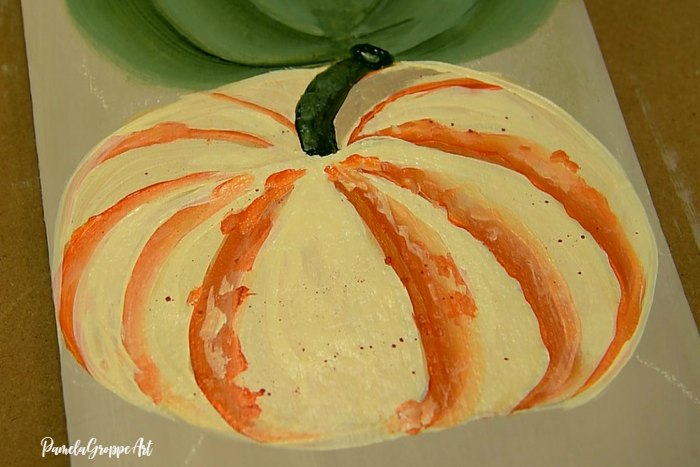
Instructions for how to paint pumpkins
5. Sketch or trace on pattern of pumpkin
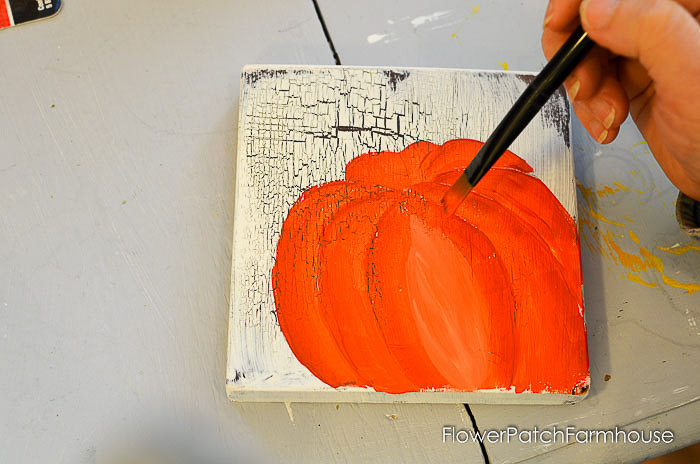
6. Double load the #12 Flat brush with the Tangelo Orange and Georgia Clay. (see this post if you don’t know what double load means)
Stroke the Georgia Clay side along the outside edges of the pumpkin ridges and the Tangelo Orange toward the center.
7. In the center paint both sides of it as you did the other pumpkin ridges then just fill in the very center with the Tangelo Orange. (if that seems confusing just view the video)
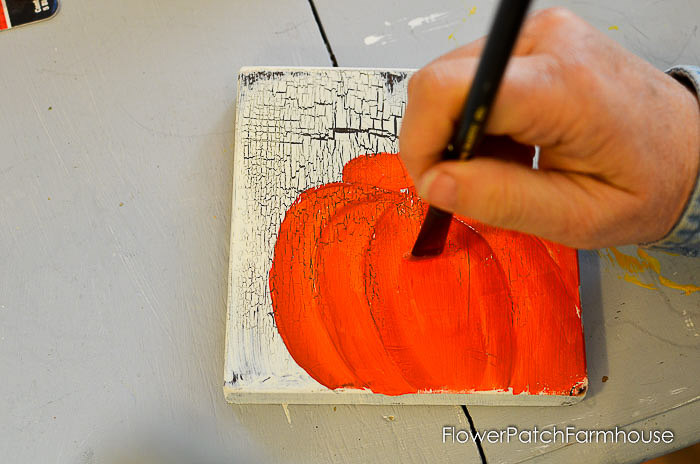
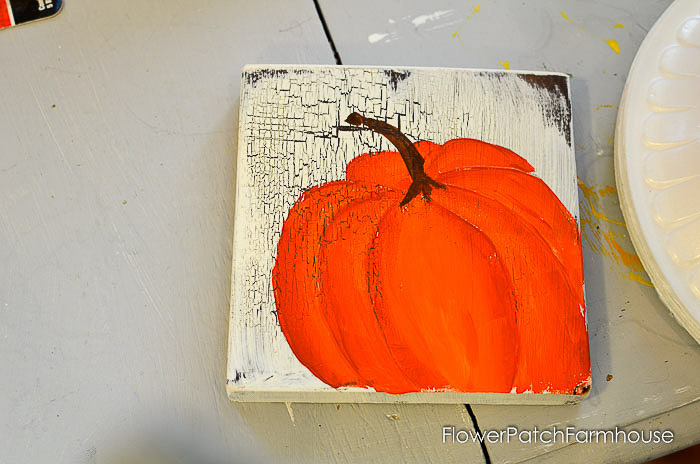
8. While the paint is still wet load some Banana Cream into the brush (do not clean the brush first), touch in and blend to create some highlighting.
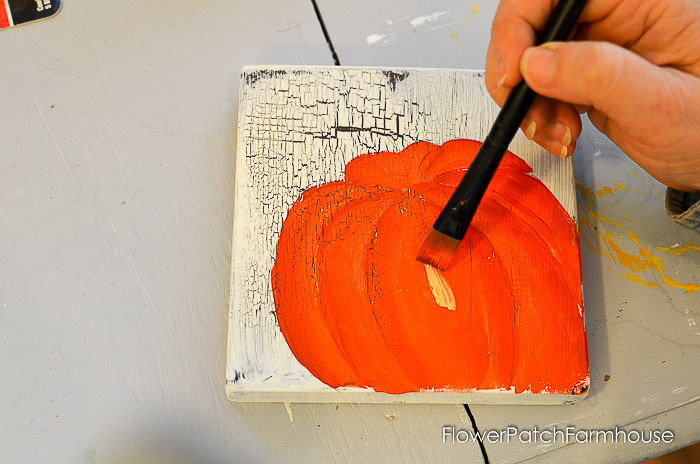
This will draw it forward creating dimension.
9. Clean the brush and squeeze dry with a soft cloth or paper towel.
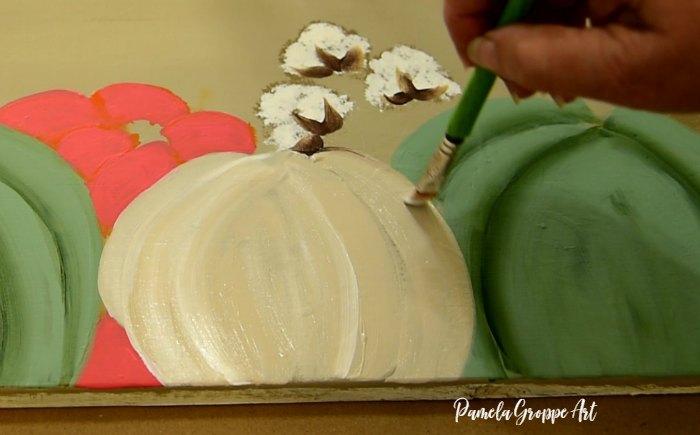
10. Double load the brush with Banana Cream (Sunflower) and Burnt Umber. Stroke upwards to create the stem.
11. Finish with a matte or satin Varathane finish or you can also use a wax. I really like DecoArts Creme Wax finish. It glides on like butter and buffs out to a wonderful heirloom finish. And it has no harsh odor.
In the video I show how to shadow around the outside edges and added a bit of white highlights but those are totally optional. As well as after taking a second look at this pumpkin I thought the stem too narrow. So in the video I show how I widen it and fix the base of it.
Now you have a gorgeous orange pumpkin!
I just finished a complete Pumpkin Leaf tutorial, go Here to see it! I used real pumpkin leaves to create the pattern.
Paint this today
Paint a Blue Pumpkin and White Roses!
Do you love Fall but prefer more neutral colors? This acrylic painting tutorial may be perfect for you. Paint a blue Pumpkin and white roses to create a fun fall, yet subdued painting for your decor!
Want to paint a patch of pumpkins in different colors and styles?
See these other Lessons:
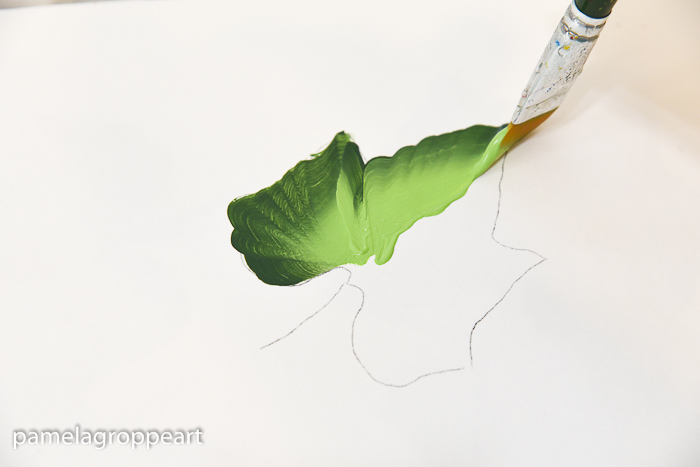
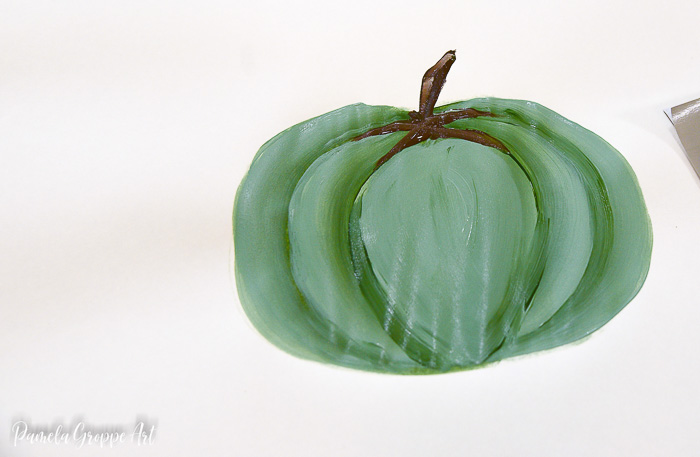
Paint a Green pumpkin
How to Paint a Tiger Pumpkin
Paint a White Pumpkin
Happy Painting!

Is there a stencil for the pumpkin?
Do you mean a pattern? I should put one up. I will work on that and let you know.
Thank you so much! I absolutely love your tutorials. They are very easy to follow. I am stuck on making leaves for my finished pumpkin paintings. Can you do a video with a pumpkin with leaves?
THANK YOU IN ADVANCE
We’ll do. I will get on it ASAP.