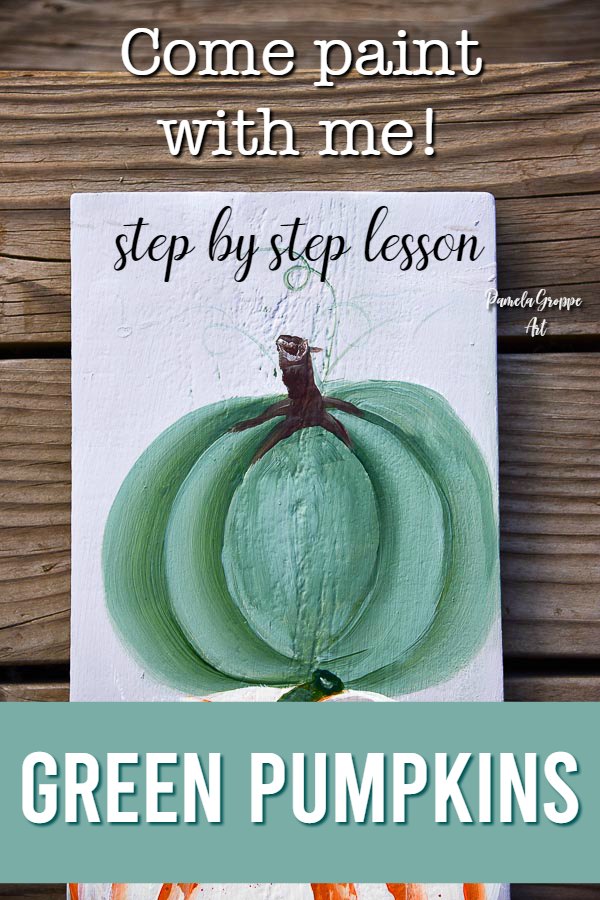
Learn to Paint a Green Pumpkin in Acrylics
Today I am going to help you to learn how to paint a green pumpkin in acrylics. Fall is when most people think of using pumpkins in decor but not everyone is into the oranges, yellows and browns.
Autumn is traditionally related to those types of colors but pumpkins come in a variety of shades. But what if you have a more pastel palette in your decor?
Then you paint your pumpkins in a different color that does match your Farmhouse or Cottage decor.
Like this Succulent Green pumpkin!
Please PIN and share!
This easy step by step painting lesson on how to paint a green pumpkin is going to be fun. Before you know it you will have painted up a batch of pumpkins.
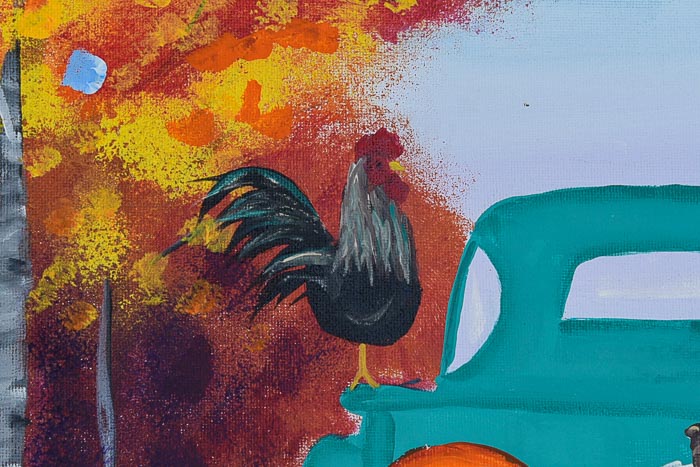
They go great on Fall DIY signs, Farmhouse Cottage decor or even canvas art. You decide what you want to paint these on.
This is part of a series of pumpkin painting lessons so be sure to check back for the rest. I am especially loving the Tiger Pumpkin coming soon.
Supplies:
Your surface of choice
Plaid FolkArt Paint in colors: (or what colors you choose)
Succulent
Thicket
Burnt Umber
Wicker White
Butter Pecan
Plaid One Stroke Brush Set
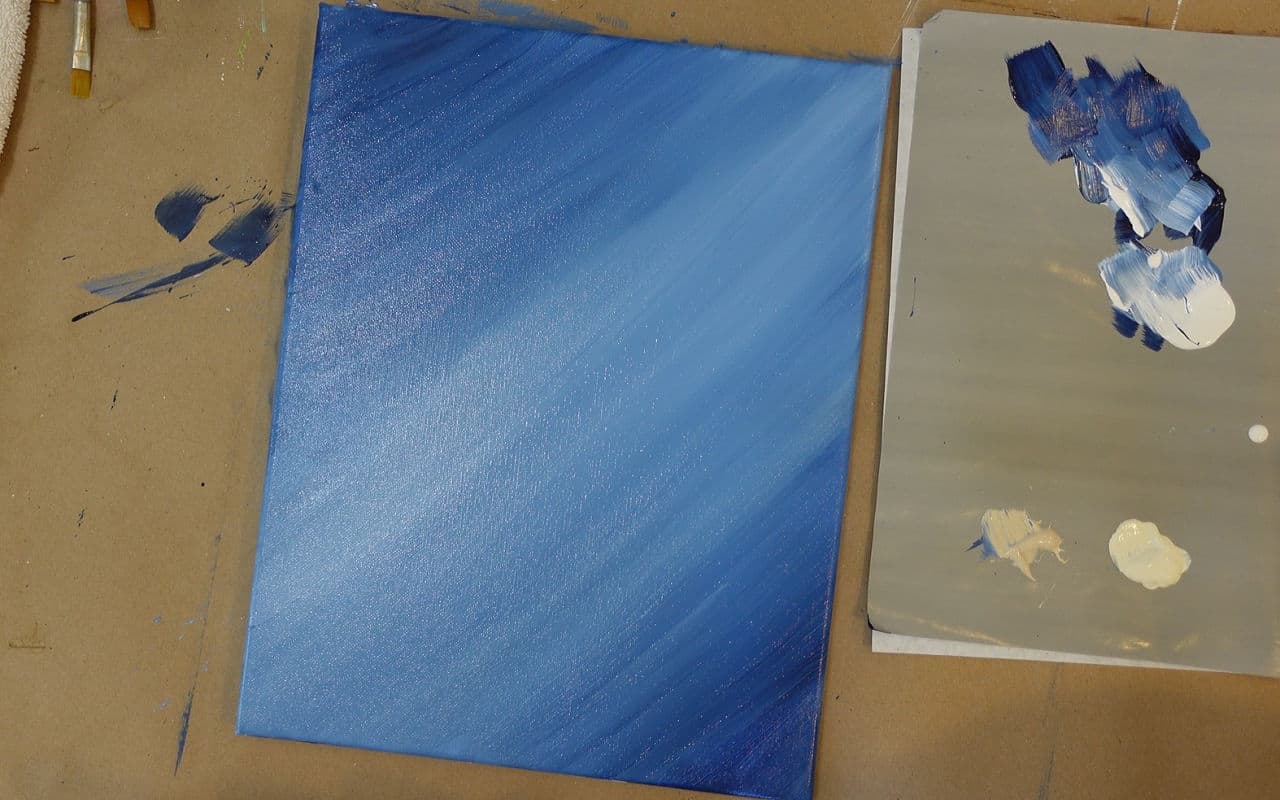
Background on this surface was a blend of Wicker White and Thunder Gray
Outline to paint the green pumpkin
I do have a pattern available in the Subscriber Resource Library.
Not a subscriber yet? Fill out the form at the end of this post for access.
Instead of following the pattern I just used the chisel edge of my paint brush to draw my pumpkin shape.
Double load your 3/4 inch flat brush with Succulent and Thicket.
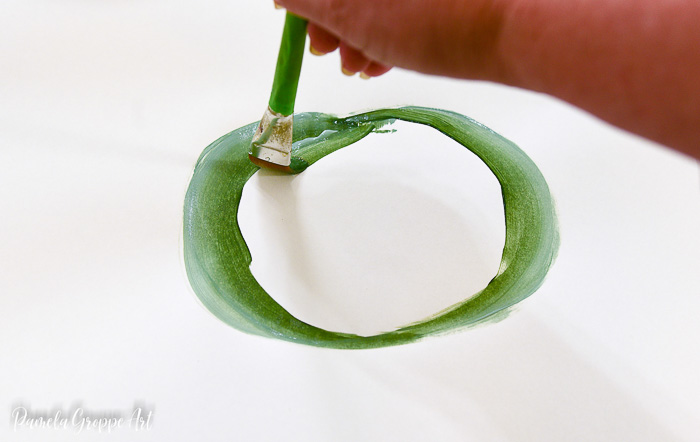
Starting on the chisel edge I make a large C stroke along both edges along the outside of the pumpkin. (if you need more help with double loading and Basic Strokes visit here)
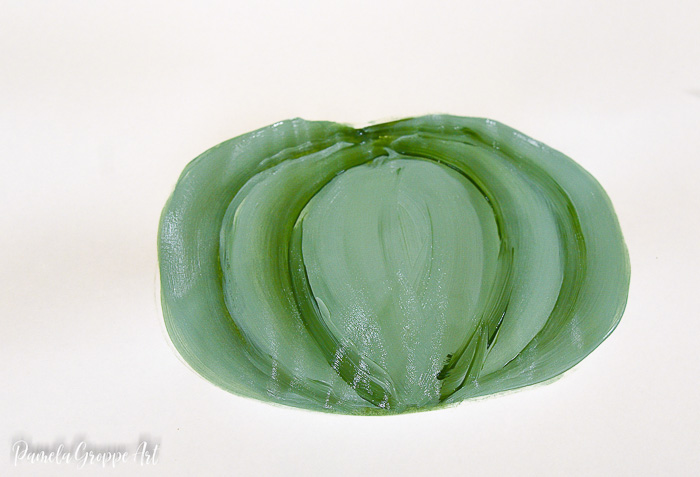
First layer to paint a Green Pumpkin
To make the C stroke start at the top of the pumpkin with the chisel edge of the brush.
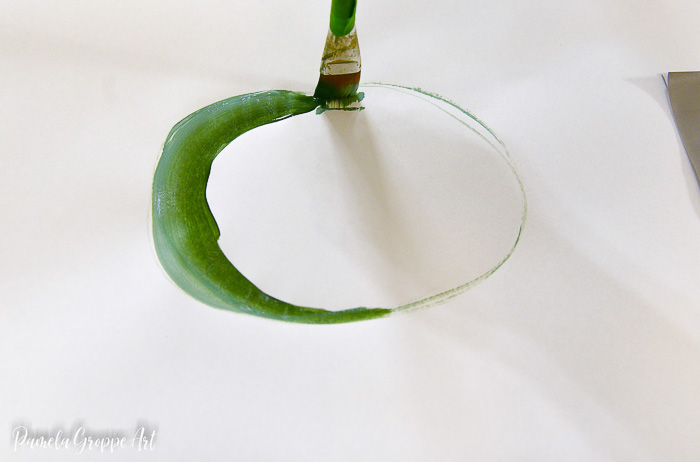
Pull the brush along the edge of the pumpkin while adding pressure to flatten the brush. The Succulent green is along the outside edge and the Thicket is on the inside.
Do this on both sides of the pumpkin outline.
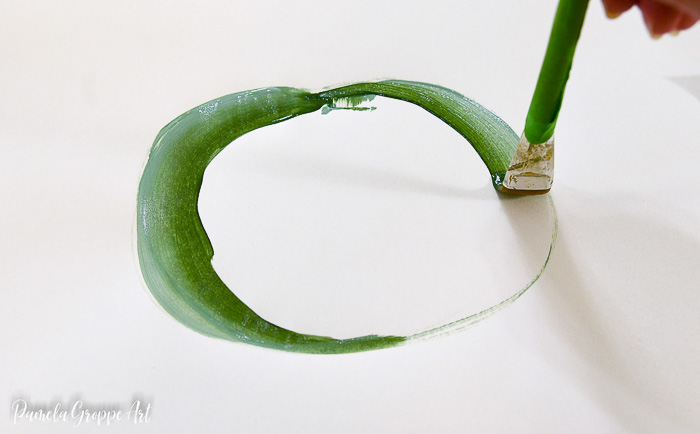
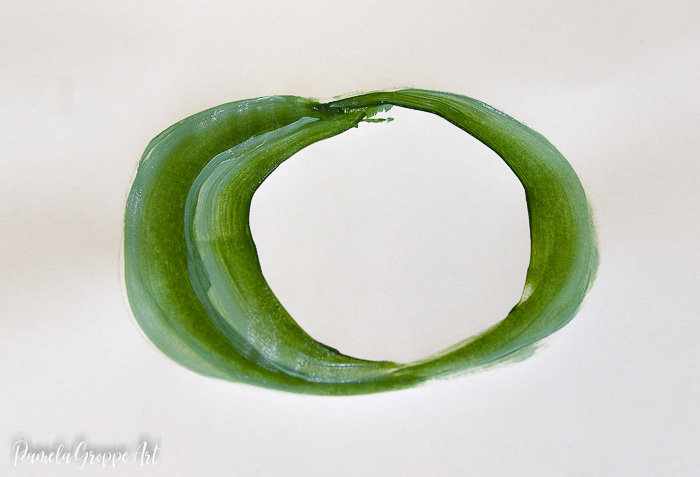
Second Layer of painting the Green Pumpkin
Reload the paint brush with Succulent and Thicket.
Using the same C stroke paint in the second layer of the pumpkin. Align the Succulent edge of the brush with the Thicket edge of the previous stroke, overlapping just slightly.
This will leave the Thicket showing to create the ‘rib’ of the pumpkin.
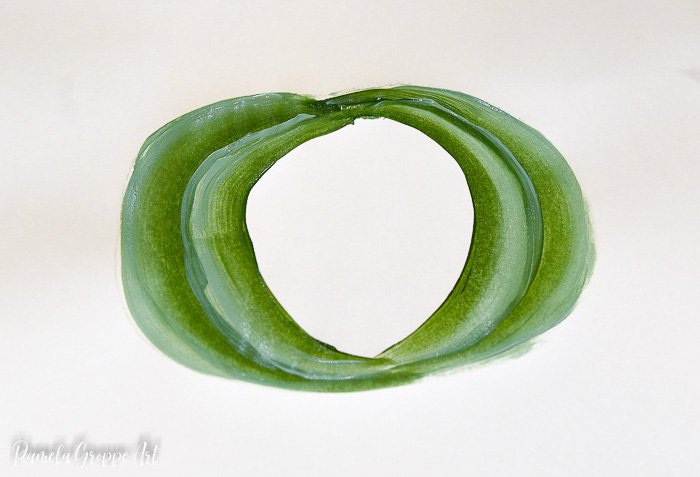
You will most likely need to do a second coat for opacity but you get the idea here of how the light and the dark create the shadow for the ribs of the pumpkin.
Paint the second layer on the other side. Don’t worry about being perfect. It will all come together as you paint.
Paint the Green Pumpkin center
Load your brush with only Succulent. Stroke in the center of your pumpkin. Don’t worry if you have a tiny bit of Thicket still in your brush. The darker streaks of paint will add interest.
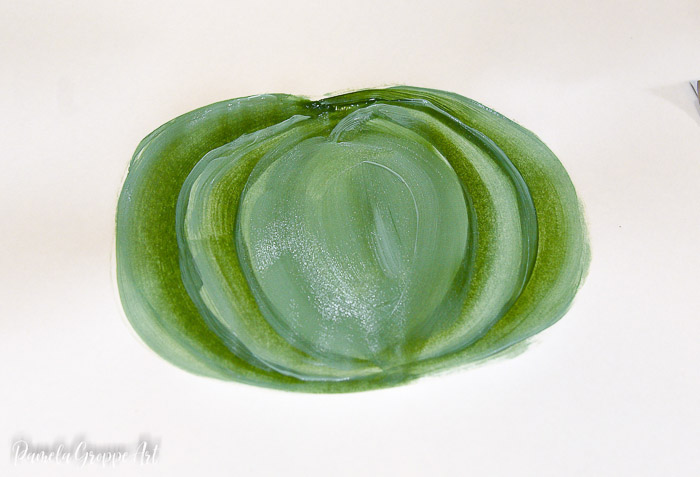
Add a second layer of Paint
Using the same double loading and strokes go over your green pumpkin with a second layer of paint.
Don’t try to be perfect and follow exactly, just lay the paint on and let it flow. Your pumpkin ribs do not need to have hard edges. You want the looseness and streakiness. (that is not a real word but you get my drift)
Paint a Green Pumpkin Stem
Now it is time to add the stem. You can paint them a lighter color if your background is a dark color. For this pumpkin I am using Burnt Umber and Butter Pecan double loaded on a #12 Flat brush.
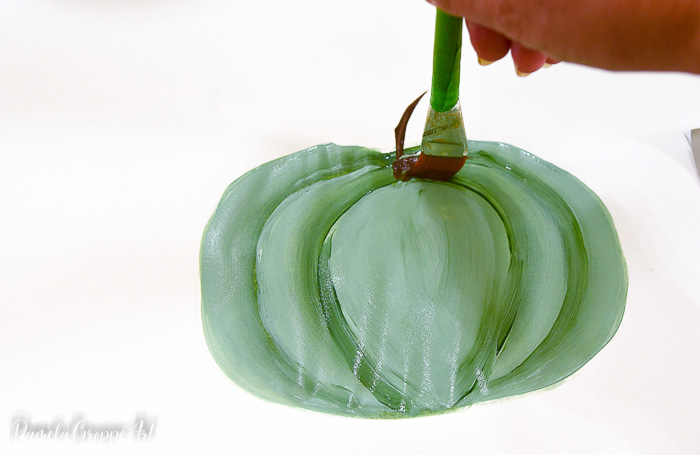
Start on the chisel edge of the brush and mark where the stem is. You will fatten it up later or make it wide now. There is no set order.
To make the stem base part that follows the ribs you place the loaded brush on the chisel edge, press and drag as you lift. Don’t make them too long but do end them on a point.
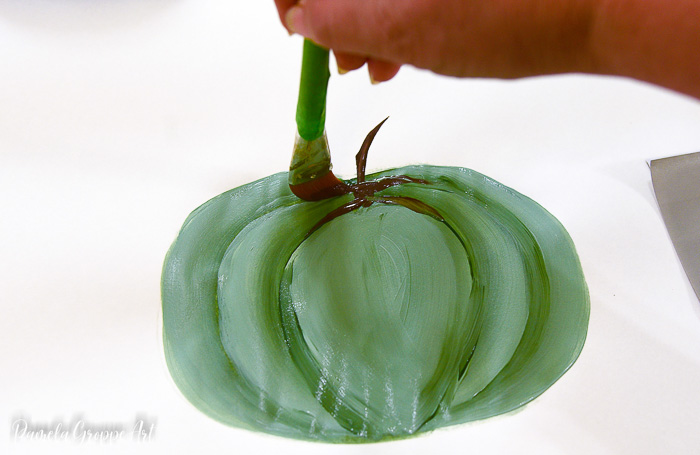
Fill in as needed.
Highlight with Butter Pecan on one side of the stem.
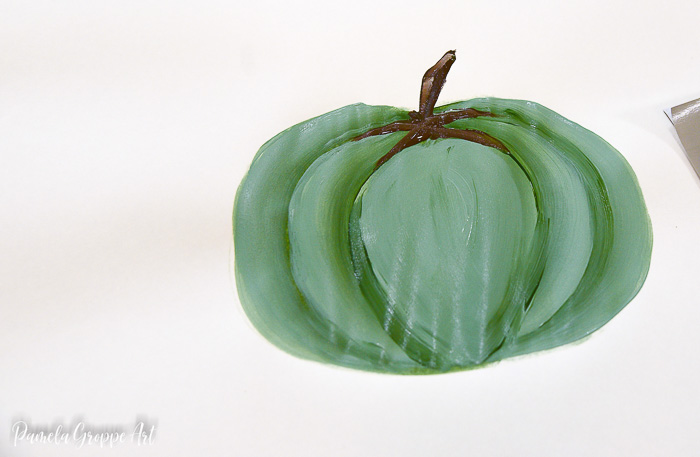
Now you have painted a sweet little green pumpkin.
Want the pattern to follow? If you are a subscriber then you already have your password to enter the Resource library.
But if you are new here then fill out this form
Want more Fall DIY art and craft ideas?
How to Paint Orange Pumpkins
Paint Fall Leaves
DIY Scrabble Art
Happy Painting!

Was not too sure about a green pumpkin…but it is really nice. Very surprised…can’t wait to see the other paintings!!!!