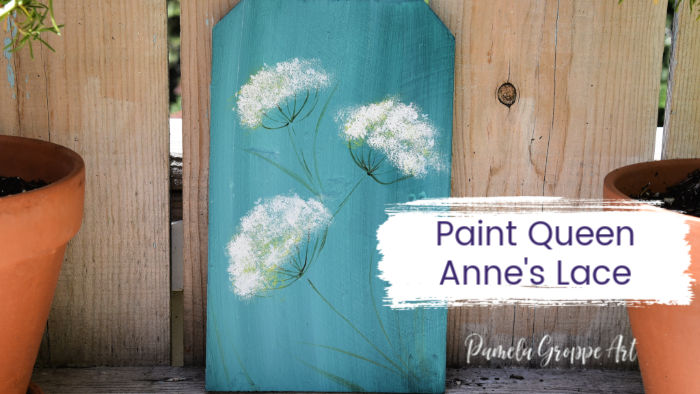
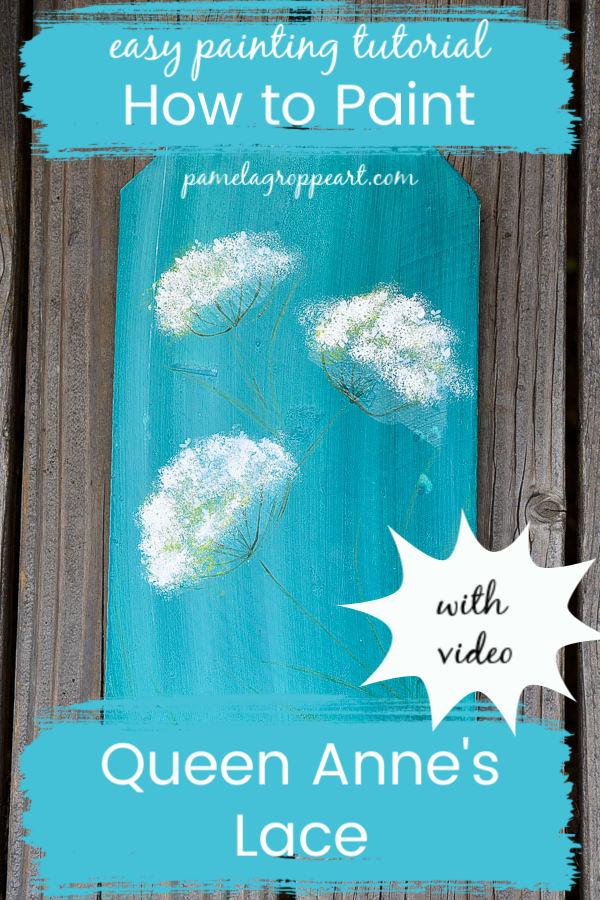
Paint Queen Anne’s Lace Tutorial
Today we are going to learn how to paint Queen Anne’s Lace. This painting tutorial will show you step by step how you can easily paint this delicate flower to add to your flower art.
Why learn to paint Queens Anne’s Lace? Easy, because they add an airy, delicate quality to your flower paintings. They don’t steal the show but are just an excellent way to enhance your main flowers.
Lets get started.
Supplies:
Plaid FolkArt paints Multi-Surface or Regular
Wicker White
Aqua
Thicket
Citrus Green
Golden Glazing Medium
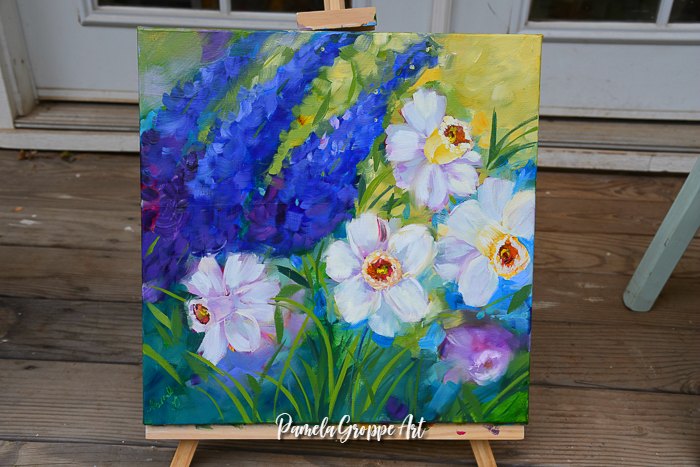
Background color of choice, the one used in this lesson is Midnight Garden, a touch of white was added on the left side.
Brushes:
Donna Dewberry 3/4″ scruffy or torn sponge
Donna Dewberry #2 flat brush
Royal majestic 5/0 liner brush
Press here for the method I used to Paint a Background with a Sponge
This post contains affiliate links. If you make a purchase after clicking a link I may make a small commission at no added cost to you.
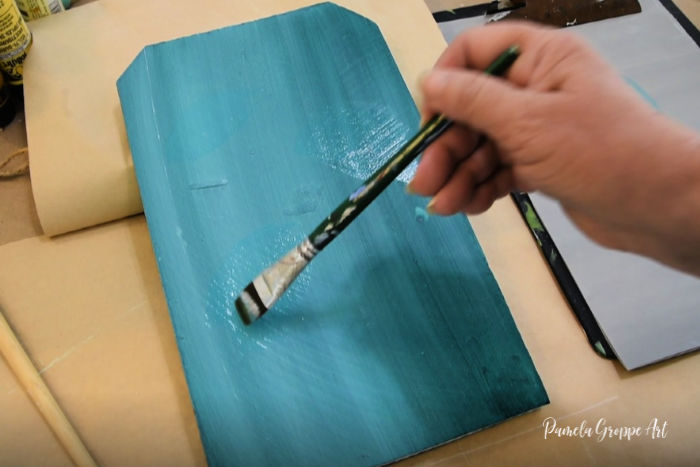
Glaze in Color for Queen Anne’s Lace
Using a 3/4 inch flat brush mix a touch of Aqua into the brush with the glazing medium. Glaze in a wash of color in umbrella shapes where you want the flowers to be.
This will act as a shadow but also give the a nice glow to the flower heads.
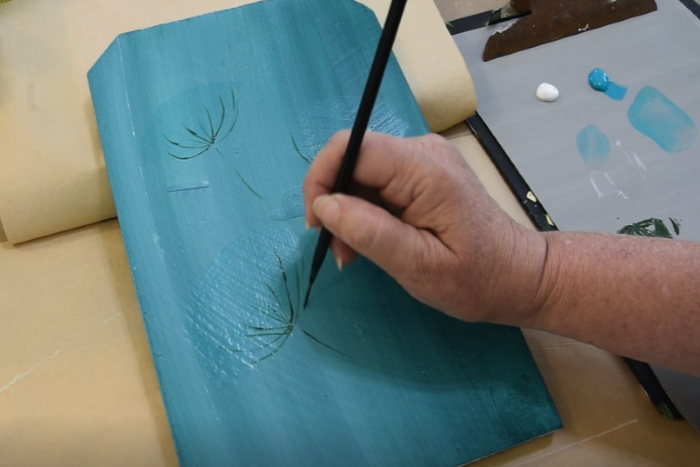
Paint Calyx and Stems
With the liner brush, create the underneath portion of the flowers.
I think of this as an upside down umbrella skeleton. Place a dot at the point you want the calyx to come from. Pull slightly arcing strokes into the flower head.
When we add the flowers some of the calyx arms will show through as they do in the real flowers.
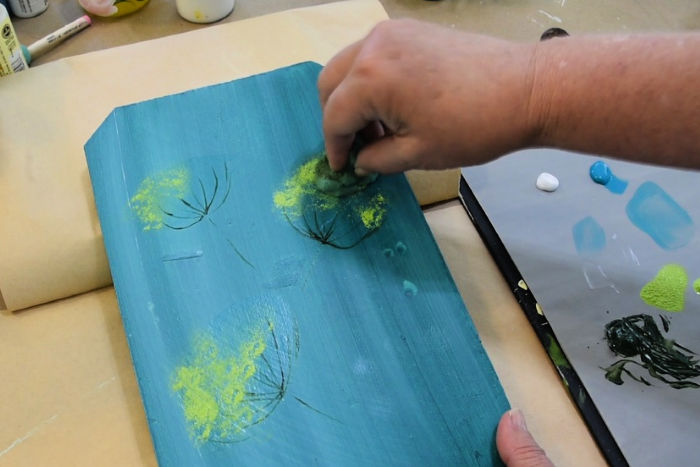
Pouncing in base color
You can use a scruffy brush for this step and it works well but I like the effect of the wadded up sponge.
I get these cheap sponges at the dollar store and tear off pieces large enough to wad up. You can use faux sea sponges too.
The video shows how I wad it up. Basically, I just pull it into a rounded shape like the photo below, you can see how my fingers are pinching it into a wad. (no better term for it)
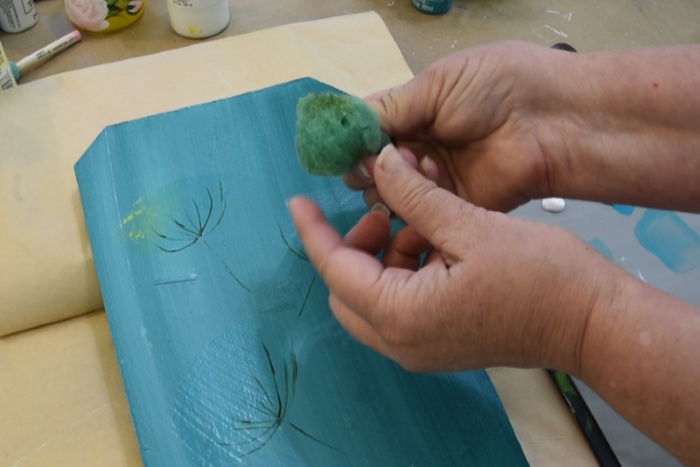
Dip the sponge in Citrus Green and pounce off some of the paint on your palette.
Lightly pounce some color onto your surface in the shape of your flowers, they are like an umbrella. Keep it light and airy.
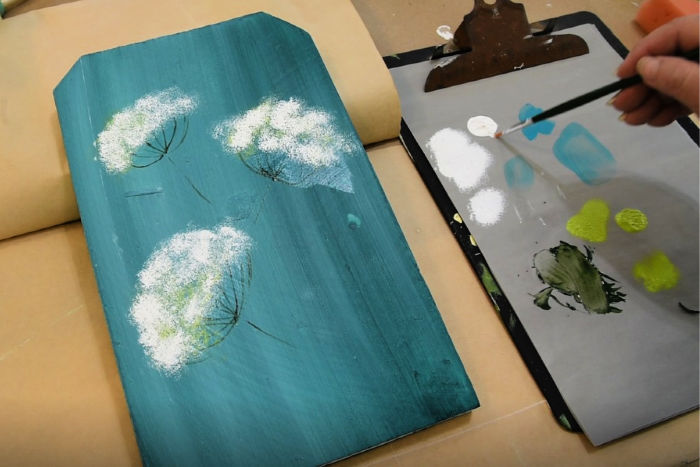
Paint the White on your Queen Anne’s Lace
Using another piece of sponge (you always want to start with a dry sponge) load it the same way, pounce the sponge into the Wicker White and pounce off some of the paint.
Lightly pounce the color onto your flower creating the umbrella shape. No two are exactly alike, some are taller and rounder and others are shorter and narrower.
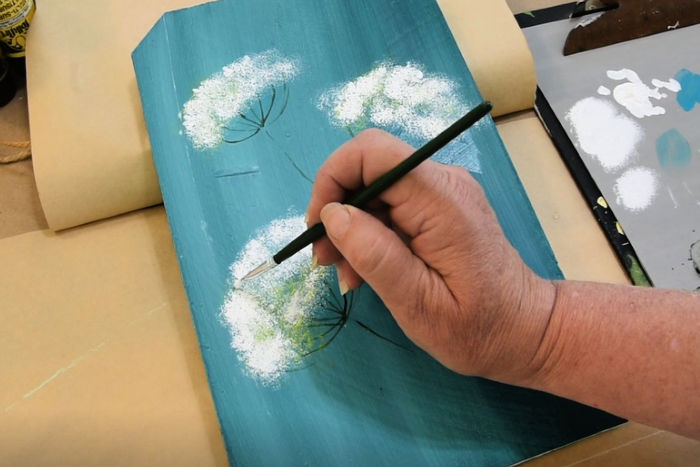
With the #2 flat brush stroke in some petals. I make them like a fleur de lis shape. I don’t make a complete flower.
I don’t show it well here but view the video linked below and you will see what I mean.
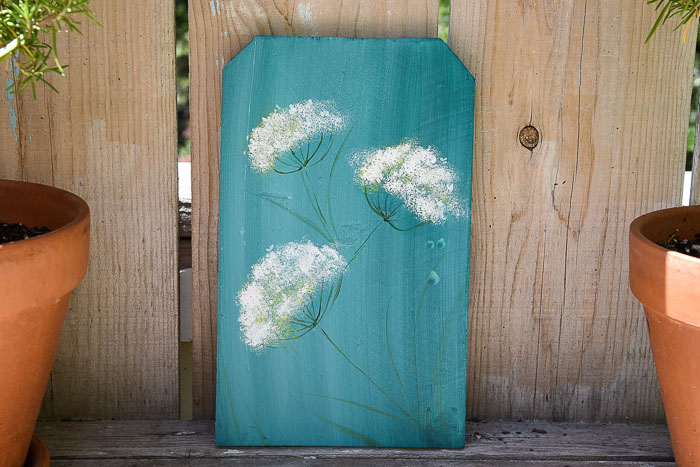
And that is really all there is to it.
Please enjoy the video and paint along!
Happy Painting!
Want to be notified by email each time a new lesson or offer is available? Join us today, it is free.
Please PIN and Share!

I love your easy step by step methods!!
Beautiful! I like how you explained each step, and I would like to try this. How did you paint your background? How did you make the water drops?
Thank you!
There is a link in the post on backgrounds and the water drop marks were just that, water drops that fell onto the work surface, they were an accident but I liked the effect so I left them. 🙂
The wildflower garden is just beautiful and the colors are fantastic. Beautiful job!!!!