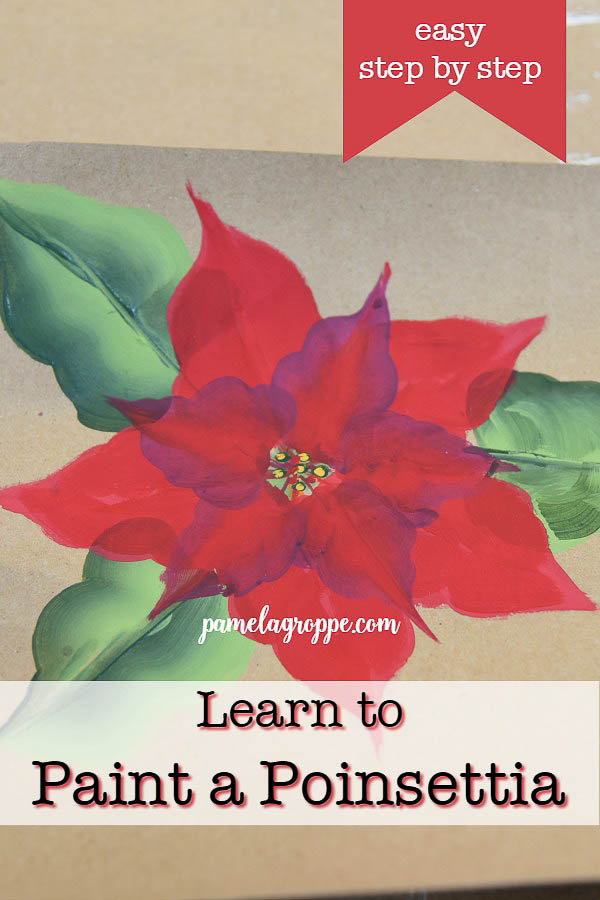
easy How to Paint Poinsettia
easy How to Paint Poinsettia is a step by step painting lesson simple enough for beginners. This bright beautiful flower is fun to paint one stroke at a time. Come paint Poinsettia with me!
Easy how to paint Poinsettia one easy stroke at a time. Step by step I will show you how to work with red that is hard to get opaque and get the definition you need to make these beautiful flowers pop.
Free video is included.
No time now? PIN for later..
This post contains affiliate links. If you make a purchase after clicking a link I may make a small commission at no added cost to you.
Note: The first video in this post is a quick overview. To see the real time video you can paint along with please see the video at the end.
Need help with basics like double loading and strokes? Go here for the Basics to get you started!
Get Started Painting a Poinsettia
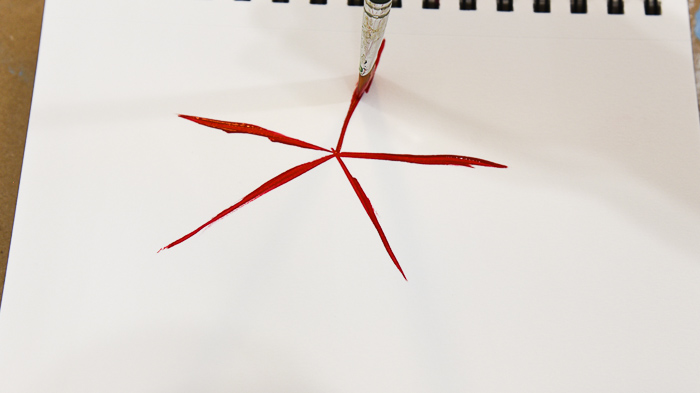
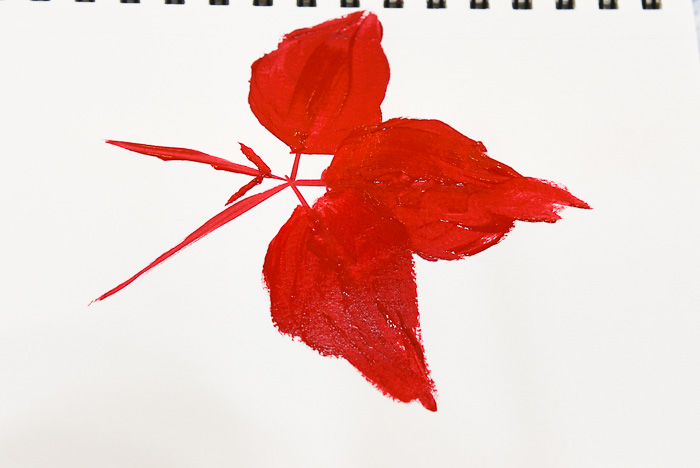
1.Draw a line star shape with the chisel edge of #12 flat brush and Imperial Red.
Paint Poinsettia Petals
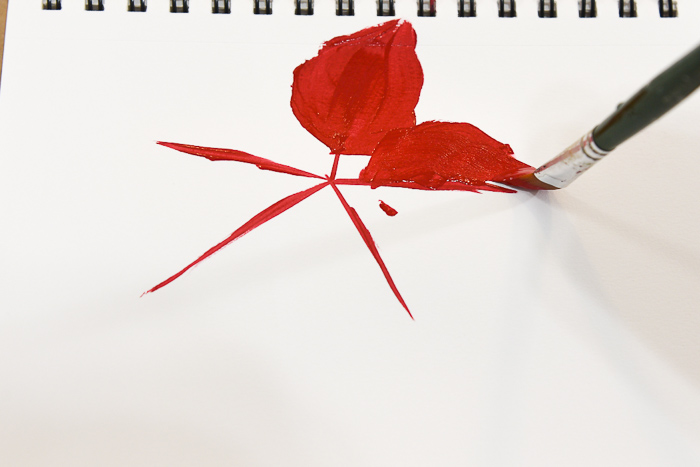
2. Reload your brush with Imperial red and paint the petals with an elongated stroke with a slight wave to it. Not too wiggly.
Don’t start the petals at the center, leave some of the line showing for the bracts.
The photos of the petals are rather rough, the paint was not flowing smoothly over the paper. The video gives you a better idea.
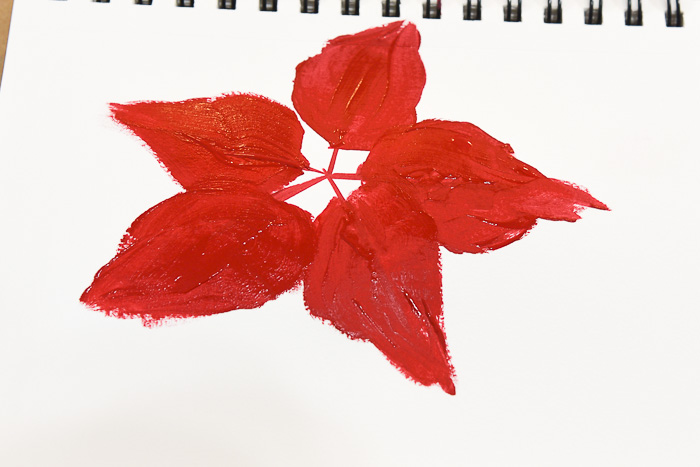
3. Create all the petals using the lines as a guide. Some of the petals will overlap and that is good. I use a V at the point where I want to begin my petals.
4. Once done with the last petal rinse you brush. Let this first layer dry.
Yours will look much better than this, I was working around painting and photographing at the same time. This was easy enough to clean up with the chisel edge of my brush and more paint. This looks fairly opaque but as it dries it becomes more transparent.
Second layer of poinsettia petals
5. Double load the #12 flat brush with Engine Red and Berry Wine. You can use a #10 flat if you need to get the smaller petals the correct size.
Using the same type stroke, paint smaller petals between the larger ones.
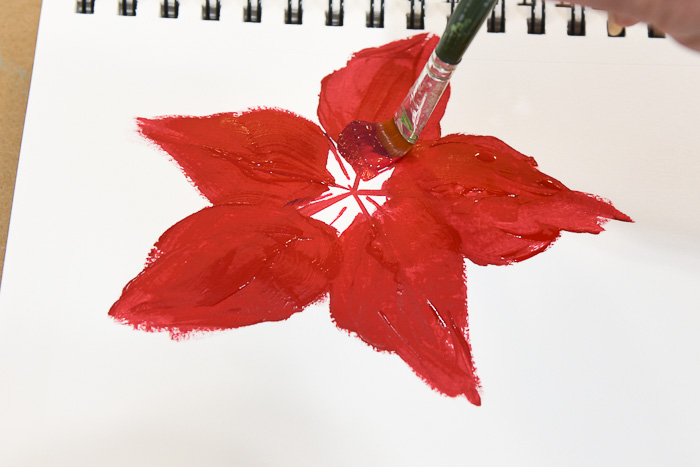
Paint the smaller strokes all the way around the flower. (note: these are actually leaves of the poinsettia plant but for this purpose I will call them flowers)
Leave the center bare only showing the petal bracts.
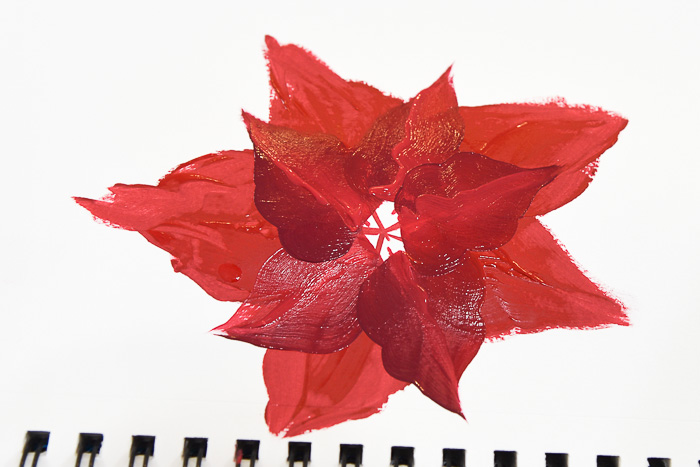
6. Fill in the center between the bracts with Citrus Green.
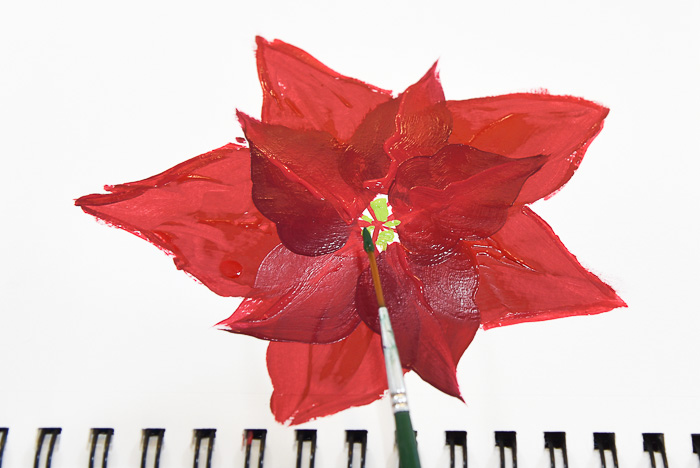
7. Using a liner brush or stylus dot in some Thicket dots.
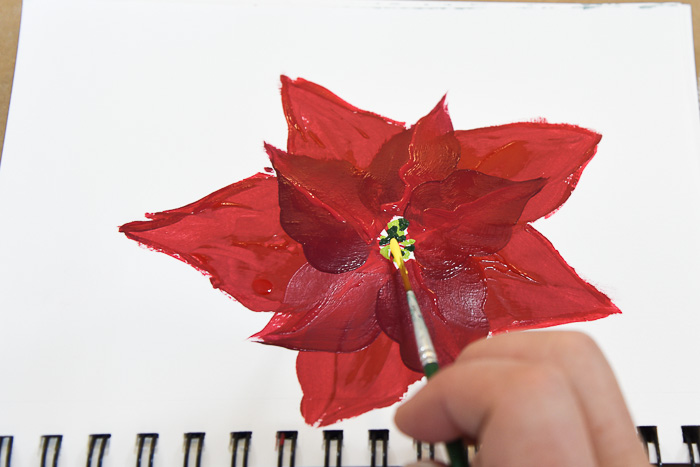
After the Thicket has dried add some Daffodil Yellow dots using the same method.
Add a few red dots too. In the video I share how to shade the lower petals to give them some dimension as well.
Supply List (use colors you prefer, these are just what I used in this lesson)
Brushes
Plaid FolkArt Paint:
Engine Red
Imperial Red
Berry Wine
Thicket
Citrus Green
Yellow
Happy Painting!


Thank you, thank you , thank you for this video of the ponisetta. This is just what I was looking for!!
I like this much better!
What can you recommend to do for a thank you note to be sent to a couple? I don’t what to do flowers!
Thanks again for sharing!
Love the carnations and poinsetta! Just in time for my thank you notes!!