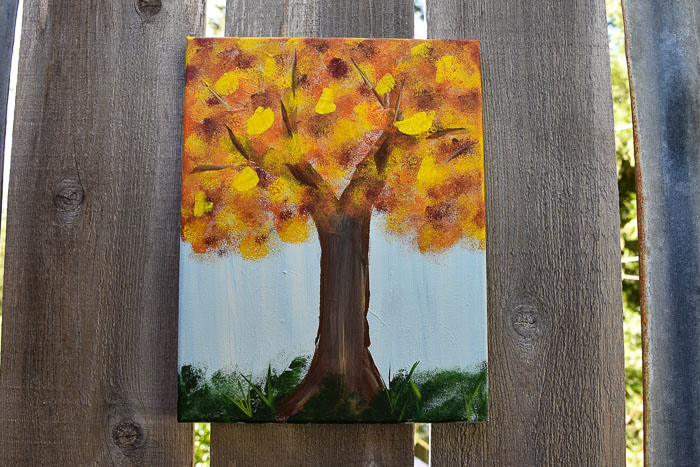
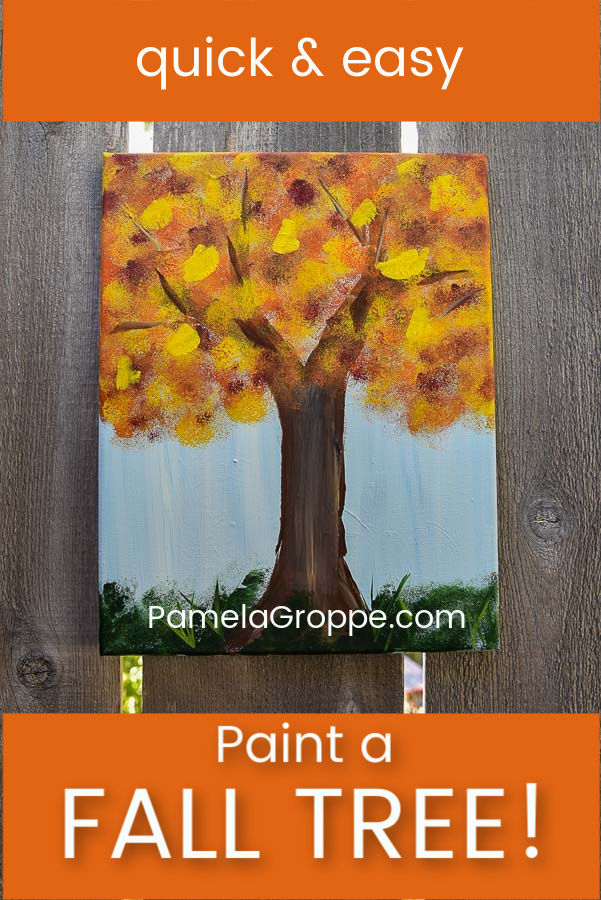
Paint a Fall Tree
Learn how to paint a Fall Tree! An easy step by step painting tutorial with a fun twist. Use these trees in landscape painting or other fun Fall painting designs.
Paint a fall tree using sponges for a fun foliage effect. Easily use a brush instead if you prefer on this super easy Fall tree painting tutorial. This painting lesson is intended as a skill building subject. Future painting tutorials will include the use of sponges and this is a great way to practice.
This post contains affiliate links. If you make a purchase after clicking a link I may make a small commission at no added cost to you.
Canvas for Fall Tree painting
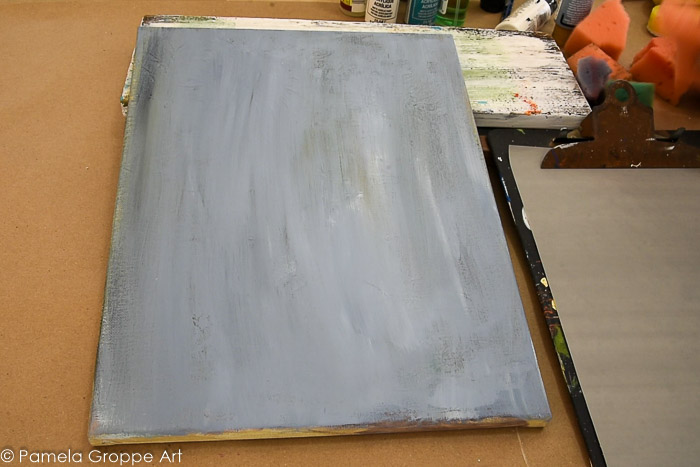
I reused an 11″ x 14″ canvas from a painting I didn’t like. Painting a color over the previous design is a great way to make it reusable for another painting.
If I had used wood as my painting surface I could just sand off the paint but with canvas you need to paint over instead.
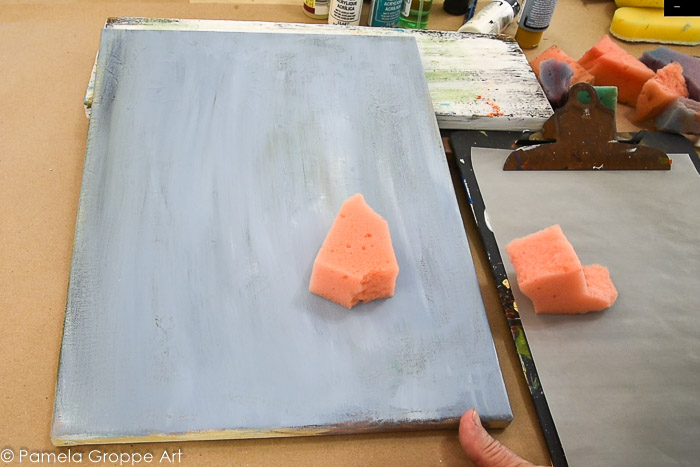
Foliage tool
For this tutorial and others I use these torn pieces of sponge. Take your Dollar store synthetic sponge and snip it with scissors then tear into pieces.
To use you will wad a piece of sponge with our fingers, load with paint then pounce paint onto your design. The sponge creates a unique texture.
Supplies
Plaid Folk Art paint
Wicker White
Coastal Blue
Burnt Umber
Bark Brown
Camel
Pueblo
Pure Orange
Yellow Ocher
Moon Yellow
Daffodil Yellow
Sap Green
Citrus Green
Berry Wine (optional)
Donna Dewberry Brushes
#12 flat or size you feel comfy with
#10 flat
11 x 14 canvas
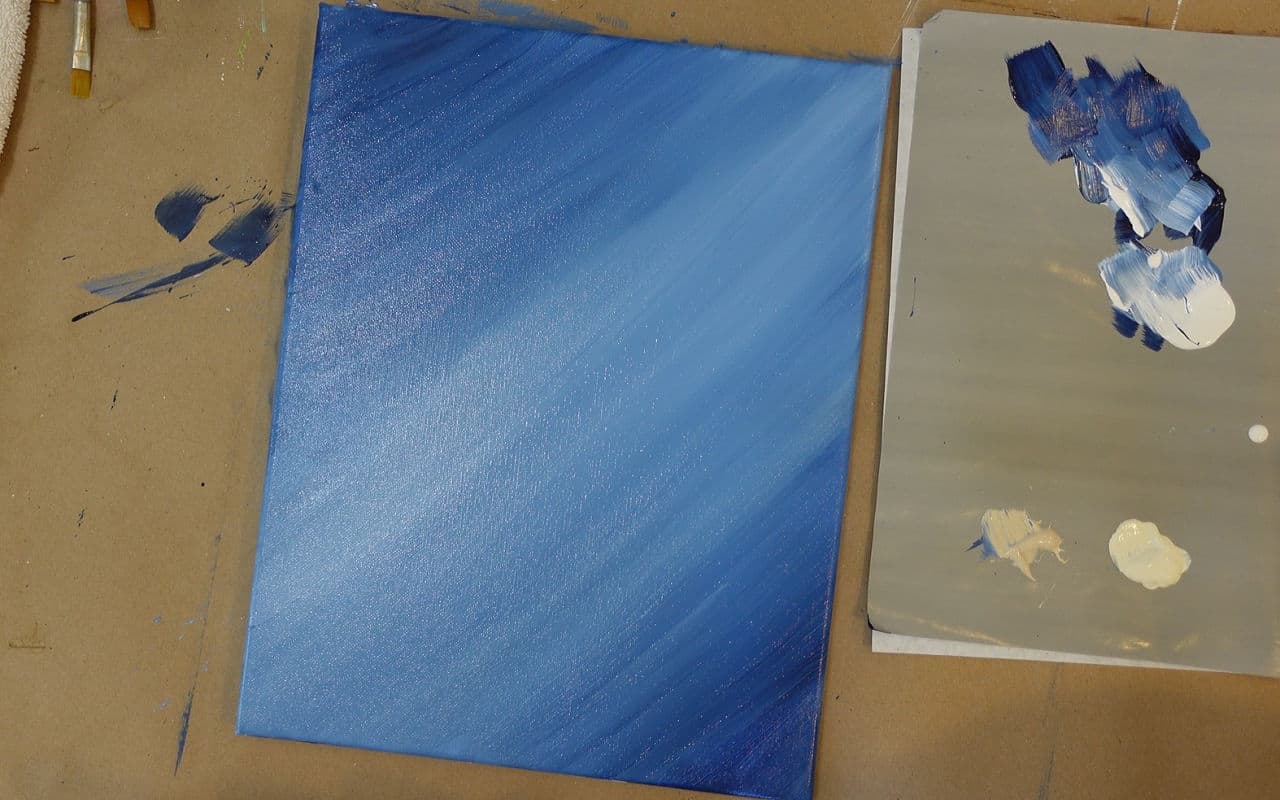
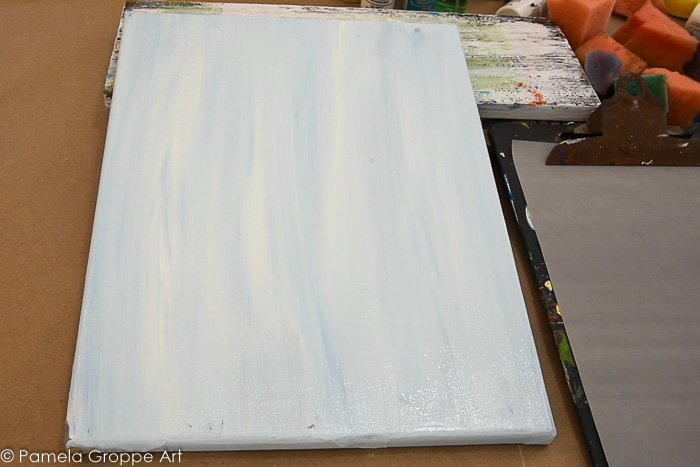
Background
The background is super easy. Squirt Warm White and Coastal blue (or colors of choice) onto the canvas.
I wanted a light color so there is much more Warm white.

Using a wide brush and vertical strokes, spread the paint onto your canvas. Don’t over blend, you want to see the streaks.
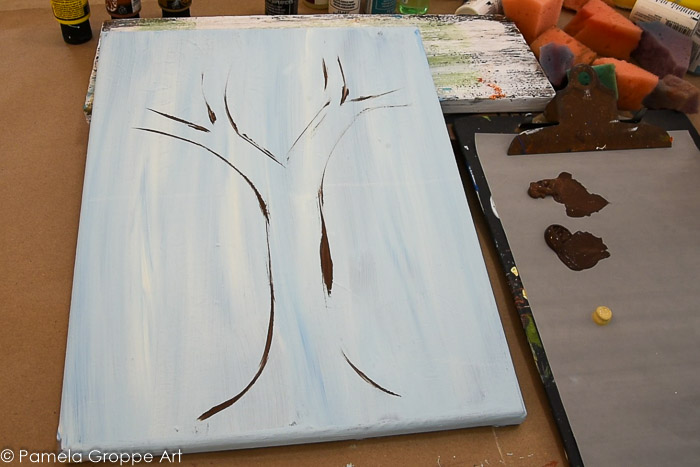
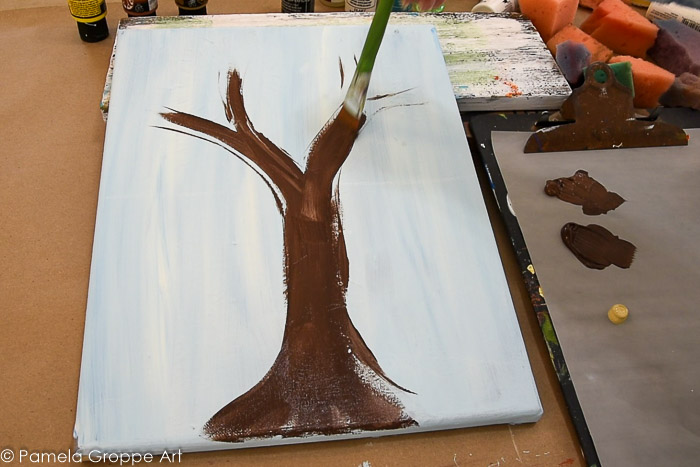
Sketch Tree Trunk
Use a flat brush and Burnt Umber to sketch the tree trunk. Note how it makes a Y shape then each branch is another Y.
Tree trunks vary in shape so don’t try to be perfect, just get the general shape in.
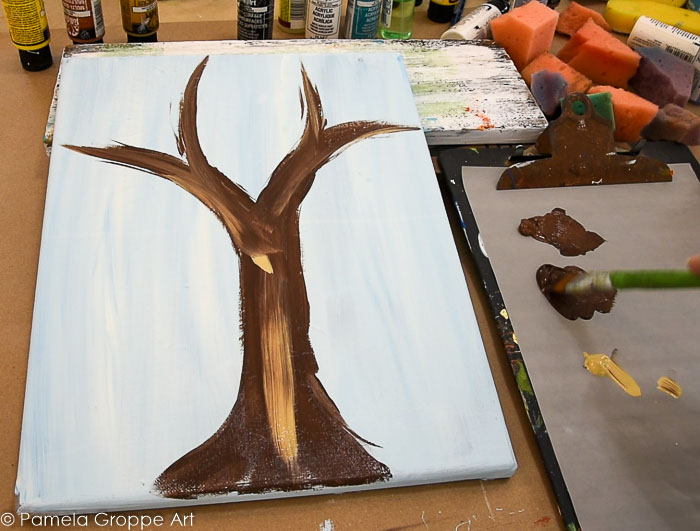
Paint Fall Tree Trunk
Using Burnt Umber and Bark Brown paint in the tree trunk with a flat brush. Use the size flat brush you are comfortable with for this design.
I used a 3/4″ flat brush.
Add some Camel to your brush and streak in some lighter color. Be loose, you want the texture.
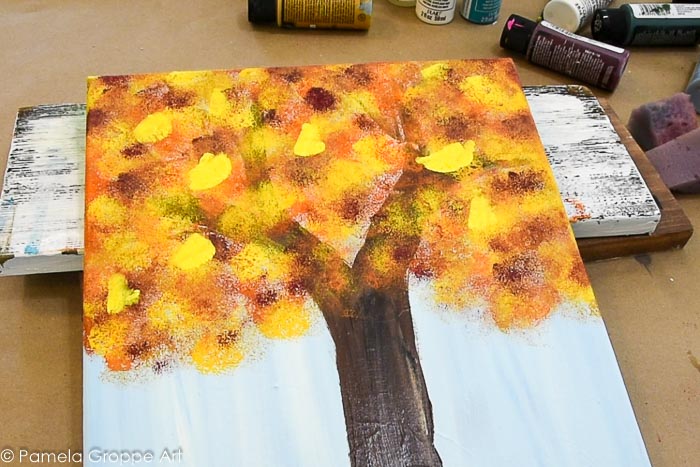
Paint Foliage on Tree
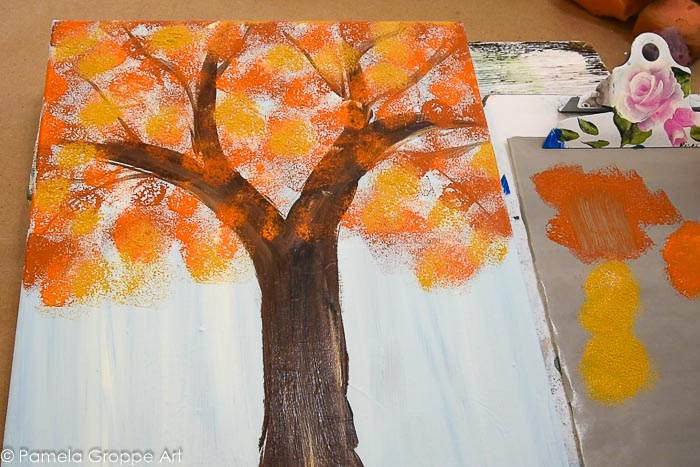
For the Fall foliage on the tree we are going to use Pueblo (a terra cotta), Pure Orange, Yellow Ocher, Moon Yellow and Daffodil Yellow.
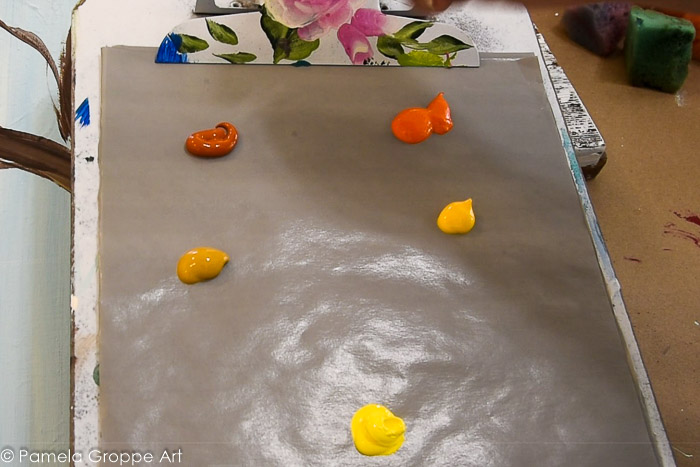
Beginning with the Pueblo, load sponge with paint, pounce some off on your palette. Using a light touch pounce the paint loaded sponge on your tree branches.
Move it around and turn it the sponge. Keep pouncing as the paint runs out. See that texture, that is what you want.
Next add Pure Orange and repeat.
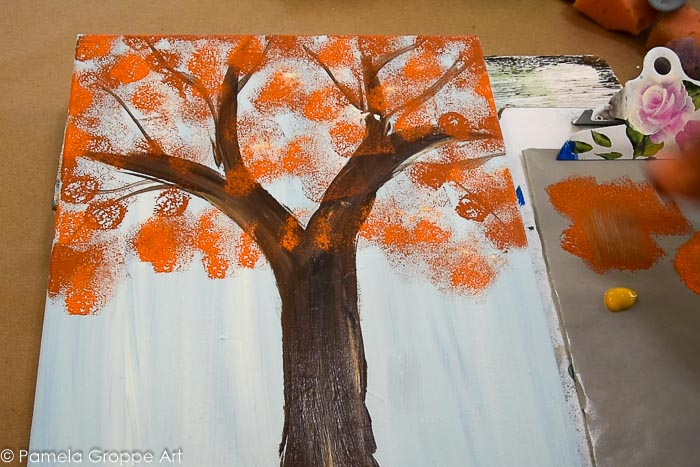
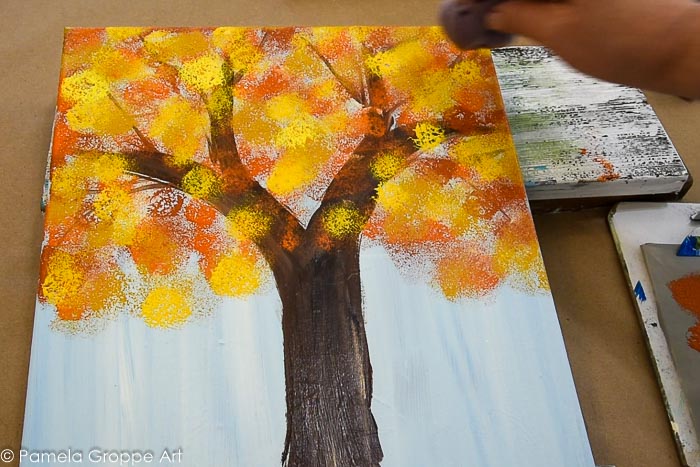
Next start adding the Yellows, first Yellow Ocher.
Keep adding the yellows going from the darkest to the lightest. How thick you make the foliage is up to you.
You can leave sky showing or cover it completely, it is your tree!
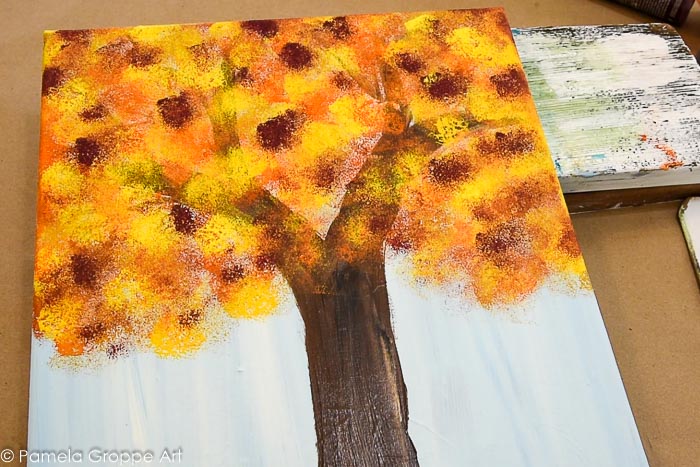
Richer color?
If you want a richer color to your tree, add some Berry Wine. If you know you want that drama in your foliage you can start with Berry Wine then add the Oranges.
Just a hint for some options.
Paint ground under Fall Tree
The ground under your tree can go so many directions. Want to keep with the Fall theme? Paint it with golden colors and add Pumpkins or Sunflowers.
I merely added some greenery.
Use Sap Green and a touch of Citrus and use the sponge to pounce in some green foliage.
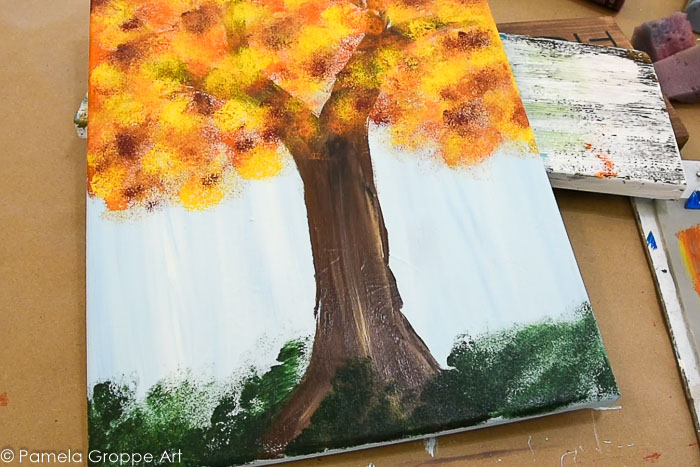
Using the flat brush on the chisel edge stroke in some grass.
Need to know what I mean by chisel edge? See Basic Brush Strokes here.

Alternate Way to Paint a Fall Tree
If you are not a fan of the sponge technique of painting the foliage then do feel free to use a brush. Dab in colors with the brush (as you see the yellow spots) instead, work from the darker to the light and be loose with your dabs.
You can use a smaller brush for smaller leaves but you get the idea. If will create an entirely different effect but just as pretty.
I hope you enjoyed this fast and easy Fall tree paint tutorial.
Paint a Fall Tree
Easy paint a Fall Tree in acrylics. A fast, fun painting tutorial with a twist. Create a Fall Tree with lots of texture in the foliage.
Materials
- 11 x 14 canvas (reused an old one if you want)
- Plaid FolkArt Paint
- Warm White
- Coastal Blue
- Pueblo
- Pure Orange
- Yellow Ocher
- Moon Yellow
- Daffodil Yellow
- Berry Wine (optional)
- Sap Green
- Citrus Green
- Burnt Umber
- Bark Brown
- Camel
Tools
- Donna Dewberry Onestroke Brushes
- 3/4" flat
- #12 flat
- Synthetic sponge torn into pieces
Instructions
- Paint background with Warm White and Coastal Blue, keep it streaky
- Draw in tree form with paint brush and Burnt Umber
- Using 3/4" flat paint in tree with a double load of Burnt Umber and Bark Brown
- Add some Camel to the brush and streak in some highlight which creates texture
- Wad sponge with your fingers and dab in Pueblo, dab off some paint on palette
- Lightly pounce sponge around tree foliage area until very little paint is left in sponge.
- Go to next color, Pure Orange and do the same, keep it light, you want the texture of the sponge to be evident
- Continue from the darker colors to the lightest ending with Daffodil Yellow. Change to a clean, dry sponge as needed so as not to muddy up the colors.
- Restate parts of the tree trunk and limbs if needed
- Using a dry, clean sponge dab into Sap Green, add foliage at base of tree.
- Add a touch of Citrus Green
- With a flat brush double loaded with Sap Green and Citrus, stroke in some blades of grass with the chisel edge of the brush.
Notes
For deeper richer color start with Berry Wine in your tree. You can use colors of choice, the colors listed are what I used.
Full length video in real time.
As I stated before, this short easy painting lesson is a skill builder painting tutorial. Using different tools in painting for different effects takes a little practice and this is a perfect example of learning to use sponges. More painting tutorials on this site will have you using sponges from time to time so practicing on this simple design will help you become accustomed to using them.
Please PIN and share.
Happy Painting!
Want to try another fun Fall painting tutorial? Hop on over to Tracies site and try her fun tree painting.