Paint Faux Wood Grain in Acrylics
If you’re looking to get creative then painting faux wood grain in acrylics is an awesome place to start. It may seem like a daunting task at first but we’ve got your back – with some patience and the right supplies, we’ll show you how to make it look great!
When you paint faux wood grain in acrylics it creates a wonderful background for many paintings and craft projects.
Two of my step by step painting tutorials, How to Paint Indian Paintbrush and How to Paint Texas Bluebonnets have this painted faux wood background.
Too busy to read now, PIN for later!
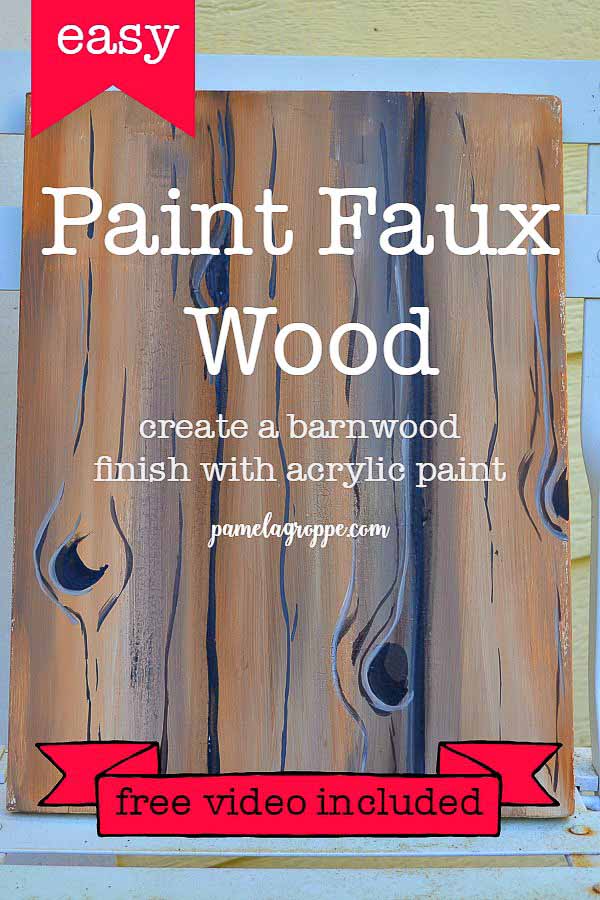
A reader requested a tutorial on how to paint faux wood grain background and here it is.
You can paint this in grays for a driftwood effect. Or you can choose any color you prefer, this tutorial is in the browns.
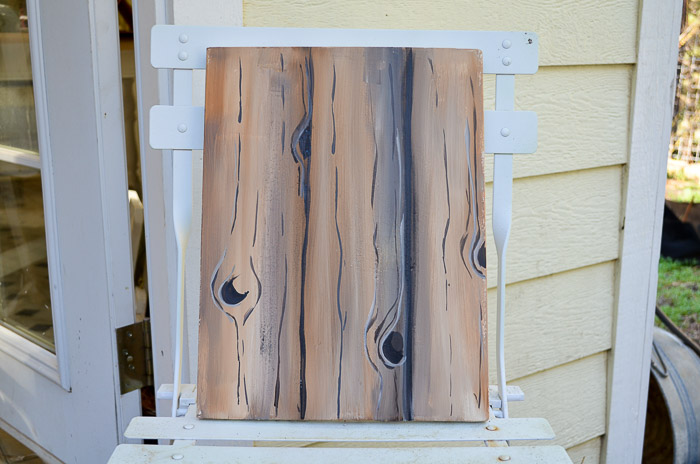

Want to see what I painted on this faux barn wood background? CLICK HERE
The video helps even more than the photo step by step.
Be sure to watch it. The first video is a quick over view and the real time video that you can paint along with is at the end of this post.
There are two ways shown in the video. One is on a dry surface and the other on a surface that has a wet base coat on it.
Get Started on How to Paint Faux Wood
Start with your surface, the painting method works on all kinds of surfaces including wrapped canvas, plywood, paper, metal and more. If it is flat and paintable you can use this background.
The video surfaces are pine wood boards, and in this photo step by step it is multi media paper.
Faux Wood Paint Colors
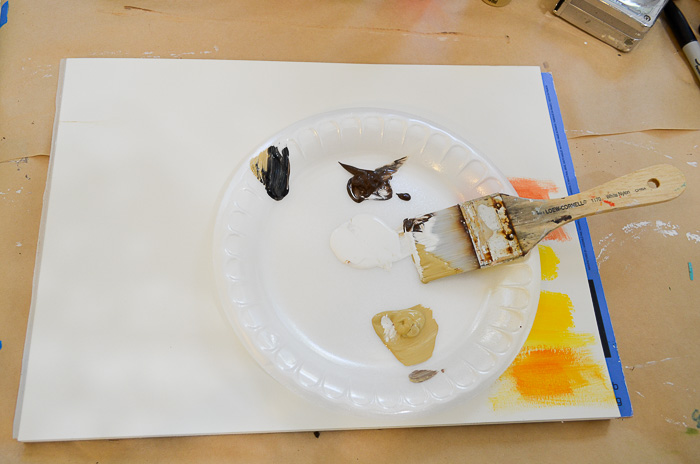
The colors I used in the photos are Plaid folkart Multi-surface paints in Wicker white, Real Brown, Licorice black and Camel. You can use colors that you prefer.
The brush I am using is a Loew Cornell white nylon 2″ that comes in a pack of 3 different sizes.
- Load the brush with white then dip a corner in Real Brown and the opposite corner in the Camel. You can add a touch of black to the Real Brown side if you want to darken it at any time. Just a touch.
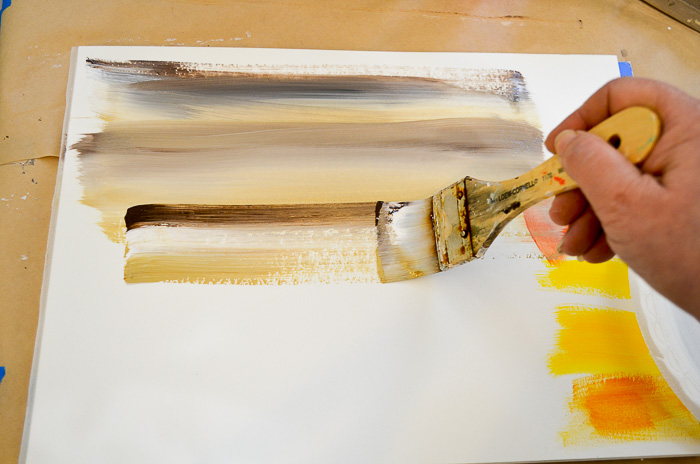
2. Stroke the colors onto you surface, overlapping the strokes slightly as you go.
I do not go all the way to the edges in these photos but on a painting or other surface I would. (the video shows you)
It is important that you not over blend. You want streaks of color.
Let Dry
3. Once you get all of the surface covered with the streaky layer then we will let it dry.
Paint Board Lines
4. Add the board lines. If you want precise width boards for your background then measure it out with a tape measure or ruler to do that and mark where to place them.
Put the marks on each end and not in the middle like I am showing here. In the next shot you see the marks on the edges.
Most of the time I don’t measure, I usually eyeball it.
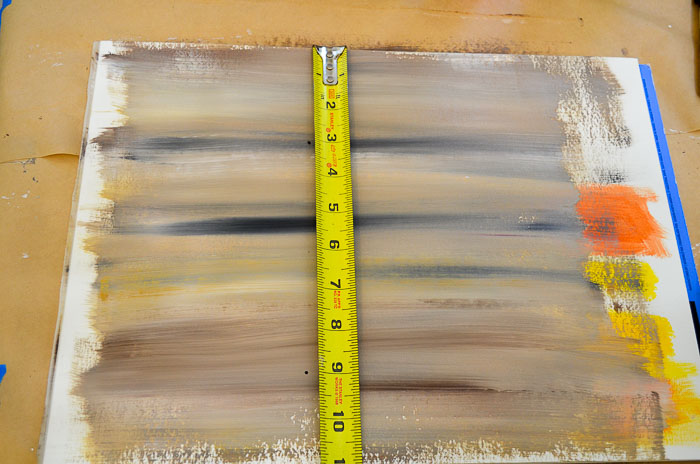
5. Dampen your brush enough to make the paint a bit inky as you load your smaller flat brush.
In the video I use a 3/4″ flat brush and in these photos I am using a #12 flat brush. You choose, either will work. You do want a nice chisel edge on the brush.
6. When you have the brush loaded with the inky paint, grasp your brush close to the end, and drag it from one edge to the other creating a line.
(you can use straight black or tone it down with some brown if you like)
If you want a more precise line then use a straight edge like a ruler or a board of some kind. (as I show in the video)
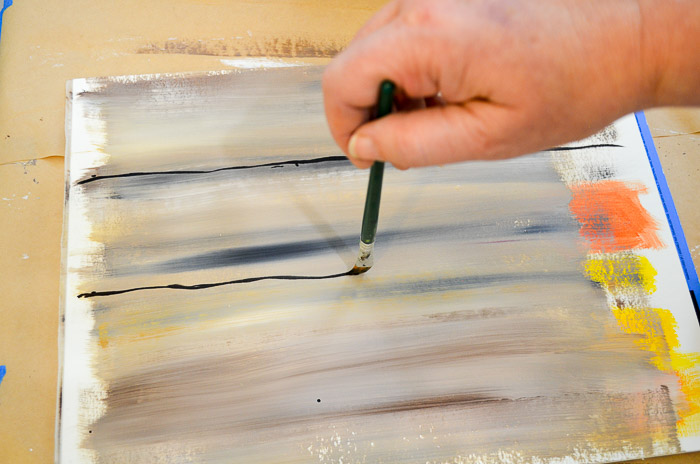
When I created my board lines I added and released pressure as I dragged my brush so the wood boards look worn and rustic.
If you want sharp lines for straighter boards then try to maintain consistent pressure as you drag the brush from one edge to the other.
Details
7. Now for the details like knot holes and grain lines.
Again using the inky paint in black paint on half circles, circles and comma strokes to mimic knot holes.
8. Still using inky paint draw grain lines with a light hand, let the brush dance along as you paint so it skips.
You don’t want sold lines. Make sure to go around the knot holds with a curve.
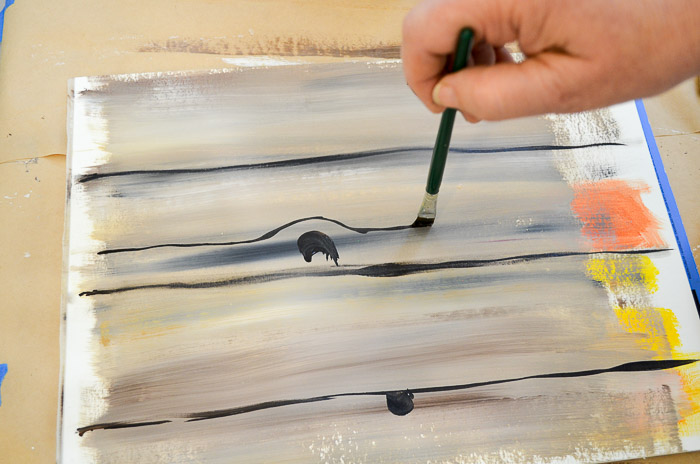
9. After making the dark grain lines go back with a lighter color, some white mixed with the darker paints.
Pull in some light lines to highlight alongside the dark grain lines. Also pull some lighter color around the knots to highlight those.
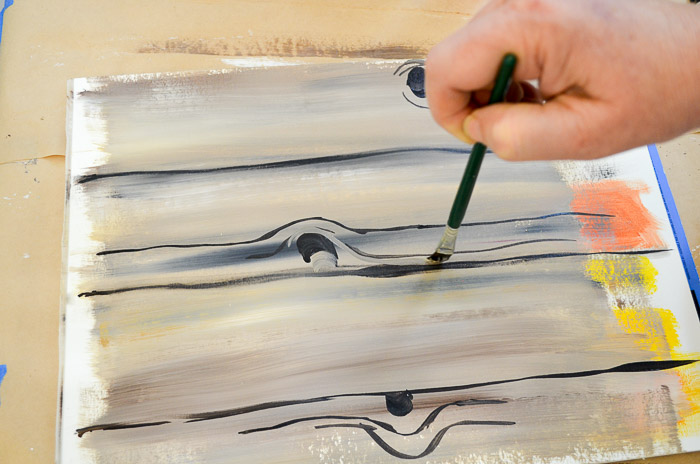
Walk Away
Don’t over think it and remember less is more. From time to time step back, walk away briefly then come back and look at it with new eyes.
Add more if it needs it or blend some out if you think it is too busy.
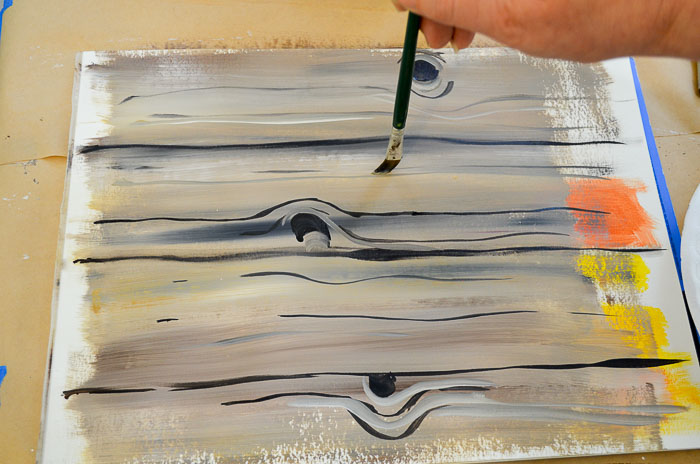
Before you know it you will have a wonderful faux wood grain background for barn wood effects for your paintings!
Need more help, watch the real time video!

I love you for providing amazing information. Well done.
“WALK AWAY
Don’t over think it and remember less is more. From time to time step back, walk away briefly then come back and look at it with new eyes.”